
Using a laptop in bed is a common scenario for many, offering the ultimate comfort while working, browsing, or streaming your favourite content. However, balancing it can be a challenge, so making a sturdy laptop stand an essential. Get into our beginner-friendly DIY project that not only enhances your bed-based laptop experience but also engages your crafting skills. Create a functional and stylish laptop stand designed specifically for bed use, ensuring your comfort and productivity are maximized without compromising on convenience.
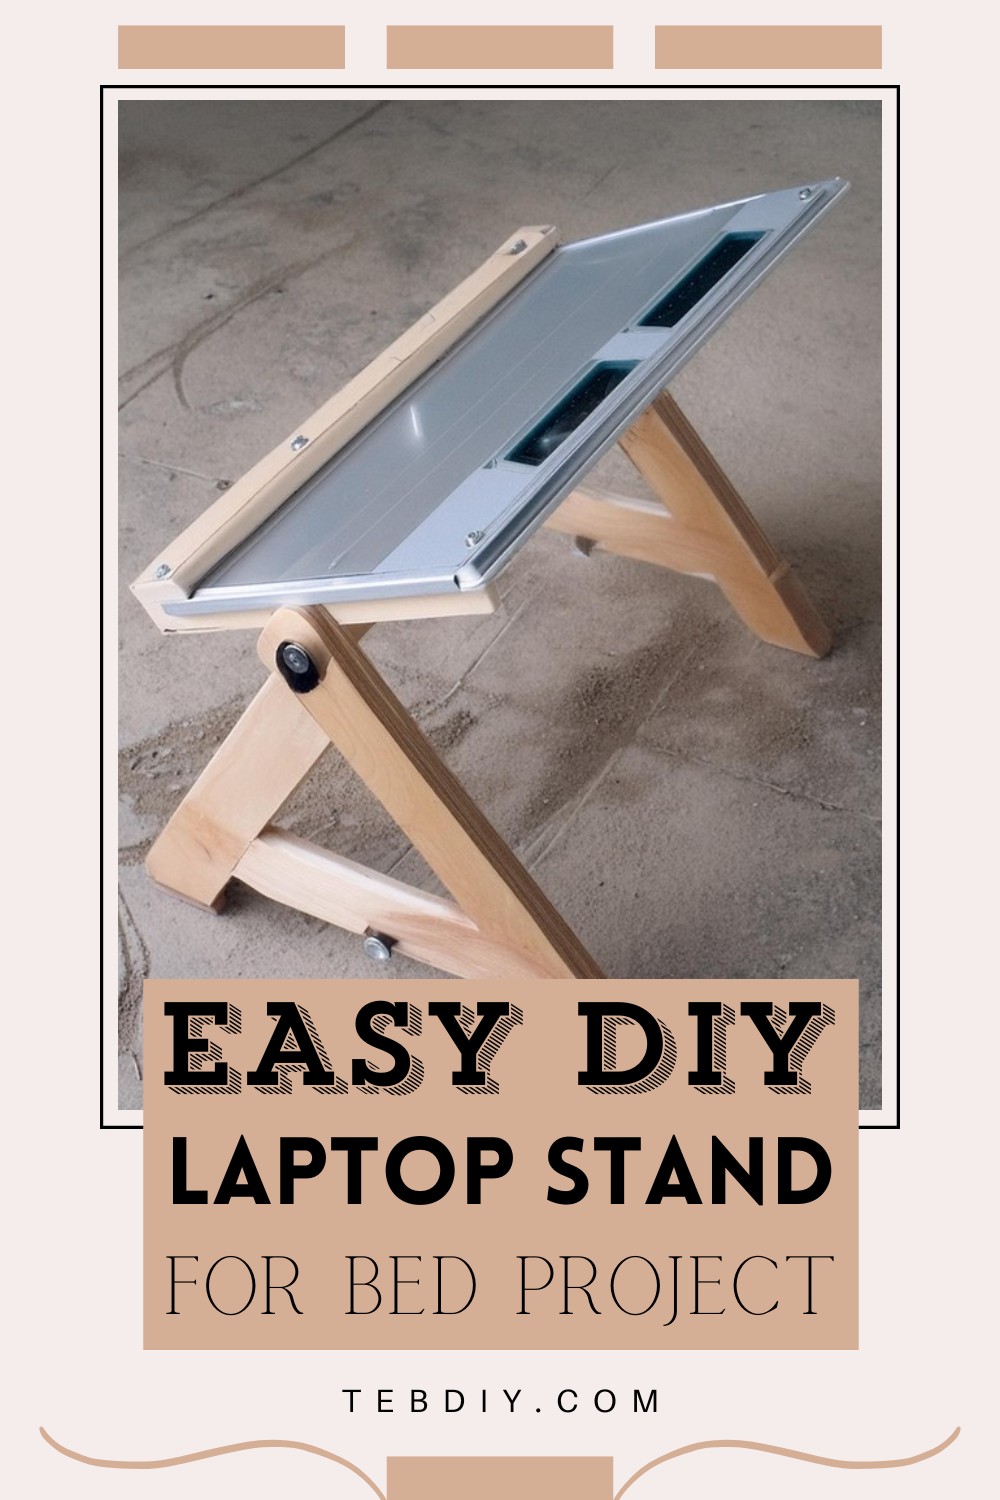
Laptop Stand for Bed Project

Making Your Laptop Stand For Bed
Materials List
To embark on crafting this laptop stand, you’ll need:
- 1 x 2 x 8 feet of white pine (A steal at just $2.00, the creator mentions)
- 2 sheets of 160 grit sandpaper (At a modest 40 cents)
- Tabletop: A piece of Plexiglas from a dismantled 19-inch LCD panel
- Additional wood (1×1) for the lip to prevent the laptop from sliding
- T-Nuts for assembly
- Wood screws for attaching parts
- Miscellaneous hardware from your supply (for those who like to reuse and repurpose)
Tools Required
Equip yourself with these tools to ensure a smooth project:
- Electric drill with various sizes of wood bits
- Jigsaw or handsaw
- 2 pcs. 120 to 150 grit waterproof sandpaper (For a smooth, splinter-free finish)
- Screwdrivers

Step-by-Step Guide
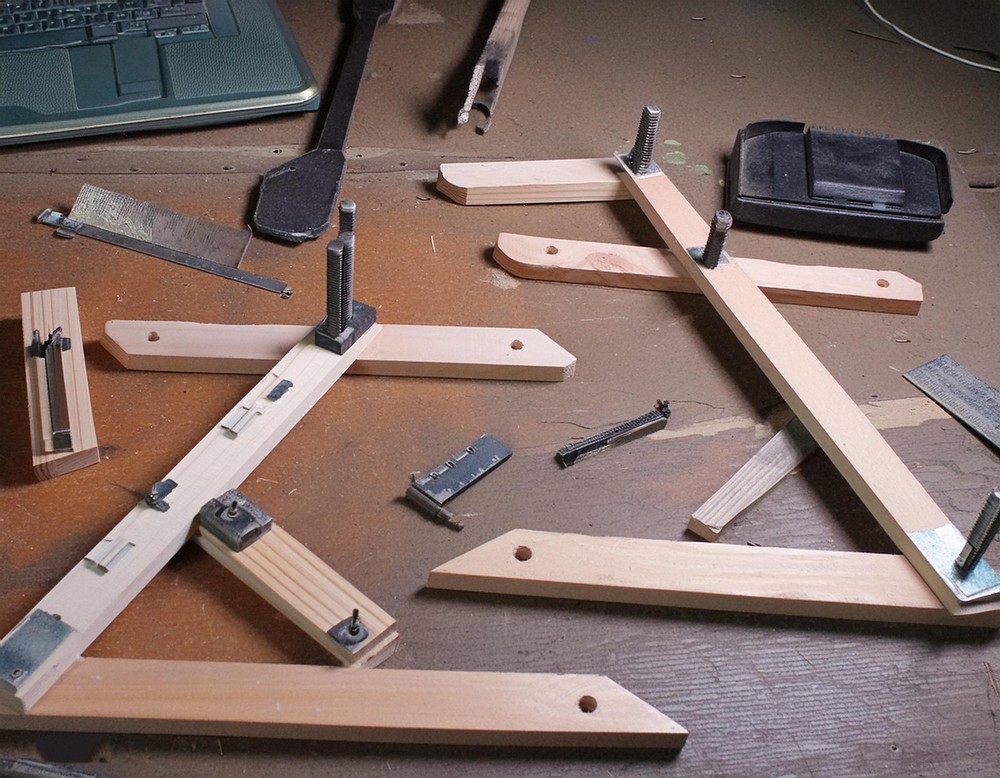
Step 1: Cutting the Wood
First, you’ll transform the pine board into the stand’s components. Slice it into pieces as follows:
- Footings: Two 16-inch pieces
- Legs: Two 14-inch pieces
- Tabletop support: Two 11-inch pieces
- Angle stoppers: Two 7-inch pieces
Step 2: Inserting the T-Nuts
Prepare the pieces for assembly by inserting T-nuts where needed. This step is pivotal for the ease of assembly and durability of your stand.
Step 3: Assembling the Legs
Craft the leg assembly to your liking. The hole dimensions and spacing are up to you—they ought to be balanced but can be adjusted based on your bed height and laptop size requirements.
Step 4: Attaching the Tabletop
Utilize the Plexiglas (or your chosen material) as the stand’s surface. Secure a piece of 1×1 wood onto the bottom edge of the tabletop using wood screws. This acts as a lip, preventing your laptop from slipping if the surface is tilted.
Step 5: Final Assembly
Assemble the remaining legs and secure the tabletop to them with wood screws (three per side should suffice). For added stability, insert a folded sandpaper between the legs and tabletop support before tightening the screws.
Conclusion
You’ve now created a personalized laptop stand that not only caters to your in-bed work and entertainment needs but also adds a touch of DIY flair to your space. This project exemplifies how a simple idea, when executed with care and creativity, can lead to something both practical and fulfilling. Enjoy the comfort and convenience it brings to your bed-bound activities!

Leave a Reply