
The first time I sat down to make something by hand, I wanted a simple and fun project that didn’t require fancy tools or skills. That’s when I learned about Air Dry Clay Keychains, and I instantly fell in love with the idea. These easy-to-make keychains let you turn your ideas into cute little decorations or thoughtful gifts. The purpose of creating them is not just to make something pretty, but also to relax, enjoy the process, and create something personal and meaningful.
Cute Guide To Make These Air Dry Clay Keychains
With air dry clay, you don’t need an oven or any special setup. All you need is some clay, a few simple tools, and your imagination. You can shape the clay into anything you like—a heart for someone you love, a tiny pancake for food lovers, or even a funny character to match your personality. Once finished, you can paint and add a shiny glaze to bring your designs to life.

What makes these keychains so special is how creative you can get. They’re perfect for decorating your house key, backpack, school supplies, or even as charms for bracelets. They’re lightweight, so they won’t drag things down, and they’re small enough to carry anywhere. Best of all, every piece you make is one of a kind, made with your own hands.
Creating these keychains isn’t just about the finished product—it’s about the joy of making something from scratch. Playing with clay feels peaceful and fun, like being a kid again. It’s a great way to take a break from your busy day and focus on something just for yourself. Whether you keep your keychain or give it as a gift, Air Dry Clay Keychains are a lovely way to share a little piece of your creativity with the world.
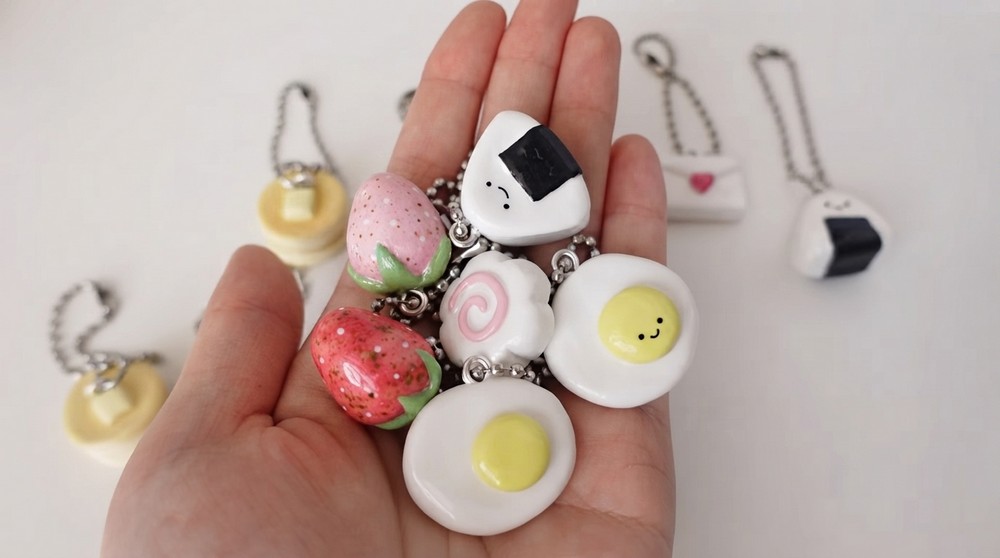
DIY: How to Make Air Dry Clay Keychains
Follow this detailed, step-by-step guide to create personalized Air Dry Clay Keychains. This beginner-friendly project includes everything from materials and preparation to sculpting, finishing, and final assembly.
Materials Needed
To make Air Dry Clay Keychains, gather the following supplies:
- Air Dry Clay (e.g., Doss air dry clay)
- Slip (a glue-like mixture of air-dry clay and water — instructions below)
- X-Acto Knife
- Clay Tool Set (silicone tips, dotting tools, shaping tools)
- Acrylic Stamp Blocks (optional, for pressing clay evenly)
- Eye Pins or Headpins (for attaching beads or hooks)
- Key Rings or Ball Chains
- Super Glue (optional, for securing pins)
- Sandpaper (for smoothing dried clay, optional)
- Acrylic Paint
- Fine detail tools like Micron Pens (optional)
- Paintbrushes
- Clay Varnish or UV Resin (for glazing)
- Damp tissue for collecting sanding dust
Preparation Steps
- Making Slip:
- Take small, thin pieces of air dry clay.
- Add water to these pieces and let them sit overnight.
- Mix the softened clay and water thoroughly to form a smooth paste.
- Use this as a bonding agent for attaching clay pieces together.
- Condition Your Clay:
- Knead the air dry clay for about 5 minutes to improve flexibility and consistency.
- If the clay feels too dry, add a small amount of water and keep kneading until soft.

Step 1: Sculpting Keychains
Here are step-by-step instructions for specific designs:
A. Egg Keychain
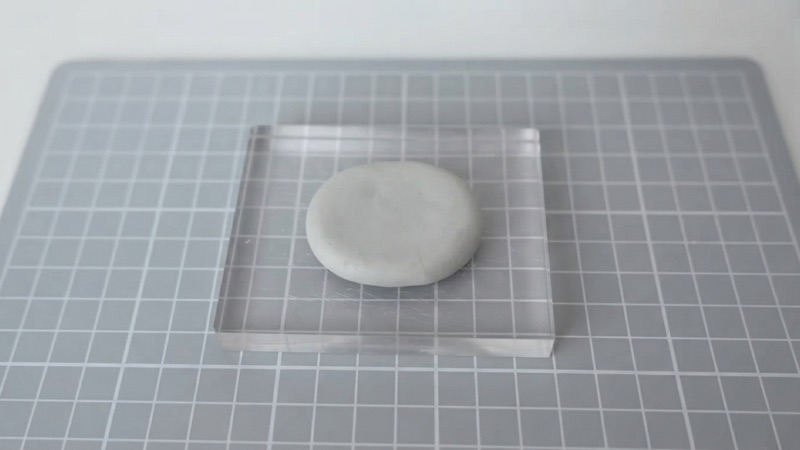
- Shape an oval ball of clay and flatten it using your fingers.
- Smooth the surface using water.
- Create a smaller round ball of clay for the yolk.
- Score both surfaces, apply slip, and press them together.
- Smooth out any rough edges.
- Insert an eye pin at the top by gently twisting it into place.
B. Onigiri (Rice Ball) Keychain
- Roll a clay ball and shape it into a triangle.
- Flatten another small strip of clay to act as the seaweed strip.
- Place the strip on the triangle and trim the excess with an X-Acto knife.
- Use clay tools to smooth and shape the edges.
- Twist an eye pin into the top.
C. Fishcake Keychain
- Start with a small ball of clay and flatten it into a disk.
- Use a tool to indent the edges, forming a flower shape.
- Roll out a thin coil of clay to create the swirl detail and attach it carefully.
- Smooth the surface and insert an eye pin at the desired location.
D. Egg Sushi Keychain
- Roll clay into a rounded rectangle for the rice base.
- Flatten a separate piece of clay, cut it into a rectangle, and use it as the egg.
- Score and apply slip to join the egg and rice pieces securely.
- Roll out a coil of clay, flatten it to act as the seaweed strip, and attach around the sushi.
- Insert an eye pin to finish the piece.
E. Other Designs (Optional Examples)
- Strawberry – Shape a teardrop; add a star-shaped top using tools.
- Pancake – Flatten multiple discs, stack using slip, and add detail like syrup or butter on top.
- Bear Face – Form an oval for the face, small balls for ears, and attach with slip.
- Heart Envelope – Cut a rectangle for the envelope, a triangle for the flap, and a clay heart for decoration.

Step 2: Drying the Charms
- Leave the sculpted pieces to dry for 1-2 days.
- Flip the pieces halfway through drying to ensure even drying.
Step 3: Finishing
A. Securing Eye Pins
- Test each eye pin. If any feel loose, secure them with super glue.
B. Sanding
- Lightly sand each charm for smoothness (optional).
- Wear protective goggles and ensure the sanding area is well-ventilated. Use damp tissue to trap dust.
Step 4: Decorating
Painting
- Use acrylic paints to color each charm. Experiment with bold or muted shades.
- Add fine details like facial features or patterns using fine detail brushes or Micron pens.
Glazing
- Choose either clay varnish or UV resin for glazing.
- Apply a layer to one side, let it dry, then flip and coat the other side.
- Bonus Tip: Hang the charms with wire to apply an even glaze.
- Use UV resin if you need maximum durability.
Step 5: Assembling Keychains
For Ball Chains
- Attach the chain directly to the eye pin.
- If the eye pin loop is too small, add a jump ring before attaching the chain.
For Key Rings
- Use a jump ring to connect the charm to the key ring.
- Use pliers to tighten and secure the jump ring into place.

Key Features of Air Dry Clay Keychains
- Beginner-Friendly: Perfect for all skill levels.
- Customizable: Create endless designs — food charms, animals, flowers, and more.
- Lightweight: Ideal for keychains, bag charms, or small gifts.
- Durable Treasures: Long-lasting if finished with glazing or resin.
- Functional and Artistic: A perfect balance for personal use or thoughtful gifts.
Pro Tips
- Use slip generously to join pieces securely.
- Smooth out the surface during sculpting to minimize sanding later.
- Experiment with textures and patterns using clay tools.
- Proper glazing ensures scratch resistance and extends the charm’s durability.
Now you have everything you need to make your own Air Dry Clay Keychains! These cute, handmade treasures are great as personal keepsakes, gifts, or even small business products. Get creative and enjoy turning simple clay into beautiful accessories.
Leave a Reply