
Level up your playful style and cure accessory boredom with a Free Crochet Frog Hat Pattern for a quirky, standout look.
Bringing a cheerful frog hat to life with just yarn and hook can brighten any chilly day. This sweet hat features playful frog eyes perched on top, adding a charming touch that’s sure to delight children and adults alike. The main body of the hat is made with single crochet stitches, worked in a continuous round starting from a magic circle to keep the stitches tight and even. The shaping involves simple increases and decreases, making it comfortable for little heads while keeping the pattern easy to follow for beginners.
Other Ideas to Crochet Using This Pattern
This pattern can be adapted to design hats inspired by other animals such as turtles, bears, or rabbits, just by adjusting color schemes and adding unique features like ears or spots. It also works well as a base for making seasonal hats, turning a simple project into a fun accessory collection for any time of year.
Cute Crochet Frog Hat Pattern for Adorable Costumes
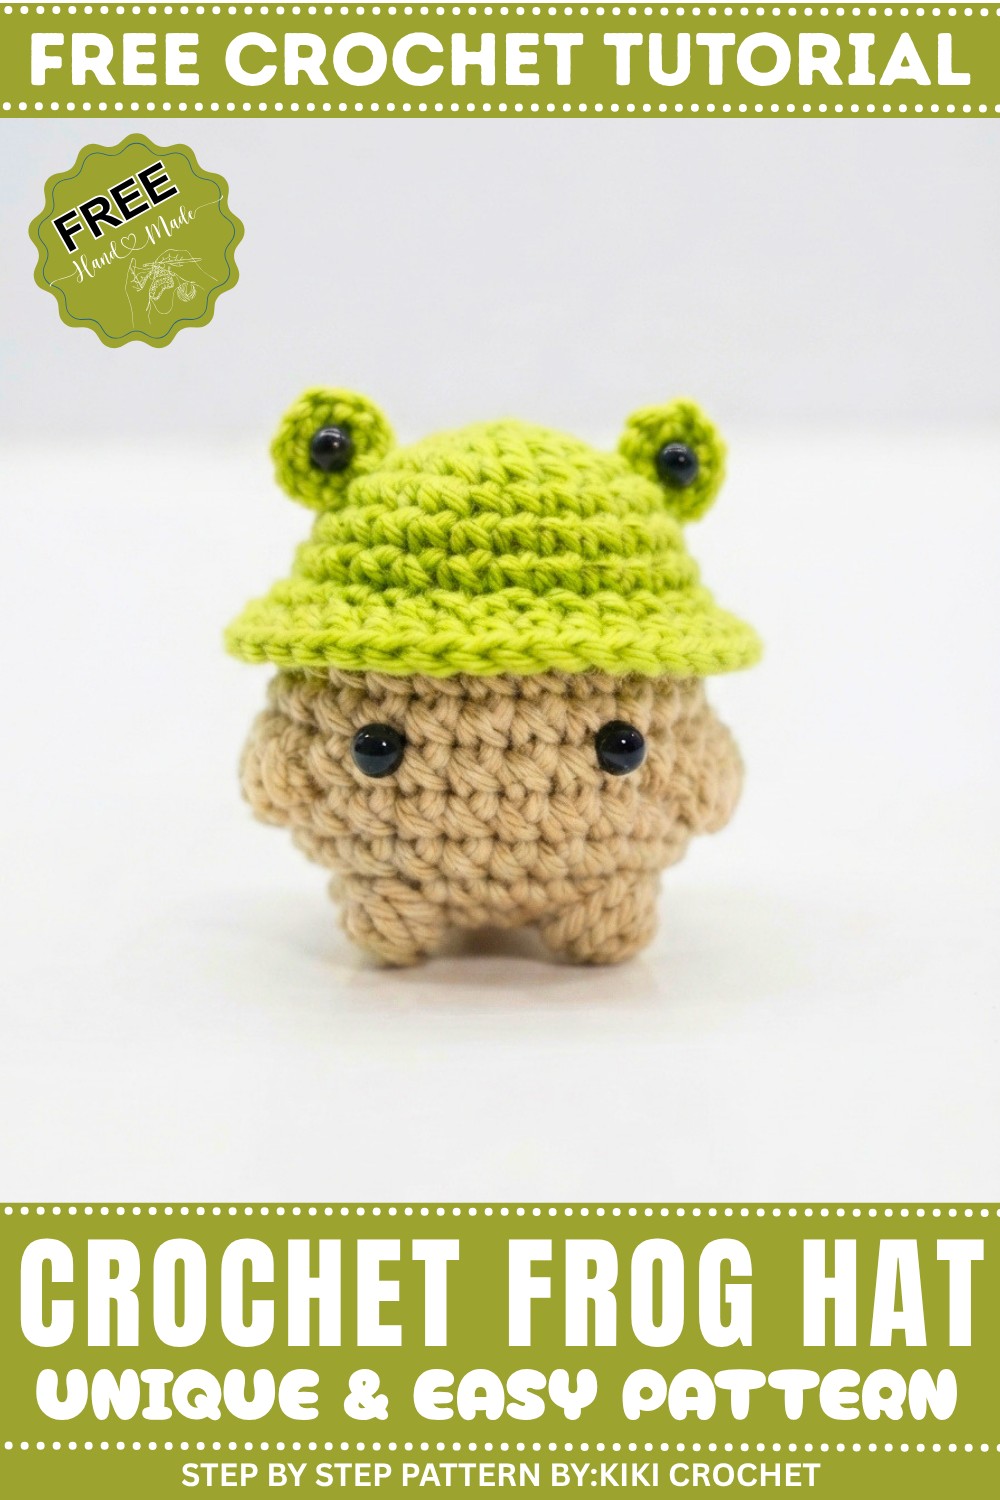
Soft and cozy yarn provides warmth, while the 3D frog eyes add character and fun to this practical accessory. It’s perfect for outdoor play, photo sessions, or as a thoughtful handmade gift that mixes function with adorable style. The repetition of single crochet stitches helps new crocheters build confidence while learning how to adjust stitch counts for shaping. Attaching the eyes with a sewing needle and some glue adds a finishing touch that brings the whole look to life.
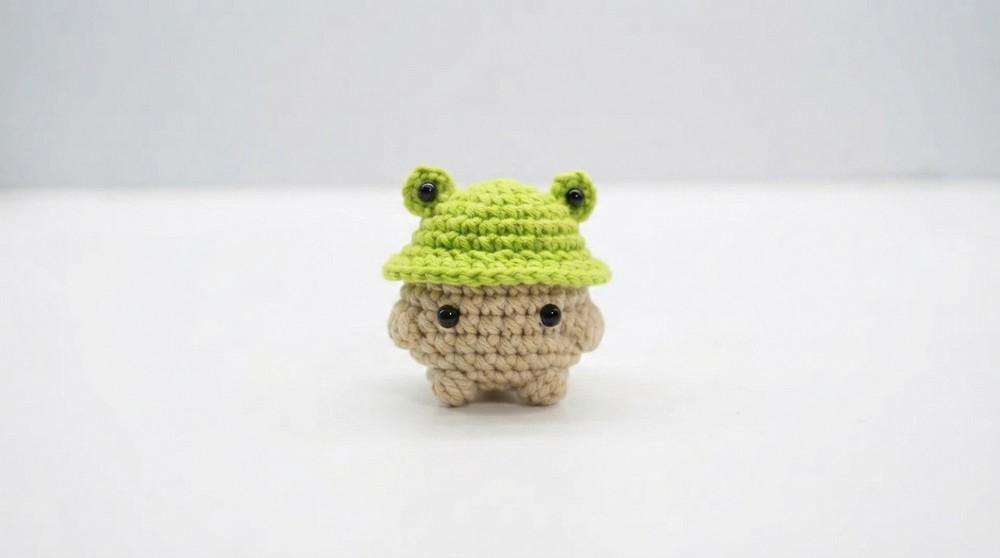
Crochet Mushroom Pattern
This delightful crochet mushroom is a versatile project that works as a fun decorative piece or part of a whimsical collection. Whether you customize colors for a bold look or stick to classic earthy tones, this pattern is a great addition to your handmade crochets collection. This pattern is beginner-friendly and requires minimal tools, yet it offers versatility for intermediate crocheters who want to explore color changes or assembly techniques.
Uses of This Pattern:
- Decorative Item: Perfect for decorating desks or shelves with a playful and woodland theme.
- Gift Idea: A thoughtful handmade gift for friends and family.
- Amigurumi Projects: Combine it with crochet animals to create adorable scenes.
Skill Level & Terminology
Skill Level: Beginner to Intermediate
Terminology: US Crochet Terms
Materials & Tools
- Yarn: Cotton yarn in green (hat), brown or white (body), and blue for decorations.
- Hook: 2.5 mm crochet hook.
- Other Tools:
- Scissors
- Wool sewing needle
- Animal eyes (optional, 5 mm size)
- Fiber stuffing
- Hot glue
Gauge
Gauge is not critical for this project. Keep your stitch tension consistent to achieve a neat and well-proportioned mushroom.
Abbreviations
- MR: Magic Ring
- CH: Chain
- SC: Single Crochet
- SLST: Slip Stitch
- DEC: Decrease (combine two stitches into one)
- FL: Front Loop
Special Stitch Instructions
- Magic Ring: Wrap the yarn to form a loop, insert the hook, and bring up a loop to begin crocheting into it.
- Decrease (DEC): Insert the hook into the front loop of the first stitch, then into the front loop of the second stitch. Yarn over, pull through both loops, yarn over again, and pull through the final two loops.
- Front Loop Only (FL): Insert the hook into the front loop of the stitch instead of both loops to create texture.
Finished Size
The completed mushroom measures approximately 7-8 cm in height and 5 cm in width, depending on yarn and stitch tension.
What You’ll Learn
- Magic Ring Mastery: The base of circular designs.
- How to Create Texture: Techniques like puff stitches and FL-only stitches.
- Assembling Amigurumi: Combining base pieces into a single cohesive design.
Crochet Mushroom Pattern
Part 1: Mushroom Hat
- Start with a Magic Ring:
- Make a magic ring and secure it with a pin.
- Crochet 6 SC into the ring.
- Increase Stitches:
- Row 2: Work 2 SC into each stitch (12 stitches total).
- Row 3: [Cluster] Crochet 1 SC into the first stitch, 2 SC into the next stitch, and repeat (18 stitches total).
- Row 4: [Cluster] Crochet 1 SC into the first two stitches, 2 SC into the next stitch, and repeat (24 stitches total).
- Maintain Shape:
- Rows 5-6: Crochet 1 SC into each stitch (24 stitches per row).
- Flip and Curve:
- Turn the hat so that the textured side (marked with X-shaped stitches) faces outward. Keep working SC to continue shaping.
- Add Surface Texture:
- Row 7: Work FL only stitches. Crochet 1 SC into each stitch, alternating groups of single and double stitches for texture.
- Smooth Edges:
- Row 8: Return to normal stitch placement (working both loops) and crochet alternating SC clusters to blend the texture and widen.
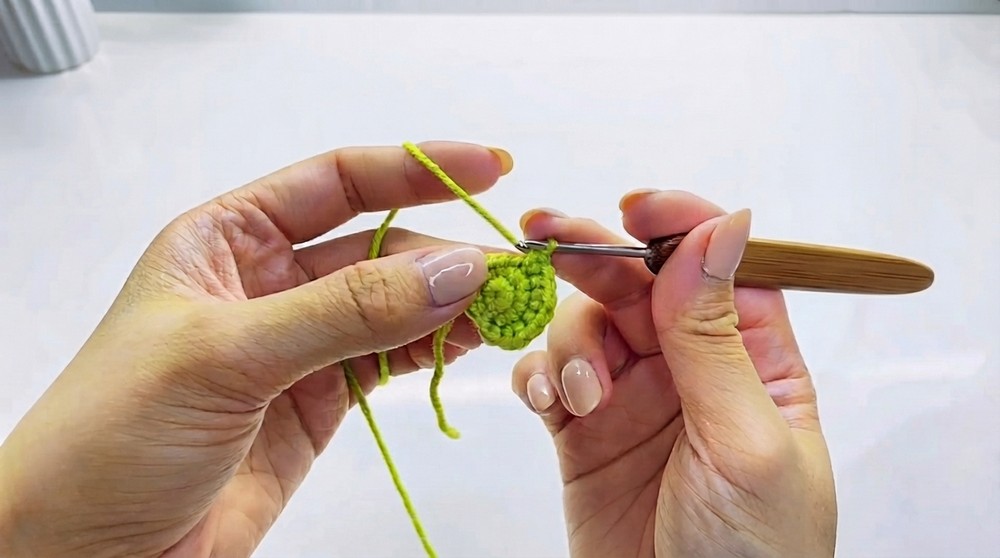
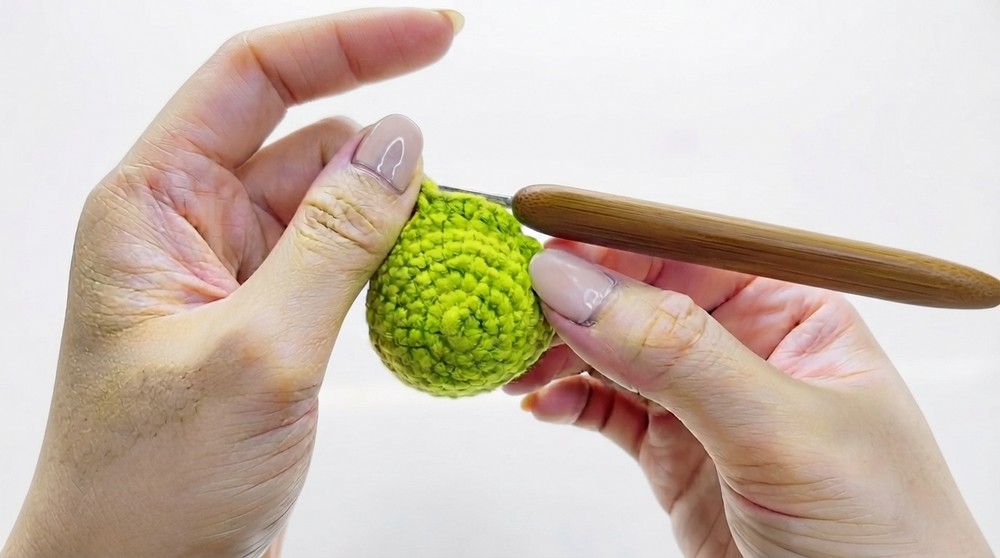
Beginner Tip: Flipping the hat correctly guarantees a clean texture on the outside for a polished look.
Part 2: Mushroom Body
- Define Body Shape:
- Insert your hook into the remaining back loops from Row 7. Crochet 1 SC in every stitch around (24 stitches total).
- Build Height:
- Rows 9-11: Crochet 1 SC into each stitch (24 stitches per row).
- Shape the Base:
- Row 12: Crochet 7 SC into the first stitches, then create a puff stitch pattern as follows:
- Puff Stitch: Yarn over, insert hook into the next stitch, pull through yarn, repeat 5 times in the same stitch. Pull yarn through all loops for a rounded puff.
- Repeat puff stitches evenly across the row. Crochet SC between clusters for balance.
- Row 12: Crochet 7 SC into the first stitches, then create a puff stitch pattern as follows:
- Finish and Stuff:
- Rows 13-14: Crochet regular SC stitches while maintaining puff placement. Stuff the body evenly with cotton filling before closing with a finishing stitch.
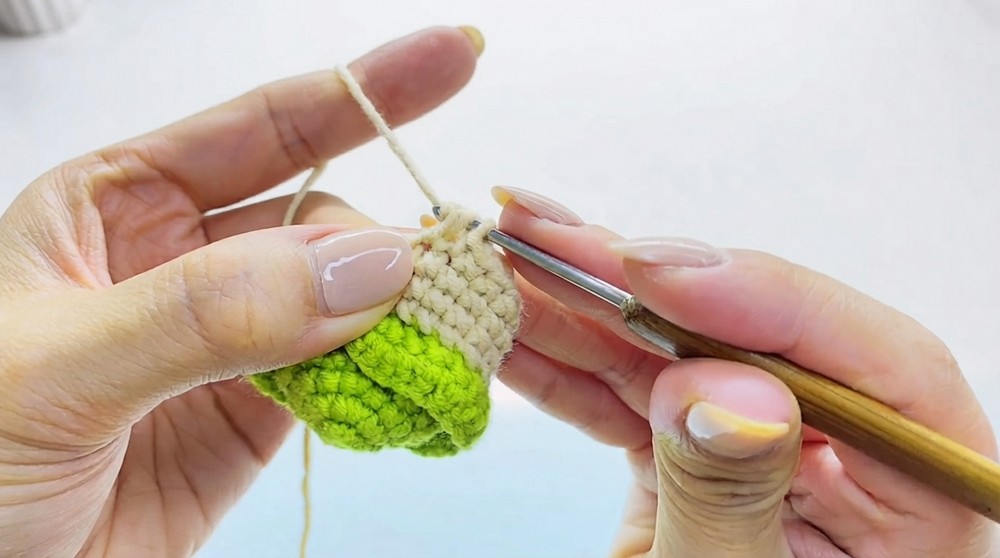
Beginner Tip: Puff stitches add playful texture to the body. Push the stitch outward for dimension.
Part 3: Mushroom Decorations
Crochet Ears
- Start with a Magic Ring:
- Make a magic ring. Crochet 6 SC into the ring.
- Finish Shape:
- Cut yarn without tying off. Leave a tail for sewing.
- Place Ear:
- Attach ears symmetrically to the hat with hot glue or sewing needle.
Add Eyes
- Use animal eyes (optional) for a finishing touch. Secure placement with hot glue or sew into position with thread.
Assembly & Finishing
- Sewing Parts Together:
- Attach the hat to the body by sewing the FL from Row 7 to Row 9 of the body for reinforcement.
- Adjustments:
- Use hot glue for embellishments and to secure animal eyes or additional details.
- Stuffing:
- Ensure both the hat and body are evenly stuffed before final stitching.


Troubleshooting and Solutions
Common Challenges
Problem: Uneven puff stitches breaking symmetry.
Solution: Count carefully when inserting loops into the stitch and use stitch markers for positioning.
Problem: Gaps between sewn body and hat.
Solution: Use FL-only stitches to create tight seams and secure edges.
Final Thoughts
This crochet mushroom pattern is easy to follow yet rich in detail, making it enjoyable for crocheters of any skill level. The playful puff stitches and customizable colors allow endless creativity, while the clean shape encourages experimentation with accessories.
Why I Love This Pattern:
I love how the mushroom’s shape comes together, creating a charming result from simple techniques. Its versatility lets me experiment with colors and add creative details like ears or patterns to the hat!
Leave a Reply