
Here’s an easier guide for creating a cozy retreat for your small, furry friend. This DIY dog house project is not just about assembling wood and nails; it’s about constructing a loving home that reflects the bond between you and your pet. Through making this dog house, you get to add personal touches that make it unique, just like your canine companion. So, let’s gather our materials, and get started on crafting a snug heaven for your pup!
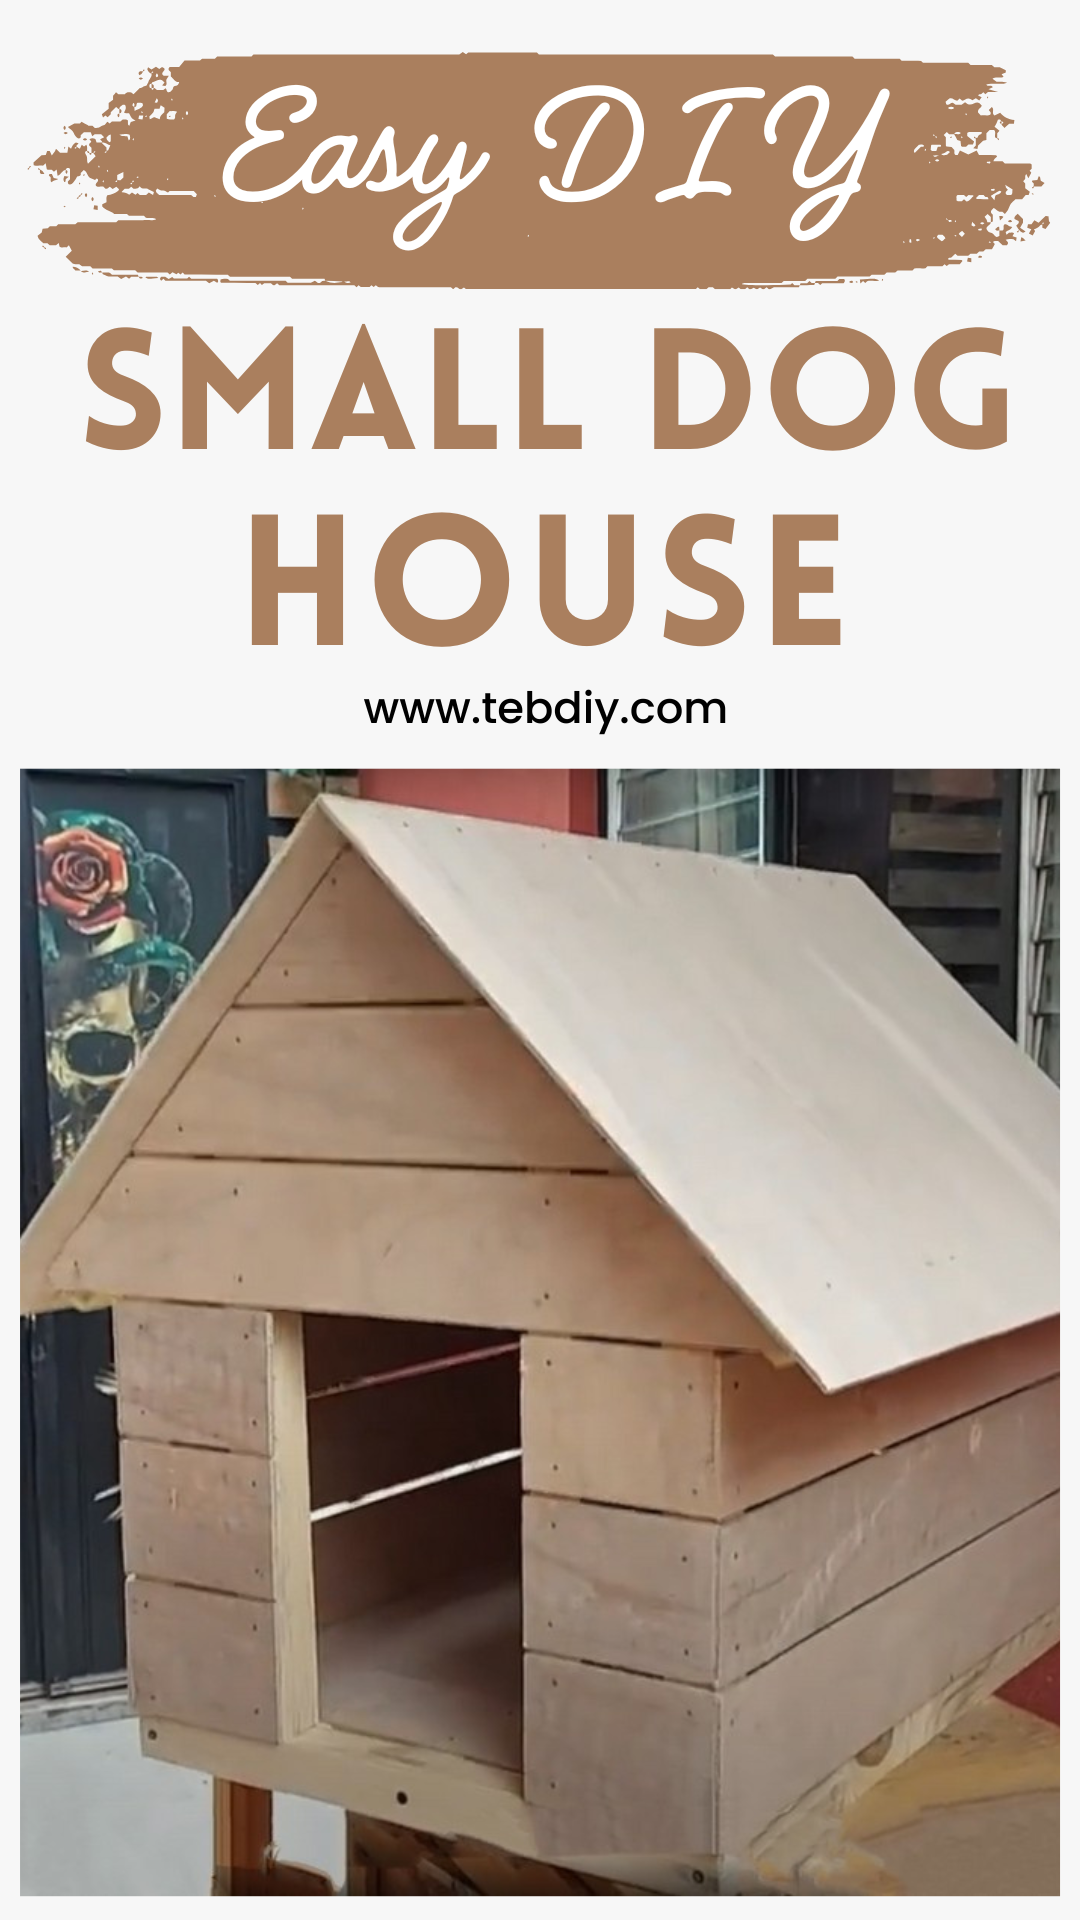
How To Build A Small Dog House

Materials Needed
- Lumber (with specific cuts and measurements)
- 1 2″ x 2″ lumber cut at 45°, 15.13″ length
- 3 2″ x 2″ lumbers, 3.75″ length each
- 1 2″ x 2″ lumber, 19.75″ length
- 5 2″ x 2″ lumbers cut at 45°, 5.63″ length each
- 1 2″ x 2″ lumber, 26.25″ length
- 1 1″ x 4″ lumber with 2 cuts at 45°, 8.5″ length
- 2 1″ x 4″ lumbers with 2 cuts at 45°, 12.75″ length each
- 2 1″ x 4″ lumbers with 2 cuts at 45°, 17″ length each
- 1 2″ x 2″ lumber, 9.5″ length
- 6 1″ x 4″ lumbers, 5″ length each
- 2 2″ x 2″ lumbers, 23.5″ length each
- 1 2″ x 2″ lumber, 1.25″ length
- 1 2″ x 2″ lumber, 16.5″ length
- 6 1″ x 4″ lumbers, 26.25″ length each
- 3 1″ x 4″ lumbers, 20.75″ length each
- 1 1″ x 4″ lumber with 2 cuts at 45°, 8.75″ length
- 5 1″ x 10″ lumbers, 17.75″ length each
- 1 1″ x 10″ lumber, 2.25″ length
- 4 1″ x 4″ lumbers, 23.5″ length each
Tools Used
The specific tools to be used are not listed, but generally, to undertake a woodworking project like this, you might need:
- Saw (hand saw or power saw)
- Hammer
- Nails and/or screws
- Measuring tape
- Square
- Level
- Drill (if using screws)
Building The Small Dog House
Constructing the Main Frame
Initiating our project, the focal point is the structure — the framework that upholds the entire house. Begin by piecing together the main frame using the two 23.5-inch and two 20-inch 2×2 lumber pieces. This will form the base and sides. Following that, connect your angled 2x2s, cut at 45° and measuring 15.13 inches, at the corners providing a sturdy foundation.
Erecting the Roofline and Entrance Framework
Advance to the second phase by addressing two essential sections:
Roof Framework: To craft the angled roofline, arrange and secure the four 16.25-inch 2x2s along with the diagonal corners of the frame. This creates the skeleton for your slanting roof. Incorporate the 26.5-inch 2×2 across the center for added support.
Front Entrance Framework: For the entryway, neatly align and fasten the two 18.88-inch 2x2s that have been cut at a 45° angle, alongside the 9.5-inch 2×2 piece to form a rectangular shape. Position this on the façade, ensuring it is evenly placed and secure.

Applying the Floor and Roof Sheathing
Now, ready your floor and roof materials:
Floor: Fix the 23.5-inch 1x4s onto the lowermost section of the frame, securing them to build the base.
Roof: Follow that by shingling the 19-inch and 18-inch 1×10 lumber pieces on the slanted roof framework, ensuring an overlapping pattern to maintain water-tightness (large pieces over small pieces).
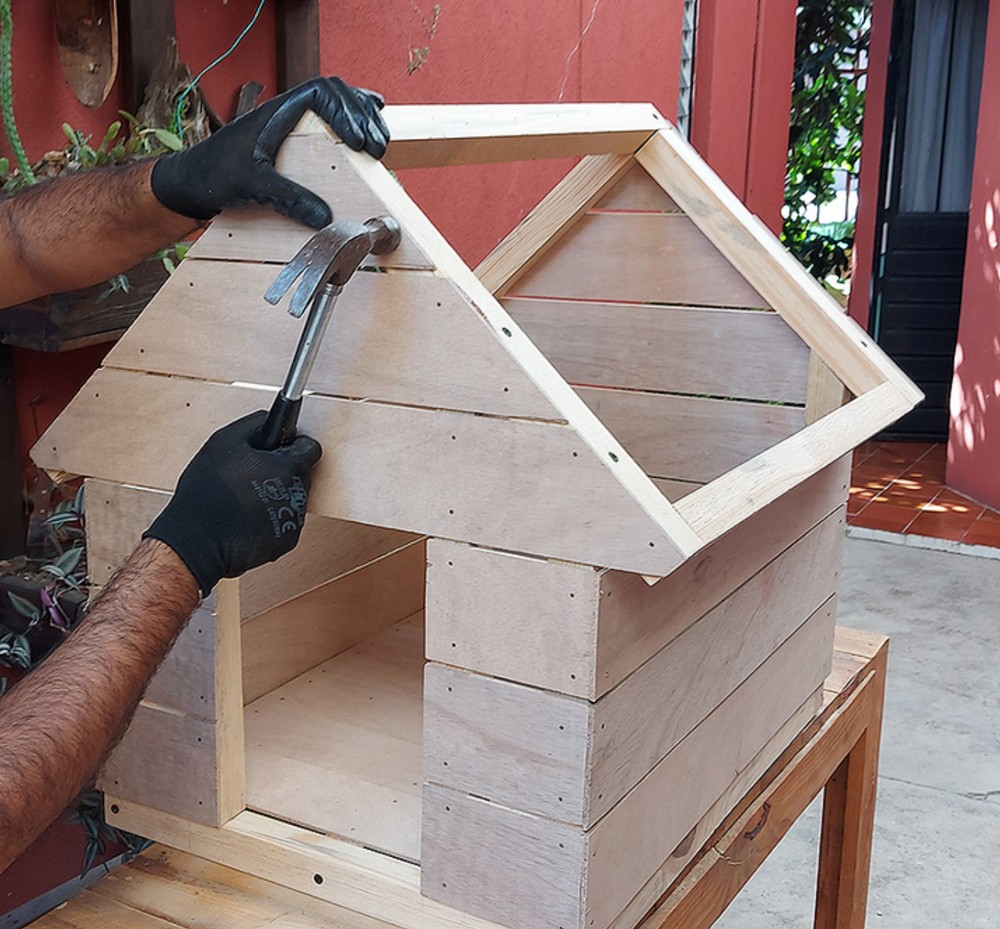
Adding the Walls and Final Touches
The finishing steps involve dressing the skeleton of your doghouse with walls and additional elements:
Front and Top Parts: Place six 5.25-inch 1×4 profiles at the front end. For the top part, use the profiles with 45-degree cuts according to the model provided by Craftyamigo for detailed angles and lengths.
Sides: Attach the 27.5-inch profiles along the sides, providing lateral stability to the construction.
Back Part: Secure the 22-inch profiles on the back portion, followed by clipping the profiles with 45-degree cuts to cap off the rear structure.
Personalization
Your dog house is structurally complete! You can now add any personal touches you like such as paint, trim, or decorations.
By adhering to these clear-cut steps, you’ve not only constructed a functional refuge for your dog but also infused it with the warmth and comfort of a true home. Congratulations on a job well done!

Leave a Reply