
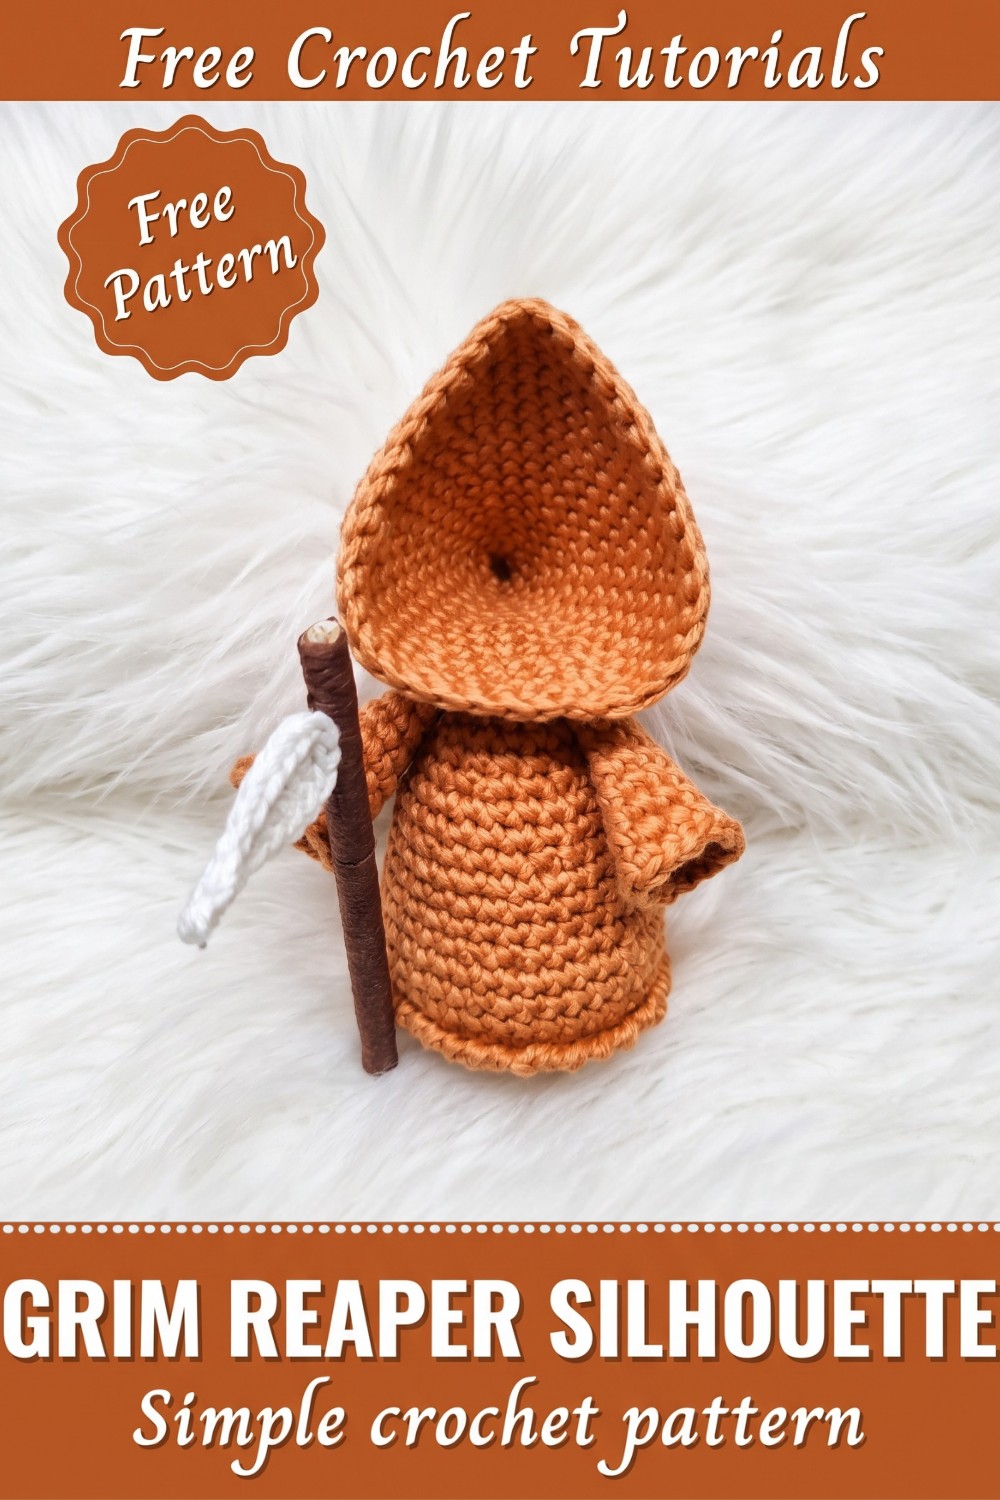
Haunt your space with Free crochet Grim Reaper Silhouette Pattern, making unique designs that bring a eerie, & creative touch to any project.
If you are anything like me you probably love looking at crochet projects. It is always fun to find something different especially when it is related to the season or something you can wear. I found this Free Crochet Grim Reaper Silhouette Pattern. I really liked it. This pattern is not just for something to do at Halloween you can use it to make all sorts of things like wall hangings or decorations for your blankets. You can even use it to make patches for your bags or hats. This is a cool thing that you can use to make a lot of different things.
What I like about this crochet Grim Reaper silhouette is the way it looks. The pattern is simple. It is also very bold. It is flat. It also has some texture to it which makes it look really good. The lines are smooth. The inside is filled in so it looks very neat and tidy. You can use it on its own or as part of a decoration. The way it is made with crochet stitches makes it look very elegant. The dark color that is used in the pattern makes it look mysterious and spooky which is great for Halloween.
Chilling Crochet Grim Reaper Silhouette Pattern To Hang
This project is good for people who have been crocheting for a while because it uses the single crochet stitch a lot. You also have to work in rounds or rows which can be a little tricky.. If you are comfortable with the basics you should be able to do it. The pattern is also very repetitive which makes it easy to follow. It is great for practicing your stitches.
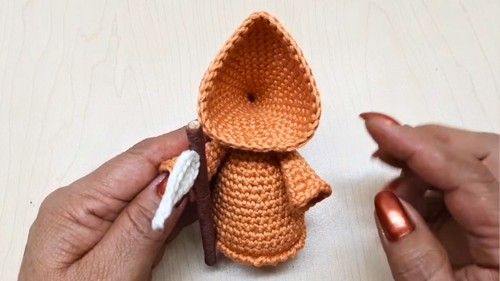
I think this project would make a gift for someone who likes unique things or spooky stuff. You can also use it as a decoration for your house. If you like making things that’re a little bit challenging but also very creative you should try this crochet Grim Reaper silhouette. The Free Crochet Grim Reaper Silhouette Pattern is really fun to make. You can use it to make a lot of different things like the crochet Grim Reaper silhouette, which is a great decoration, for Halloween.
Grim Reaper Amigurumi Crochet Pattern: Halloween Edition
Welcome to a detailed step-by-step crochet pattern to create a charming Grim Reaper amigurumi, perfect for Halloween decoration or gifting. This pattern guides you through crocheting the body, hood, sleeves, and scythe, finishing up with assembly instructions to bring your amigurumi to life. This pattern will help you crochet a 12 cm (about 5 inches) tall Grim Reaper amigurumi using simple stitches suitable for those familiar with amigurumi basics. The final piece features movable arms and a detailed scythe, making it a fun and rewarding project.
Skill Level & Terminology
- Skill Level: Intermediate Beginner
- Terminology: This pattern uses US crochet terms.
- Stitches Used: Chain (ch), Slip Stitch (sl st), Single Crochet (sc), Increase (inc – 2 sc in one stitch), Decrease (dec – sc2tog), Half Double Crochet (hdc), Crab Stitch (reverse single crochet)
Materials & Tools
- Worsted weight yarn in main color (cinnamon/brown/black/gray) for body and hood
- White or off-white yarn for the scythe
- Crochet hook size 2.5 mm (US B1)
- Fiberfill stuffing
- Stitch markers
- Yarn needle
- Small 9 cm wooden stick for scythe handle
- Liquid silicone or glue
- Scissors
- Bottle cap (or cardboard circle) as a base stiffener
Gauge
This amigurumi is worked in single crochet rounds, gauge is not strict. But ideally:
- 12 cm height when following the stitch count exactly with 2.5 mm hook and the chosen yarn thickness.
Abbreviations List
| Abbreviation | Stitches | Description |
|---|---|---|
| ch | Chain | Yarn over and pull through the loop |
| sl st | Slip Stitch | Insert hook, yarn over and pull through both loops |
| sc | Single Crochet | Insert hook, yarn over, pull through stitch, yarn over, pull through both loops |
| inc | Increase | 2 single crochets in the same stitch |
| dec | Decrease (sc2tog) | Single crochet two stitches together |
| hdc | Half Double Crochet | Yarn over, insert hook, yarn over, pull through stitch, yarn over, pull through all loops |
| crab st | Crab Stitch (reverse sc) | Single crochet made working backward around the stitch |
Special Stitch Instructions
- Magic Ring: Start your crochet rounds by making a magic ring to tightly close the starting hole.
- Crab Stitch: Crochet single crochets working from left to right (reverse of normal) to create a decorative edge.
Finished Size
- Approximately 12 cm tall (without scythe)
- Scythe handle measures about 9 cm
The Pattern
BODY
Starting with cinnamon (or your desired main color):
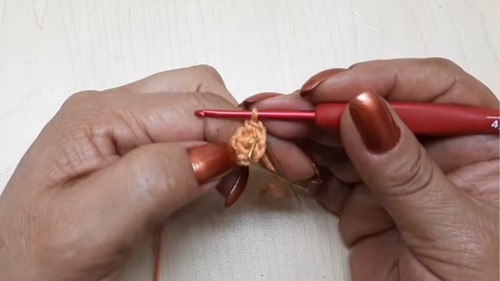
- Magic Ring: Ch 6, join with sl st to first ch to form a ring.
- Round 1: 6 sc in the ring, close with sl st (6 sts).
- Round 2: inc in each stitch around (12 sts total).
- Round 3: sc 1, inc repeat around (18 sts).
- Round 4: sc 2, inc repeat around (24 sts).
- Round 5: sc 3, inc repeat around (30 sts).
- Round 6: sc 4, inc repeat around (36 sts).
- Round 7: sc around in back loops only (36 sts).
- Rounds 8–10: sc around, full stitches (36 sts each).
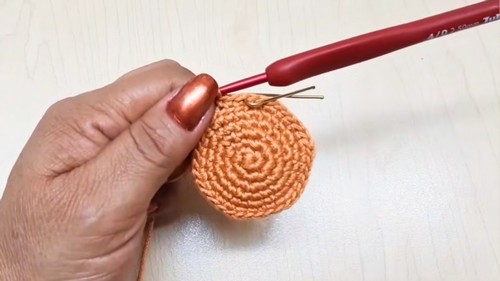
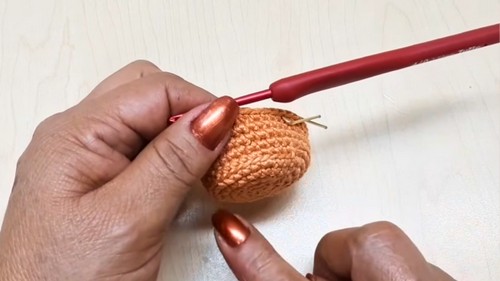
Place a stiffener: Cut a circle from a water bottle cap and glue it to the bottom inside of the body to help it stand flat.
- Round 11: sc 4, dec repeat around (30 sts).
- Rounds 12–14: sc around (30 sts).
- Round 15: sc 3, dec repeat around (24 sts).
- Rounds 16–17: sc around (24 sts).
- Round 18: sc 2, dec repeat around (18 sts).
- Rounds 19–20: sc around (18 sts).
- Round 21: sc 1, dec repeat around (12 sts).
- Round 22: sc around (12 sts).
- Stuff the body firmly as you go.
- Close the last round and leave a tail for sewing the hood.
Summary: You have crocheted a cone-shaped body, finishing smaller on top with back loops detail for structure.
HOOD
- Magic Ring: Ch 6, join with sl st to form a ring.
- Rounds 1–3: sc in each stitch around (6 sts).
- Round 4: sc 1, inc around (9 sts).
- Round 5: sc 2, inc around (12 sts).
- Round 6: sc around (12 sts).
- Round 7: sc 1, inc around (18 sts).
- Round 8: sc around (18 sts).
- Round 9: sc 2, inc around (24 sts).
- Round 10: sc around (24 sts).
- Round 11: sc 3, inc around (30 sts).
- Round 12: sc around (30 sts).
- Round 13: sc 4, inc around (36 sts).
- Round 14: sc around (36 sts).
- Round 15: sc 5, inc around (42 sts).
- Rounds 16–17: sc around (42 sts).
- Round 18: sc 5, dec around (36 sts).

Close off and leave a tail for sewing.
SLEEVES (Make 2)
- Magic Ring: Ch 6, join with sl st (6 sts).
- Round 2: sc around (6 sts).
- Round 3: sc 1, inc around (9 sts).
- Rounds 4–5: sc around (9 sts).
- Round 6: sc 2, inc around (12 sts).
- Rounds 7–8: sc around (12 sts).
- Round 9: sc 3, inc around (15 sts).
- Round 10: sc 4, inc around (18 sts).
Finish off leaving a tail, insert needle and pull the last stitch closed as shown to shape the sleeve.
SCYTHE
Using white/off-white yarn:
- Ch 9 (skip last ch).
- Sl st in the next chain after skipped one to form base.
- Sc 4 in next stitches.
- Make 2 half double crochets (hdc) in the next two stitches.
- Chain 1, turn along the other side of the chain.
- Make 2 hdc along opposite side of the base chain.
- Increase with 1 hdc stitch.
- Sc 3 around remaining stitches.
- Slip stitch to finish, cut yarn and weave ends.
Prepare the handle: Cut wooden stick to 9 cm; cover the tip with glue and wrap brown yarn tightly to simulate wrapped handle.
Attach stick to scythe with glue and secure once dry.
Assembly & Finishing
- Stuff the body and close off after round 22.
- Attach the hood by sewing horizontal stitches between body and hood to hide seams.
- Sew the sleeves to each side of the body, leaving them movable (only attach to body, not sleeves).
- Attach the wooden stick scythe to one sleeve, securing with a few stitches.
- Use crab stitch along the hood edge for a decorative finish: slip knot, work reverse single crochet around the hood’s edge.
- Weave in and secure all yarn tails.

Final Notes
Your Grim Reaper amigurumi stands about 12 cm tall and features a detailed hood, sleeves, and a whimsical scythe with a wrapped handle. The arms can be attached to move for playful posing.
This pattern balances ease and detail, making it perfect for cozy Halloween crafting and gifting!
Summary for Non-Pattern Readers
- Start by crocheting a small body from bottom to top using increases and decreases to get the shape.
- Crochet a matching hood, working in rounds with increases to shape the head covering.
- Make two small sleeves shaped by increases and decreases, leaving them movable.
- Crochet a scythe separately with white yarn, then wrap a stick as the handle and glue them together.
- Sew all parts carefully, using special stitches to hide seams and add decoration.
- Stuff the body and sleeves as you go to give it shape and firmness.
Leave a Reply