
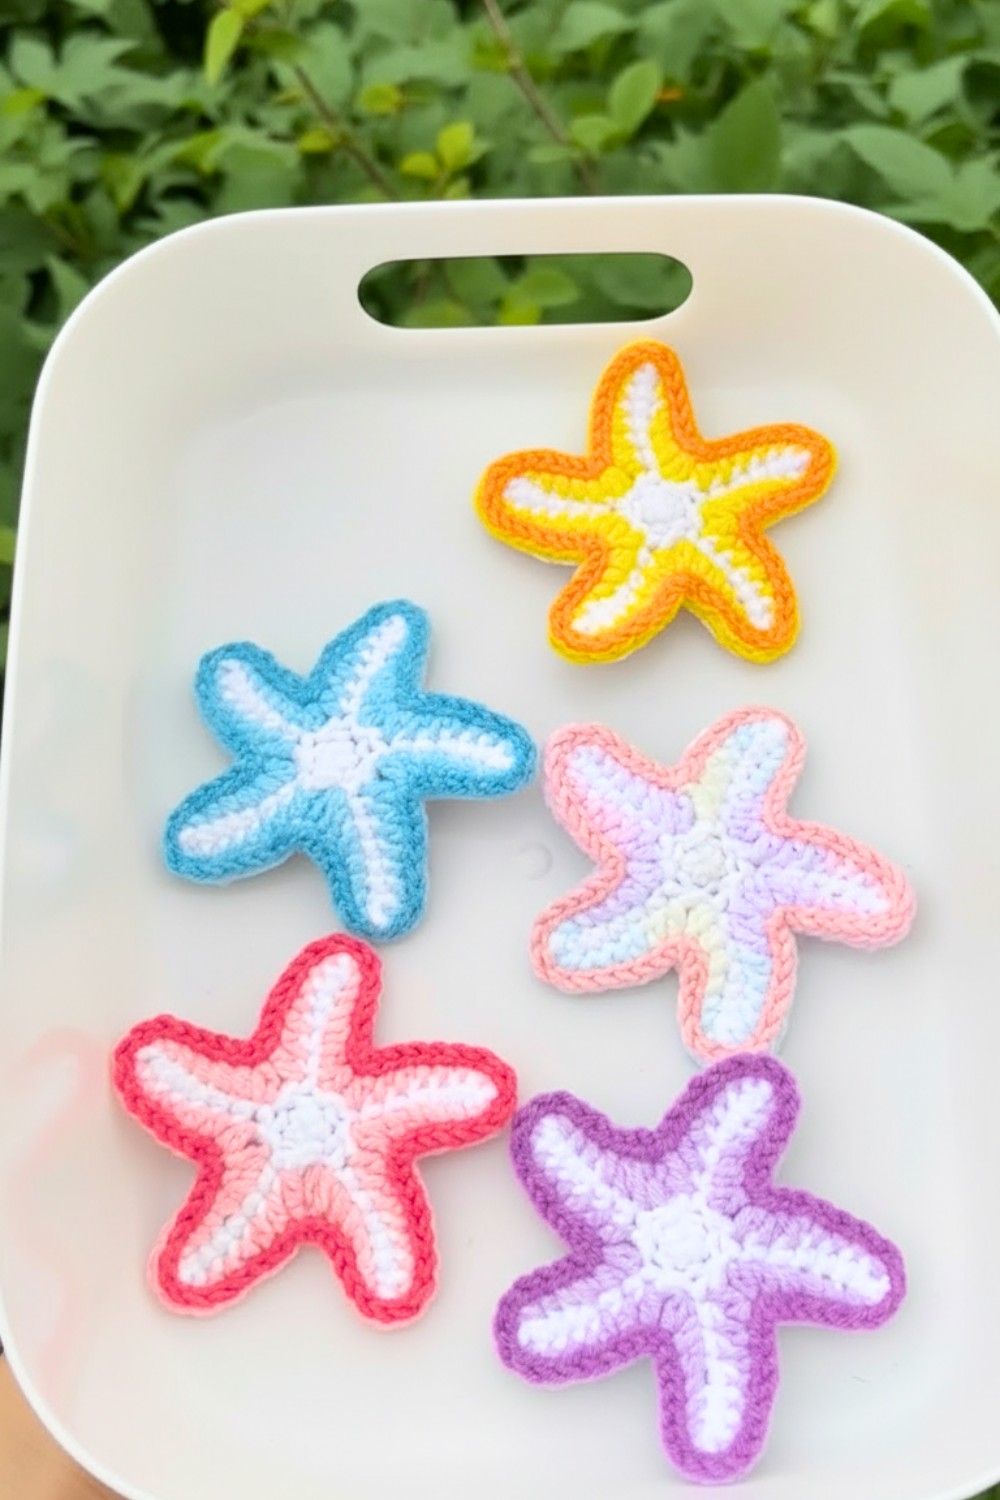
Add sparkle to your style with a charming crochet starfish hair clip pattern that’s easy, cute, and perfect for beachy, fun-loving hair looks everywhere.
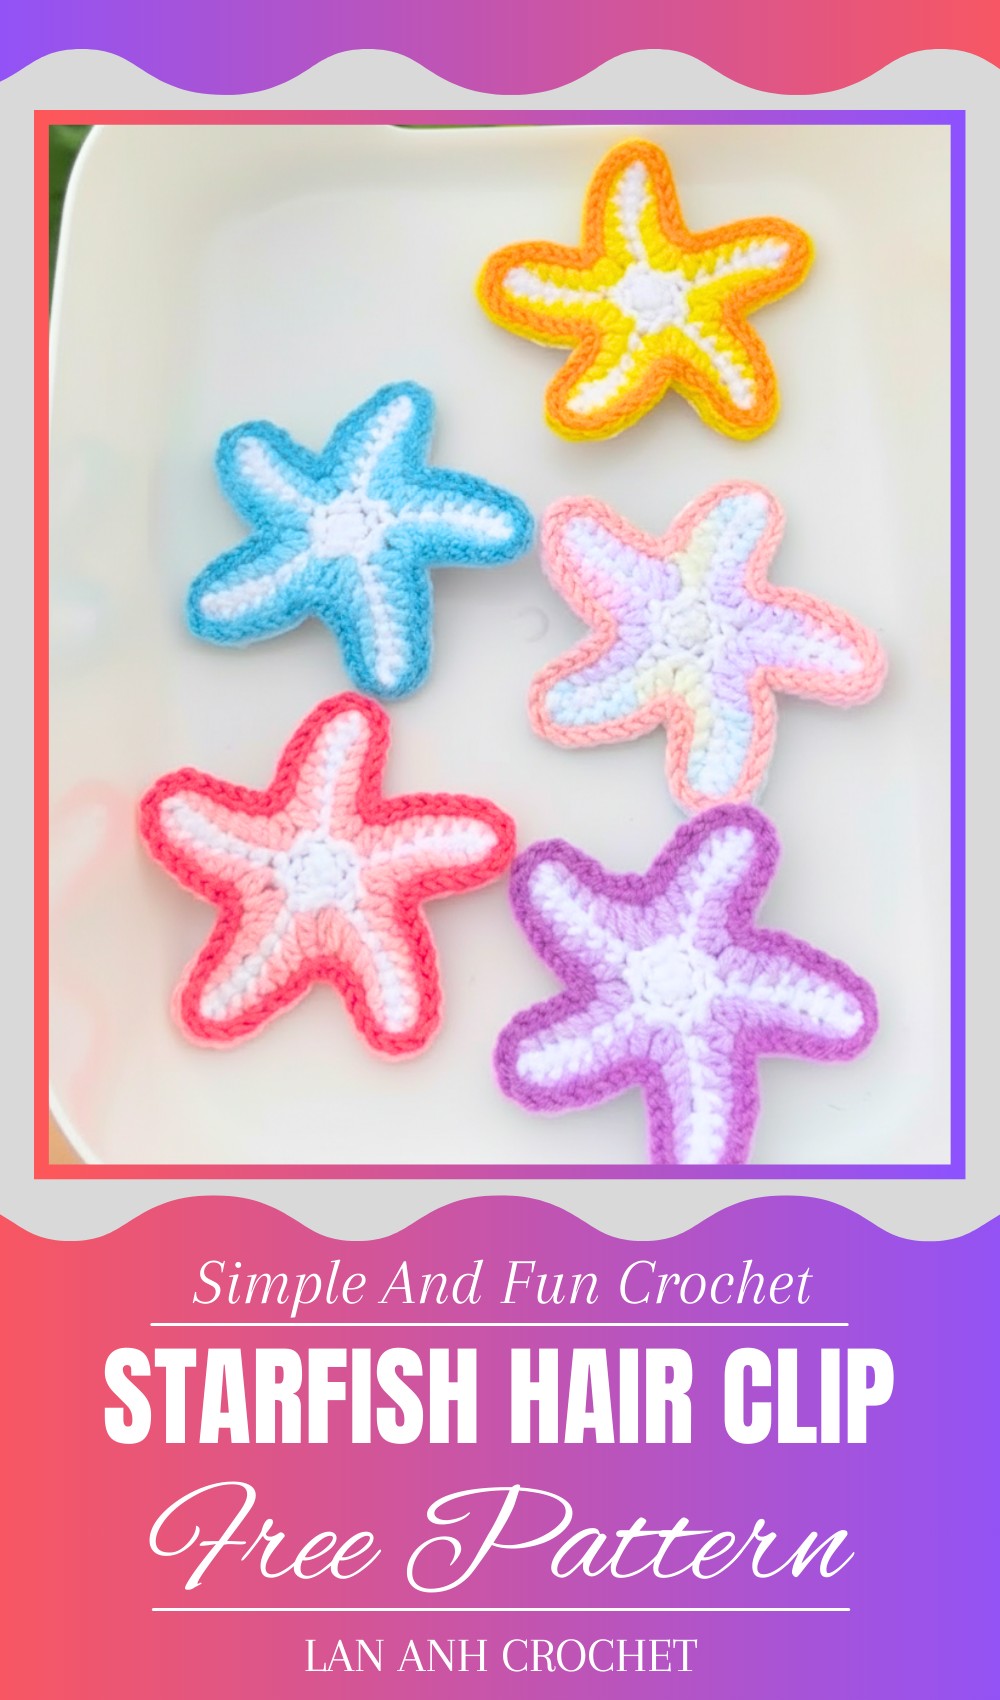
Crochet Starfish Hair Clip Pattern for a Unique Look
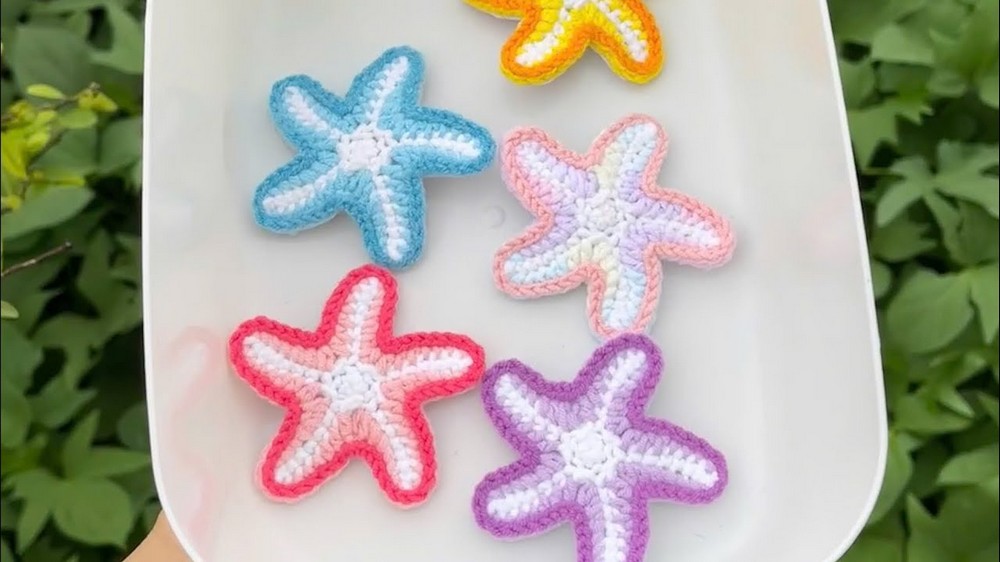
Tiny treasure from the ocean resting gently in your hair, sparkling with handmade charm. This is what a crochet starfish hair clip brings—a perfect blend of beauty and fun. Crafted with soft yarn, the starfish design adds a touch of seaside magic to any hairstyle. The crochet starfish hair clip pattern creates a colorful and textured accessory that’s light and comfortable to wear. It can brighten up your look, whether you’re going to a party, the beach, or just a casual day out.
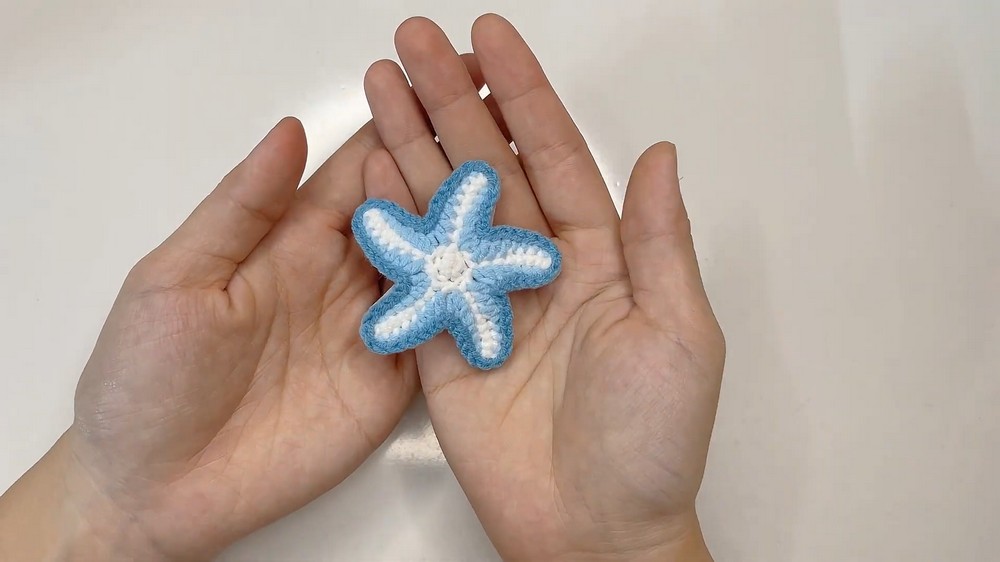
Its little arms spread out in a charming way, catching the eye and making your hair special. Beyond being pretty, this hair clip also holds your hair neatly, adding both style and convenience. With its handmade appeal, the crochet starfish hair clip pattern turns everyday hair into a delightful statement full of ocean-inspired beauty.
Crochet Starfish Hair Clip Pattern
Materials
- Baby yarn (white and colored yarns)
- Felt fabric (for backing, approx. 6 cm)
- 6 beads (for decoration)
- Teardrop metal clip (approx. 5 cm)
- Crochet hook (compatible with yarn size)
- Sewing needle
- Hot glue gun and glue sticks
- Scissors
Difficulty Level
Beginner to intermediate: Requires magic circle, single crochet (sc), chain stitches, half double crochet (hdc), slip stitches (sl st), yarn cutting, and basic crafting skills to attach clip.
Step-by-Step Pattern
Part 1: Crocheting the Starfish Base
Step 1: Magic Circle Foundation
- Use white baby yarn.
- Create a magic circle.
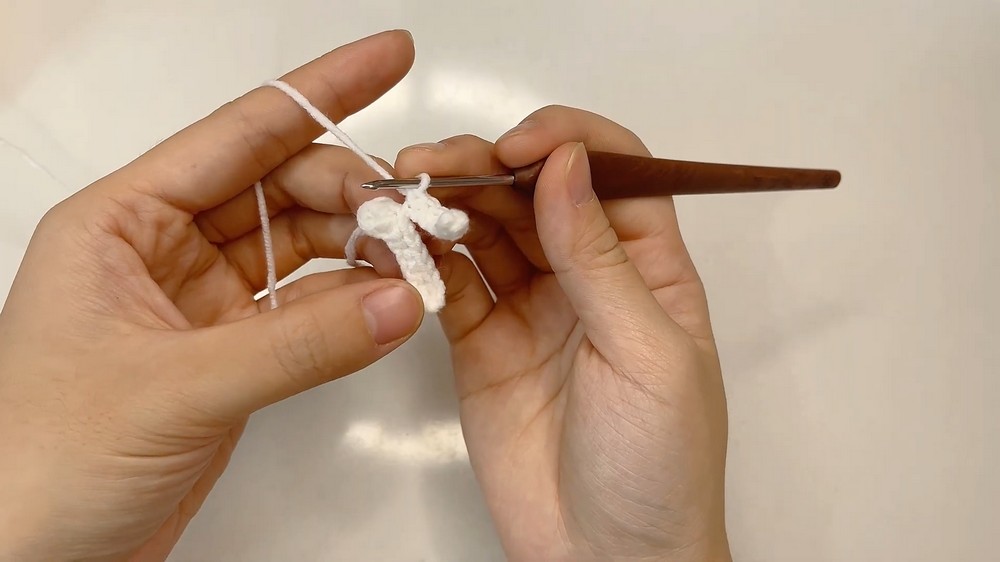
Step 2: Round 1 – Single Crochet in Circle
- Crochet 5 single crochet stitches (sc) into the magic circle.
- Pull circle tight.
Step 3: Round 2 – Increasing Stitches
- Chain 8 stitches to form the base of the first wing of the star.
- Skip the first chain and single crochet (sc) in the second chain from hook.
- Crochet 6 single crochet stitches in the remaining chain stitches to complete the wing.
- Slip stitch to close the wing at the base.
Step 4: Repeat for All Five Wings
- Repeat the process of chaining 8, then crocheting 7 sc (skipping first chain), attaching each wing to the star’s center.
- Slip stitch between wings to join neatly.
- Continue until you have 5 wings.
Step 5: Fasten off
- Cut yarn leaving some length for weaving in.
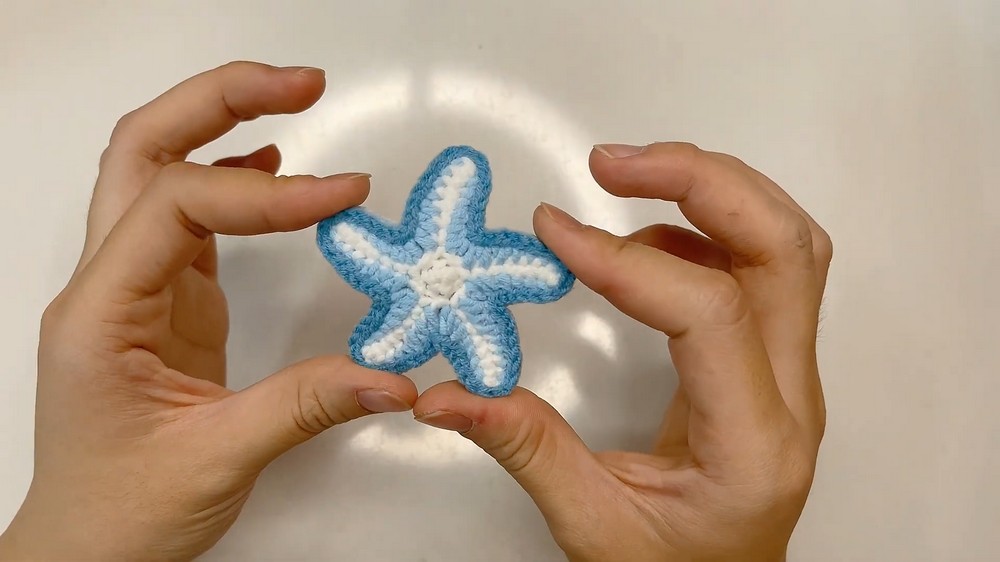
Part 2: Outline Stitching on the Starfish
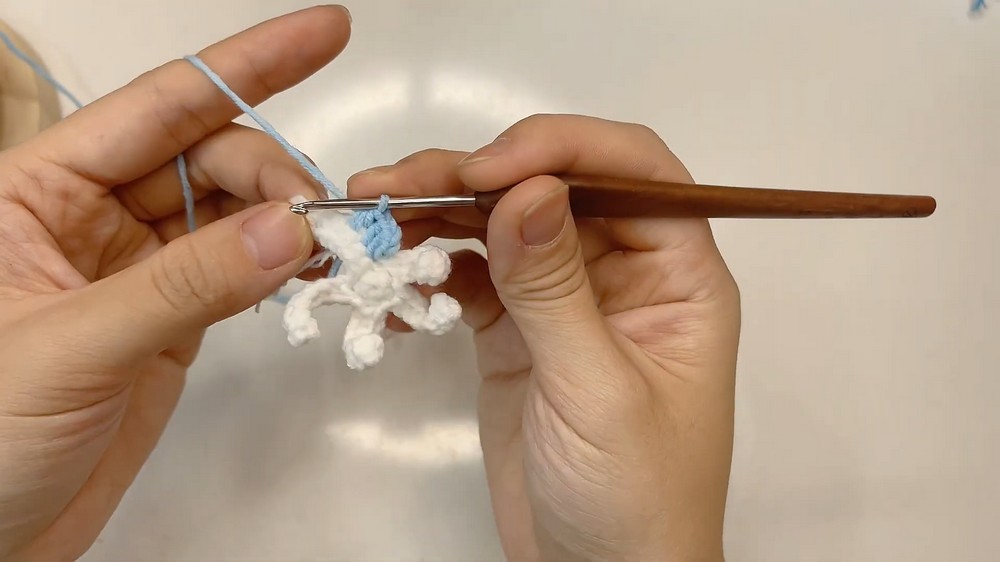
Step 6: Attach Contrasting Yarn
- Take a darker colored yarn (e.g., blue).
- Insert needle into a stitch on the star base near a wing.

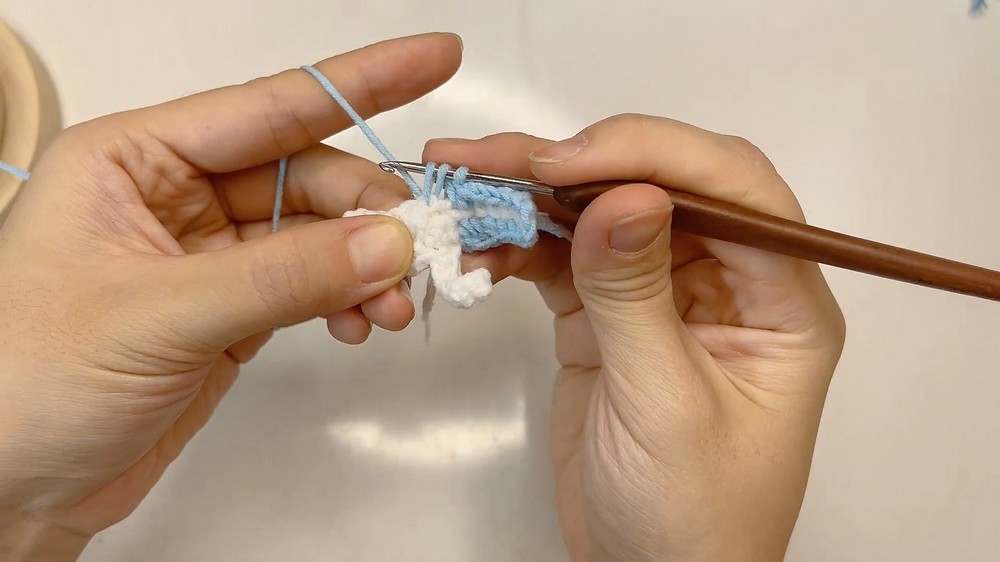
Step 7: Slip Stitch Outline
- Work slip stitches along edges of the star’s wings to define the shape.
- Carefully follow edges, slip stitching tangentially along the perimeter.
- Be careful not to distort the star shape.
Step 8: Finish Outline
- Pull yarn through, weave ends at back, and leave tail for attachment.
Part 3: Creating the “Nose” Embellishment
Step 9: Crochet the Nose
- Thread yarn to the star’s center – the “nose.”
- Use a needle to weave yarn through center loops to form a neat circle simulating a starfish nose.
- Weave and tuck ends securely.
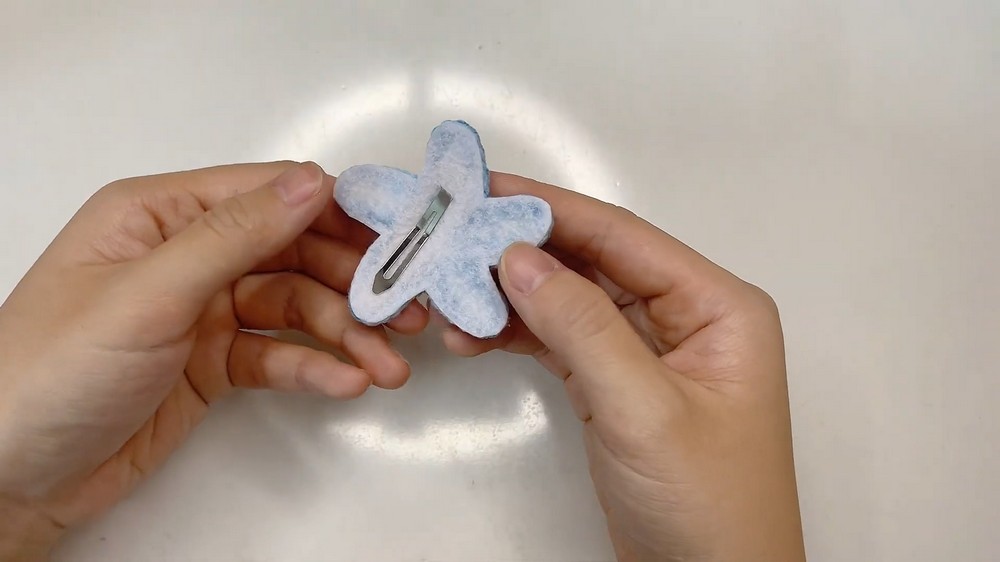
Part 4: Assembling the Felt Backing and Attach Clip
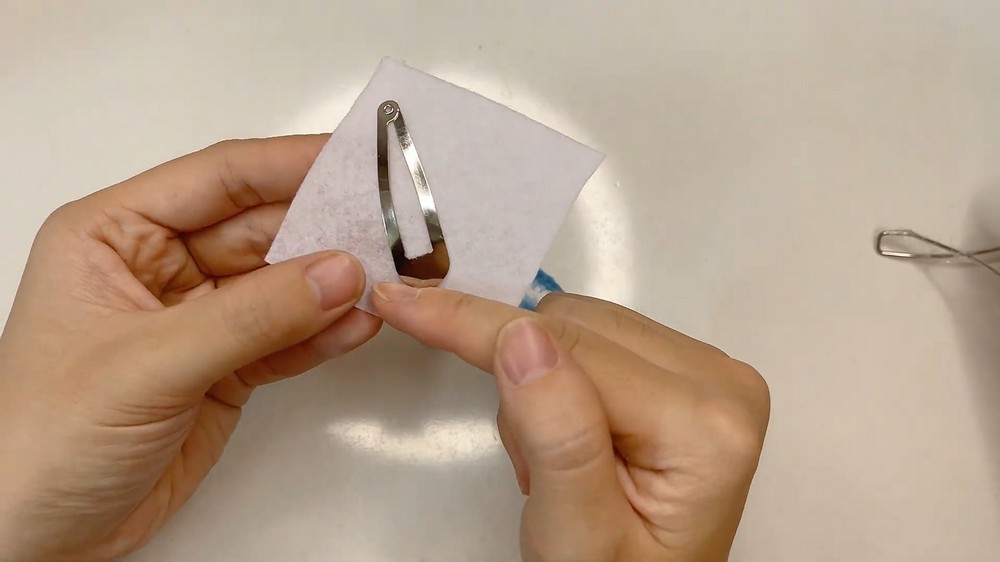
Step 10: Cut Felt Base
- Cut a felt fabric piece approximately 6 cm in size to back the starfish shape.
Step 11: Glue Clip to Felt
- Insert the teardrop clip into the felt piece, positioning it for good grip.
- Secure clip with hot glue carefully.
Step 12: Attach Starfish to Felt Backing
- Use hot glue on the felt surface.
- Press crocheted starfish onto felt, adjusting placement for neatness.
- Hold firmly until glue sets.
Part 5: Final Touches
Step 13: Secure and Trim
- Cut excess yarn tails close to the project.
- Use a needle to weave in any visible threads.
- Add beads if desired for decoration using needle and thread or glue.
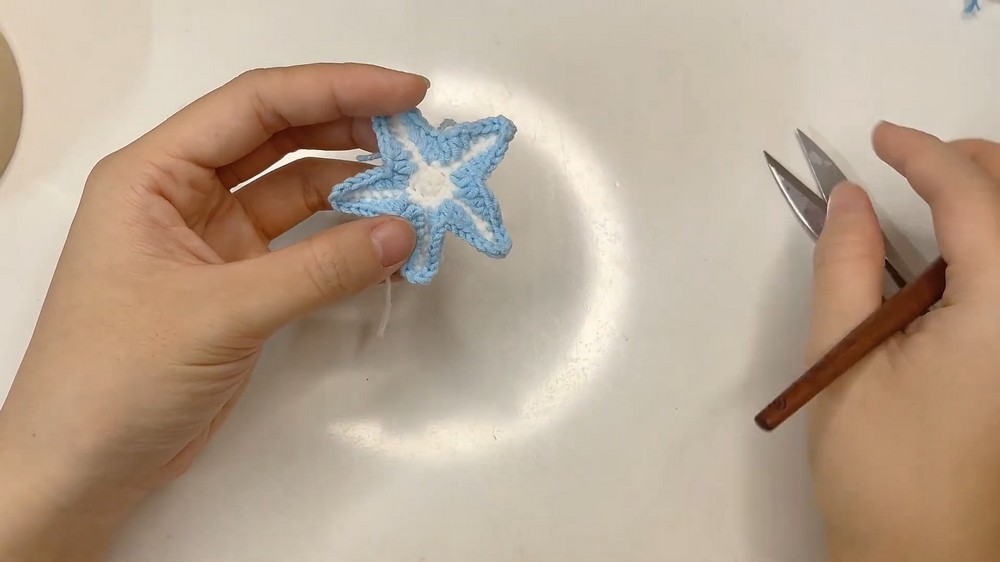
Special Features
- The starfish shape uses wings formed with chains and single crochets for dimensionality.
- Contrasting yarn outlining enhances the star’s definition.
- Felt backing adds stability and comfort to wear.
- Hot glue secures the metal clip firmly.
Tutor’s Suggestions
- Use a smaller crochet hook for tighter stitches on the star for durability.
- Practice slip stitching around the edges on scrap yarn before working on project.
- When attaching the clip, apply glue cautiously to avoid mess or damage.
- Felt backing ensures no discomfort when worn on hair.
Uses
- Adorable hair accessory, perfect for kids and dress-up.
- Gift item or party favor.
- Cute addition to bags or garments as a detachable clip.
Tip
Always test the clip’s grip on hair before finishing assembly to ensure it holds securely without slipping. Adjust glue and positioning if needed.
Conclusion
This starfish hair clip brings together simple crochet techniques and basic crocheting skills to produce an eye-catching and charming accessory. The mix of fluffy yarn wings and firm felt-backed clip offers balance between comfort and style.
Leave a Reply