
Jump into creativity with this Free Crochet Spiral Ruffle Hat Pattern, a lively and simple project that brings texture, flair, and a fun twist to your look.
Sometimes a simple hat can look boring, but a few twists and ruffles can turn it into something magical. The Free Crochet Spiral Ruffle Hat pattern transforms plain yarn into a playful, stylish hat with a swirling spiral design. Starting from the top, each round builds gentle waves and soft ruffles that twist around beautifully. The hat looks full, lively, and eye-catching, making it perfect for brightening up any outfit.
Crochet Spiral Ruffle Hat Free Pattern for Skill Improvement
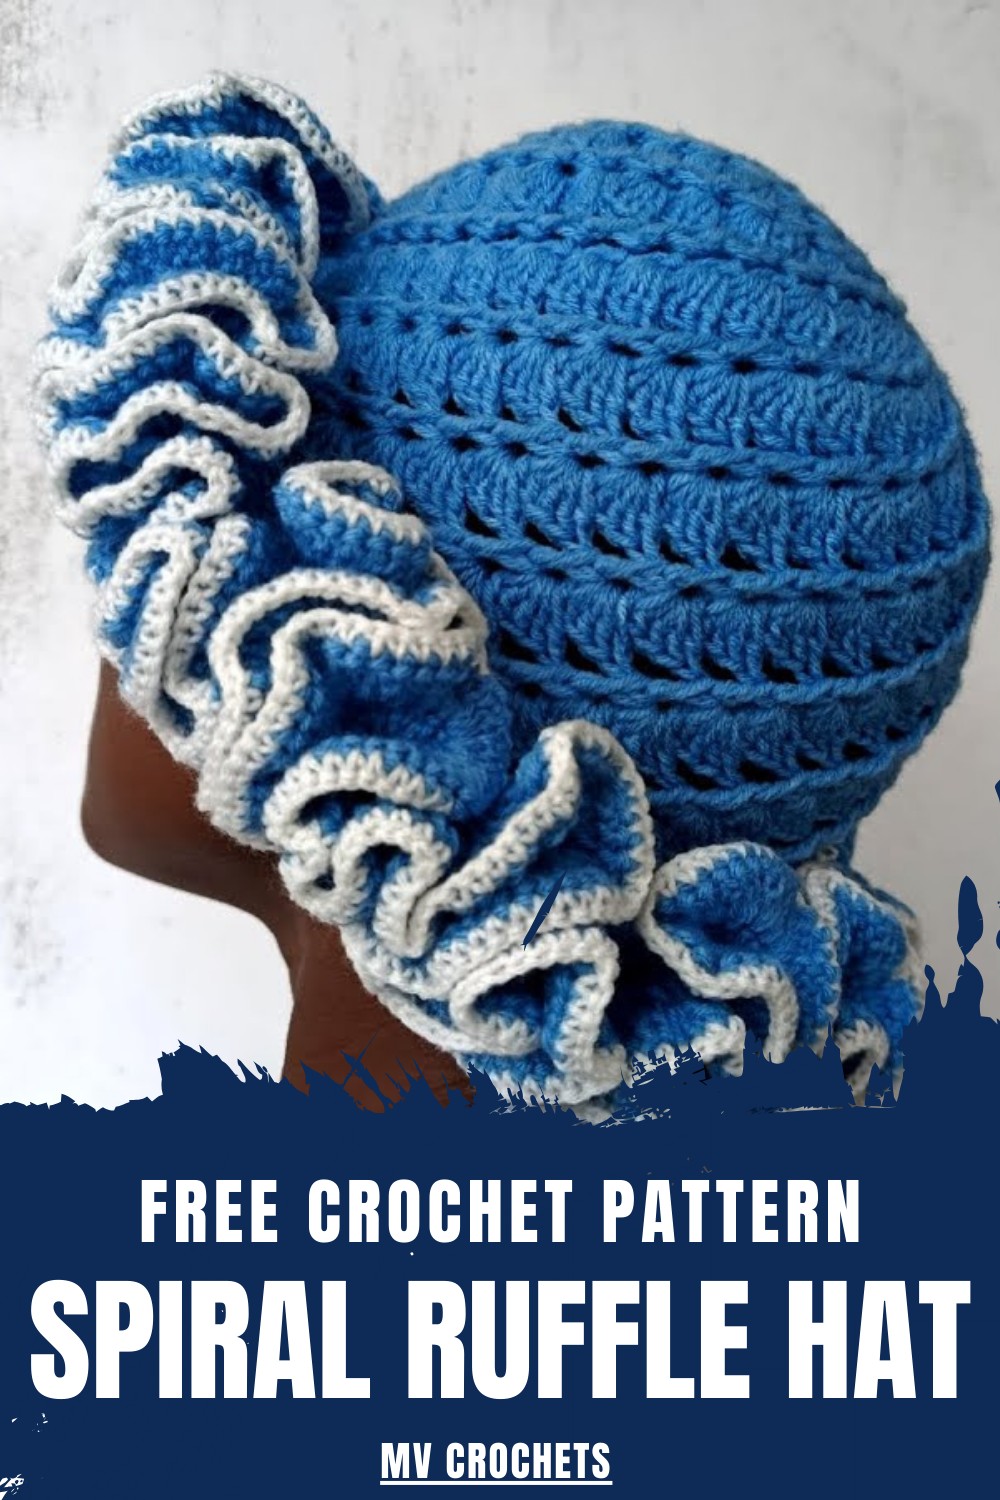
It feels soft and comfortable on the head while keeping it warm, so it is useful for daily wear, outings, or special occasions. The spiral ruffles give it a unique charm that ordinary hats don’t have. Its size and color can be easily adjusted, making it perfect for anyone. The final result is playful, neat, and stylish, showing how a simple piece of yarn can turn into something both fun and beautiful.
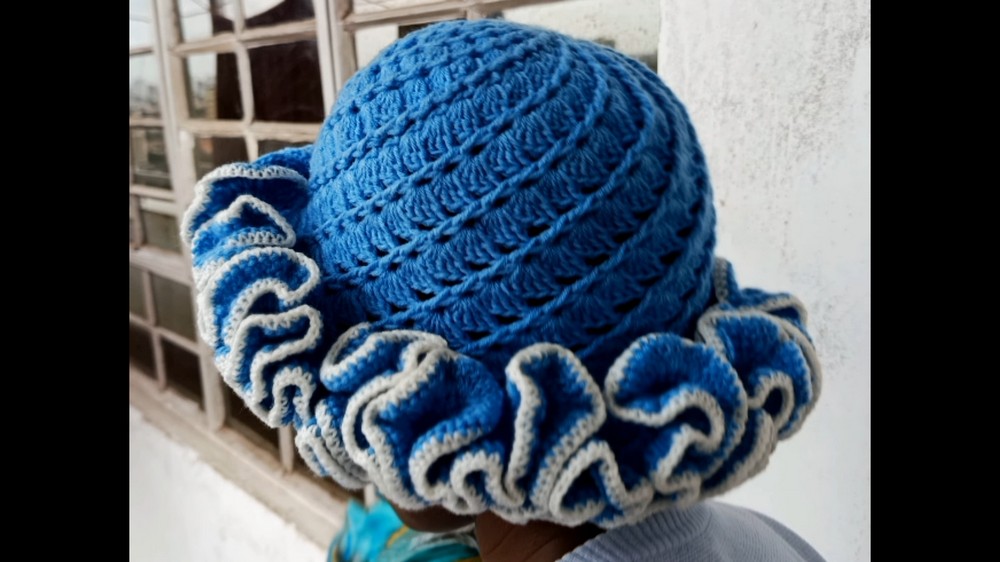
Crochet Spiral Hat with Ruffles and Optional Edge
Materials Needed
To complete the spiral hat, use the following:
- Yarn:
- Main body: Medium-weight acrylic yarn (e.g., worsted weight).
- Contrasting edge (optional): Light-weight acrylic yarn in a complementary color.
- Hook: 3.0 mm crochet hook.
- Stitch Marker: To mark the starting stitch in each row.
- Scissors: For cutting yarn.
- Tape Measure: To check the dimensions.
Special Techniques
Magic Ring
Creates a tight and adjustable center for circles.
- Wrap the yarn around two fingers to create a small loop.
- Insert the hook under the loop and pull the working yarn through, forming a ring.
- Secure the loop with a slipknot, then begin crocheting within the ring.
Front Post Double Crochet (FPDC)
Creates raised stitches for a textured spiral effect:
- Yarn over, insert your hook around the vertical post of the specified stitch (front to back and back to front).
- Yarn over, pull the yarn around the post, and complete as a double crochet (yarn over, pull through 2 loops twice).
Pattern Instructions
Step 1: Start the Spiral Hat Base
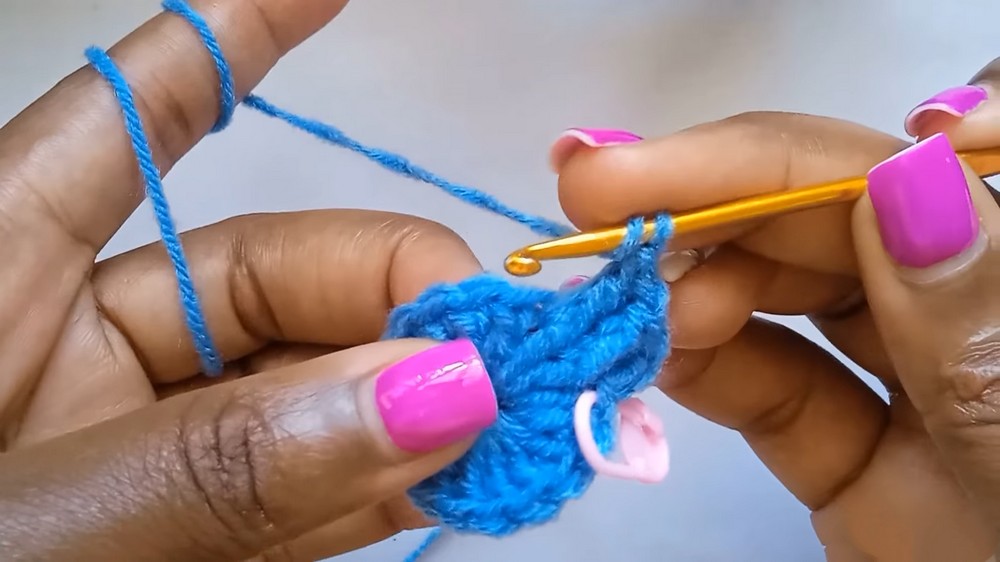
- Magic Ring: Create a magic ring.
- Round 1:
- Chain 2.
- Make 16 double crochets (DC) into the ring.
- Pull the short tail of the magic ring to tighten the circle.
- Slip stitch into the first DC to close the round.
- Mark this stitch with a stitch marker.
- Tip: If the circle looks loose, pull the short strand tighter to ensure a neat center.
Step 2: Spiral Pattern Body
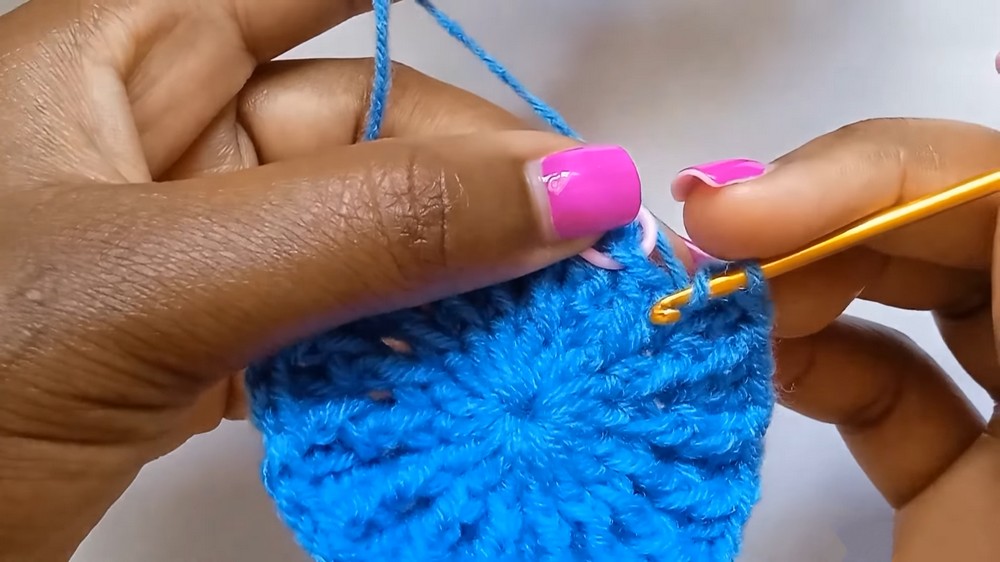
Round 2:
- Chain 2.
- Make 1 DC in the space between the chain-2 and the first DC.
- Yarn over and make a FPDC around the post of the first DC from the previous round.
- Make another DC in the space immediately after the FPDC.
- Continue alternating between FPDC stitches (on the posts of previous DCs) and regular DC stitches (in the spaces next to FPDC).
- Slip stitch into the first DC of the round (not the chain-2). Mark this stitch.
Round 3:
- Chain 2.
- Make 2 DCs in the space between the chain-2 and the first DC.
- Make a FPDC around the post of the FPDC from the previous round.
- Make 2 DCs in the space immediately after the FPDC.
- Continue this process (2 DCs, 1 FPDC) around the entire row.
- Slip stitch into the first DC of the round and mark it.

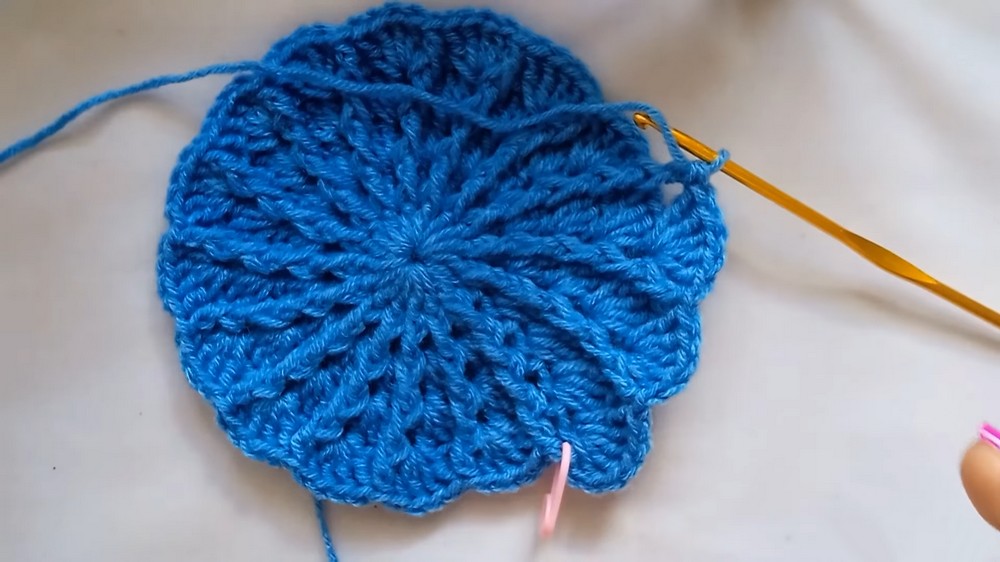
Rounds 4 through 6:
Continue increasing the number of regular DCs between FPDC stitches:
- Round 4: 3 DCs between each FPDC.
- Round 5: 4 DCs between each FPDC.
- Round 6: 5 DCs between each FPDC.
Step 3: Hat Body Continuation
- From Round 7 onward, stop increasing. Alternate 5 DCs followed by 1 FPDC until the hat measures 6 inches in height.
- Adjust the fit by completing additional rounds if necessary.
- Ensure a consistent tension and make the front post stitches slightly loose from Round 10 onward to maintain the hat’s shape.
Step 4: Single Crochet Row
- At the 6-inch mark, chain 1.
- Make 1 single crochet in the same stitch as the slip stitch.
- Work 1 single crochet into each stitch around (no increases).
- Slip stitch into the first single crochet to close the round.
Tip: If working in multiple yarn colors, this is where you can change to a contrasting yarn for the ruffled brim.
Step 5: Ruffles Brim
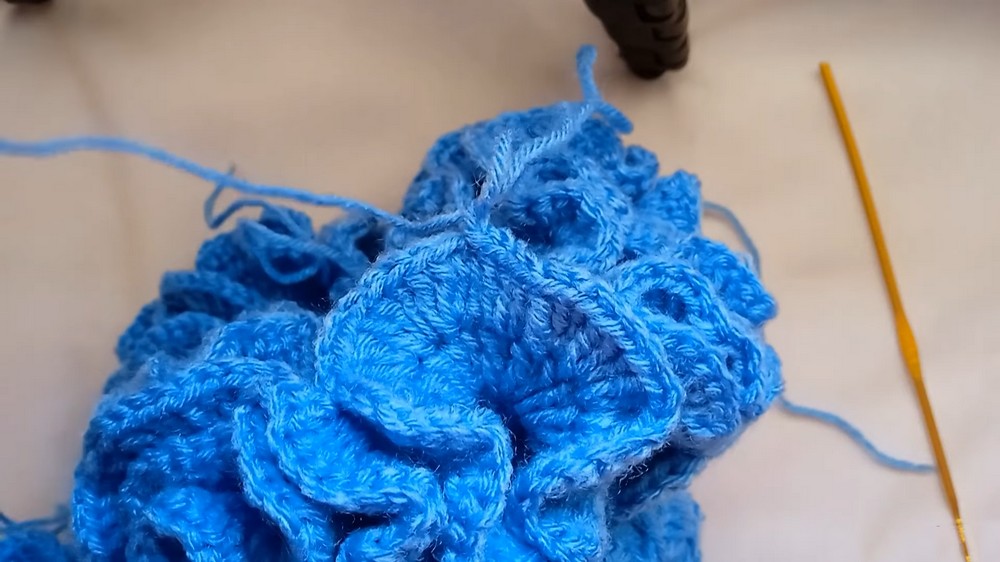
Round 1 – Start Ruffles:
- Chain 2.
- Make 3 DCs in the same stitch as the slip stitch.
- Make 3 DCs in each subsequent stitch around the row.
- Slip stitch into the first DC to close the round.
Rounds 2 and 3:
- Repeat the same pattern as the first ruffle row. Chain 2, then work 3 DCs in each stitch across.
- After the third row of ruffles, slip stitch and fasten off if not adding an edge.
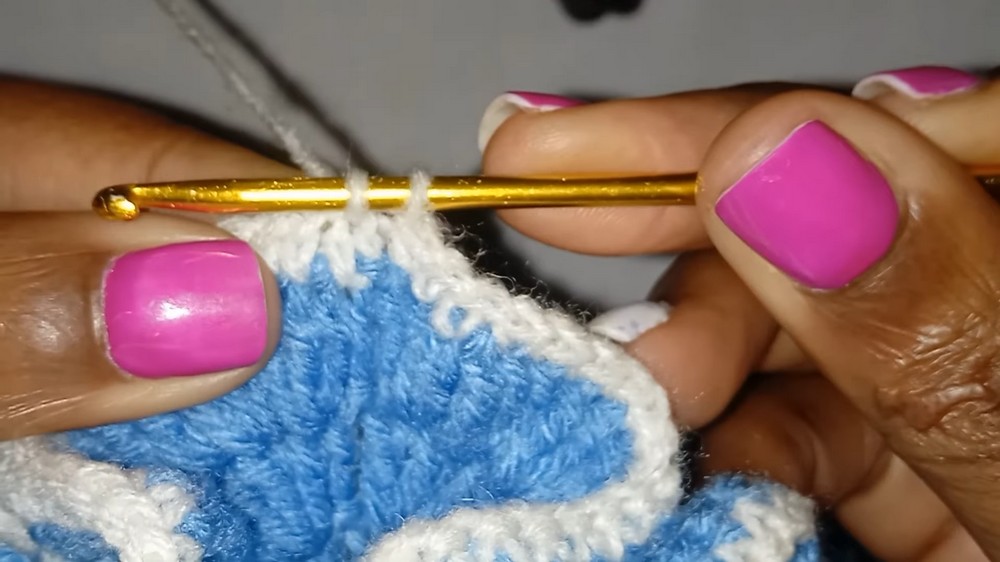
Optional: Contrasting Edge (White Yarn)
- Attach the white yarn by making a slip knot and joining it to the first DC of the last ruffle row.
- Chain 1, then make one single crochet in each stitch around (no increases required).
- Slip stitch into the first single crochet, fasten off, and cut the yarn.
Finishing the Hat
- Weave in all loose ends using a yarn needle.
- Block the hat lightly if necessary to smooth out the ruffles.
- Check the fit and make adjustments as needed.
Tips for Maintaining the Hat
- Washing: Hand-wash with mild detergent and lay flat to dry to preserve the yarn’s texture and elasticity.
- Shape: Store in a way that maintains the structure, especially the ruffles.
Final Remarks
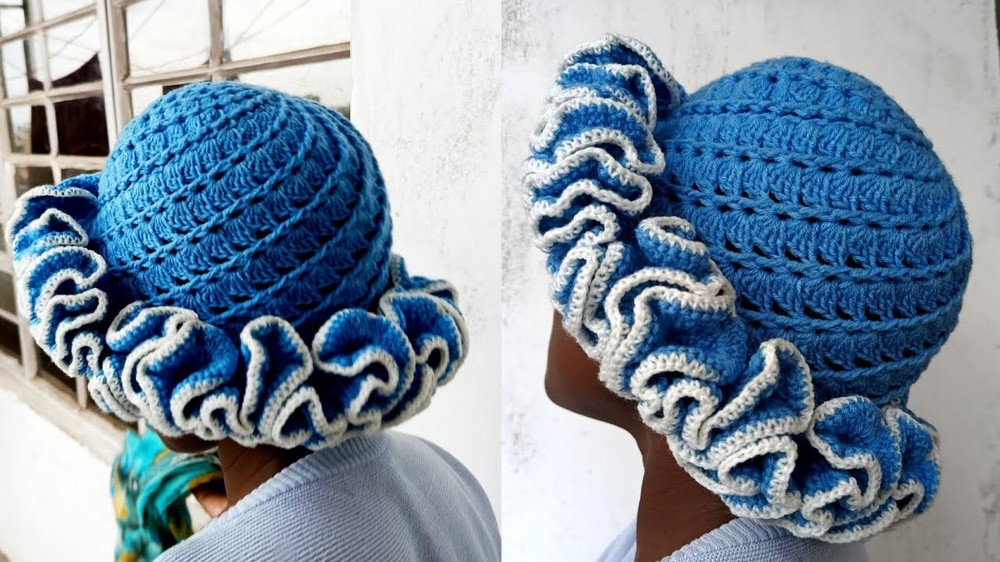
Your crochet spiral hat combines texture and flair with its front post spiral design and ruffled brim. With the optional edge, it becomes even more dynamic and stylish. A versatile and customizable project, it’s perfect for winter or as a fashionable gift. Experiment with colors and yarn types to suit your personal style or wardrobe.
Leave a Reply