
Protect your phone in style with Free Crochet Phone Case Pattern, featuring bold colors easy stitches and cozy fit for every device you love.
Bright colors shine in little pouches that keep phones safe and special. A crochet phone case pattern gives a soft touch that protects from scratches while looking stylish. Round buttons or pretty flowers can be added for extra charm. The case is not heavy so carrying it around feels easy. Many people choose favorite colors to match their mood or outfit. Some use it for their phones others use it for money cards or even small treasures.
Chic Free Crochet Phone Case Pattern for All Devices
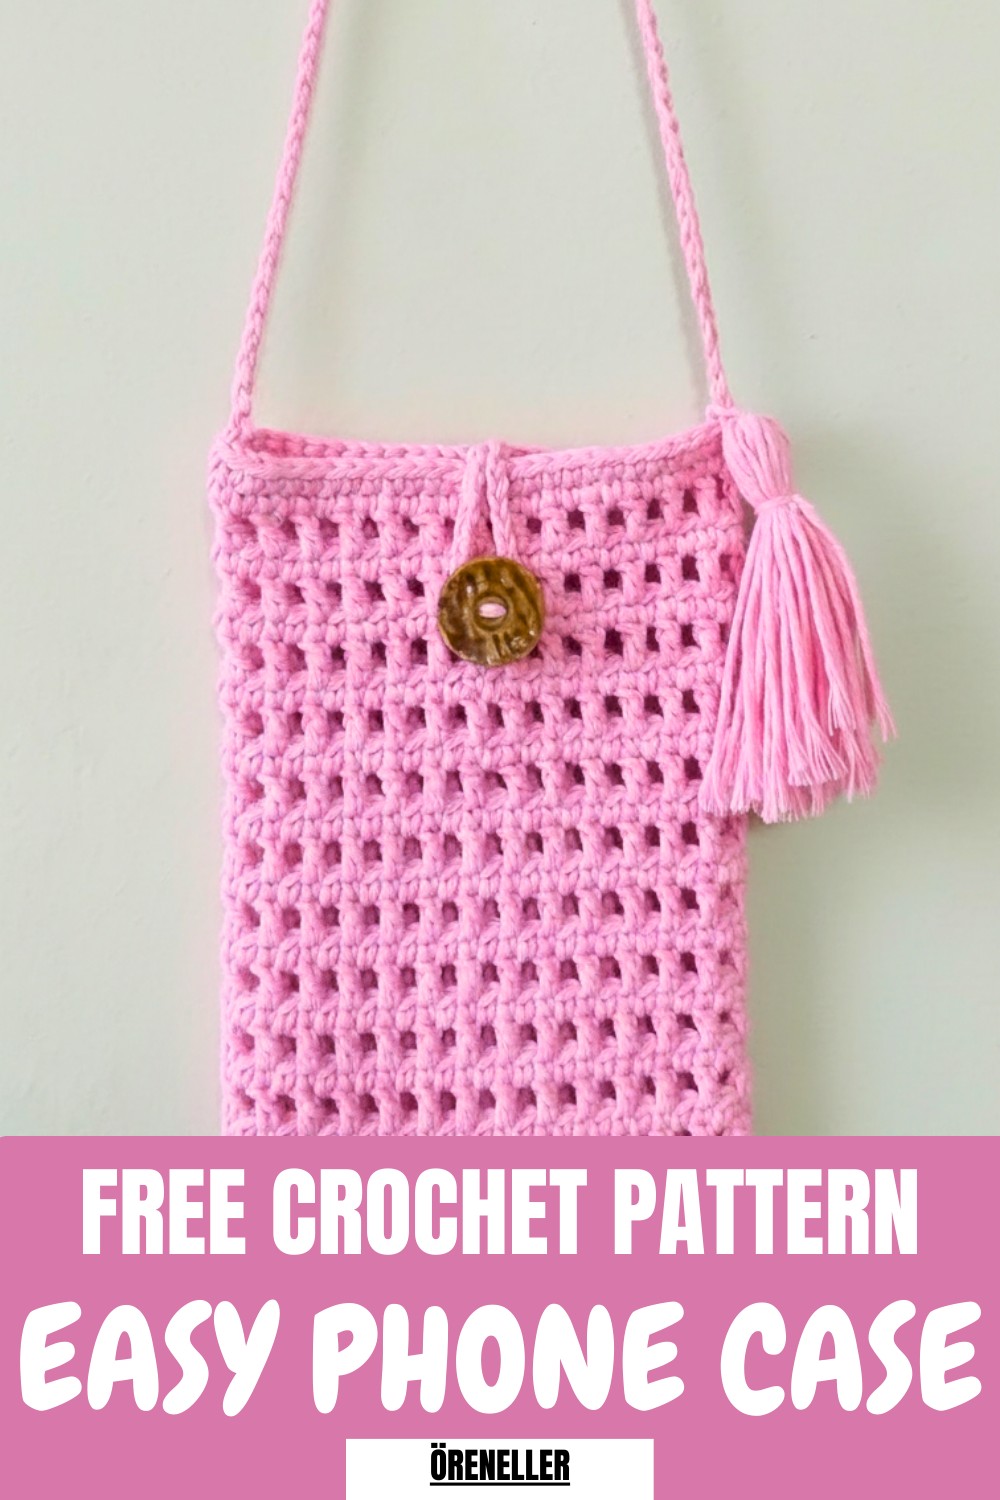
A crochet phone case pattern lets anyone enjoy something made just for them. The stitches form a strong cover but still feel gentle in the hand. Bright shades and simple shapes make each one stand out. Small and light this case slips easily into a pocket or bag. The beauty of handmade work shines through every detail bringing joy to the person who uses it day after day.
Simple Crochet Phone Case Pattern
Materials
- Yarn: Cotton yarn suitable for amigurumi or accessories (e.g., medium weight cotton)
- Hook: 2 mm crochet hook (US size B/1 or compatible with your yarn)
- Button: 1 piece for closure
- Large tapestry needle: For sewing button
- Scissors
- Optional: Tassel or pompom for decoration
Key Abbreviations (US Terms)
- ch – chain
- sc – single crochet
- sl st – slip stitch
- st – stitch(es)
- dc – double crochet
Special Notes
- Adjust the starting chain to fit your phone’s width or desired size.
- The pattern can be adapted for other devices by adjusting base chain and rows.
- Work the case in the round for a seamless finish; joining is barely visible.
- Decoration such as a tassel or pompom is optional.
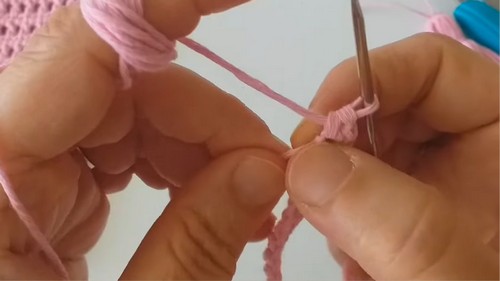
Step-by-Step Pattern
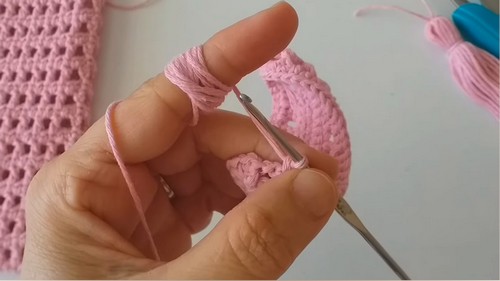
1. Main Body of Phone Case
- Create Foundation Chain
- Ch 25–26 (or adjust: make a chain equal to the width of your phone plus a little ease).
- Example in pattern: Ch 25.
- Row 1:
- Starting from second ch from the hook, sc in each ch across.
- When you reach the last chain, 3 sc in the last ch (turn your work).
- Now continue working on the other side of the foundation chain, sc in each ch back to the start.
- In the very first ch (now at the other end), add 2 sc (so it matches the 3 sc turn at previous end).
- You now have an oval shape (base of the case).
- Joining:
- Sl st to the first sc to join the round.

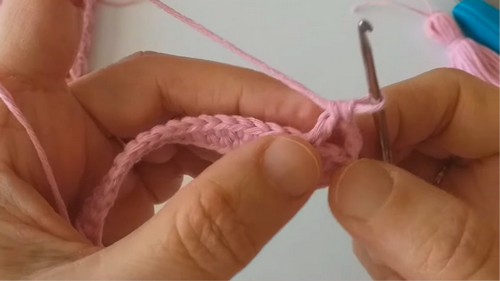
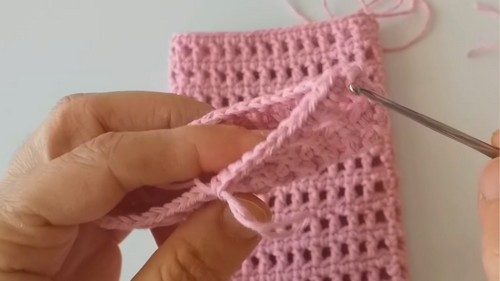
2. Main Pattern/Building the Bag
- Foundation for Height:
- Ch 1, sc in each st around.
- Continue working in the round (mark the first st of every round if needed) with sc in each st.
- Continue until the piece reaches the height needed for your phone. Example: approx. 12 rounds of sc (measure against your phone).
- (Optional) Body Variation with Double Crochet Rows:
- For a small mesh pattern: After first few sc rounds:
- Ch 3 (counts as first dc), sk 1 st, dc in next st, [ch 1, sk 1 st, dc in next st] repeat around.
- Join with sl st to top of ch-3.
- Next round: Ch 1, sc in each dc and ch-space around.
- Repeat dc mesh and sc rounds as desired for textured look.
- End with a few rounds of sc in each st for a neat finish.
- For a small mesh pattern: After first few sc rounds:
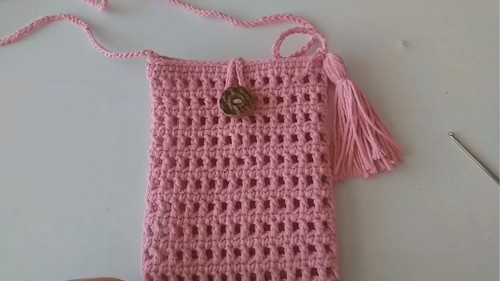
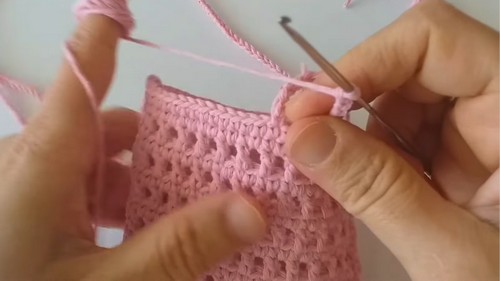
3. Finishing Edge
- Trim/Border:
- When the desired height is reached, finish with a round of sc in each st for a sturdy edge.
4. Strap (Cord)
- Strap Creation:
- Without breaking the yarn, ch 120–125 (for an average crossbody; adjust to your preference or height).
- Ensure the chain is not twisted.
- Attach to the opposite edge/top of the case with a sl st.
- For a thicker cord: After attaching, sc in each ch back to starting point; attach again with sl st.
- Finish off and weave in ends securely.
5. Button Closure Loop
- Create Loop:
- Find the center top of one side.
- Attach yarn and ch 20 (or as many as needed for your button).
- Sl st into the same st to form a loop.
- Fasten off, weave in ends.
6. Button Placement
- Sew Button:
- Fold the flap/loop over top edge to find correct button location.
- Use tapestry needle and yarn to securely sew the button.
- Ensure loop closes snugly over button.
7. Decoration (Optional)
- Add a Tassel or Pompom:
- Attach tassel or pompom using yarn at the side seam, flap, or front as desired for decoration.
- Secure well and weave in all loose ends.

Conclusion
This seamless and simple crochet phone pouch is ideal for a quick and useful project. Its easy construction and minimal seam make it suitable for beginners and a quick make for gifting or selling. Customize the size, color, and embellishments to your taste.
Pattern Correction
- Always adjust your starting chain and row count to your specific phone measurements for the best fit.
- If you wish to work a unique pattern on the body, alternate rounds of double crochet and single crochet for texture.
Tips
- Keep your slip stitch joins loose to avoid puckering.
- Try the pouch on your phone as you go to ensure a snug yet easy fit.
- Use cotton yarn for durability and good stitch definition.
- Secure all ends tightly, especially at strap and button joins for strength.
Leave a Reply