
Find joy in this Free Crochet Granny Ruffle Hat Pattern, perfect for all as you easily whip up playful ruffles and colorful style in no time.
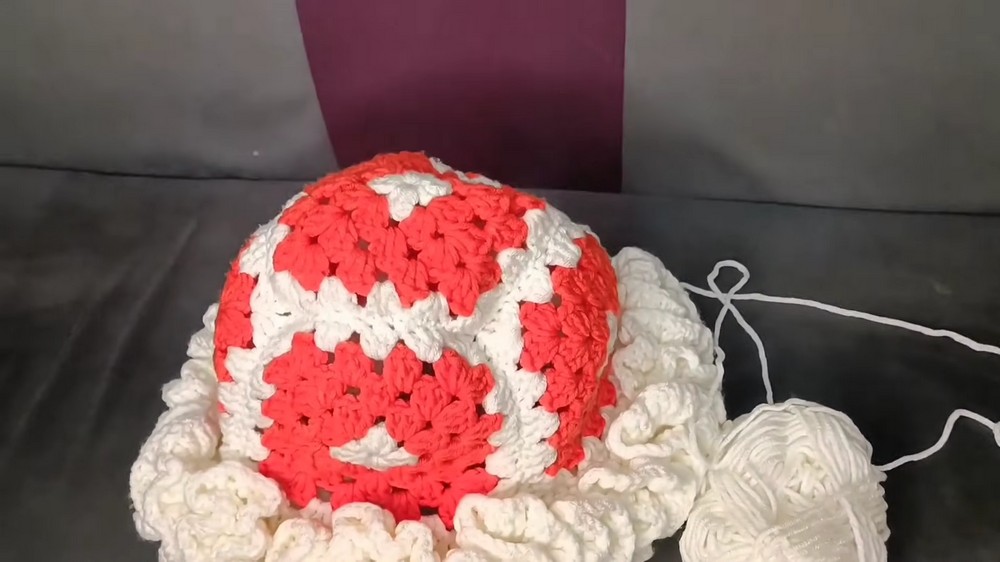
A child laughs and friends gather close when someone wears a charming hat full of ruffles like gentle waves stacked high. This special piece catches the eye with its joyful shapes and playful colors. Using the Crochet Granny Ruffle Hat pattern even simple yarn turns into something bright and full of life. The hat shines at parties outside on cool days or just for a burst of happiness any time. Anyone can enjoy it—a young one at play an older person with stories or someone needing a little cheer.
Free Crochet Granny Ruffle Hat Pattern for Fashionable Looks
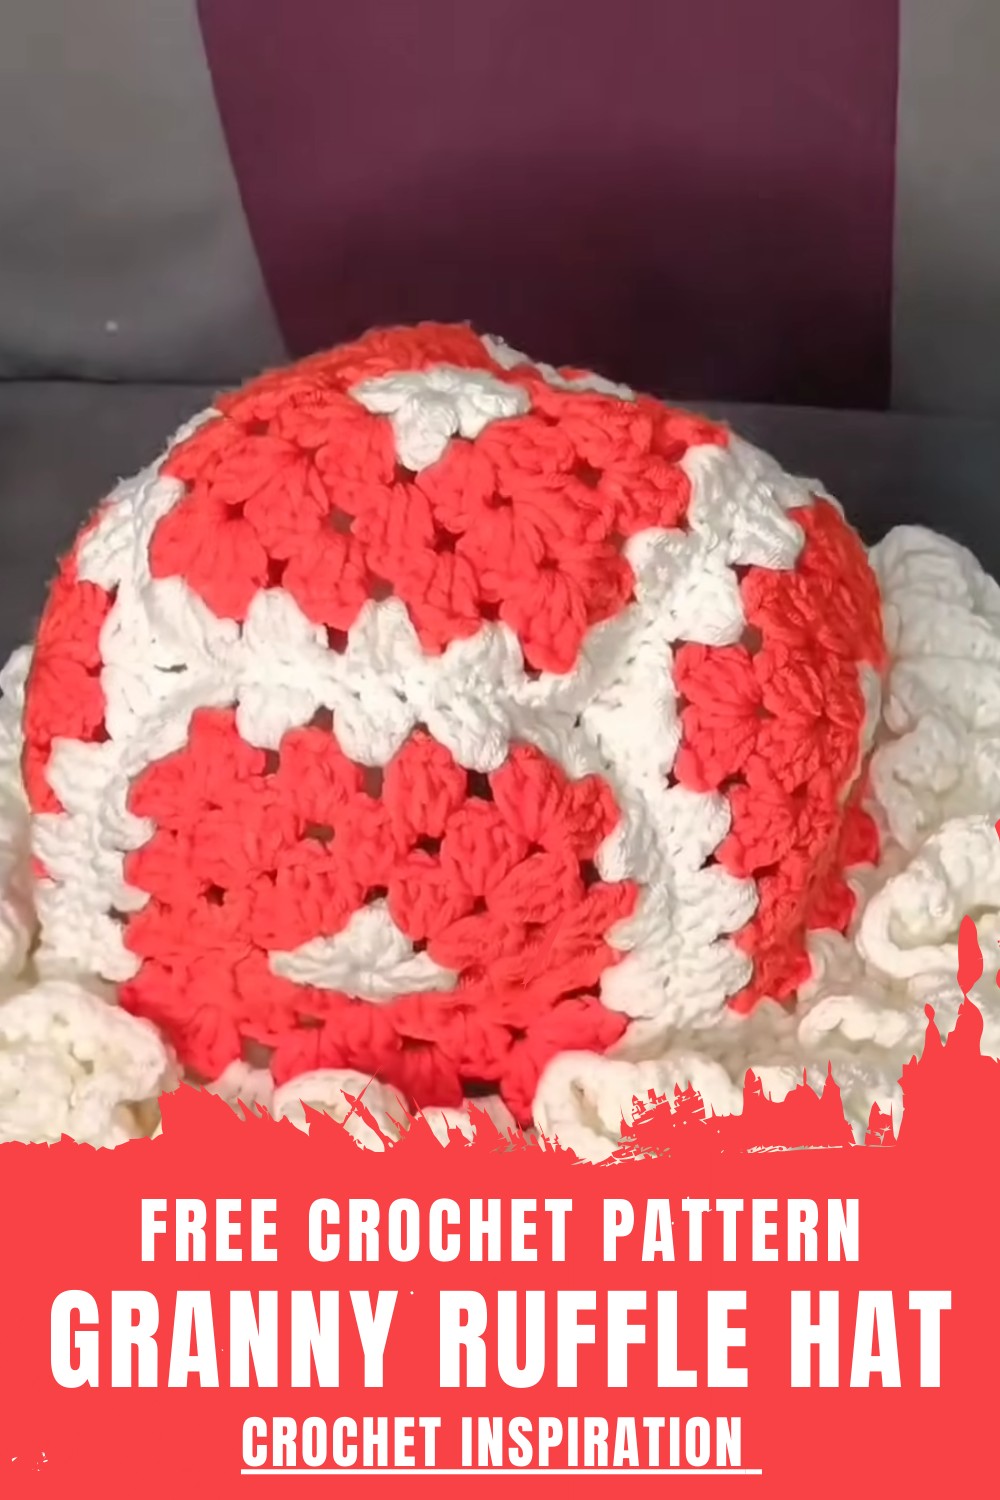
Making this hat is easier than it looks and you can follow along step by step. Choose a favorite color to match a school day a special moment or just a happy day at home. The beauty of this ruffle is in its movement and warmth making the hat a promise of delight. The Crochet Granny Ruffle Hat pattern makes an ordinary day something to smile about.
Granny Square Ruffle Heart Pattern
Materials
- Yarn: 5-ply acrylic or cotton yarn, in at least 2 colors (background and ruffle)
- Hook: 4.5 mm crochet hook
- Scissors
- Measuring Tape (optional)
- Yarn Needle (for seaming and weaving in ends)
Key Abbreviations (US Terms)
- ch – chain
- dc – double crochet
- tr – treble (triple) crochet
- sc – single crochet
- sl st – slip stitch
- st – stitch
- sp – space
Special Notes
- You will make five granny squares and join them in a cross/heart formation.
- Ruffles are made with multiple treble crochets in each stitch.
- Work all rounds with the right side facing unless otherwise noted.
- Use color changes as desired. For best effect, use a contrasting color for the ruffles.
- Optional: Finish with a single crochet border.
Step-by-Step Pattern
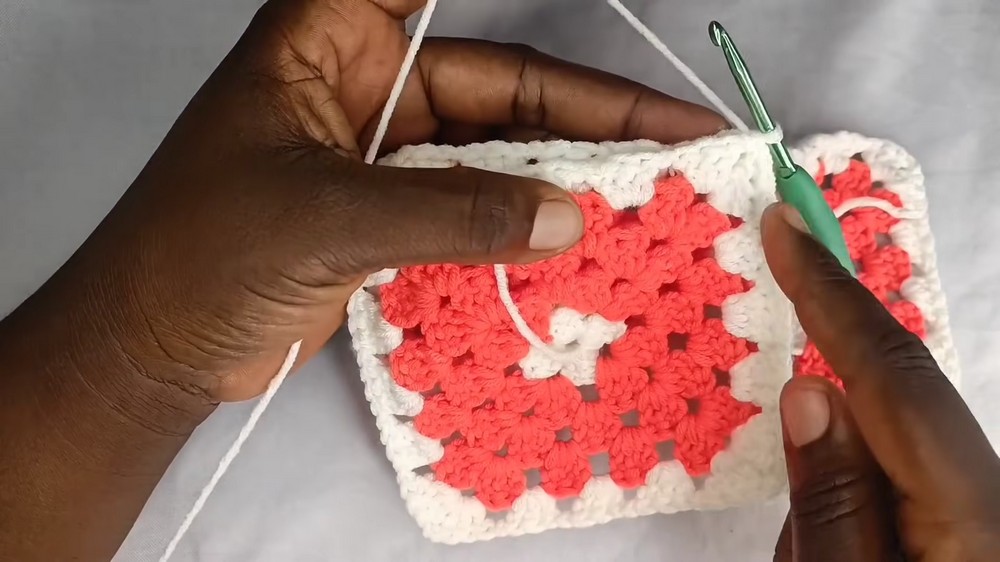
1. Make 5 Basic Granny Squares
With Color A (Center of the square):
Granny Square – Foundation
- Make a slip knot, ch 5.
- Insert hook in first ch, sl st to join and form a ring.
Round 1:
- Ch 3 (counts as first dc),
- 2 dc into ring, ch 2,
- [3 dc into ring, ch 2] – repeat 3 times (total: 4 x 3-dc clusters),
- Sl st to top of starting ch-3 to join.
- Fasten off if changing color.
Round 2 (Join new color in any ch-2 corner sp):
- Ch 3 (counts as dc), 2 dc in same sp,
- [ch 1, in next ch-2 sp: 3 dc, ch 2, 3 dc, ch 1] x 3,
- In first ch-2 sp: 3 dc, ch 2,
- Sl st to top of first ch-3 to join.
Round 3:
- Sl st to ch-2 corner space, ch 3, 2 dc in same sp,
- ch 1, 3 dc in next ch-1 sp, ch 1, [3 dc, ch 2, 3 dc] in next ch-2 sp (corner), ch 1, 3 dc in next ch-1 sp, ch 1, repeat around,
- join with sl st at end.
Round 4: (Optional – for slightly larger squares):
- Increase as established: 3 dc, ch 2, 3 dc in each corner, 3 dc in each ch-1 sp, ch 1 between groups.
- Fasten off and weave in ends.
- Repeat to make five squares.
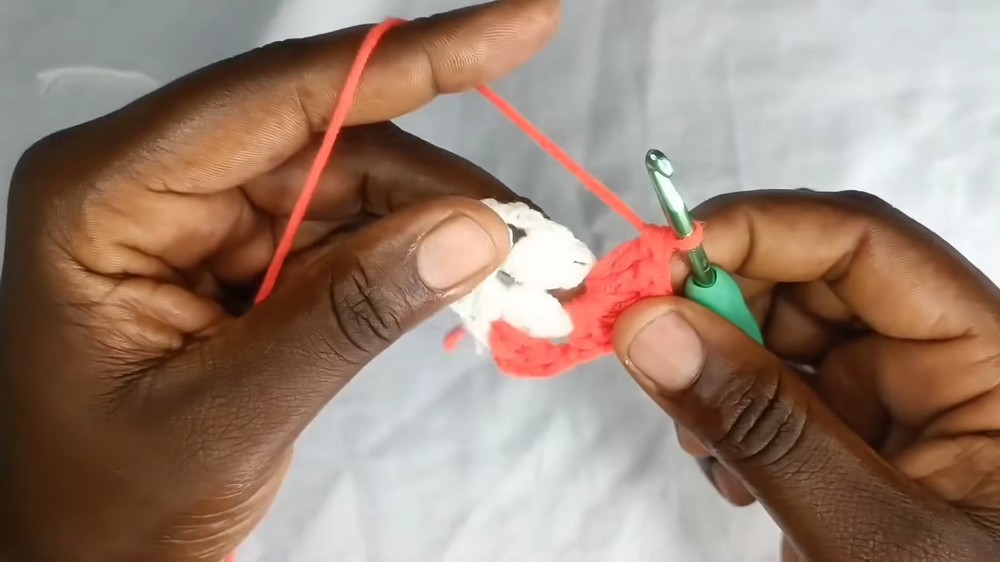
2. Assemble the Heart
- Arrange squares in a cross: one center, one on each side, and one at the bottom.
- This will look like a ‘plus’ sign.
- Join squares (wrong side facing each other, join on wrong side):
- Use slip stitch or single crochet to join squares together through both thicknesses at corresponding stitches, starting in each corner ch-2 space.
- Insert hook through ch-2 space of both squares, join yarn with sl st or sc, then work sc in each pair of corresponding stitches along the edge. Ignore ch-1 spaces.
- Repeat for each adjacent square.
- Once all squares are joined into a cross, fold the sides in and join their edges (the arms of the plus sign) to form a heart shape (the top “humps” of the heart).
- To finish the heart shape, continue joining the open edges (where the sides touch after folding) the same way as above, using sc through both squares.
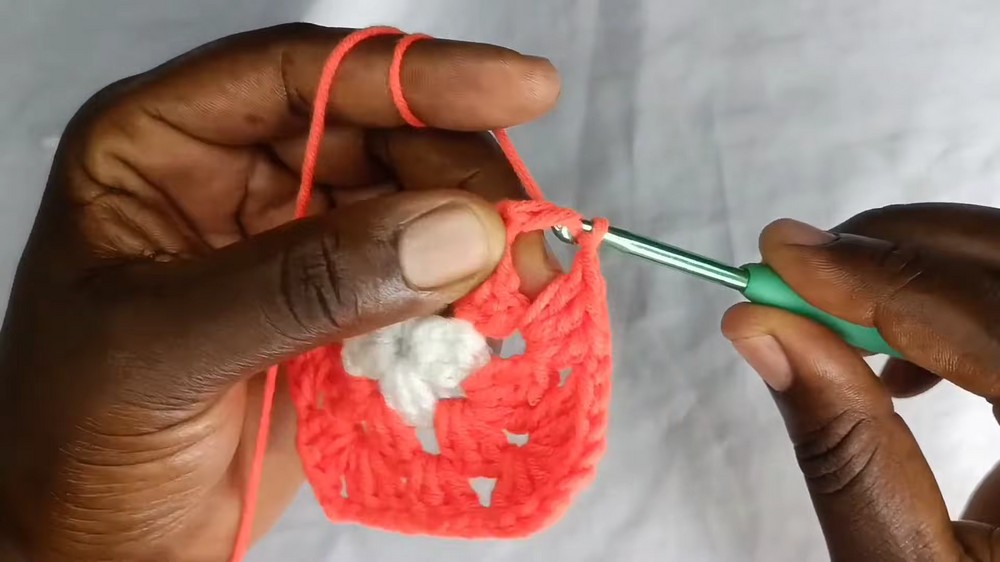
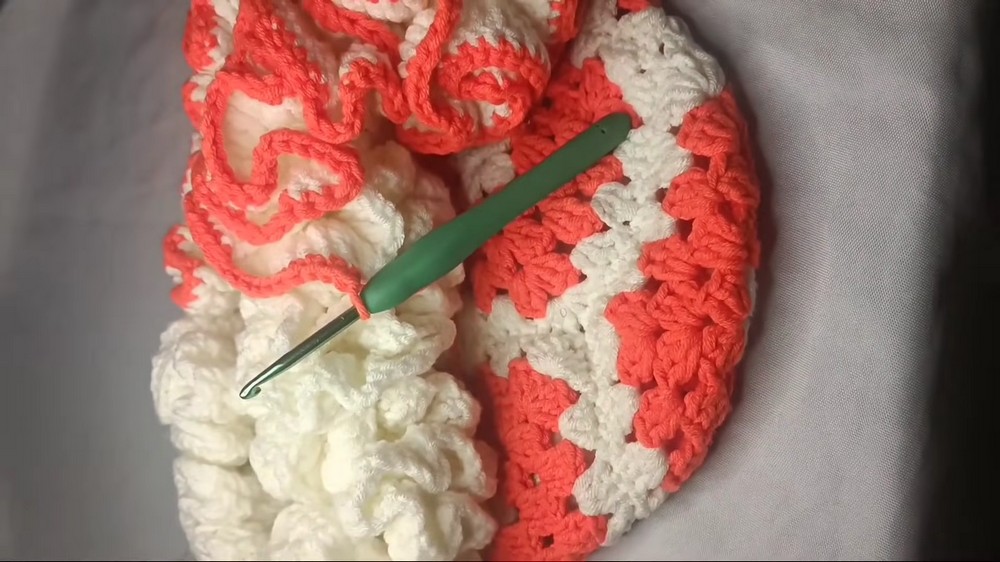
3. Add Ruffles
Round 1 (Start anywhere along the edge with contrasting yarn):
- Attach yarn with a sl st to any st.
- Ch 3 (counts as first dc); dc in each st around.
- Work into each stitch and each seam where you joined squares.
- Sl st to join.
Round 2 (Single Crochet Base for Ruffles):
- Ch 1, sc in every dc around.
- Join with sl st to first sc.
Round 3 (Ruffle – First Layer):
- Ch 4 (counts as first tr), 4 tr in same st.
- In every stitch around: 5 tr in the same st (for full ruffle effect; for less full, do 3 or 4 tr in each st).
- Join with sl st to top of beginning ch-4.
Round 4 (Ruffle – Optional Second Layer):
- Ch 4 (counts as tr), 3 or 4 tr in each st around (you may add more or fewer tr depending on ruffle fullness).
- Join with sl st to close. Fasten off.
4. Optional: Border
- For added neatness or highlight, join a new color in any stitch.
- Ch 1, sc in each st around.
- Sl st to first sc, fasten off and weave in ends.
onclusion
This Granny Square Ruffle Heart is a beautiful, modular project perfect for home decor or gifts. The ruffles create a lovely accent, and the color combinations are endless. By adjusting the number of rounds or fullness of the ruffles, you can customize the size and effect.
Pattern Correction
- When joining squares, make sure right sides are facing each other and join through both squares for a neat finish.
- If your corners do not meet perfectly, add a few extra stitches at the seam or adjust your arrangement before joining.
Tips
- Use a stitch marker for your first stitch in each round for easier tracking, especially in ruffle rounds.
- For fuller ruffles, add more treble crochets per stitch; for lighter ruffles, do fewer.
- Block your squares before assembly for neater joins.
- Weave in all yarn ends securely so they do not poke through the ruffles or border.
Leave a Reply