
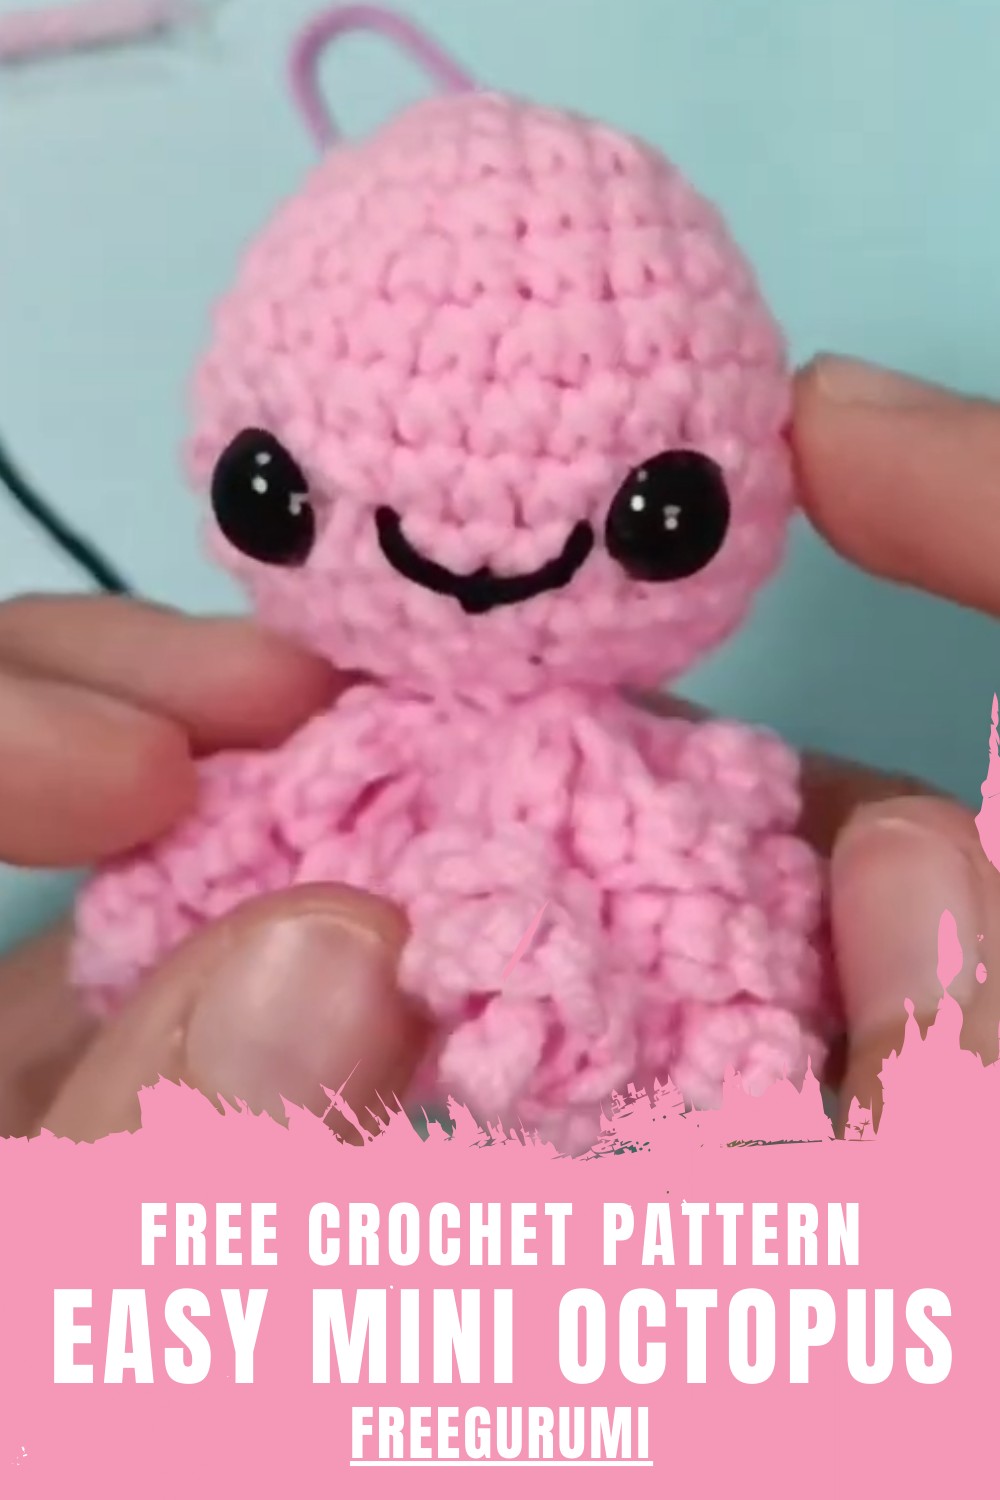
Enjoy stitching a cute crochet octopus with this free guide that is simple to follow and perfect for making a fun decoration or a thoughtful handmade gift.
Bring a smile to your day with a cuddly and adorable creation that’s full of charm. A free crochet octopus pattern allows you to craft a cute and colorful octopus that’s perfect as a toy, a decoration, or even a thoughtful gift. Its beauty lies in the soft, round body and playful, curling tentacles that make it instantly appealing to children and adults alike.
Crochet Octopus Pattern: Fun Tutorial for Beginners
With the ability to choose your favorite colors, this crochet octopus transforms into a unique piece of art that brings joy wherever it goes. Whether you want to brighten up a nursery, add a fun touch to your living space, or simply experience the relaxing joy of crocheting, this octopus pattern is an easy and enjoyable activity. Made with soft yarn and love, the finished piece combines creativity, practicality, and a whimsical charm that everyone will adore.
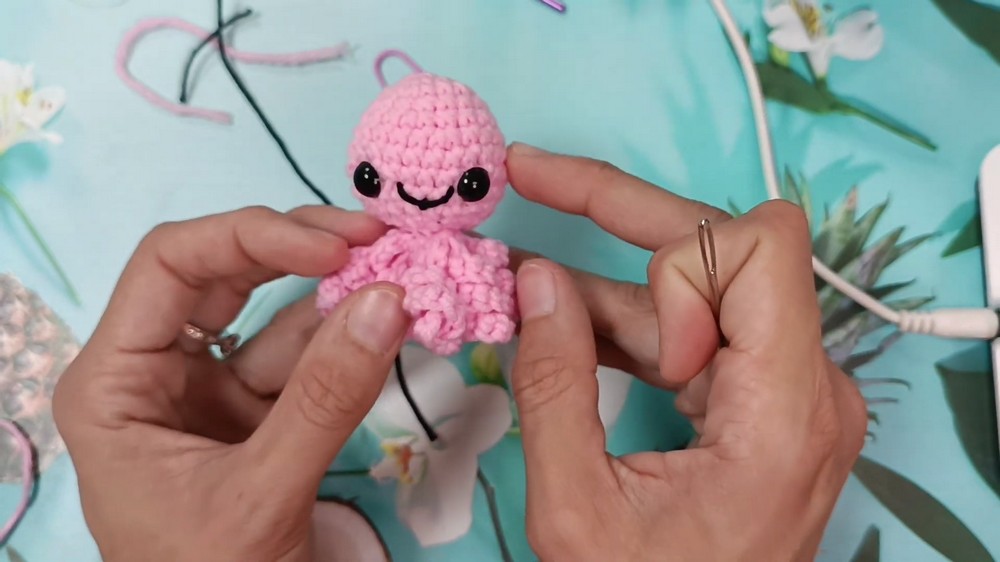
Crochet Mini Amigurumi Octopus Keychain
Finished Size
- Approximate size (using 5‑ply milk cotton yarn and a 3 mm hook):
- Height (including body only): about 4–5 cm (1.5–2″)
- Width (body): about 4–5 cm (1.5–2″)
- Size will vary depending on:
- Yarn thickness
- Hook size
- Personal tension
Materials
- Yarn (main color):
- 5‑ply milk cotton yarn (or similar weight yarn)
- Sample uses pink, but any color can be used.
- Yarn (for embroidery):
- Thin black yarn or embroidery thread for the smile.
- Hook:
- 3.0 mm crochet hook (or size suitable for your yarn and to obtain a tight fabric).
- Safety eyes:
- 8 mm black safety eyes (1 pair, with washers).
- Stuffing:
- Polyester fiberfill (filling fiber) for stuffing the head.
- Notions:
- Yarn needle (tapestry needle)
- Stitch marker
- Scissors
- Optional: keychain hardware (split ring or lobster clasp)
Gauge
Exact gauge is not critical for this project, but the following is a helpful reference:
- Using 5‑ply milk cotton yarn and a 3 mm hook, your fabric should be:
- Tight enough so that stuffing does not show through.
- Approximate gauge (for reference only):
- 5–6 single crochet stitches per 2 cm (¾″).
Tip:
If you see large gaps between stitches or stuffing peeking through, switch to a smaller hook.
Abbreviations (US Terminology)
- MR – Magic ring (magic circle)
- ch – chain
- sc – single crochet
- inc – increase (2 sc in the same stitch)
- dec – decrease (2 sc together)
- sl st – slip stitch
- st – stitch
- sts – stitches
- FLO – Front loop only
- Rnd – Round (worked in a spiral, not joined unless stated otherwise)
Special Techniques
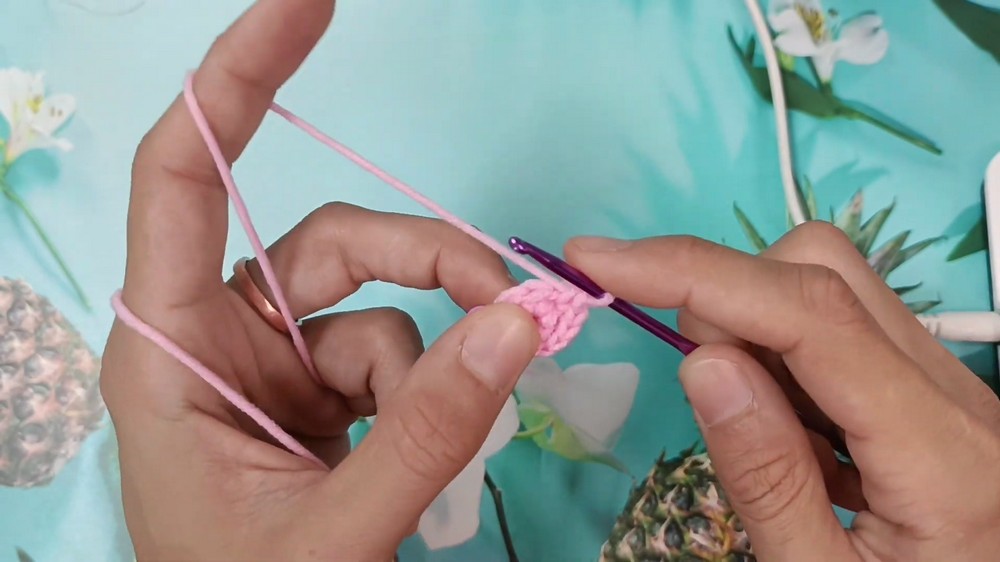
1. Magic Ring (MR)
Form a loop with your yarn, insert hook, pull up a loop, ch 1 (if desired), then work stitches into the loop. Pull tail tight to close center.
2. Yarn Under Method (Optional)
The designer uses a yarn under instead of the common yarn over for single crochet:
- Insert hook into stitch
- Yarn under (bring yarn from front over the hook to the back)
- Pull up a loop (2 loops on hook)
- Yarn over and pull through both loops
This technique makes the fabric tighter with fewer visible holes. You may use standard yarn over if you prefer.
3. Invisible Decrease (Optional but Recommended)
To achieve a cleaner decrease:
- Insert hook into front loop only of the next stitch
- Insert hook into front loop only of the following stitch (now 2 front loops on hook)
- Yarn under (or yarn over) and pull through both loops (2 loops on hook)
- Yarn over and pull through both loops
You may use a regular decrease (sc2tog) if invisible decrease feels too advanced.
Construction Overview
- Work the head/body from the top down as a sphere.
- Insert safety eyes between specified rounds.
- Stuff the head firmly but neatly.
- Close the bottom opening.
- Work 8 curly tentacles around the bottom.
- Sew the bottom hole fully closed.
- Embroider the smile.
- Attach keychain hardware (optional).
Pattern Instructions
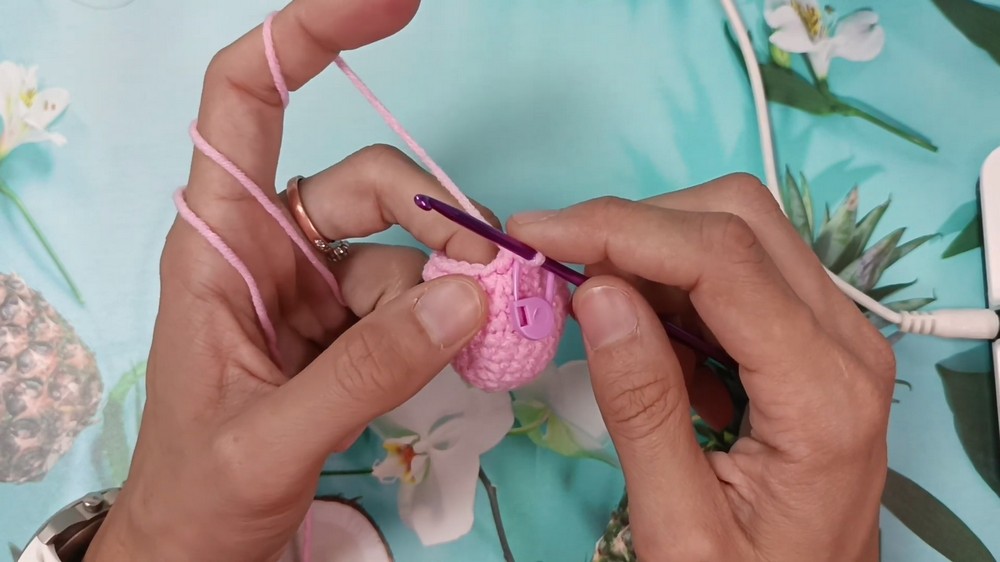
Head & Body
Work in continuous rounds. Use a stitch marker to mark the last stitch of each round.
Rnd 1:
MR, 6 sc in magic ring. (6 sts)
Pull the ring tail to tighten (not too tight at first; ensure you can still see the first stitch clearly). Place stitch marker in the last stitch of the round.
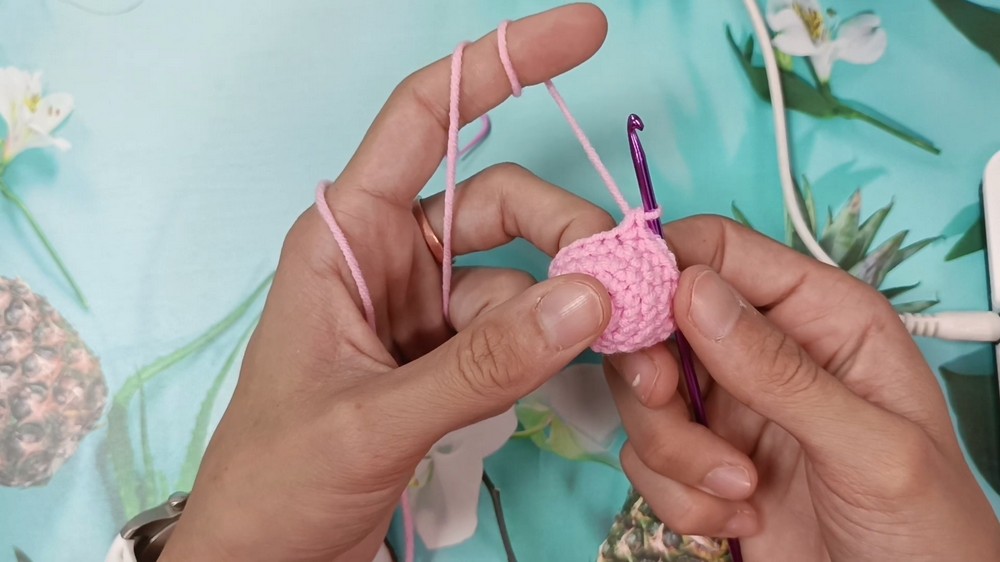
Rnd 2:
6 inc (2 sc in each st around). (12 sts)
Move stitch marker to the last stitch of the round.
Rnd 3:
(1 sc, 1 inc) × 6. (18 sts)
- sc in next st
- inc in next st
Repeat around 6 times.
Rnd 4:
1 sc in each st around. (18 sts)
Rnd 5:
(5 sc, 1 inc) × 3. (21 sts)
- sc in next 5 sts
- inc in next st
Repeat around 3 times.
Rnd 6:
(1 inc, 6 sc) × 3. (24 sts)
- inc in first st
- sc in next 6 sts
Repeat around 3 times.
Rnd 7–8 (2 rounds):
1 sc in each st around. (24 sts each round)
At the end of Rnd 8, you still have 24 sts.
Begin Decreasing
Rnd 9:
(6 sc, 1 dec) × 3. (21 sts)
- sc in next 6 sts
- dec in next 2 sts (use invisible dec if desired)
Repeat around 3 times.
Rnd 10:
(5 sc, 1 dec) × 3. (18 sts)
Insert Safety Eyes (Between Rnd 8 and Rnd 9)
- Remove hook carefully, pull up the loop so it does not unravel.
- Turn the work so the inside faces you.
- Count rounds from the top:
- Rnd 1 is at the top center, then count down to locate Rnd 8 and Rnd 9.
- Insert the first safety eye between Rnd 8 and 9.
- Each “hole” between stitches counts as one stitch spacing.
- From the first eye, count 5 stitches to the side:
- 1, 2, 3, 4, 5
- Insert the second eye into the 6th stitch space.
- Attach the washers securely from inside, ensuring both eyes are straight and at the same round.
Return the loop to the hook and resume crocheting.
Continue Shaping and Stuffing
Rnd 11:
(1 sc, 1 dec) × 6. (12 sts)
- sc in next st
- dec next 2 sts
Repeat 6 times.
After Rnd 11, you have a small opening and 12 sts.
Stuff the head now:
- Remove the hook temporarily (pull up the loop to secure).
- Fill the head with polyester fiberfill.
- Use small pieces of stuffing.
- Fill firmly but do not overstuff to avoid gaps.
- Shape the head into a neat sphere.
- Reinsert hook and tighten the loop.
Remember to keep using the stitch marker.
Rnd 12:
(1 sc, 1 dec) × 4. (8 sts)
- sc in next st
- dec next 2 sts
Repeat 4 times.
After Rnd 12, you should have 8 sts remaining in the round.
Next:
Sl st in the next st. This completes the lower edge of the body and prepares you for the tentacles.
Tentacles (8 curly tentacles)
You will now work 8 tentacles, each formed from a chain that is then increased along to make it curl. They are attached around the opening of the body by slip stitching into front loops only.
General Tentacle Instructions
Each tentacle:
- From the current position, ch 12.
- Starting from 2nd chain from the hook, work an inc (2 sc in the same chain) in each chain across:
- You will make 11 increases (one in each of the remaining 11 chains).
- This gives you 22 sc along the chain and a nice spiral curl.
- After completing the last increase, go to the next body stitch (FLO only) and work a sl st into that front loop.
This completes one tentacle.
You will repeat this procedure 8 times, once in each of the 8 front loops around the opening.
Detailed Tentacle Example (First Tentacle)
From the last sl st after Rnd 12:
- Tentacle 1:
- ch 12
- Starting in 2nd ch from hook:
- inc in each chain across (2 sc per chain × 11 chains = 22 sc)
- Insert hook into front loop only of the next body stitch and work a sl st to attach the tentacle base.
- Tentacle 2–8:
- Repeat the same steps:
- ch 12
- 11 × inc (2 sc in each ch)
- sl st to FLO of next body stitch
- Repeat the same steps:
It becomes a bit tight near the last tentacles; take your time to ensure you do not skip any front loops.
At the end of the 8th tentacle,:
- Work the final sl st into the last available front loop of the body.
- Then ch 1 and cut the yarn, leaving a long tail for sewing the remaining hole closed.
Pull the yarn tail through the chain‑1 to secure.
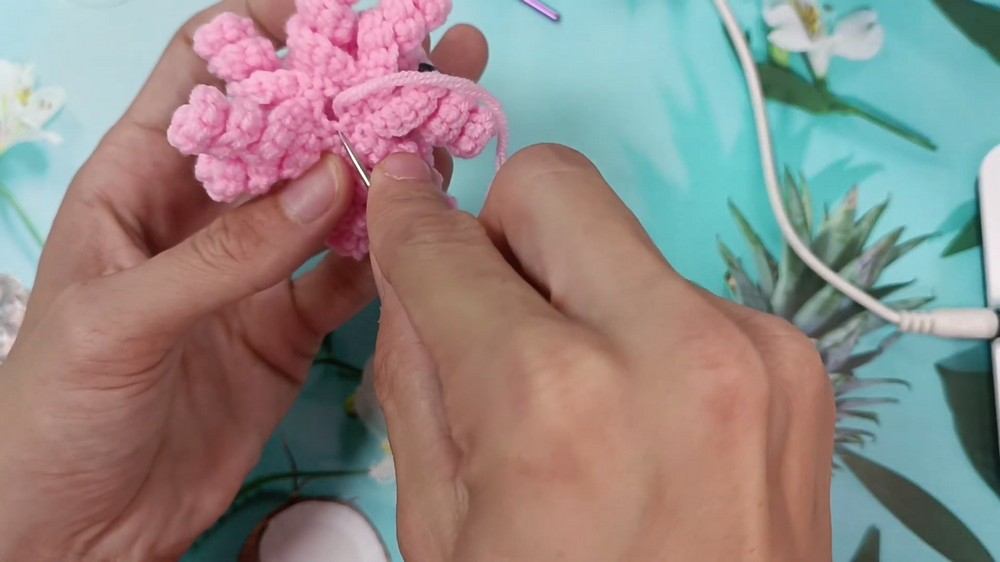
Closing the Bottom Hole
At this point:
- The tentacles are attached around the bottom edge (front loops).
- There remains a small opening at the bottom of the head formed by the back loops of the 8 stitches.
You will now use the long yarn tail and your tapestry needle.
- Thread the yarn tail onto a needle.
- Insert the needle into the last point where you ended the tentacle work and bring it out close to the line of the remaining 8 back loops.
- Working from outside to inside, weave the needle into each of the back loops only, one by one, all around the circle:
- Insert needle through FLO or BLO?
- Here, the video uses the back loop only of each remaining stitch (the front loops were used for tentacles).
- Go from the outside toward the inside through each loop:
- Loop 1, pull yarn
- Loop 2, pull yarn
- Continue until you have gone through all 8 back loops.
- After passing through all 8 loops, pull the yarn tail firmly to cinch the hole closed neatly.
Secure the closure:
- Insert the needle into the center of the closed hole, pull it out at a nearby point on the surface of the body.
- When a small loop forms, pass the needle through that loop to form a knot, then pull tight.
- Insert the needle into the body again and bring it out at another point, pull slightly, then cut the yarn close to the body.
- Gently massage the body so the yarn tail disappears inside.
Now the bottom is fully closed, and the 8 curly tentacles encircle the base.
Embroidering the Smile
Use thin black yarn or embroidery thread.
- Thread black yarn onto a needle.
- From the bottom area of the head (or any inconspicuous point), insert the needle into the body and bring it out at a point one stitch to the left of the right eye, between the eyes:
- The smile is usually placed one round below the eyes and centered horizontally.
- Leave a small tail of black yarn hanging out at the insertion point (you will tie this later).
Form the mouth:
- Decide the width of the smile:
- Typically, the smile stretches from one stitch left of the right eye to one stitch right of the left eye.
- From your starting point (left of right eye), insert the needle at a point one stitch to the right of the left eye, making sure it is on the same horizontal round as the starting point.
- Bring the needle out at the midpoint between the eyes, one round lower than the eyes (this forms the bottom curve of the smile).
Shape the curve:
- Gently pull the yarn until the curve looks like a small smile.
- Now insert the needle back into the hole where the yarn currently exits (the midpoint of the smile) and bring it out again at the original starting point (where the first tail is).
Secure the smile:
- Adjust the tension so the curve is smooth and not too tight.
- Tie the two yarn ends together in a double knot at the starting point on the wrong side or bottom area.
- Cut the ends short.
- Use the blunt end of your needle to push the knot and yarn ends back inside the body so they are hidden.
Adding the Keychain (Optional)
- Take your keychain ring or lobster clasp.
- Choose the top center of the head.
- Use either:
- The metal loop pushed through a gap between stitches at the crown, or
- Sew a small loop of yarn or strong thread at the top and attach the keychain through it.
- Ensure it is firmly attached, especially if the keychain will be used frequently.
Tips for Success
- Tension:
Keep your stitches tight so stuffing does not show. If you are a loose crocheter, use a smaller hook. - Stitch Marker:
Always mark the last stitch of every round to avoid losing track. - Eyes Placement:
Taking a moment to place the eyes evenly greatly affects the cuteness. Use pins first to test positions before inserting safety eyes. - Tentacle Curl:
The curl comes from the number of increases along the chain. Do not skip any chains, and remember to start in the 2nd chain from the hook. - Invisible Decreases:
They give a neater finish to amigurumi. Practice on a swatch if needed before doing them on the doll.
Final Look & Important Remarks
When finished, your octopus should have:
- A round, firmly stuffed head with no visible gaps.
- Two evenly placed safety eyes between rounds 8 and 9, spaced about 5–6 stitches apart.
- A small, curved embroidered smile below the eyes.
- Eight evenly spaced, curly tentacles, forming a soft ring around the base.
- A neatly closed bottom with no visible stuffing.
- Optional: a keychain ring attached securely at the top.
This project is quick, economical, and excellent for using up small amounts of yarn. It is also a friendly introduction to amigurumi techniques such as working in the round, using a magic ring, and invisible decreases.
Conclusion
This mini octopus keychain pattern translates the spoken video instructions into a clear, written format with structured rounds, detailed steps, and helpful tips. It is suitable for confident beginners and intermediate crocheters who enjoy small, fast amigurumi projects.
Leave a Reply