
Achieve a free crochet baby vest pattern that brings simplicity, comfort, and charm, making it an ideal handmade gift for your little one.
Making a baby garment can sometimes feel overwhelming, especially when a pattern is too complicated or takes too long to finish. However, this free crochet baby vest pattern breaks that mold by offering a simple, straightforward design that’s both quick to work up and delightful to wear. Perfect for beginners and experienced crocheters alike, this vest balances ease with style, creating a cozy piece that fits a baby comfortably and looks adorable.
About this vest is how easy it is to customize. The pattern can be adjusted for different sizes and yarn types, making it suitable for babies from newborn to toddler. You can choose from countless color options—from soft pastels to bright, cheerful tones—to match any occasion or personal taste. Adding decorative buttons or a small crochet flower lets you add a personal charm that makes every vest unique.
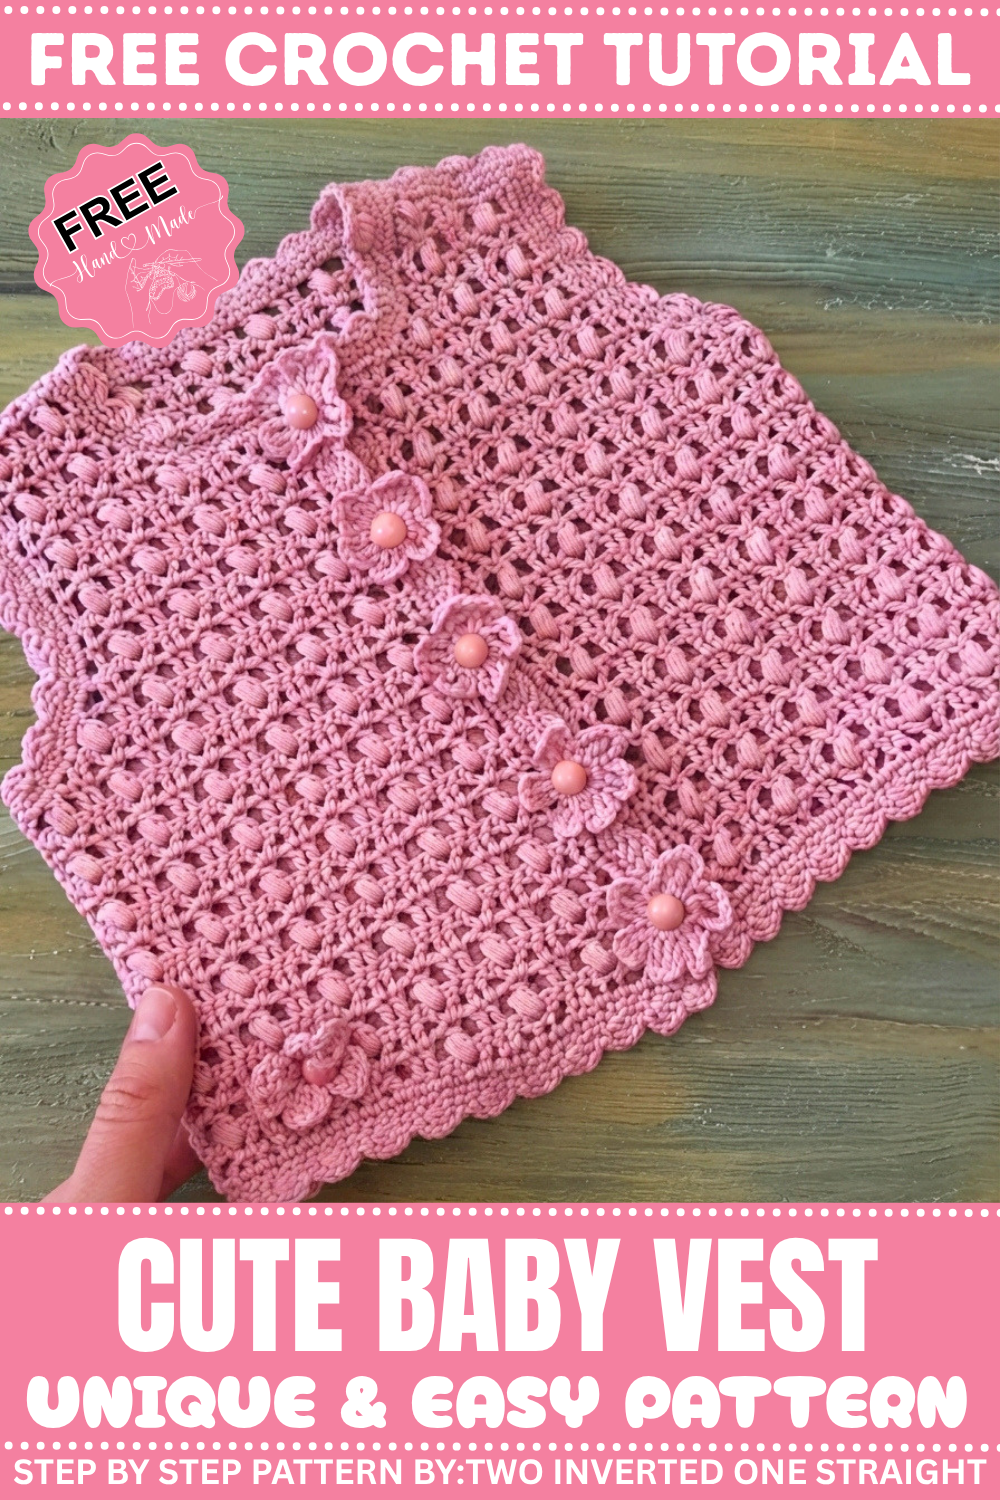
How to Crochet Baby Vest: Step-by-Step Guide
The construction is simple: work the vest in separate pieces and sew them together, which makes it a manageable project even if you’re new to crochet. The stitch pattern includes textured Vs and little puff stitches that add lovely details without complicated steps. Plus, the lightweight vest is perfect for layering, keeping a baby warm without overheating.
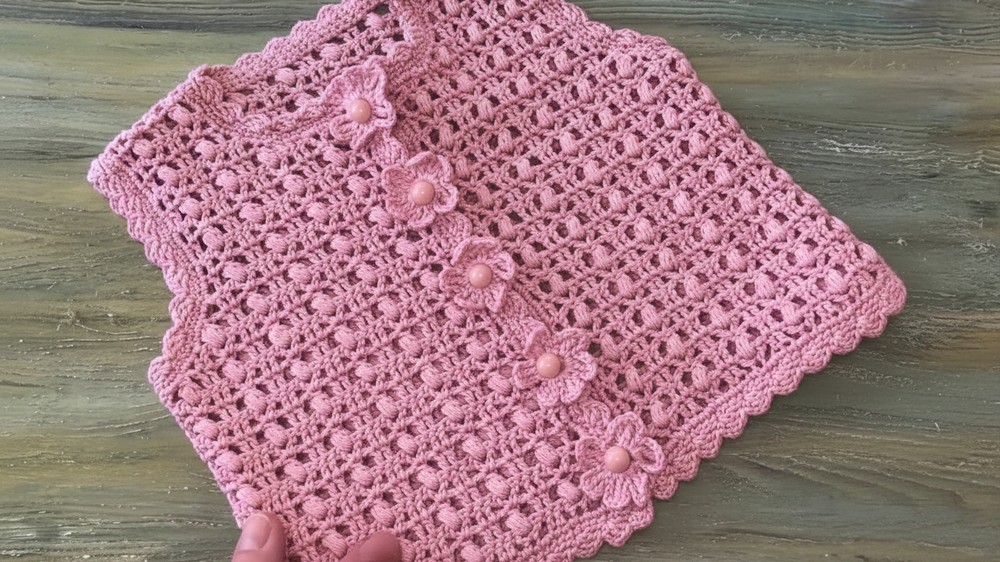
Crocheters especially enjoy this project because it offers the chance to blend creativity and practicality. The design allows for experimenting with stitch patterns or embellishments, keeping the work interesting from start to finish. Its versatility and quick finish make it an ideal gift idea for a baby shower or a sweet addition to any baby’s wardrobe. Even if baby garments often seem tricky, this free crochet baby vest pattern provides an accessible, charming option that anyone can enjoy making.
Baby Girl’s Crochet Vest – Step-by-Step Pattern
FRONT BODY (make 2 identical pieces)
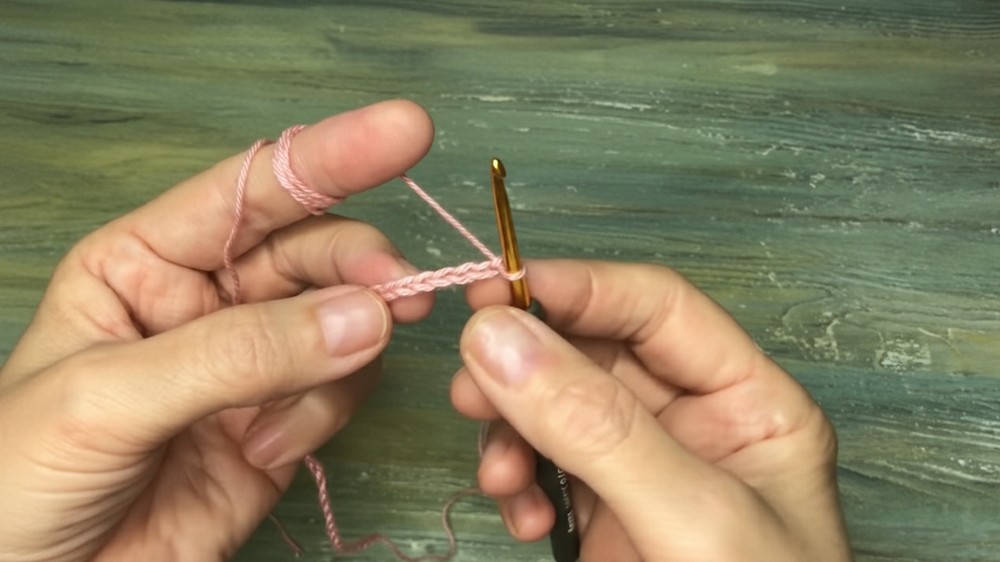
Foundation Chain: Chain 47.
Row 1:
- Skip 4 chains from hook.
- (2 dc) in 5th chain, skip 2 chains, dc in next chain, ch 2, dc in same chain (V-stitch).
- Skip 2 chains, (2 dc) in next chain.
- Repeat from * to last 3 chains.
- End with 2 double crochets in last 2 chains. Turn.
Row 2:
- Chain 3 (counts as dc), slip stitch 4 times around the 8 loops of the peanut stitch area (counting 1, 2, 3, 4), pull through all loops on hook (peanut stitch), chain 2, slip stitch to top of next dc, dc in same space, chain 2, slip stitch in top of next dc, dc in same space (make two peanut stitches per V as described).*
- Continue peanut stitches in the middle of each V along the row.
- End last peanut below last V.
- Chain 2, dc twice in last two stitches. Turn.
Row 3:
- Chain 3 (counts as dc), (2 dc), skip 2 stitches, dc, ch 2, dc in same stitch (V-stitch), skip 2 stitches, 2 dc, repeat to end. Turn.
Row 4:
- Chain 3 (counts as dc), peanut stitch as in Row 2 at each V location. End with 2 dc. Turn.
Row 5:
- Same as Row 3: Chain 3 (dc), (2 dc), skip 2 stitches, V-stitch, skip 2 stitches, 2 dc. Turn.
Row 6:
- Same as Row 4: Chain 3, peanut stitch at Vs, end 2 dc. Turn.
Row 7:
- Same as Row 3: Chain 3, (2 dc), skip 2, V-stitch, skip 2, 2 dc. Turn.
Row 8:
- Same as Row 4: Chain 3, peanut stitch in each V, end 2 dc. Turn.
Row 9:
- Same as Row 3: Chain 3, (2 dc), skip 2, V-stitch, skip 2, 2 dc. Turn.
Row 10:
- Same as Row 4: Chain 3, peanut stitch in Vs, end 2 dc. Turn.
Row 11:
- Same as Row 3: Chain 3, (2 dc), skip 2, V-stitch, skip 2, 2 dc. Turn.
Row 12:
- Same as Row 4: Chain 3, peanut stitch in Vs, end 2 dc. Turn.
Row 13:
- Same as Row 3: Chain 3, (2 dc), skip 2, V-stitch, skip 2, 2 dc. Turn.
Row 14:
- Same as Row 4: Chain 3, peanut stitch in Vs, end 2 dc. Turn.
Row 15:
- Same as Row 3: Chain 3, (2 dc), skip 2, V-stitch, skip 2, 2 dc. Turn.
Row 16:
- Same as Row 4: Chain 3, peanut stitch in Vs, end 2 dc. Turn.
Row 17 (Armhole decrease begins):
- Slip stitch to top of pistachio stitch,
- Chain 2.
- Half double crochet in first dc after pistachio.
- Double crochet in next dc.
- Continue pattern: V-stitch (dc, ch 2, dc) over pistachio stitch, then 2 dc over double crochets.
- Finish with 2 dc at end. Turn.
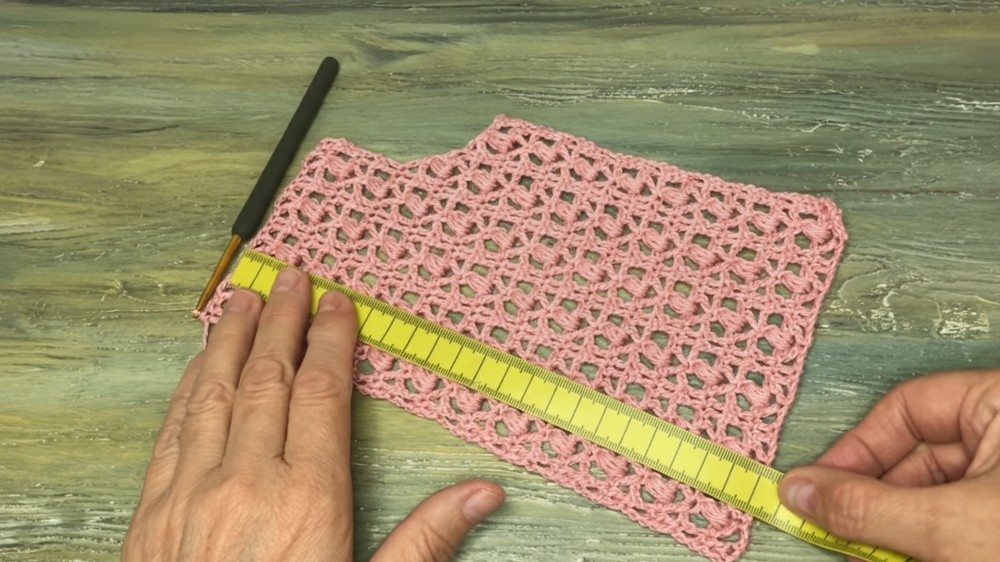
Row 18:
- Chain 3, turn.
- Work double crochet in top of second dc.
- Chain 2, peanut stitch in each V along the row until armhole edge.
- Finish last stitch with sc. Turn.
Row 19:
- Skip pistachio stitch at start;
- Work dc in top of each dc across.
- Decreases finished on armhole edges. Turn.
Row 20:
- Slip stitch to second dc, dc there,
- Chain 2, peanut stitch in Vs along row. Turn.
Row 21:
- Chain 3, slip stitch to next dc, dc, peanut stitch in Vs. Turn.
Row 22:
- Chain 3, dc in top of second dc, peanut stitch on Vs to armhole edge. Turn.
Row 23:
- Continue in same V and peanut pattern. Turn.
Row 24 (Neckline decrease begins):
- Slip stitch over yarn at double crochets,
- Work single crochet into first double crochet,
- Half double crochet over next dc,
- Continue in pattern with V-stitch and single crochet at neckline edge to shape. Turn.
Row 25:
- Chain 3.
- Work 2 Vs, then a single crochet over the single crochet stitch at neckline, continue pattern. Turn.
Row 26:
- Work single crochet over next single crochet, chain 2, single crochet in V, chain 2, 2 dc in next stitches. Turn.
Row 27:
- Slip stitch at second dc, dc, slip stitch at pistachio, dc at top of pistachio, continue V pattern. Turn.
Row 28:
- Chain 5, turn.
- Peanut stitch inside V, chain 2, 2 dc at end. Turn.
Row 29:
- Chain 3, dc in top of last V, skip two chains, dc in third chain,
- Chain 1, cut yarn.
BACK BODY
Foundation Chain: Chain 89.
Row 1:
- Skip 4 chains,
- (2 dc) in 5th chain, skip 2 chains, dc, ch 2, dc (V-stitch).
- Skip 2 chains.
- Repeat V-stitch pattern 12 times to end.
- End with two dc. Turn.
Row 2:
- Chain 3.
- Slip stitch 4 times around Vs (peanut stitch), chain 2, slip stitch at tops of double crochets, work double crochets, chain 2. Turn.
Row 3:
- Chain 3,
- 2 dc, skip 2 stitches, V stitch over next stitch, skip 2 stitches, 2 dc. Turn.
Row 4:
- Chain 3, peanut stitch on Vs, end 2 dc. Turn.
(Continue rows 3 & 4 pattern up to 16 rows total — full description is as above in rows 3 and 4 on the front body.)
Row 17 (Armhole decrease):
- Turn, slip stitch to top of crochet,
- Make 2 chains, half double crochet, dc, continue pattern with V and dc decreases on armhole. Turn.
Row 18:
- Chain 3, dc in V stitches and double crochets to next armhole, end with dc on last V, turn.
Row 19:
- Slip stitch into dc tops and working next dc, complete armhole decreases, continue dc across row, turn.
Row 20:
- Chain 3, dc, chain 2, single crochet in Vs, chain 2, 2 dc. Turn.
Row 21-28:
- Continue alternating pattern with V and peanut stitches, shaping neck from row 25 using stitch markers to divide neckline stitches, work front and back together at shoulder stitches without cutting yarn.
JOINTING & EDGING
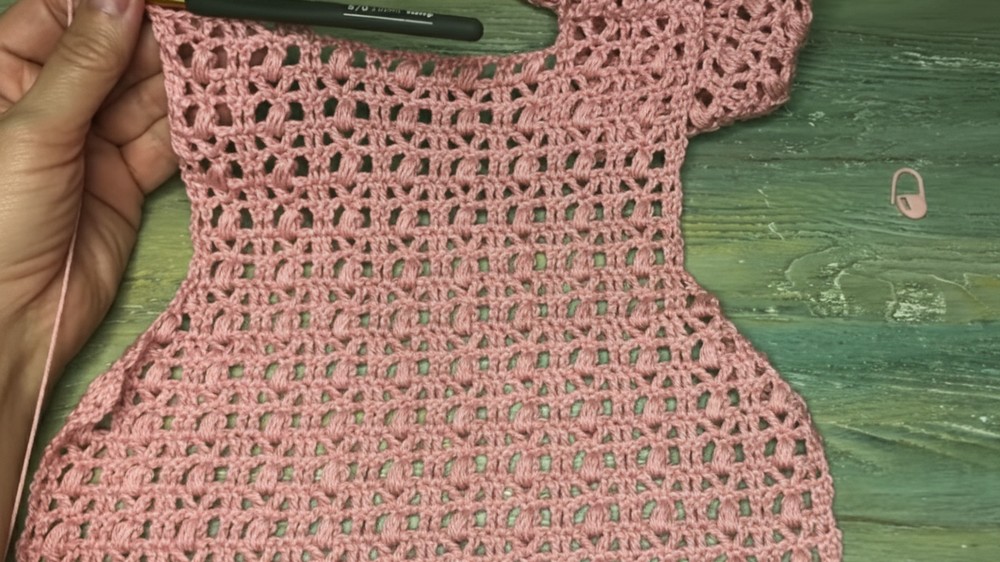
- Seam shoulders: Join front and back shoulder edges with slip stitch and crochet seaming.
- Sew side seams: Align sides, secure with sewing needle and yarn.
- Round the entire vest:
- Insert yarn at front right edge,
- Work two rounds single crochet evenly around neckline, front edges, armholes, and hem.
- Work 3 single crochets in corners to turn neatly.
- Create 5 buttonholes by: chain 3, skip 2 sc stitches, single crochet in third stitch spaced evenly on right front edge.
SLEEVE EDGING (do on both sides)
- Begin at armhole edge,
- Work 2 rounds single crochet evenly around armhole.
- At start of rows alternate 2 or 3 sc for shaping,
- Finish off and weave ends.
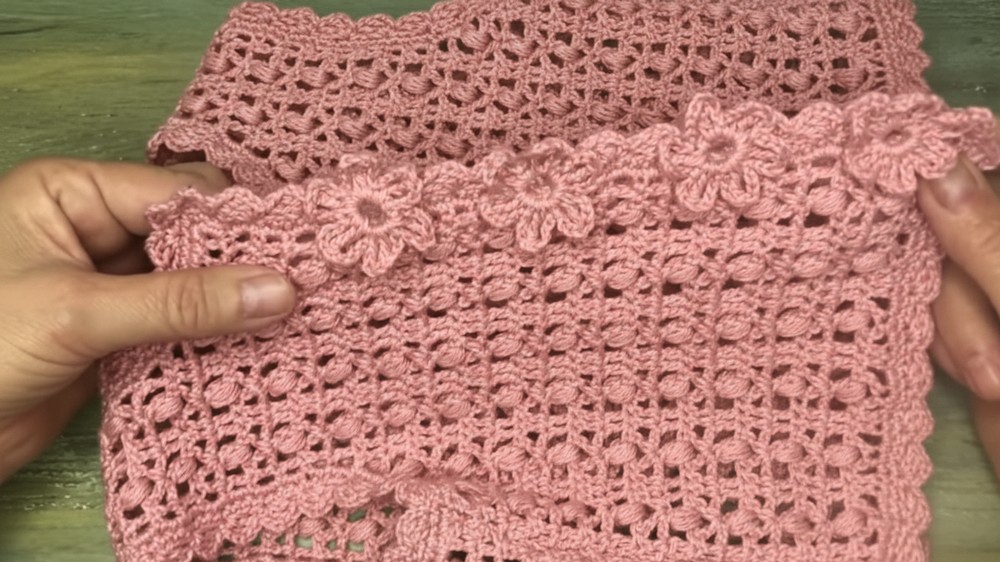
FLOWER MOTIFS (Make 5)
- Chain 8, join with slip stitch to form a ring.
- Chain 4, work treble crochet, chain 4, slip stitch into ring, single crochet. (This will form a petal.)
- Repeat six petals: chain 4, treble crochet, chain 4, slip stitch, single crochet as described.
- After six petals, chain 3, cut yarn leaving tail for sewing.
ATTACHING FLOWER MOTIFS
- Place each flower motif centered over buttonhole openings on vest front edges.
- Sew loosely so buttonholes remain easy to use.
BUTTON SEWING
- Sew 5 pearl buttons centered to correspond with buttonholes on left front edge.
FINAL FINISHING
- Wash vest gently with warm water and shampoo,
- Lay flat to dry,
- Iron if necessary to restore cotton yarn shape,
- Avoid tight sewing on motifs to maintain buttonhole movement.
Notes for Users Who Prefer Summary After Each Part
- Front bodies: Follow the row-by-row V and peanut stitch sequence carefully, shaping armholes and neckline. Work both front pieces identically.
- Back body: Wider piece, same stitch pattern with armhole decreases and neckline shaping; attach to front at shoulders.
- Joining and edging: Sew pieces together, add neat single crochet edging with buttonholes.
- Sleeve edging: Two rounds single crochet around armholes for a clean finish.
- Flower motifs: Crochet small six-petal flowers, sew on buttonhole edges for decoration.
- Buttons: Add securely on front edge, opposite buttonholes.
- Wash & care: Cotton shrinks; wash gently and iron for best results.
Leave a Reply