
Brighten spaces using this Free Crochet Rose Pattern—simple steps help you make everlasting blooms that add color, charm, & floral elegance.
Fingers move slowly over gentle yarn, twisting and turning it into a wonderful flower that looks just like one from a garden. With a crochet rose pattern, the magic begins as each petal forms, showing bright colors and a lovely shape that never fades away. This little rose feels light and cheerful in your hands, bringing beauty wherever it goes—tucked onto a favorite hat, pinned on a bag, or even tied onto a present to make someone smile.
Crochet Rose Pattern—Quick & Easy Free
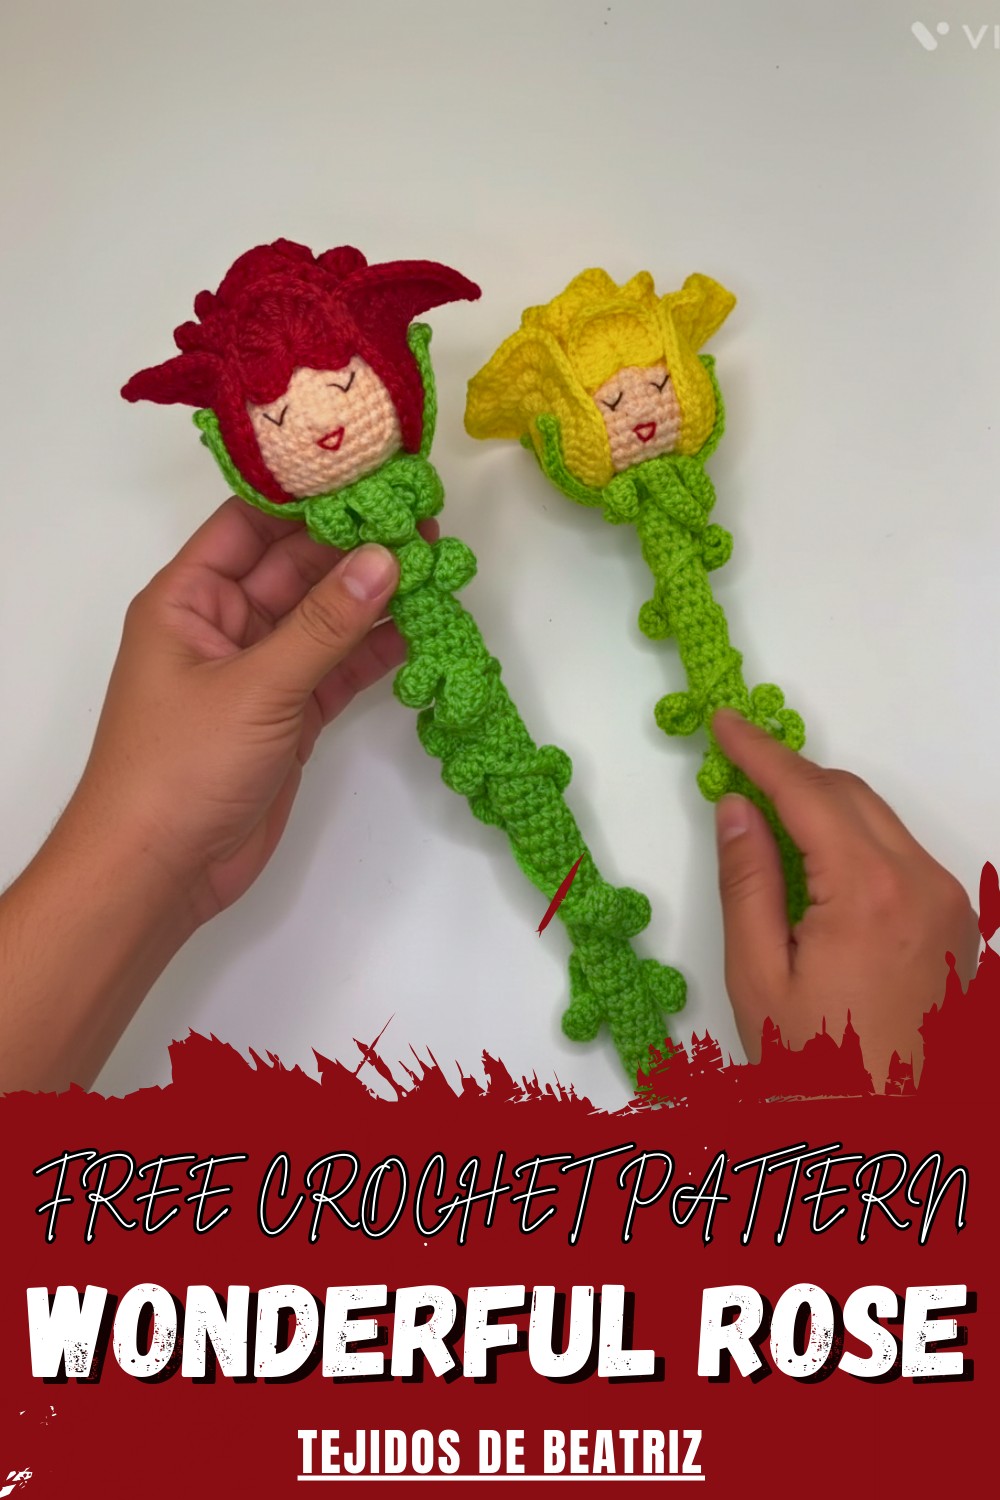
Place it on a table or use it to brighten your room, and it stays fresh and pretty no matter how much time passes. Friendly steps and simple loops make this pattern welcoming for everyone, even for those new to yarn. A single rose made like this brings a warm, gentle charm that keeps your heart happy every time you see it or share it with friends.
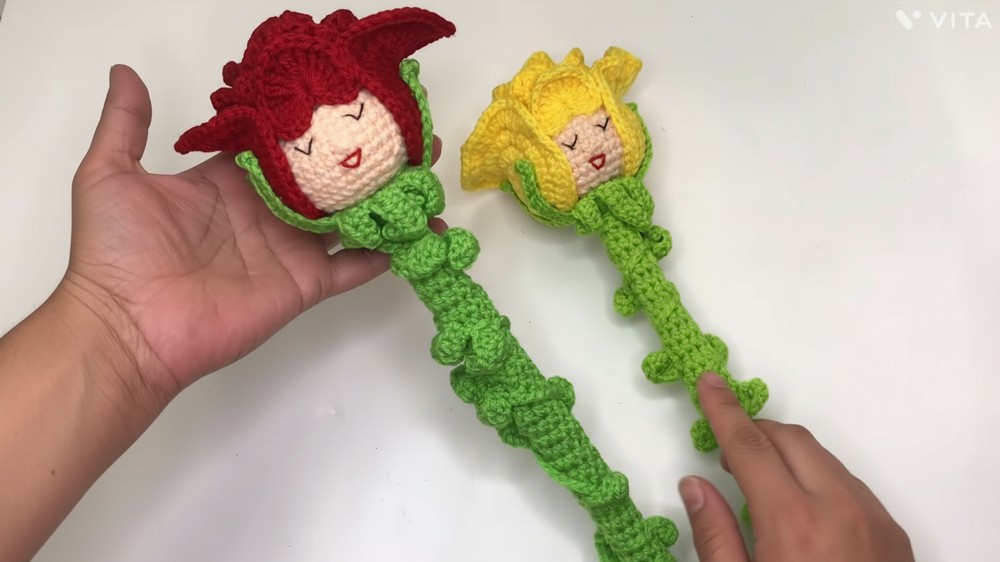
Crochet Amigurumi Rose Pattern
Materials
- Yarn: Worsted or thick yarn, blends such as 50% cotton / 50% acrylic recommended. Choose colors for rose, calyx, stem, and leaves.
- Hook: 2–2.5 mm crochet hook (adjust as needed for yarn weight and desired firmness)
- Polyfiber stuffing
- Thick wooden stick or dowel: For stem
- Tapestry needle: For sewing and embroidery
- Scissors
- Craft glue (optional, for assembly)
- Safety eyes (optional)
- Stitch marker (optional)
Key Abbreviations (US Terms)
- MR: Magic ring
- ch: Chain
- sl st: Slip stitch
- sc: Single crochet
- hdc: Half double crochet
- dc: Double crochet
- tr: Treble crochet
- inc: Increase (2 sts in same st)
- dec: Decrease (sc two sts together)
- st(s): Stitch(es)
Special Notes
- Stuffing is inserted before final closure of main head.
- Color changes as desired for flower, calyx, and leaves.
- Assembly requires glue or sewing for durability.
- Amigurumi style is recommended for firmness.
- Embroider face as desired; safety eyes may be added.
Step-by-Step Pattern
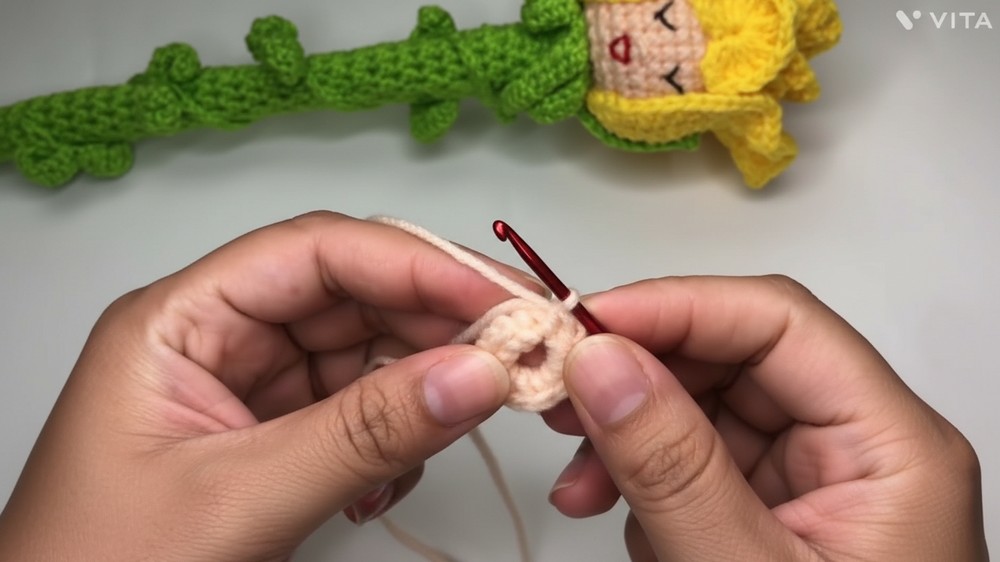
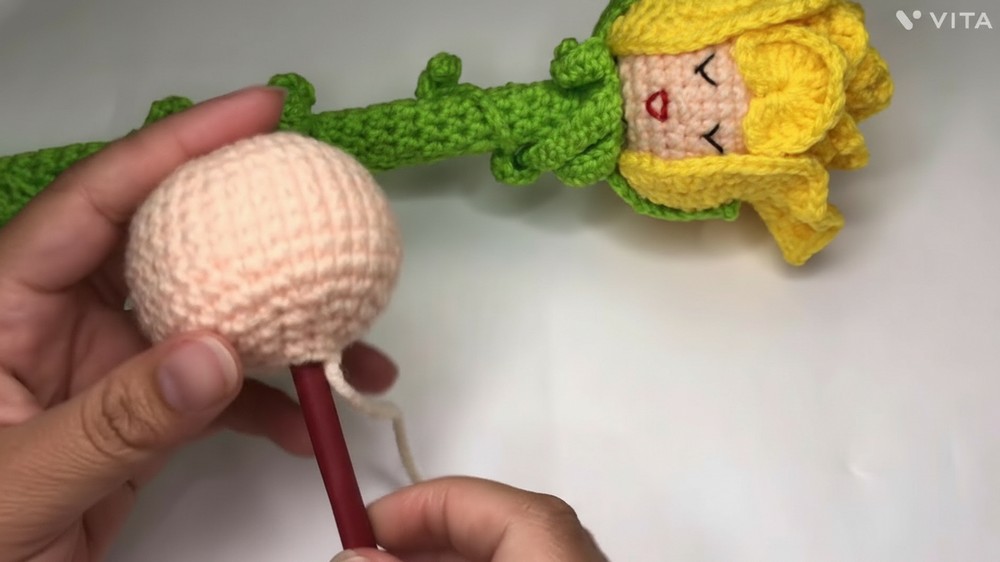
1. Rose Head
With main flower color:
- MR, ch 1.
- Round 1: Work 12 sc into magic ring. Pull tight. (12 sts)
- Close round with sl st to first sc. Ch 1.
Round 2:
4. Inc in every st around: Work 2 sc in each sc. (24 sts)
Finish round with sl st to first sc.
Round 3:
5. [1 sc in next st, inc in next st] repeat around. (36 sts)
Finish round with sl st.
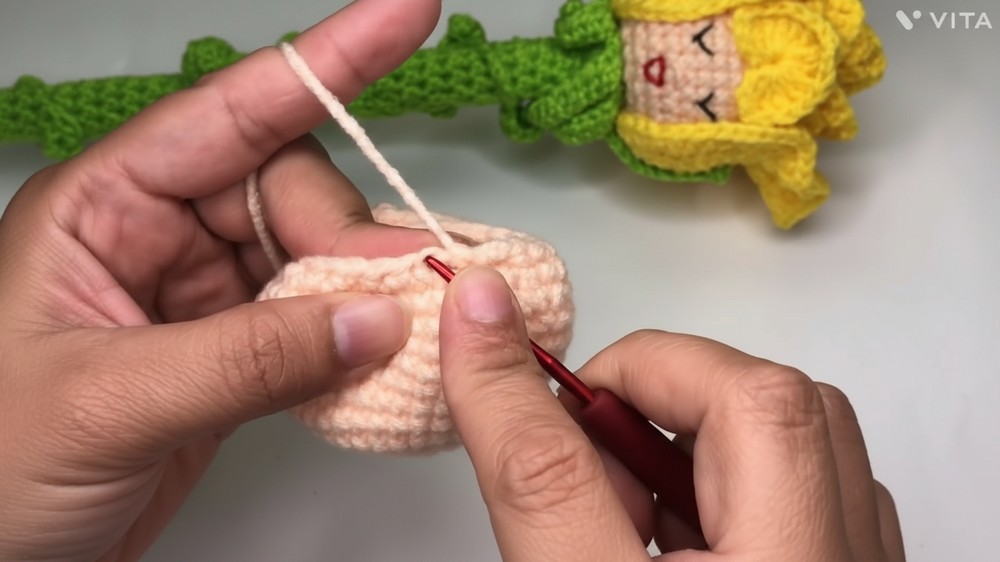
Rounds 4–11:
6. Work 1 sc in each st around for 8 rounds. (36 sts per round)
Finish each round with sl st.
Round 12:
7. [1 sc in next st, dec] repeat around. (24 sts)
Use invisible decrease (front loops only).
Round 13:
8. [1 sc in next st, dec] repeat around. (16 sts)
Stuff firmly with fiberfill.
Round 14:
9. [1 sc in next st, dec] repeat around. (11 sts)
Round 15:
10. [1 sc in next st, dec] repeat around, closing until only a small hole remains.
– Leave hole open for wooden stem insertion.
– Fasten off, leaving tail for sewing if necessary.
2. Rose Petals (Wrap-style Rose Top)
With petal color:
- Ch 34.
- Row 1: Begin in 3rd ch from hook: hdc in each ch across (32 hdc).
- Row 2 (Start fan/petals):
- Ch 3 (counts as dc), dc in same st, ch 2, dc in same st.
- Skip 1 st, [dc, ch 2, dc] in next st; repeat to end of row.
- Row 3 (Fan petals):
- Ch 1, turn. Sl st into sp, ch 3.
- In each ch-2 space: Work 8 dc (except first, which has 8), sl st to next space (fan separation).
- On final fan, work same sequence.
- Wrap petal strip beginning at section with 8 dc; roll into a rose shape and sew or glue base to secure.
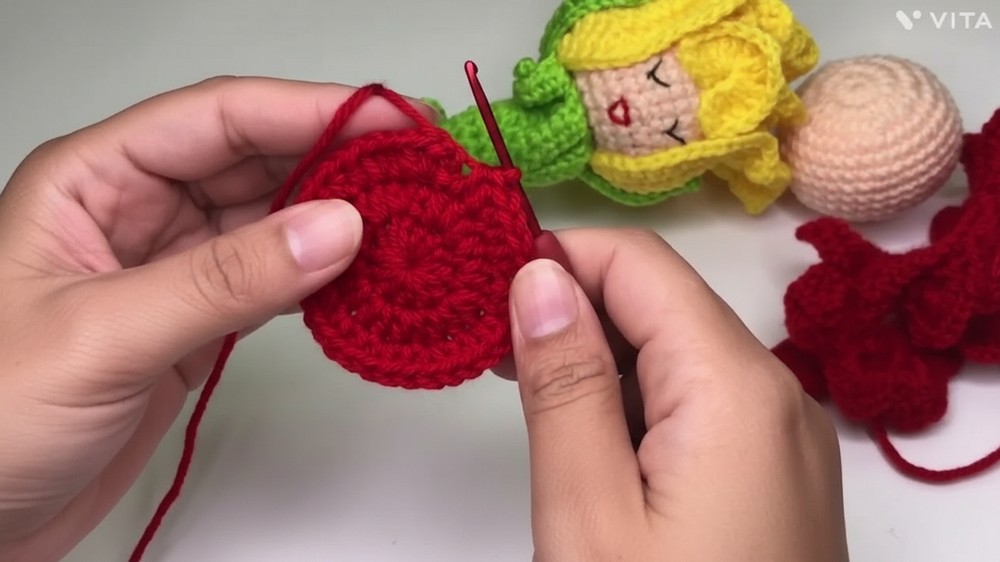
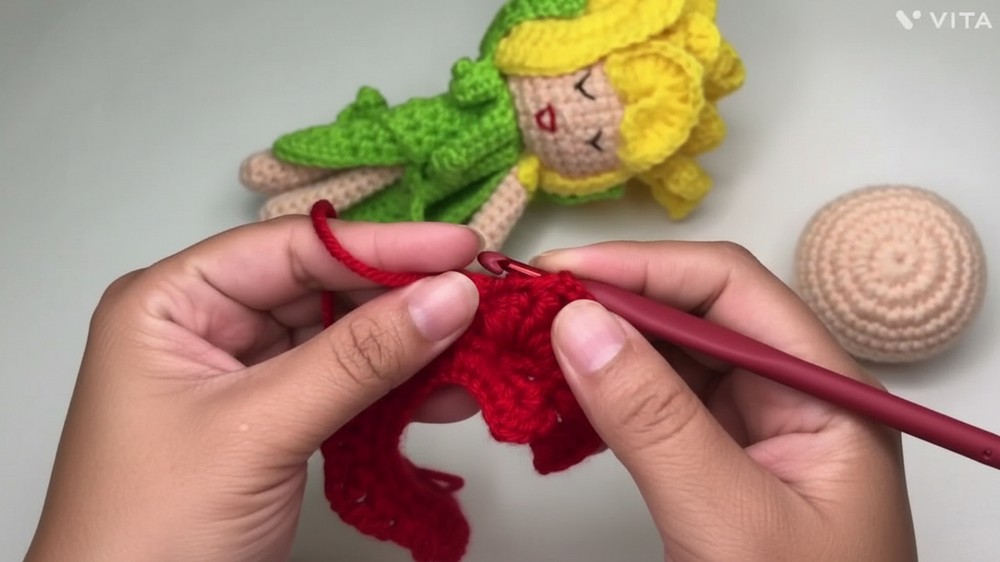
3. Large Petals (Make 3; these are outer petals for head)
With petal color:
- MR, ch 2.
- Round 1: 12 hdc in ring.
Sl st to first hdc.
Round 2:
3. Inc in each st: 24 hdc.
Sl st to first hdc.
Round 3:
4. Inc, 1 hdc repeat. (36 hdc)
Sl st to first hdc.
Round 4:
5. Ch 2, work 10 hdc.
Then, 8 increases of 2 dc in each st (16 dc total).
- Ch 2, repeat same increases for other half.
Round 5:
6. 10 hdc across.
Fasten off.
Make 3 petals.
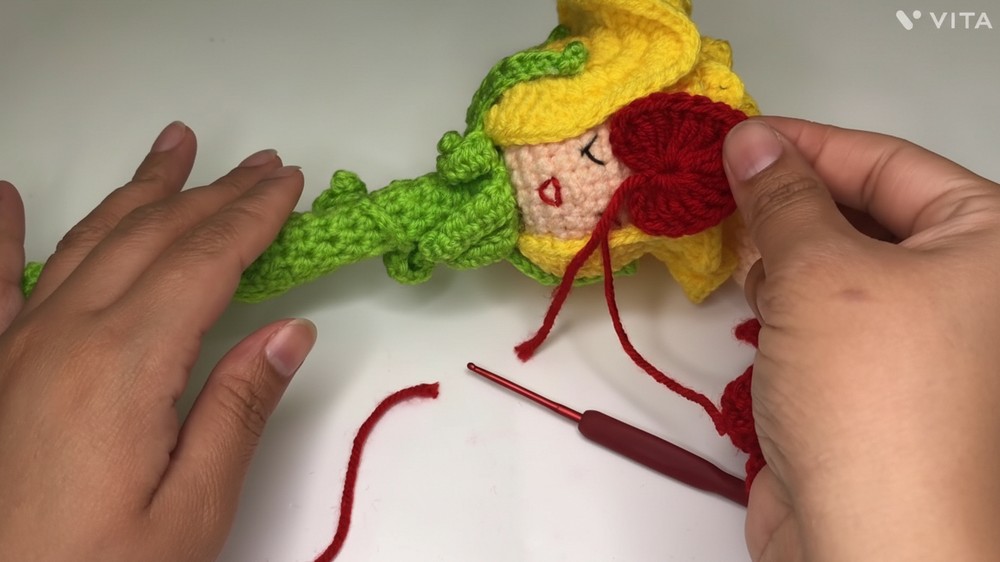
4. Small Front Petal (Make 1; for center front of rose)
With petal color:
- MR, ch 4.
- Into ring: 6 tr, 2 ch, 1 tr, then repeat 6 tr, ch 4.
- Sl st to close.
- Fasten off.
Make 1 small petal.
5. Calyx (“Chalice”)
With calyx (green) color:
- MR, ch 2.
- Round 1: Work 24 dc in ring.
Do not close fully, to allow for stem insertion.
Sl st to first dc. - Calyx “Leaves”:
- Ch 11, then:
- 5 sc in first 5 chains,
- 5 hdc in next 5 chains,
- Skip 2 st of base, sl st to 3rd.
- Repeat for total 8 calyx leaves.
- Ch 11, then:
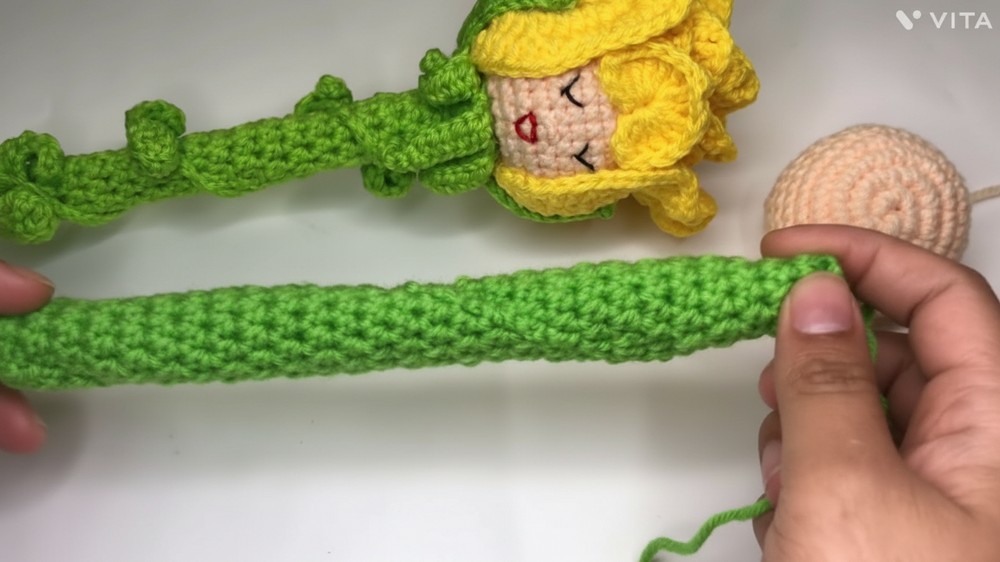
6. Stem Cover
With stem color:
- MR, ch 2.
- Round 1: Work 10 hdc in ring.
Sl st to first hdc. - Rounds 2–34:
Ch 2, hdc in each st around; close with sl st each round. - Make enough rounds to cover stick, but leave a bit open so it can be inserted into rose head for stability.
- Insert stick after completion.
7. Leaf Clusters (“Side leaves”)
With leaf color:
- Ch 18.
- Next row: sc in 2nd ch, hdc in next ch, dc in next 3 ch, hdc in next ch, sc in next ch (leaf formed).
- Ch 8.
- sc in 2nd ch, hdc in next, dc in next 3 ch, hdc, sc.
- Pass strand between leaves and repeat: total 7 clusters (14 leaves).
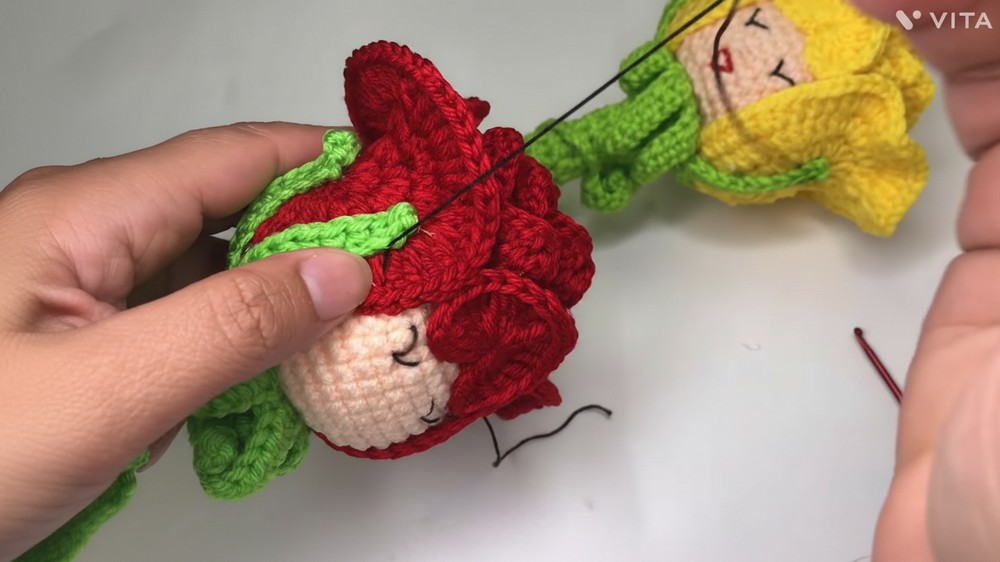
8. Assembly
- Attach calyx to stick and insert stick into rose head, applying glue at base for support.
- Fold calyx leaves and glue as instructed, leaving some leaves unglued for realism.
- Arrange and glue large petals at base of rose as desired.
- Position and glue small front petal.
- Attach leaf clusters around stem as desired.
- Embroider face: Eyes, mouth, nose as preferred, or use safety eyes.
Conclusion
This crochet rose includes amigurumi techniques for a sturdy “head,” fancy petal arrangements, and realistic seamed calyx and leaf elements. The thick covered stem provides durability and realism, perfect for gifts or home display.
Pattern Correction
- Ensure magic ring is closed securely; do not close head’s final hole completely so stick can be inserted.
- Adjust number of calyx leaves or petals as desired for design variations.
- Count stitches each round for accuracy.
Tips
- Use craft glue for faster assembly; sewing is better for durability.
- Block petals gently for best effect before assembly.
- Stuff firmly, but do not overstuff to keep shape neat.
- Place safety eyes before closing head if desired.
https://www.youtube.com/watch?v=bzSsXEXUaVw
Leave a Reply