
Jump into creativity with this easy, customizable crochet swimsuit pattern that lets you craft your perfect beach-ready look with style and comfort.
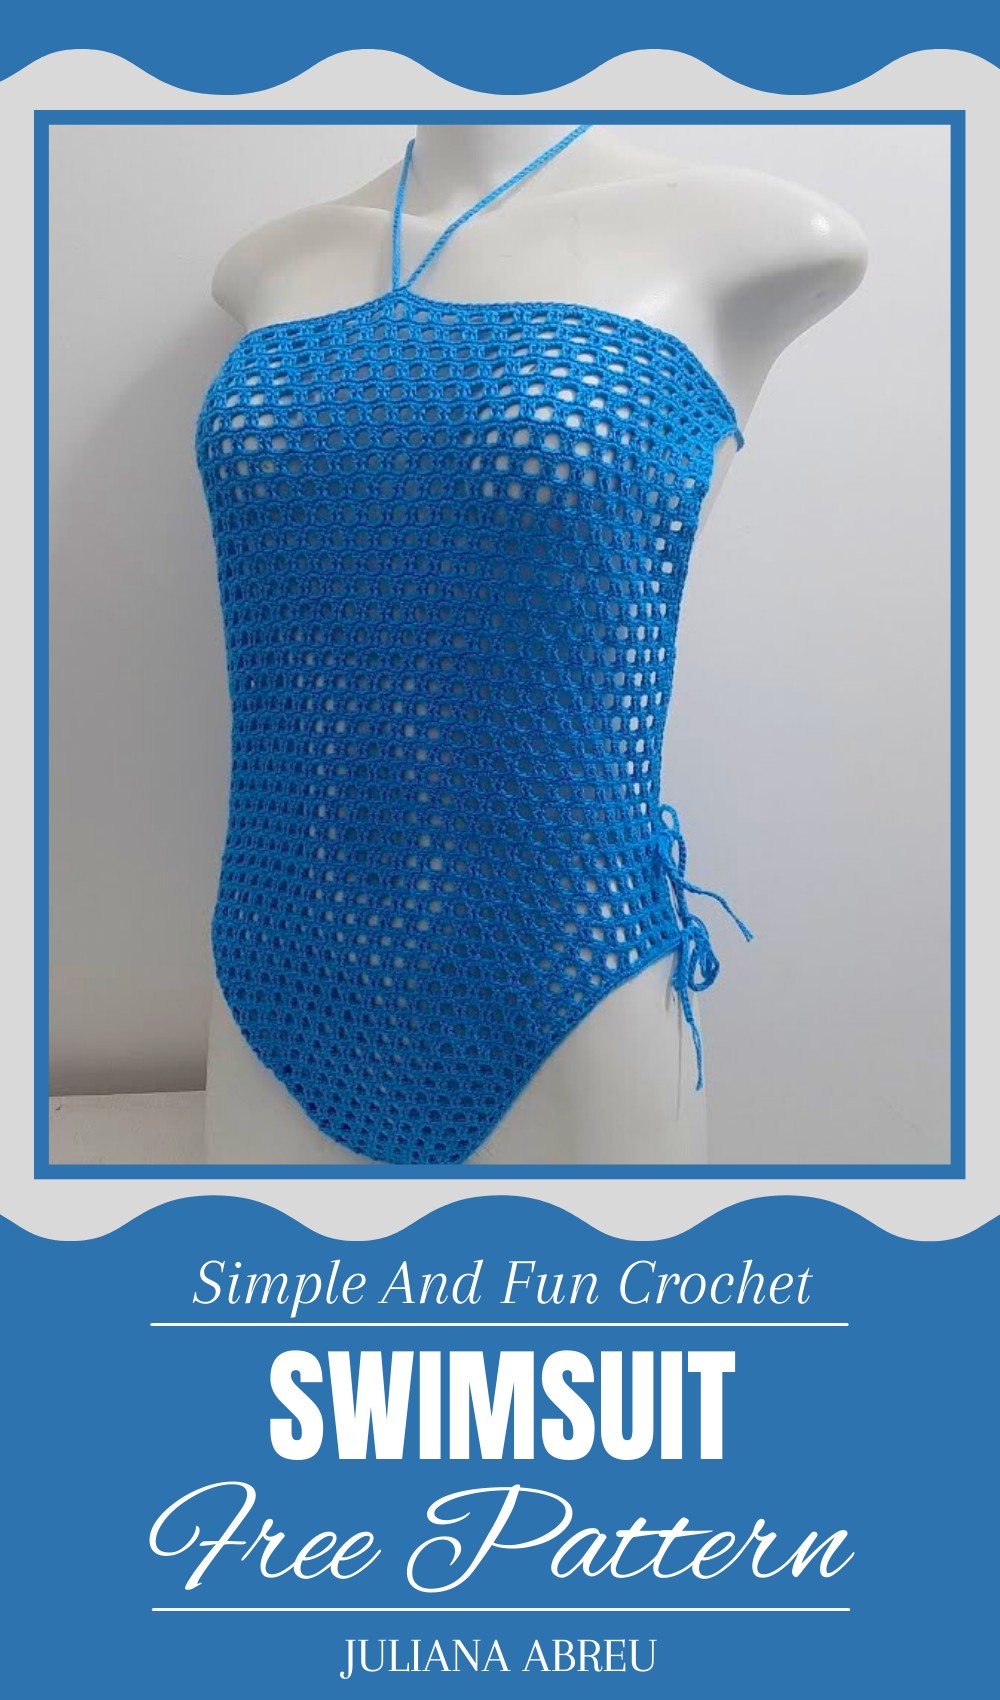
Stunning Crochet Swimsuit Pattern You’ll Love to Wear
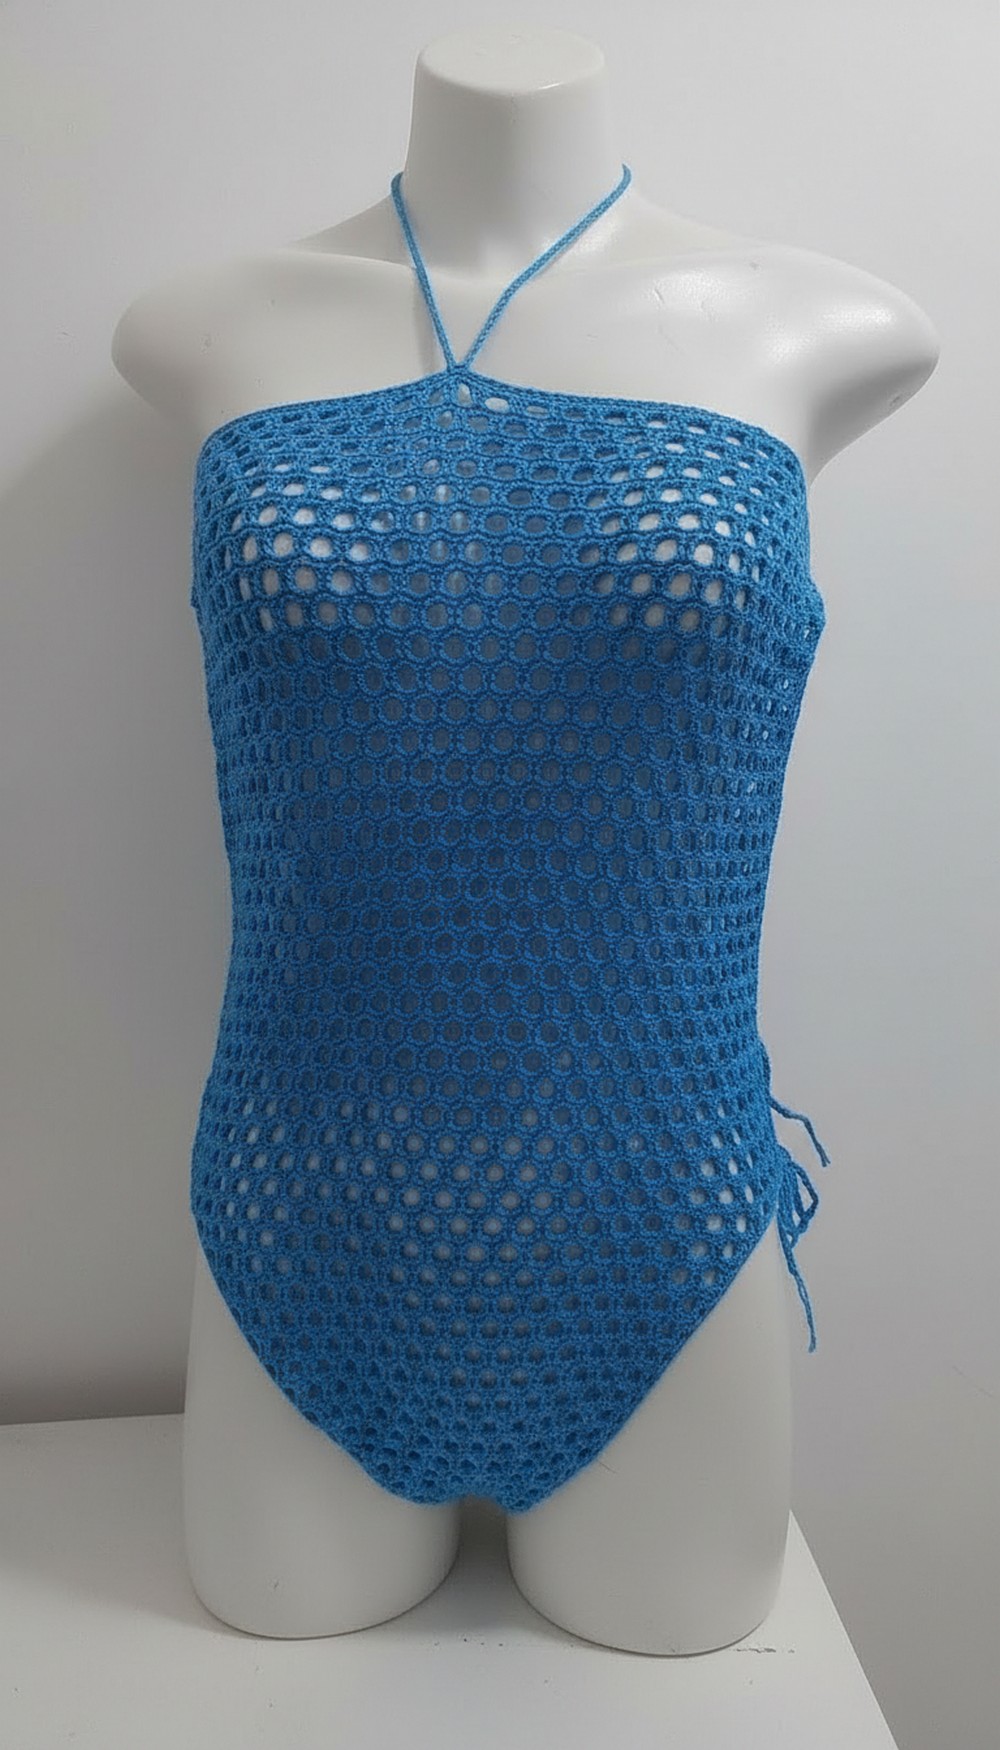
Make classy waves wherever you go with a stunning, handcrafted swimsuit that blends elegance and comfort effortlessly. Its design is thoughtfully made to fit every shape and size, offering adjustable ties to ensure the perfect, personalized fit. Whether lounging by the pool or enjoying a beach day, this swimsuit exudes charm and sophistication.
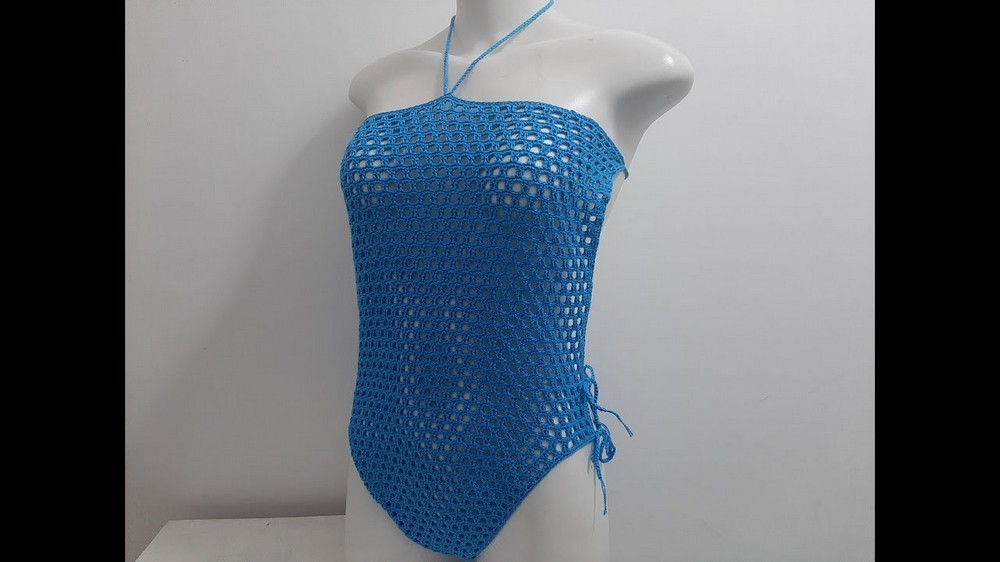
The intricate stitchwork adds a touch of artistry, making each piece truly unique and special. Beyond its beauty, it provides durability and ease of movement, allowing you to feel confident and free. A perfect choice for those who cherish craftsmanship and style, this swimsuit turns a simple swimwear piece into a timeless fashion statement you’ll adore season after season. Embrace comfort and grace in every stitch.
Crochet One-Piece Swimsuit Pattern
Difficulty Level: Intermediate
Requires knowledge of chain stitches, double crochet (dc), single crochet (sc), increases, decreases, and reading crochet charts or instructions line-by-line.
Pattern Overview & Special Features:
- Customizable Width & Height: Start by defining the groin width using multiples of four chains plus one.
- Two-row Stitch Alternation: Alternate rows of double crochet and single crochet for texture and stretch.
- Increment Rows: For shaping around the groin, increase stitches regularly.
- Back & Front Integration: Crochet the front and back parts separately with consistent stitch patterns and join.
- Side Seam & Edging: Use single crochet decreases along the side for shaping and firmness.
- Ties: Create chains with double yarn to make strong, adjustable straps for tying.
Step-by-Step Crochet Directions:
Step 1: Base Chain Foundation for Groin Width
- Chain: Start with a base chain multiple of 4 + 1 additional chain for turning (i.e., 25 chains for an ~8 cm width).
- This chain forms the width around the groin (called “the horse” in the tutorial).
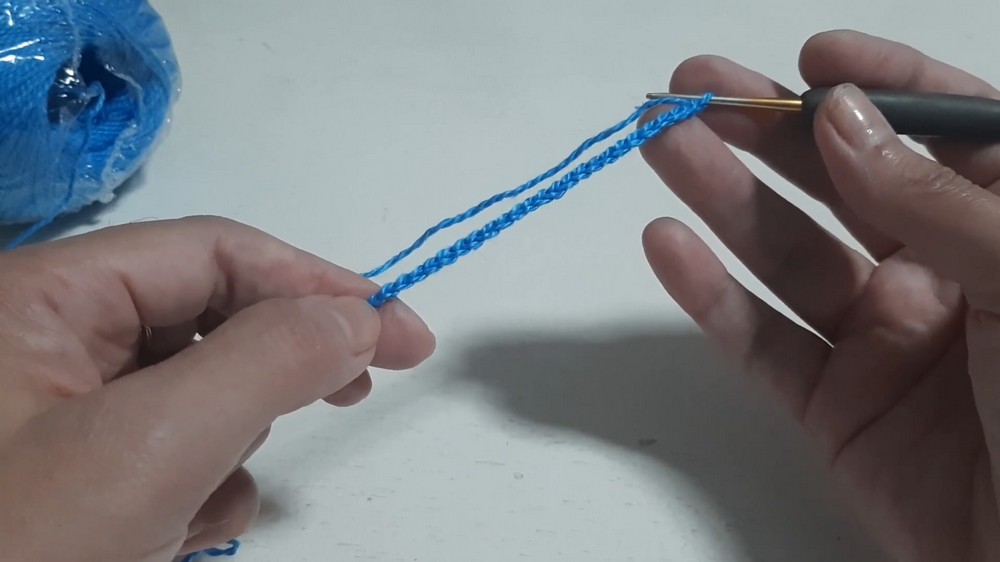
Step 2: First Row (Row 1 – Double Crochet Foundation)
- Ch 3: Counts as first double crochet (dc) stitch.
- Dc in each chain: Starting from the 5th chain, make one dc over each chain until the end (total 21 dc + 3 turning chains).
- Turn.
Step 3: Second Row (Row 2 – Double Crochet)
- Repeat ch 3, dc in each dc stitch of previous row, finishing last dc in top of the 3-ch turning chain from previous row.
- Turn.
Step 4: Work 12 Rows (or until approx. 10 cm in height) of double crochet rows, starting each with 3 ch.
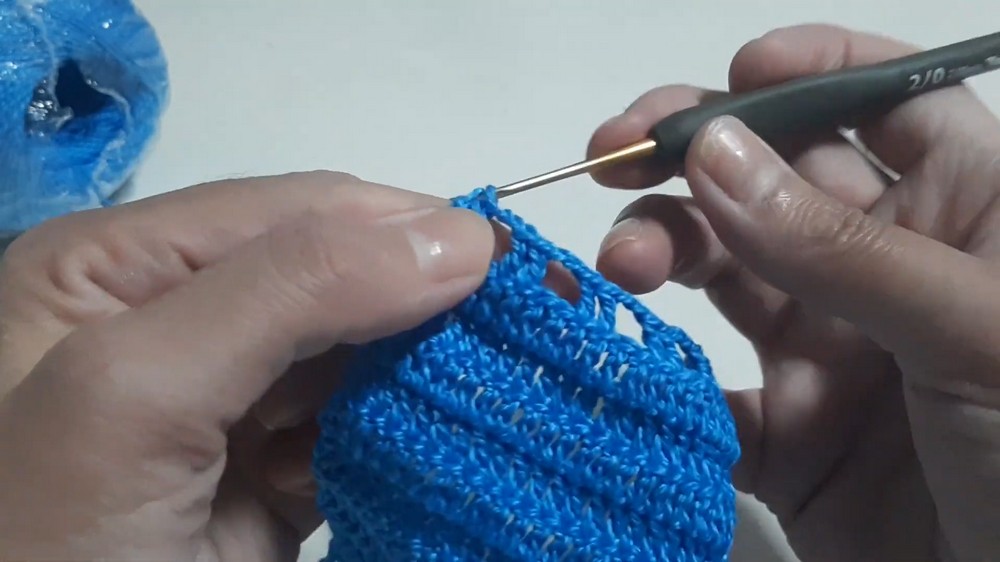
Step 5: Begin Alternative Stitch Pattern for Shaping (Row 13 and onwards):
- Start with ch 3 (counts as dc), then:
- Make dc in first dc base.
- Chain 2, skip 2 stitches, dc in next 2 stitches.
- Repeat chain 2, skip 2, dc 2 along the row for openwork effect.
- Finish with last double crochet in initial 3-ch turning chain.
Step 6: Next Row (Row 14) – Single Crochet Row
- Chain 1, turn.
- Single crochet (sc) in each dc and chain space of previous row
- Turn.
Step 7: Increase Rows (Alternating Rows 15-28 approx.)
- Alternate between:
- Openwork pattern rows with increases using dc and chain 2 spaces (like Step 5).
- Solid single crochet rows (like Step 6).
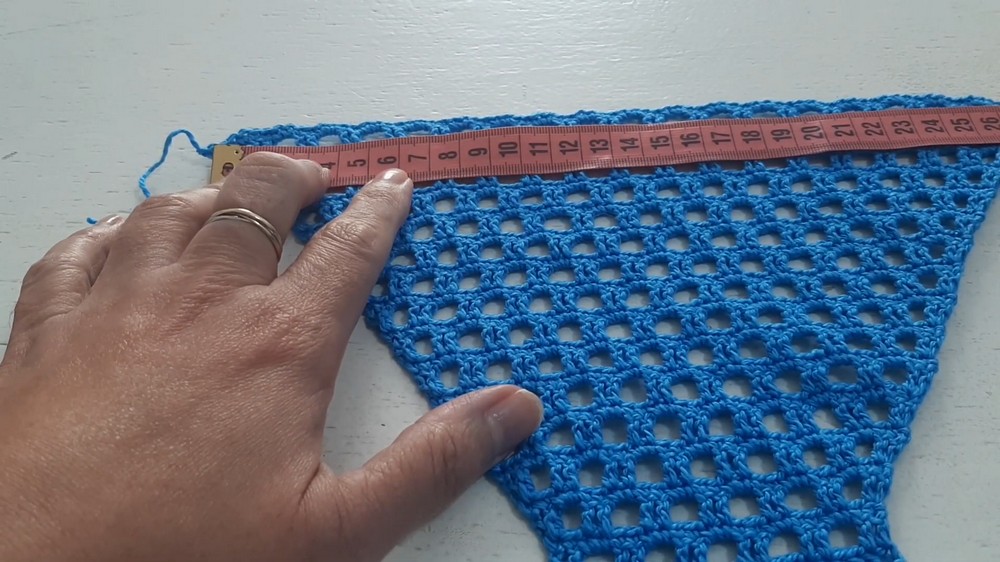
- Increase width by adding extra chain 2 spaces on each side (4 squares each side recommended) to achieve the desired groin width.
- Monitor width by measuring, aiming for around 17 cm wide and 9-11 cm high in groin area.
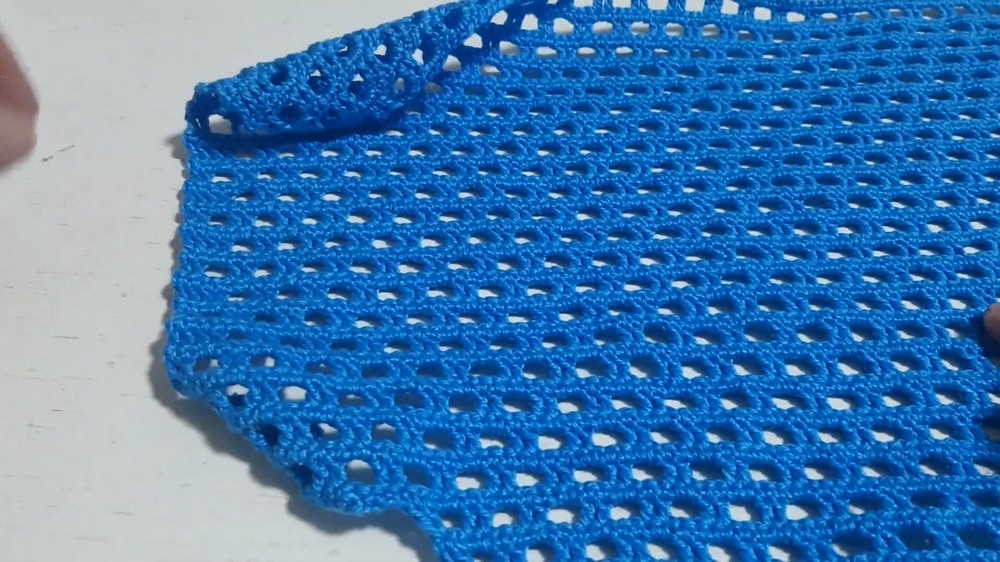
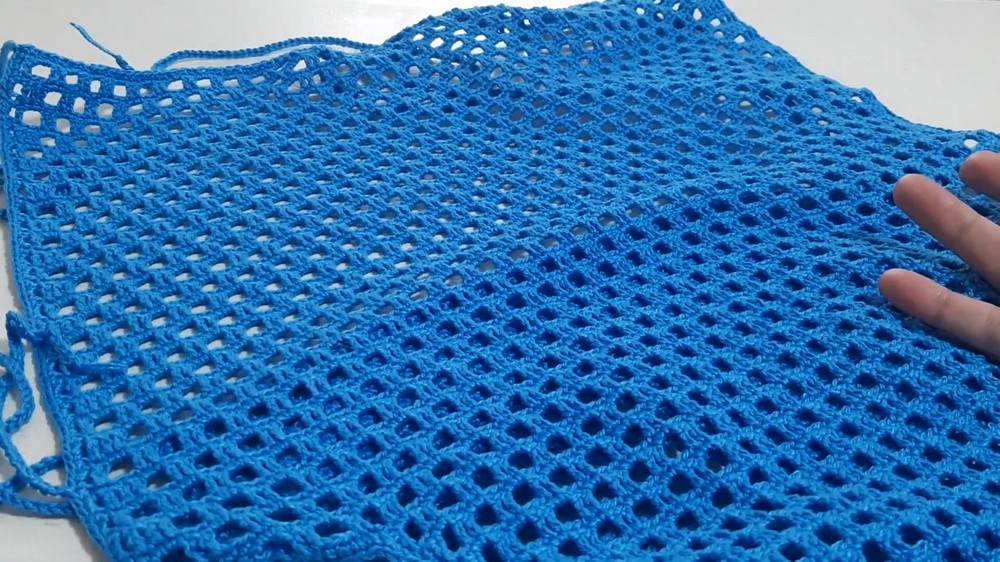
Step 8: Front Part Finishing
- End front panel with a full solid row of single crochet stitches (about 28 rows after starting increases) to reach around 48 cm length from the groin hole.
- Finished width typically about 27 cm (considering stretch).
Step 9: Start Back Part (Working from initial thread start)
- Repeat the same pattern and stitch counts as front part for symmetry.
- Use the same increase pattern to ensure front and back widths and heights match.
- Stitch back part to the front or plan for seaming later.
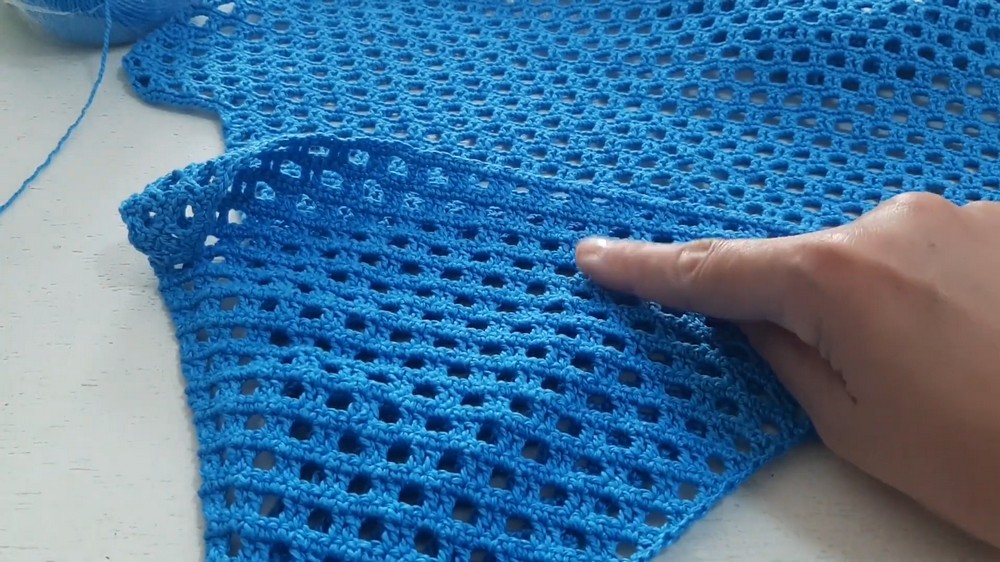
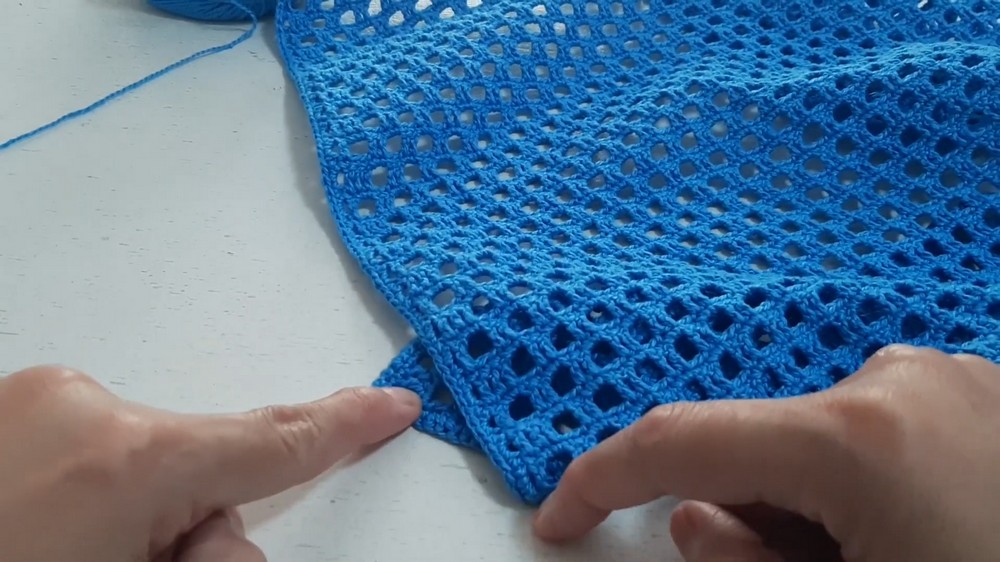
Step 10: Side Seam and Edging
- Join front and back by working sc stitches along the side edges.
- To shape sides, decrease along edges by crocheting two sc together (sc2tog) three times near the top tightening the fit.
- Work double sc rows along sides for firmness.
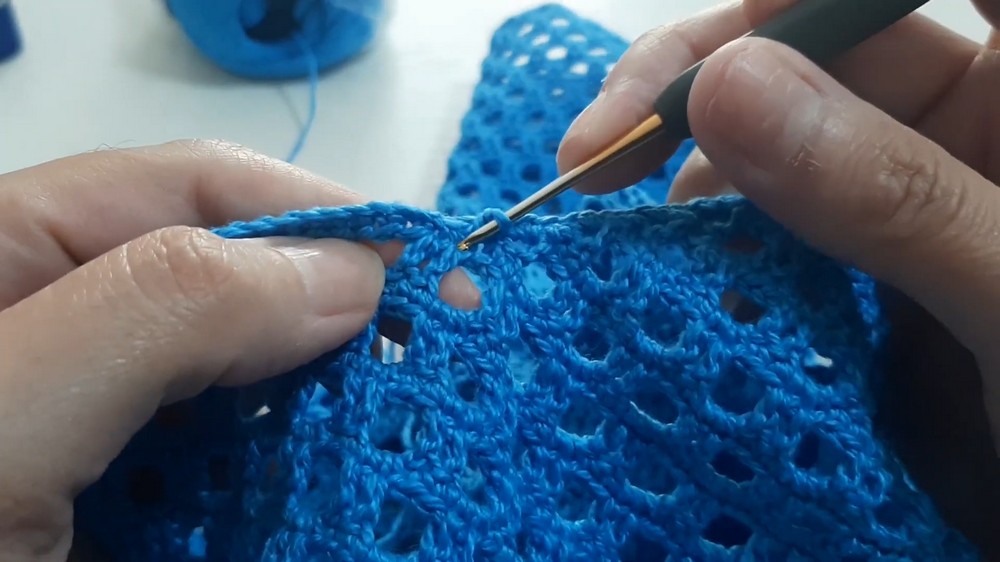
Step 11: Groin Edging
- Add firm edging using sc stitches on the inside along groin area for resistance and shape retention.
Step 12: Ties
- Using two yarn strands held together, create long chain ties (~40 cm each side) for top and bottom tie closures.
- Attach ties to the top front and back center points.
- Tie as desired to ensure custom fit.
Tutor’s Suggestions:
- Swatch first: Create a small swatch using Anne yarn and size 2 crochet hook to check your gauge and adjust chain numbers accordingly.
- Measure frequently: Continuously measure width and height as you crochet to ensure fit matches your preference.
- Use elastic thread: Consider adding elastic thread along inner edging for better stretching and form-fitting.
- Take your time: The alternating rows initially may feel repetitive but create great texture and fit.
Tips:
- Use stitch markers at the start and end of rows to keep track of chains and increases easily.
- For a stronger swimsuit, add a lining fabric or crochet a lining layer separately and sew inside the piece.
- Adjust chain numbers in multiples of four plus one to expand or reduce size easily without changing stitch pattern.
Conclusion:
This customizable crochet swimsuit pattern allows you to make a one-piece suit perfectly fitted to your body, with beautiful stitch detail and structure. The careful alternation of double and single crochet stitches combined with increases and decreases gives both flexibility and firmness.
Leave a Reply