
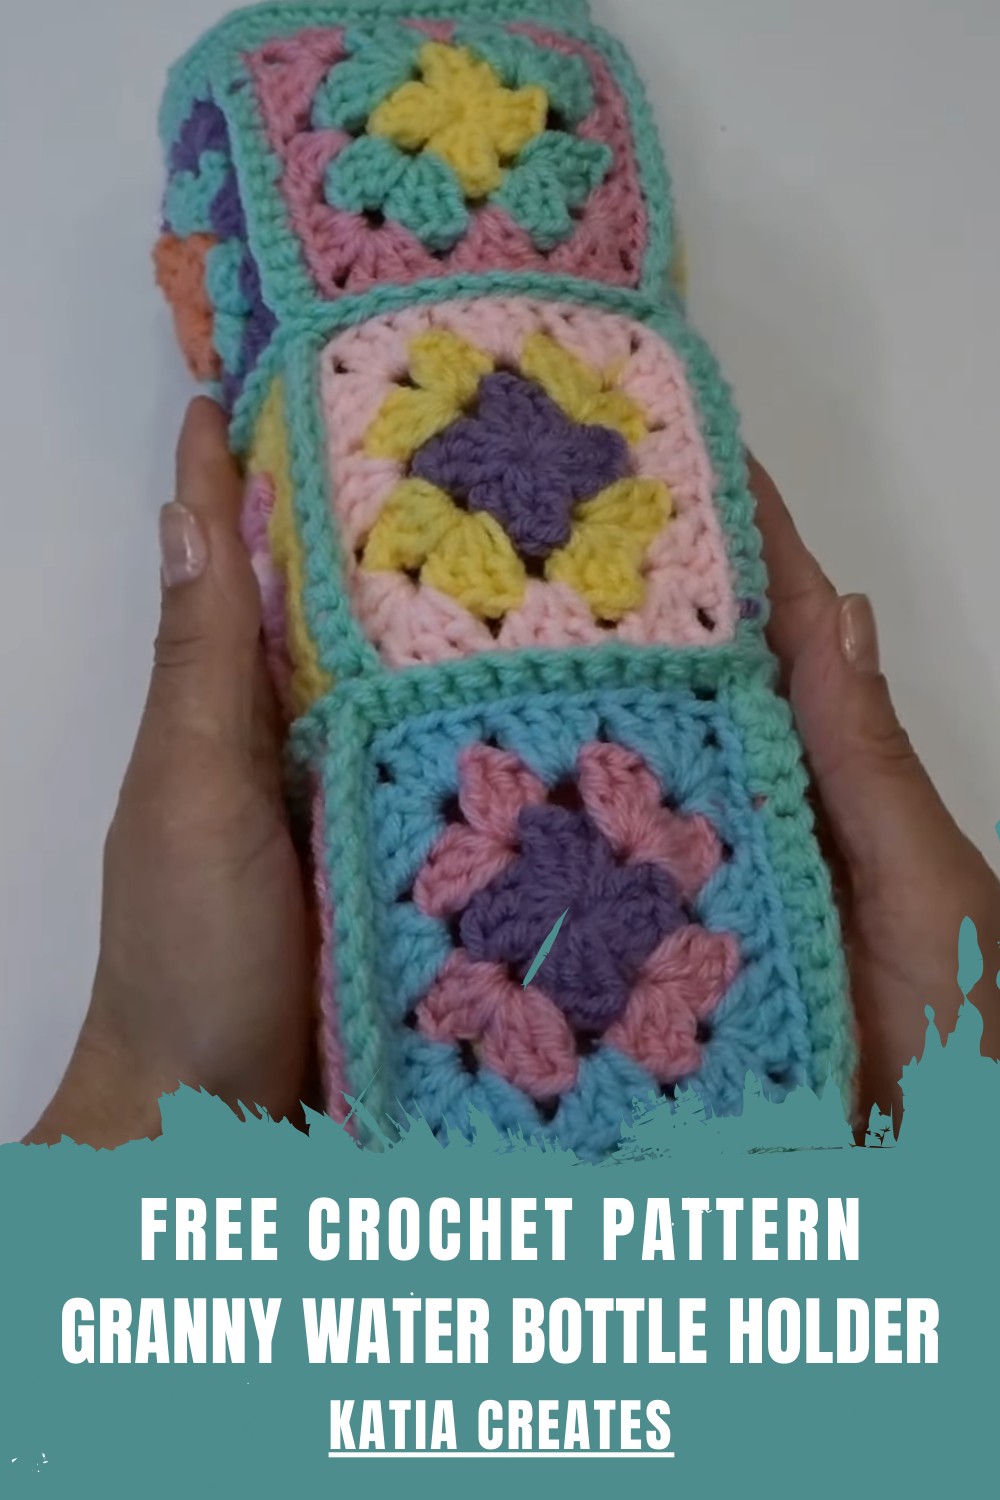
Carry hydration in style with the Crochet Granny Water Bottle Holder Pattern, a handy handmade accessory offering comfort, color, and everyday ease.
Bright colors and classic stitches come together in a practical accessory that feels both nostalgic and useful. This granny-style holder offers a smart way to carry a water bottle hands-free while keeping it protected during daily routines. Made with sturdy yet flexible stitches, it comfortably supports the bottle’s weight and reduces the need for plastic bags or bulky carriers, making it a reusable and eco-friendly option.
Crochet Granny Water Bottle Holder Pattern With Neat Square Style
One of its biggest advantages is versatility. It can be used during walks, workouts, school runs, picnics, travel, or even hung on a stroller or backpack. The open granny squares allow airflow, helping bottles dry faster and preventing moisture buildup. The adjustable strap adds comfort and convenience, especially for long use.
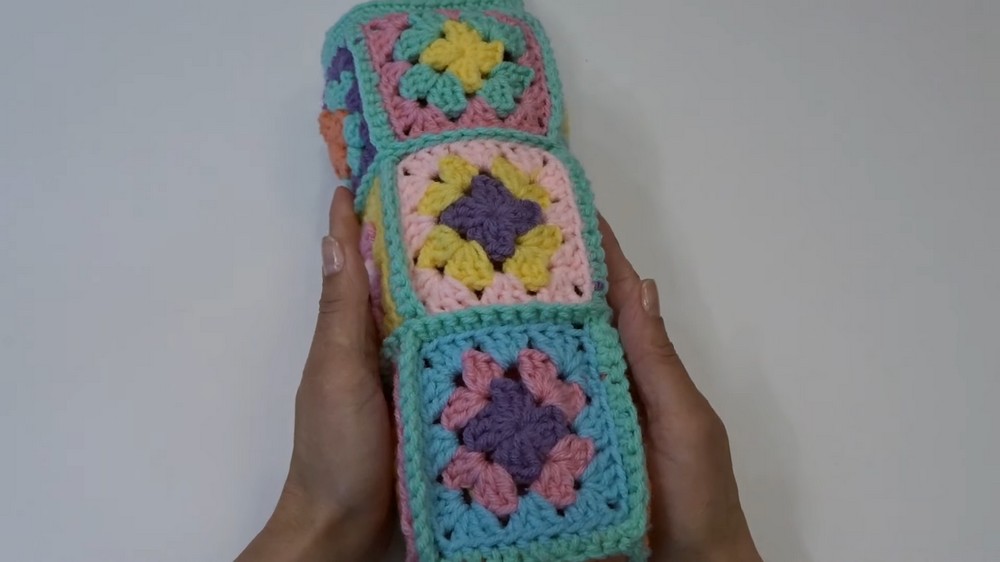
Beyond function, the Crochet Crochet Granny Water Bottle Holder Pattern stands out for its cheerful appearance. Color combinations and textured squares give it a charming handmade look that suits casual outings, gifting, or craft fairs. It’s a simple way to mix style with everyday usefulness.
Crochet Granny Square Water Bottle Holder
Materials Needed
To complete the project, you’ll need:
- Yarn: Scrap yarn (medium weight, #4), 100% acrylic recommended.
- Crochet Hook: 4 mm hook (or adjust hook size if needed).
- Needle: For weaving in yarn tails.
- Scissors: To cut yarn as needed.
Step-by-Step Instructions
Step 1: Create the Granny Square (Round 1)
- Start with a slip knot and chain 4.
- Slip stitch into the first chain to form a ring (alternatively, you can use a magic ring).
- Chain 3 (this acts as the first double crochet).
- Work 2 double crochets into the ring.
- Chain 2, then work 3 double crochets into the ring.
- Repeat the chain 2 + 3 double crochet cluster two more times, ensuring you have 4 clusters. Adjust spacing between stitches by pushing them aside if it gets tight.
- End the round by chaining 2 and slip stitching into the top of the 3rd chain from the beginning of the round to close.
- Pull the yarn end tightly to close the ring’s center, then cut your yarn and fasten off.

Step 2: Build Round 2
- Attach a new color into any chain-2 space.
- Chain 3 (counts as the first double crochet). Work 2 double crochets into the same chain-2 space.
- Chain 2, then work 3 more double crochets into the same chain-2 space (forming a corner).
- Move to the next chain-2 space. Work 3 double crochets, chain 2, and another 3 double crochets in the same space.
- Repeat this pattern for all chain-2 spaces.
- To finish the round, slip stitch into the top of the 3rd chain of your first double crochet cluster. Fasten off.
Step 3: Complete Round 3
- Attach a new color in any chain-2 corner. Chain 3 (first double crochet) and work 2 double crochets into the same corner space.
- Chain 2, work 3 more double crochets in the same space (forming another corner).
- In between clusters of double crochets (the spaces between clusters from Round 2), work 3 double crochets.
- Continue this pattern of corners (3 double crochets, chain 2, 3 double crochets) and spaces (3 double crochets) around the square.
- Slip stitch into the top of the 3rd chain from the first cluster to finish the round.
- Make a total of 13 granny squares for this project.

Step 4: Assemble the Granny Squares
- Start by arranging 3 squares for the shorter sides of the bottle holder and assemble them in sets of 3 for each side.
- Place wrong sides together (the backfaces of the squares touching).
- Begin in a chain-2 corner and work single crochets through the loops of both squares to seam them together.
- Make 13 single crochets for each side, especially in chain spaces and individual stitches.

Step 5: Attach Squares for the Base
- For one of the shorter sides with 3 granny squares, attach a 4th square to form the bottom of the bottle holder.
- Repeat the same technique of placing the wrong side together and single crocheting through the loops to attach.
- Assemble the remaining granny squares to the bottom square, forming a container shape as you work.
Step 6: Seam the Long Sides
- Once you’ve formed the “container” base, attach the long sides by single crocheting through the edges to form a cohesive piece.
- Align your stitches and ensure the edges are symmetrical.

Step 7: Add Finishing Rounds
- Add rounds of single crochet stitches around the opening to create a finished edge.
- Work about 2–3 rounds, ensuring each stitch is even and neat.
Step 8: Create the Strap
- Attach yarn to one of the corners of the granny square at the opening.
- Work 4 single crochets across your chosen section.
- Turn your work (no chaining) and continue rows of 4 single crochets repeatedly.
- Create enough rows to achieve your desired strap length (about 94 rows or 24 inches recommended).
- Seam the strap’s end to the opposite side of the square using slip stitches.
Step 9: Final Steps
- Secure all loose yarn ends by weaving them back into the stitches using a needle.
- Trim excess yarn for a clean, polished finish.
Special Features
- Customizable Size: You can adjust the size by using fewer granny squares or adding/removing rows of single crochets in the strap.
- Sturdy and Reusable: This water bottle holder is durable and lightweight, perfect for everyday use.
- Scrap Yarn Project: A fantastic way to utilize leftover yarn.
Level of Difficulty
This project is beginner-friendly but requires knowledge of basic stitches (e.g., chain, single crochet, double crochet). Attention to alignment and stitch consistency is key to a polished finish.
Tutor’s Suggestions
- Start Small: If you’re new to granny squares, practice making a few before assembling them.
- Use Stitch Markers: They will help you track corners and alignment during assembly.
- Be Creative: Experiment with multiple color combinations for a vibrant design.
Uses of the Water Bottle Holder
- Practical Utility: Perfect for hikes, walks, or errands, keeping your hands free.
- Eco-Friendly Accessory: Encourages reusable bottles and reduces waste.
- Gift Idea: A thoughtful and customizable handmade gift for friends and family.
Pro Tip
To keep your granny squares uniform in size, ensure your tension remains consistent throughout. Additionally, blocking your squares before assembling them will help make the final product more polished.
Conclusion
The granny square water bottle holder is a practical and creative way to master the art of crochet while creating an eco-friendly accessory. With this guide, you can bring the tutorial’s instructions to life and customize your holder to suit your needs.
Leave a Reply