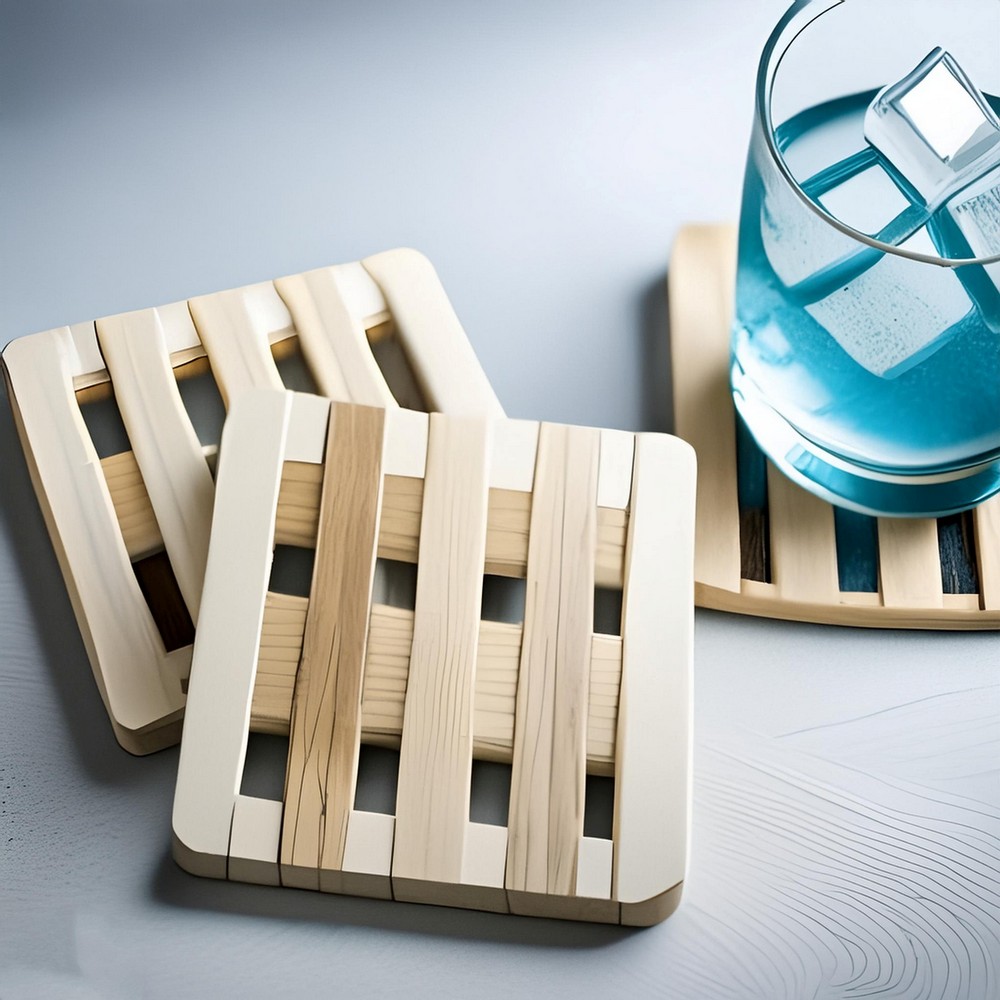
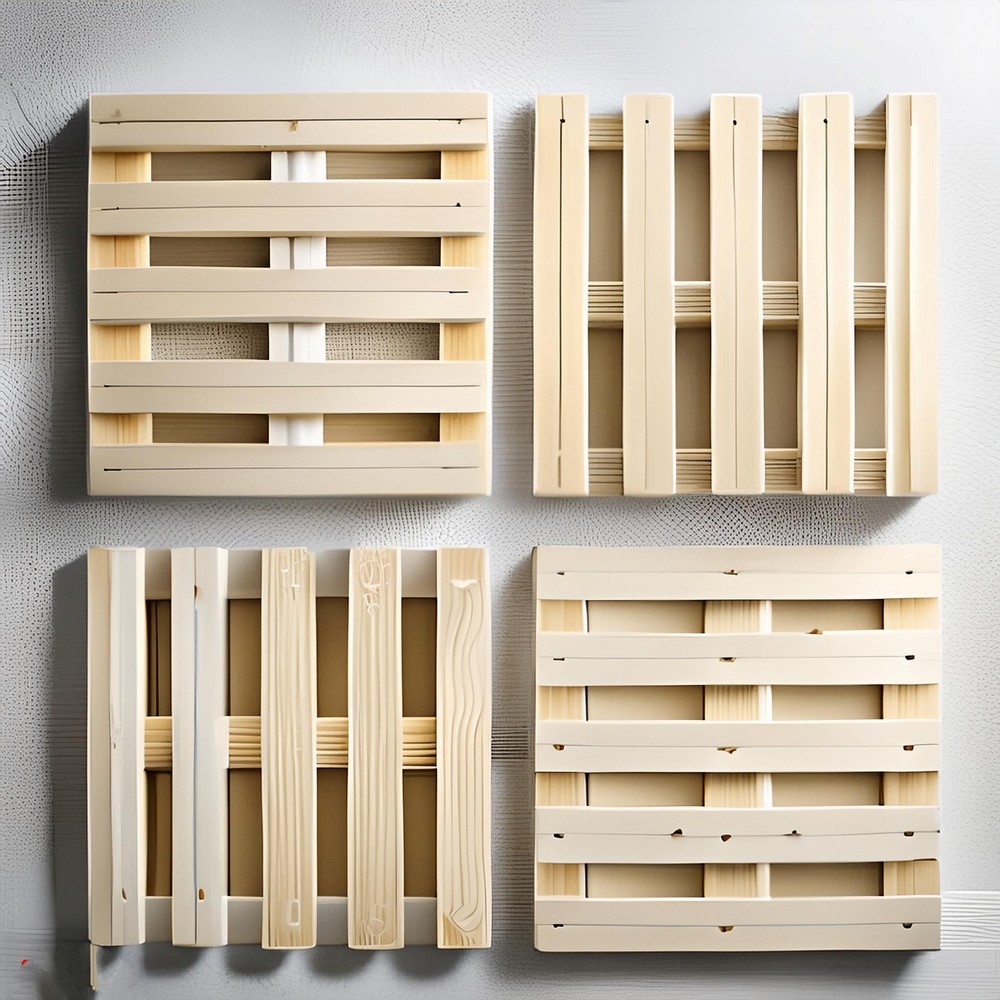
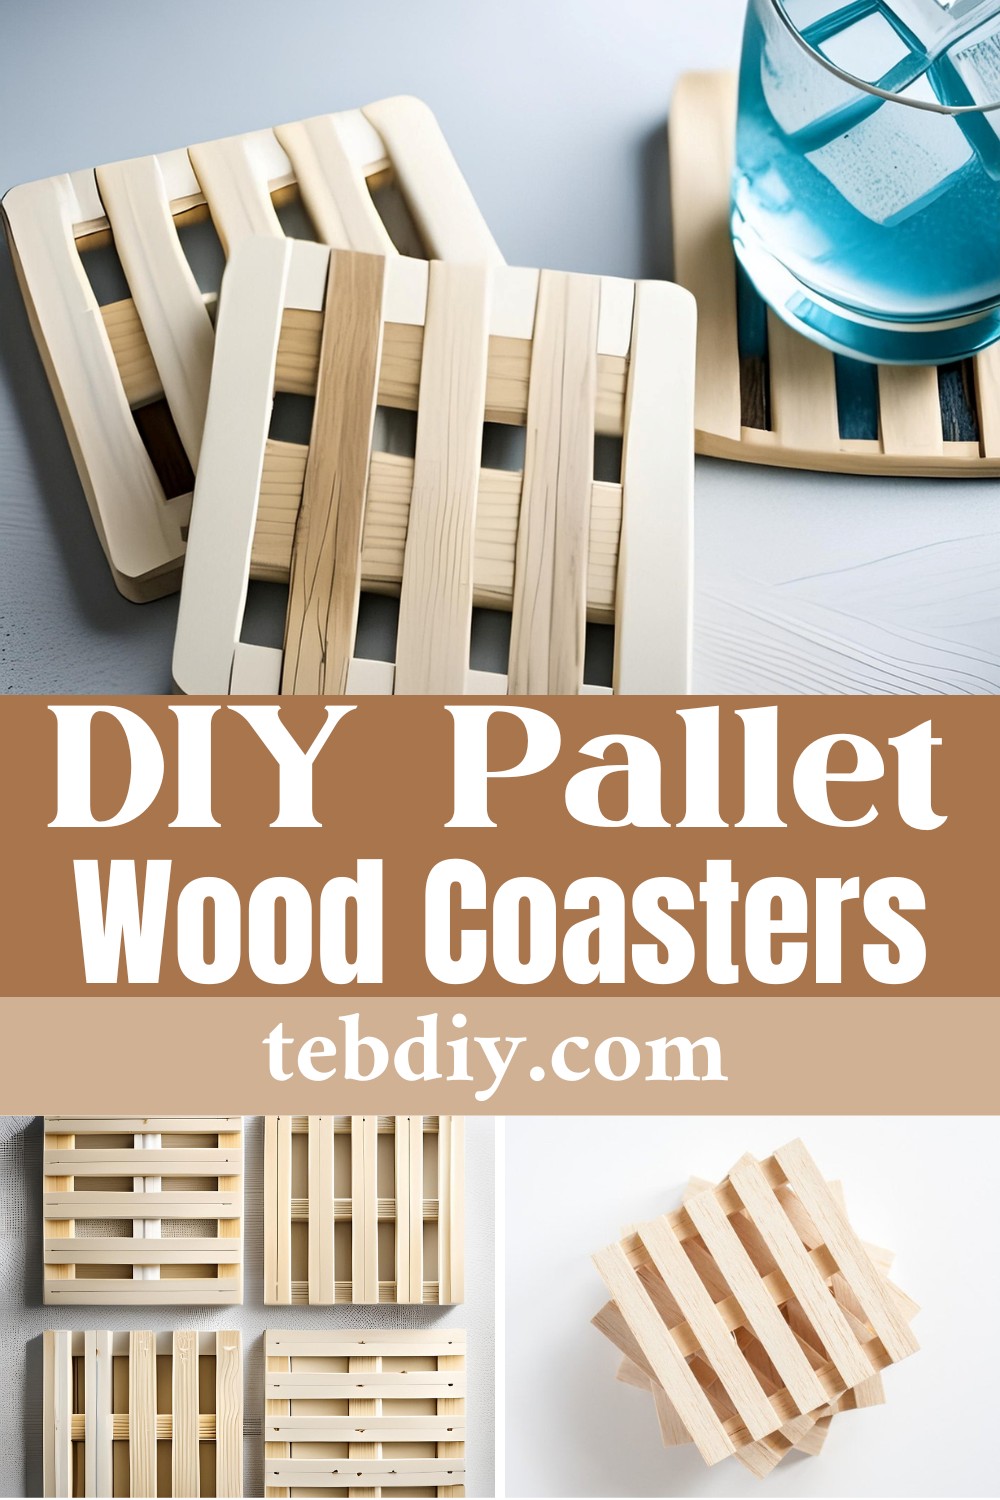
DIY wooden pallet coasters are a budget-friendly craft that costs less than $5 for materials, excluding tools. Made from dowels cut into 4″ pieces and assembled with wood glue, they offer a trendy, miniature pallet look for mugs. The coasters keep natural wood finish, unstained and unpainted, highlighting the raw beauty of the wood grains and ensuring they complement a wide range of decor styles.
DIY Pallet Wooden Coasters
With this simple DIY project, you can create charming miniature wooden pallet coasters. They might be more suited to decorative use or on an outdoor table setting, especially if you enjoy a cold beverage that sweats in the summer heat. This project introduces a way to craft miniature wooden pallet coasters perfect for adding a rustic touch to your tabletops.
Materials List
- Square Dowels
- Rectangular Dowels
- Wood Glue
Tools Required
Any type of wood saw that you have access to or prefer.
This could be a table saw, miter saw, or even a hack saw.
Step-by-Step Instructions
Preparing the Pieces
Begin by cutting the dowels into 4″ lengths. It’s important to remember that each cut will reduce the length of your dowels slightly due to the width of the saw blade. Typically, a table saw might remove about 1/8″ of wood with each cut, so plan for eight 4″ pieces per dowel, with a bit left over.
Step 2: Assembling Your Coasters
For each coaster, you’ll need three square dowel pieces and five rectangular dowel pieces, all cut to 4″ lengths. The square pieces will form the base of your pallet, and the rectangular pieces will sit atop the planks.
Step 3: The Art of Gluing
Carefully glue the rectangular pieces to the square base pieces, aiming for an even spacing to mimic the top of a real pallet. Remember, a small dab of wood glue goes a long way to avoid any excess that might seep out and stain your coaster.
Step 4: Drying Time
Once you’ve assembled your pallet coaster and it feels stable, set it aside with a weight on top to ensure it dries evenly. For the best results, let it set overnight.
Adding Character with Stain
If you wish to give your coasters an aged or personalized look, feel free to stain them. It’s best to do this after the glue has dried, as staining works better on raw wood.
Once dry, your wooden pallet coasters are ready to grace any surface and ready to hold mugs or glasses. Not only have you created a useful item, but you’ve also crafted something with a story, a piece that sparks conversation and brings a piece of rustic charm to your living space.


Leave a Reply