Make your pup’s next collar as cool as they are by following these super easy plans. They are the best to create awesome dog collars that’ll match your dog’s style perfectly. You can make your furry buddy strut their stuff in a collar that’s just their color – it’ll be amazing! So, put your hands on these simple and fun DIY Dog collar ideas because they are simple and fun too and great for making walk time extra special with a collar you made just for your best pal.
DIY Dog Collar Projects
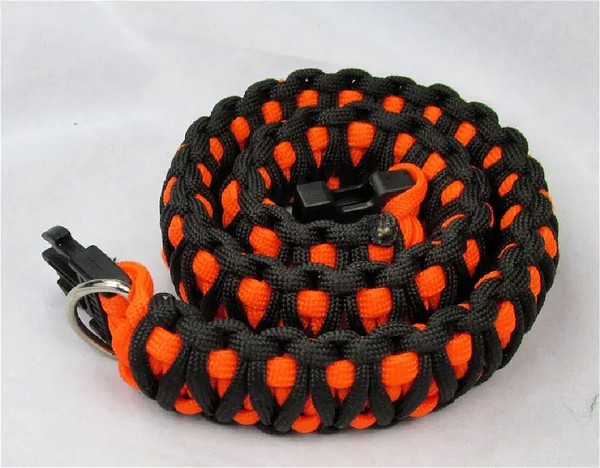
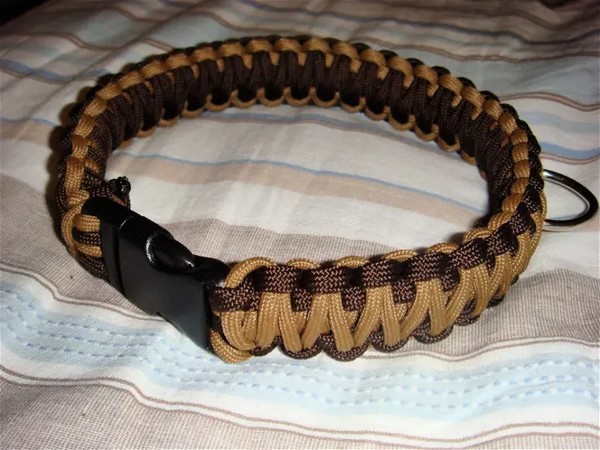
How to Make a Paracord Dog Collar
Uses: A paracord dog collar is more than a stylish accessory for your furry friend. An added advantage is its unique double cobra knot design, which offers not only an appealing look but also extra strength and safety for your dog. And there’s even a ring to attach a leash for those delightful walks!
Materials:
Two pieces of paracord
A buckle (preferably a metal one for larger dogs)
A ring to attach the leash onto
Making:
Firstly, measuring the circumference of your dog’s neck crucial to ensure a comfortable fit. Starting with the first layer, a series of cobra knots made to simulate a slightly oversized bracelet fastened with a buckle. Following this initial cord layer, a second layer of cobra knots is added, giving the collar a wider, more attractive appearance. Remember to fix a ring among the knots in the second layer, where the leash will be attached, offering you complete control while strolling with your pet.
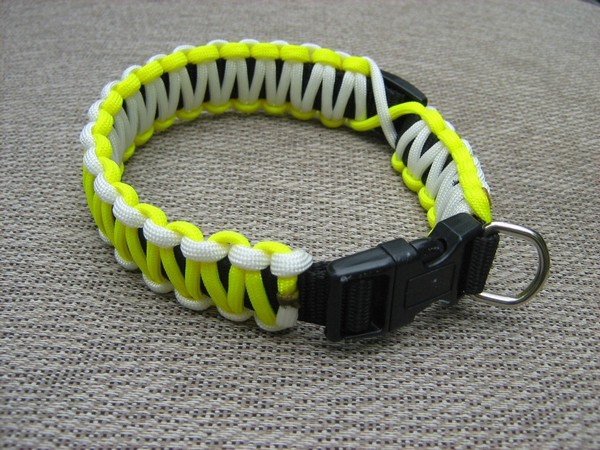
DIY Dog Collar Out of Paracord
Uses: These collars are super robust, providing a safe and comfortable grasp that stands up to energetic play. The collar’s stylish attribute comes from its unique weave pattern, providing both durability and fashion. It has a well-fixed ring for leash attachment, making outdoor explorations a breeze with your pet!
Materials:
Paracord (two colors)
An existing dog collar
Scissors
Lighter
Duct Tape
Making:
Creating a DIY paracord dog collar is a straightforward task! Start by accurately measuring your dog’s neck to ensure a snug fit. You’ll first create a layer of cobra knots on an existing collar (which provides the base). This resembles an oversized bracelet affixed with a buckle. Another layer of cobra knots gets added next, making the collar wider and more attractive. Important: do remember to secure a ring among the knots for leash attachment, granting you full control during outdoor scenarios with your dog.
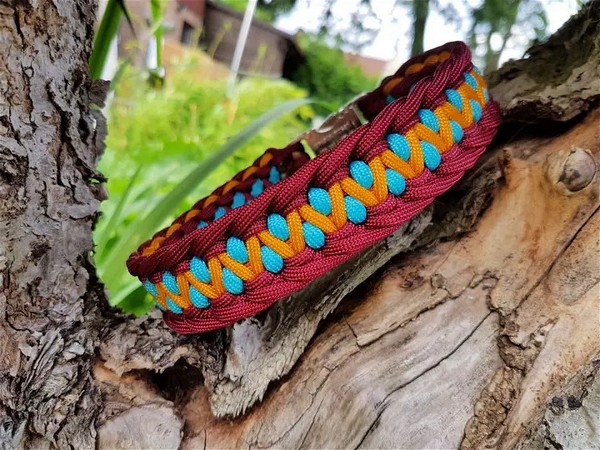
3 Color Paracord Dog Collar DIY
Uses: Apart from extending a remarkable charm to your pet’s persona, these tri-colored collars add an extra layer of safety. A leash ring ensures you and your pet can enjoy those long, scenic walks without worries.
Materials:
Paracord in three different colors
A leash hook
Measuring tape
A needle (for weaving the paracord through loops)
Making:
Initially, work on the classic Solomon’s Dragon knot formation with your selected paracords. Each strand is twisted together to create a vibrant sequence. For finely finished edges, the strands are weaved back through previous loops, establishing a flawless symmetry. In the end, remember to tie in a secure loop for leash attachment.
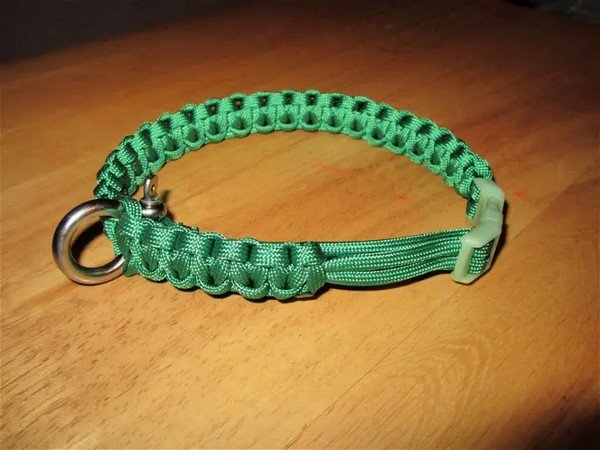
Adjustable Paracord Dog Collar DIY
Uses: An adjustable paracord dog collar is the perfect choice for a growing pup or a dog whose size fluctuates. This handy collar expands to fit, so there’s no need to buy another as your dog grows.
Materials:
Scissors
Paracord
Snap buckle
Adjustable shackle
Sewing needle and thread
Scissors
Lighter (for burning the ends of the paracord)
Making:
To make this a convenient collar, start by looping and securing your paracord to a snap. Use a cobra weave, a type of knot that looks good and holds tight. As you near the end of the collar, leave a bit of room to slide in an adjustable shackle; this part lets you change the collar’s length easily. Once you reach the desired length, sew the ends for a neat finish.
Paracord Dog Collar Pattern
Uses: Designed with various patterns and colors, it’s customized just how you like it while ensuring your pet’s comfort. This stylish collar even incorporates a metal D-ring for secure leash attachment, making it perfect for everyday use and walks outdoors.
Materials:
Two different colored paracords
A welded aluminum D-ring
A 25mm buckle (cut out from an old belt or purchased)
Scissors
Lighter
Measuring tape
Making:
Begin by threading two different colored cords through a buckle and securing them with a fisherman’s knot. Measure the appropriate length for your pet’s collar, adjust it accordingly, and use the Cobra stitch to weave the collar. Make sure to slide the D-ring in between the strands as you start the Cobra stitch to ensure a stable leash attachment point. Once you’ve reached the desired length, secure the leash’s ends, trim any excess cord, and finally, use a lighter to melt the ends for a smooth finish.
How To Make A Dog Collar
Uses: A homemade collar can offer a personalized touch, ensuring an exceptional fit and design unique to your dog. Plus, it’s a great tool for securing a leash, ID tag or license, helping keep your dog safe and identifiable.
Materials:
Your choice of fabric
Nylon webbing
Contoured side release buckle
Triglide slide
D-Ring
Measuring Tape
Spray starch
Making:
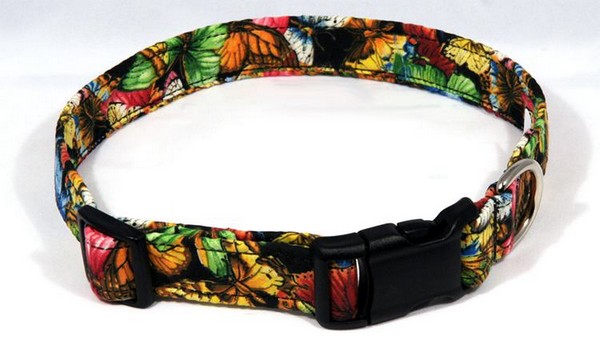
Creating a dog collar starts with choosing a fabric and nylon webbing based on your dog’s size. Once your webbing and fabric are measured and cut, the fabric is prepared with starch and ironing for a neat appearance. You’ll then sew your fabric into a long tube shape, which will then be slipped over the nylon webbing. Once combined, the fabric and webbing are sewn together. The collar’s hardware, which includes a tri-glide, a buckle and a D-Ring, is added next. The collar is completed by sewing on the hardware, re-checking the desired length, and making additional stitches for stability and security.
DIY Adjustable Dog Collar
Uses: Whether your dog is still growing, losing weight, or likes to have a slightly looser collar sometimes, this collar adjusts to fit them perfectly. Plus, premium-quality hardware ensures a firm grip, securing your dog’s collar and safety.
Materials:
Fabric of your choice
Webbing
A heavy-duty welded D-Ring
A durable plastic tri-glide slide
A secure, contoured side release buckle
Sewing machine
Spray starch
Making:
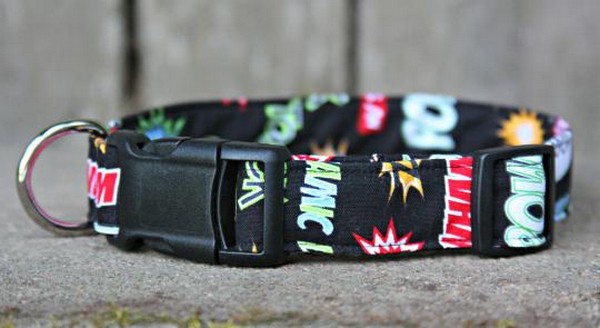
The DIY Adjustable Dog Collar starts with selecting your preferred fabric and webbing based on size. Next, you sew the fabric and webbing together after preparing the fabric. The important accessories for this collar include a tri-glide, a buckle, and a D-ring. After adding these accessories, you recheck the length of the collar and make additional stitches for better stability.


Leave a Reply