
Brighten any space with this Crochet Cactus Amigurumi Pattern full of playful textures cheerful details and a tiny handmade plant that adds charm everywhere.
Fun Crochet Cactus Amigurumi Pattern That Brings Joy to Any Room
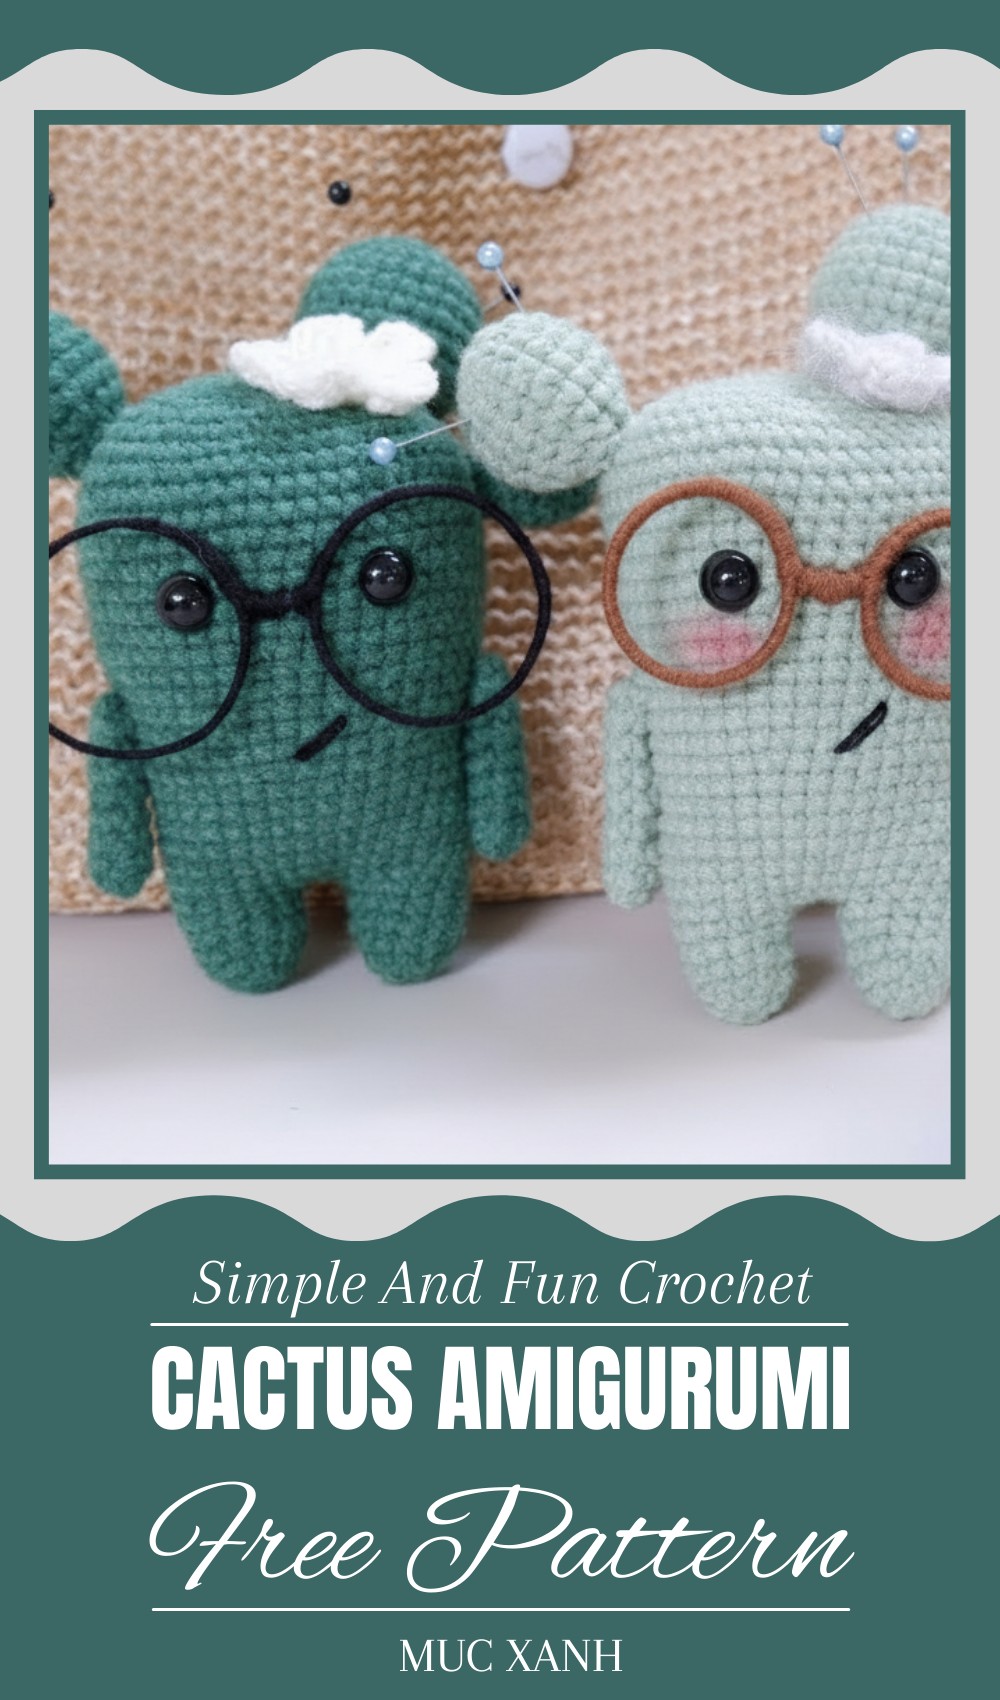
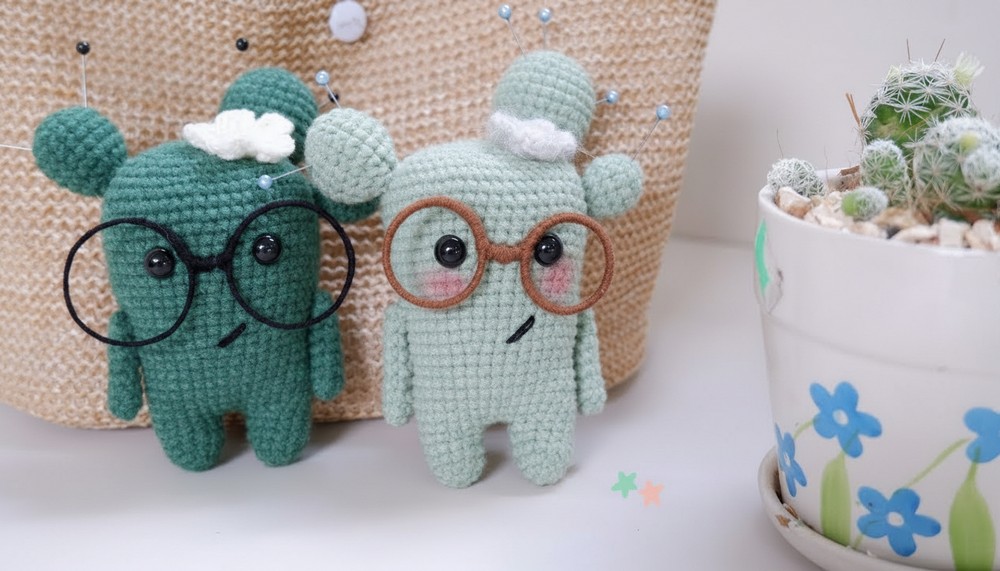
Brighten up your space with a tiny green friend that’s full of charm and character. This adorable cactus is soft and squishy, made from cozy yarn that feels nice to touch. With its golden spines and plump little shape, it looks just like a real cactus but much safer and cuddlier! Perfect to sit on your desk, window sill, or shelf, this cute companion brings a fresh, happy vibe to any room.

You can hold it, hug it, or even use it as a unique gift for someone special. Its small size makes it easy to carry around, and the bright colors cheer up your day. Whether you’re a beginner or just love fun decorations, this friendly cactus with its neat stitches and simple form is a wonderful way to enjoy the creativity of making something beautiful and useful all in one.
Lovely Crochet Cactus with Glasses Pattern
Materials
- Mil Cotton 50 yarn (or similar cotton yarn)
- Crochet hook size 2.5 mm
- Stuffing cotton
- Wire for glasses frame
- Yarn needle
- Glue or thread for fixing glasses
Abbreviations
- ch – chain
- sc – single crochet
- inc – increase (2 sc in one stitch)
- dec – decrease (crochet 2 stitches together)
- sl st – slip stitch
- magic circle (mc) – adjustable ring to start rounds
Pattern
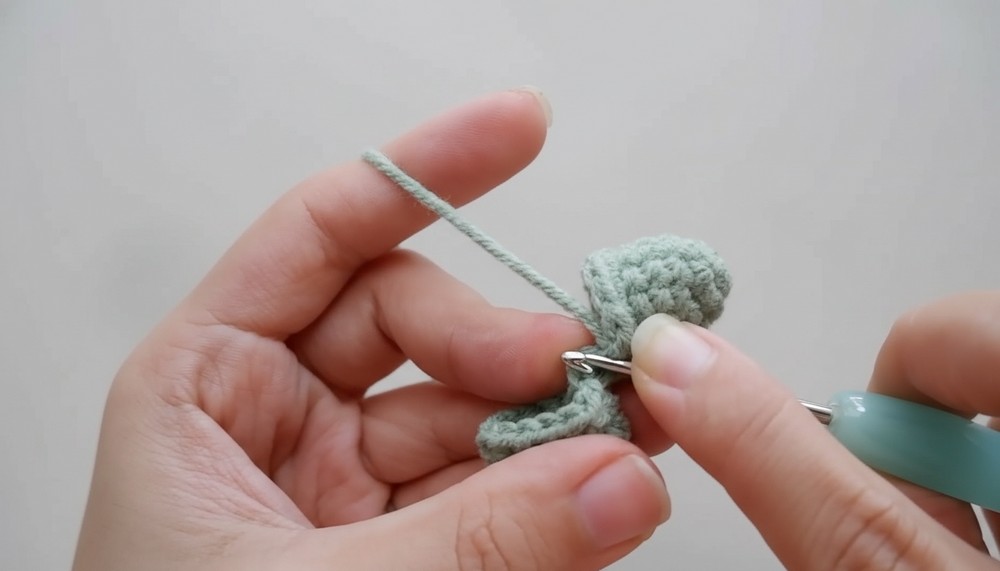
Legs (Make 2)
- Round 1: Create a magic circle. Crochet 6 sc into the circle. Tighten circle.
- Join with a sl st to first sc.
- Round 2: 1 sc, 1 inc — repeat 2 more times. (Total 9 sc)
- Join with sl st, ch 1.
- Round 3: 1 sc, 1 inc, 1 sc — repeat 2 more times. (Total 12 sc)
- Join with sl st, ch 1.
- Rounds 4–5: Crochet 12 sc evenly.
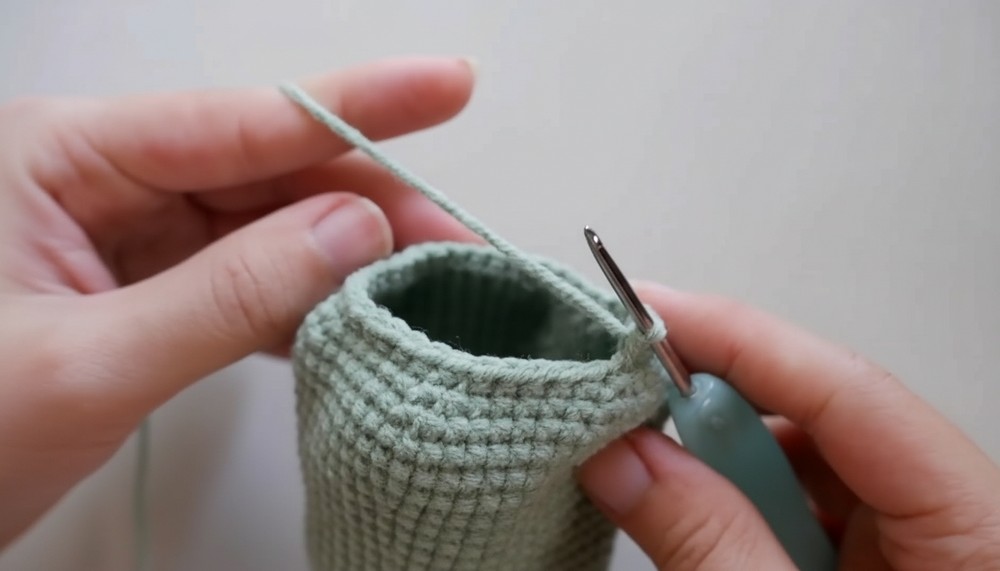
- Finish off one leg by cutting yarn and weaving in ends; keep yarn attached on second leg for body assembly.
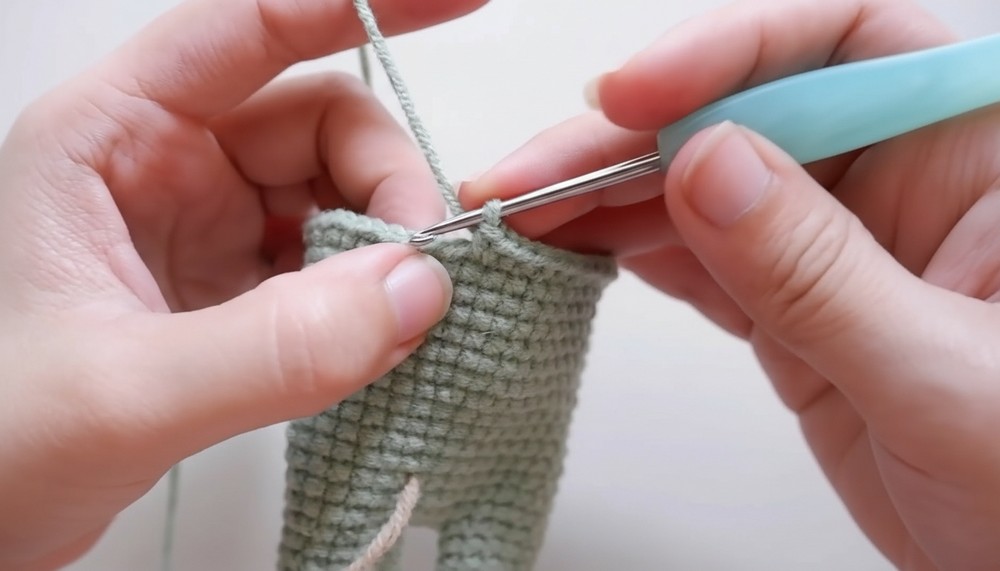
Body
- Attach yarn at last leg; ch 3.
- Crochet 12 sc around first leg, continue to crochet along the chain, and then 12 sc on second leg.
- Crochet 3 sc along ch-3 from between legs. (Total 30 sc approx.)
- Rows 6–7: Crochet in spiral, 4 sc, 1 inc – repeat 6 times (36 sc).
- Rows 8–13: Crochet 36 sc evenly.
- Row 14: Increase by 5 sc, 1 inc around (42 sc).
- Rows 15–19: Crochet 42 sc evenly.
- Row 20: 6 sc, 1 inc pattern to 48 sc.
- Rows 21–24: Crochet 48 sc evenly.
- Row 25: 7 sc, 1 inc repeat around (54 sc).
- Rows 26–28: Crochet 54 sc evenly.
- Row 29: 7 sc, 1 dec repeat (48 sc).
- Row 30: 6 sc, 1 dec repeat (42 sc).
- Row 31: 5 sc, 1 dec repeat (36 sc).
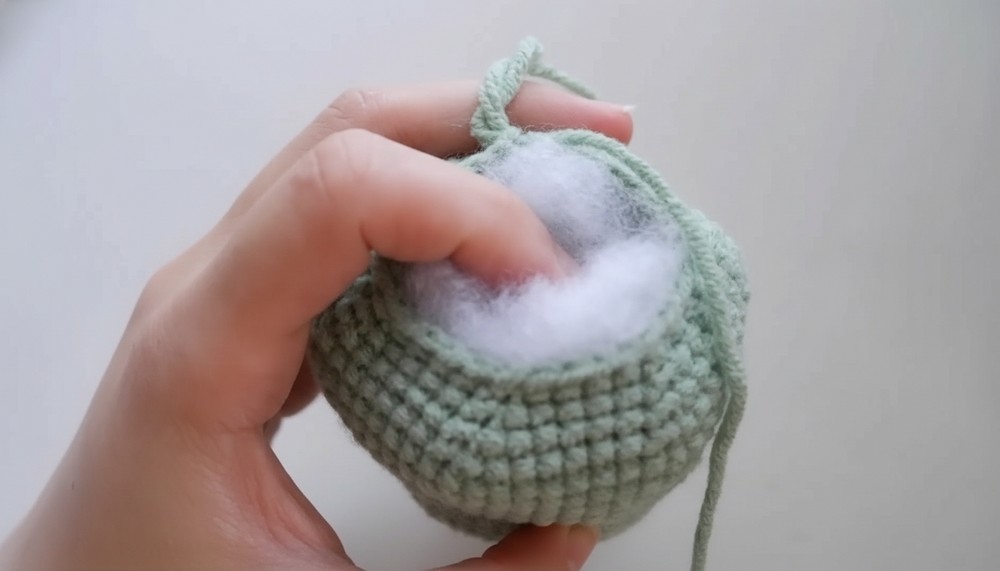
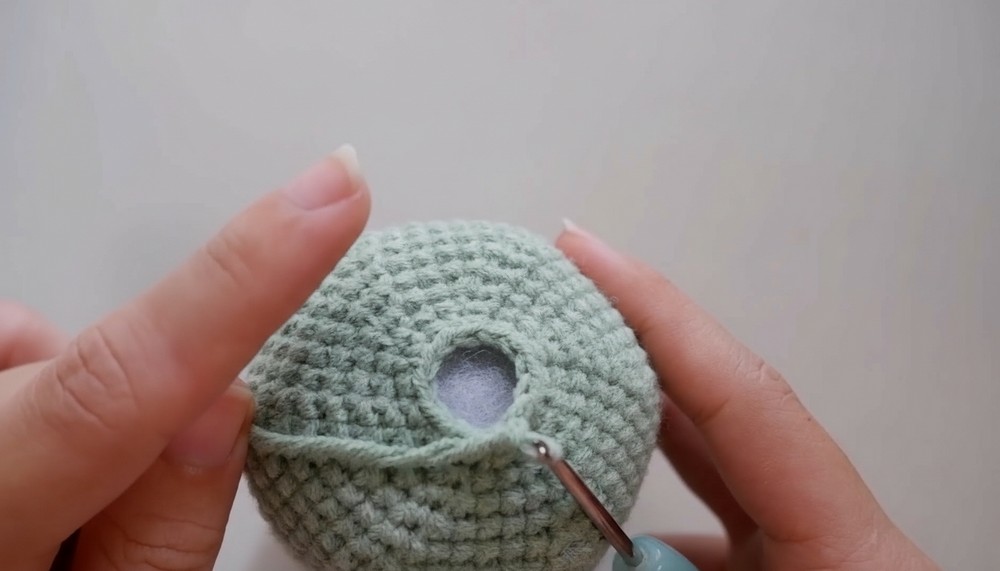
- Row 32: 4 sc, 1 dec repeat (30 sc). Stuff body firmly.
- Row 33: 3 sc, 1 dec repeat (24 sc).
- Row 34: 2 sc, 1 dec repeat (18 sc).
- Row 35: 1 sc, 1 dec repeat (12 sc).
- Stuff remaining cotton and sew the hole closed securely.
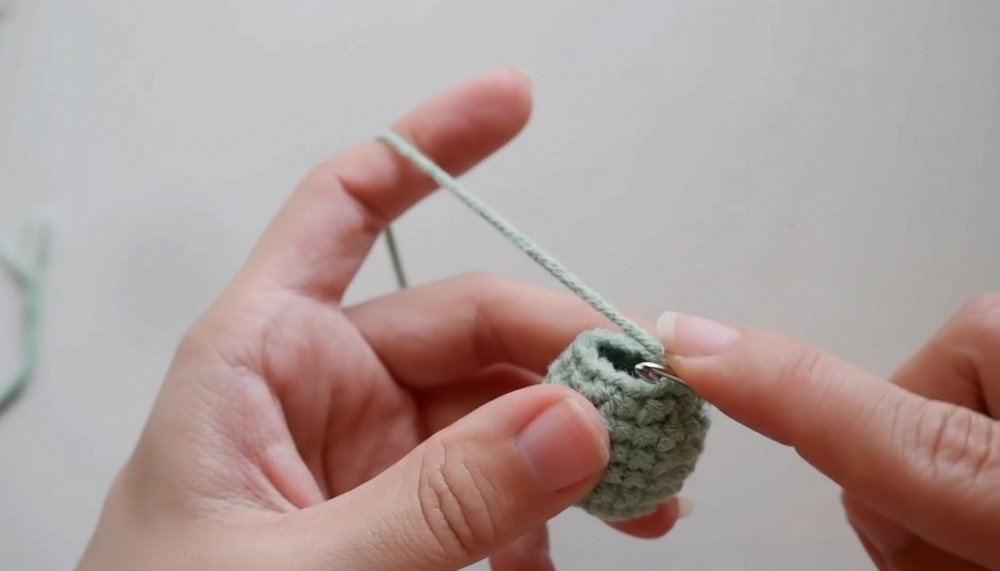
Cactus Branches (Make 3)
- Round 1: Magic circle + 6 sc.
- Join with sl st, ch 1.
- Round 2: 1 sc, 1 inc repeat (12 sc).
- Round 3: 1 sc, 1 inc repeat (18 sc).
- Join with sl st, ch 1.
- Rounds 4–9: Crochet evenly (18 sc). For one branch, start decreasing as follows:
- Decrease evenly in final rounds to shape branch tip.
- Stuff branches lightly and sew ends closed.
Arms (Make 2)
- Magic circle + 6 sc.
- Join with sl st, ch 1.
- Rounds 2–8: Crochet evenly (6 sc).
- Finish and sew to body at rows 17 and 18 sides.
Flower
- Using white yarn, ch 3, form a small ring and crochet 5 petals as loops around it.
- Attach flower to top of cactus.
Glasses
- Use wire to shape glasses frame based on a round bottle as a form.
- Wrap brown yarn around the frame for color or leave plain.
- Secure yarn ends with glue.
- Attach glasses to cactus using glue and sewing thread for stability.

Special Features
- Detailed layering of legs, body, branches, arms, and accessories make it unique.
- Wire glasses add a fun, realistic charm.
- Flower adds a cute natural feel.
- Stuffed cotton body makes it soft and huggable.
- Intermediate level: requires knowledge of magic circles, increases, decreases, and sewing parts.
Tutor’s Suggestions
- Feel free to customize the cactus with your own color choices or add different facial expressions.
- Sew parts creatively based on your liking.
- Use a stitch marker to keep track of rounds for accuracy.
Uses
- Home or office decoration
- Unique handmade gift
- Toy or cute collectible
- Display item for craft fairs
Tip
When stuffing the cactus, add cotton gradually and evenly to avoid lumps and keep shape smooth. Use plenty to keep it firm but soft enough to hold comfortably.
Conclusion
This delightful crochet cactus is a fun, creative project that combines many crochet techniques with adorable finishing touches like glasses and a flower crown. Perfect for those slightly experienced crafters who want to make a charming, decorative piece full of personality.
Leave a Reply