
Hop into creativity with a charming crochet frog hair clip pattern that’s easy to make, playful to wear, and perfect for adding fun flair to any hairstyle.
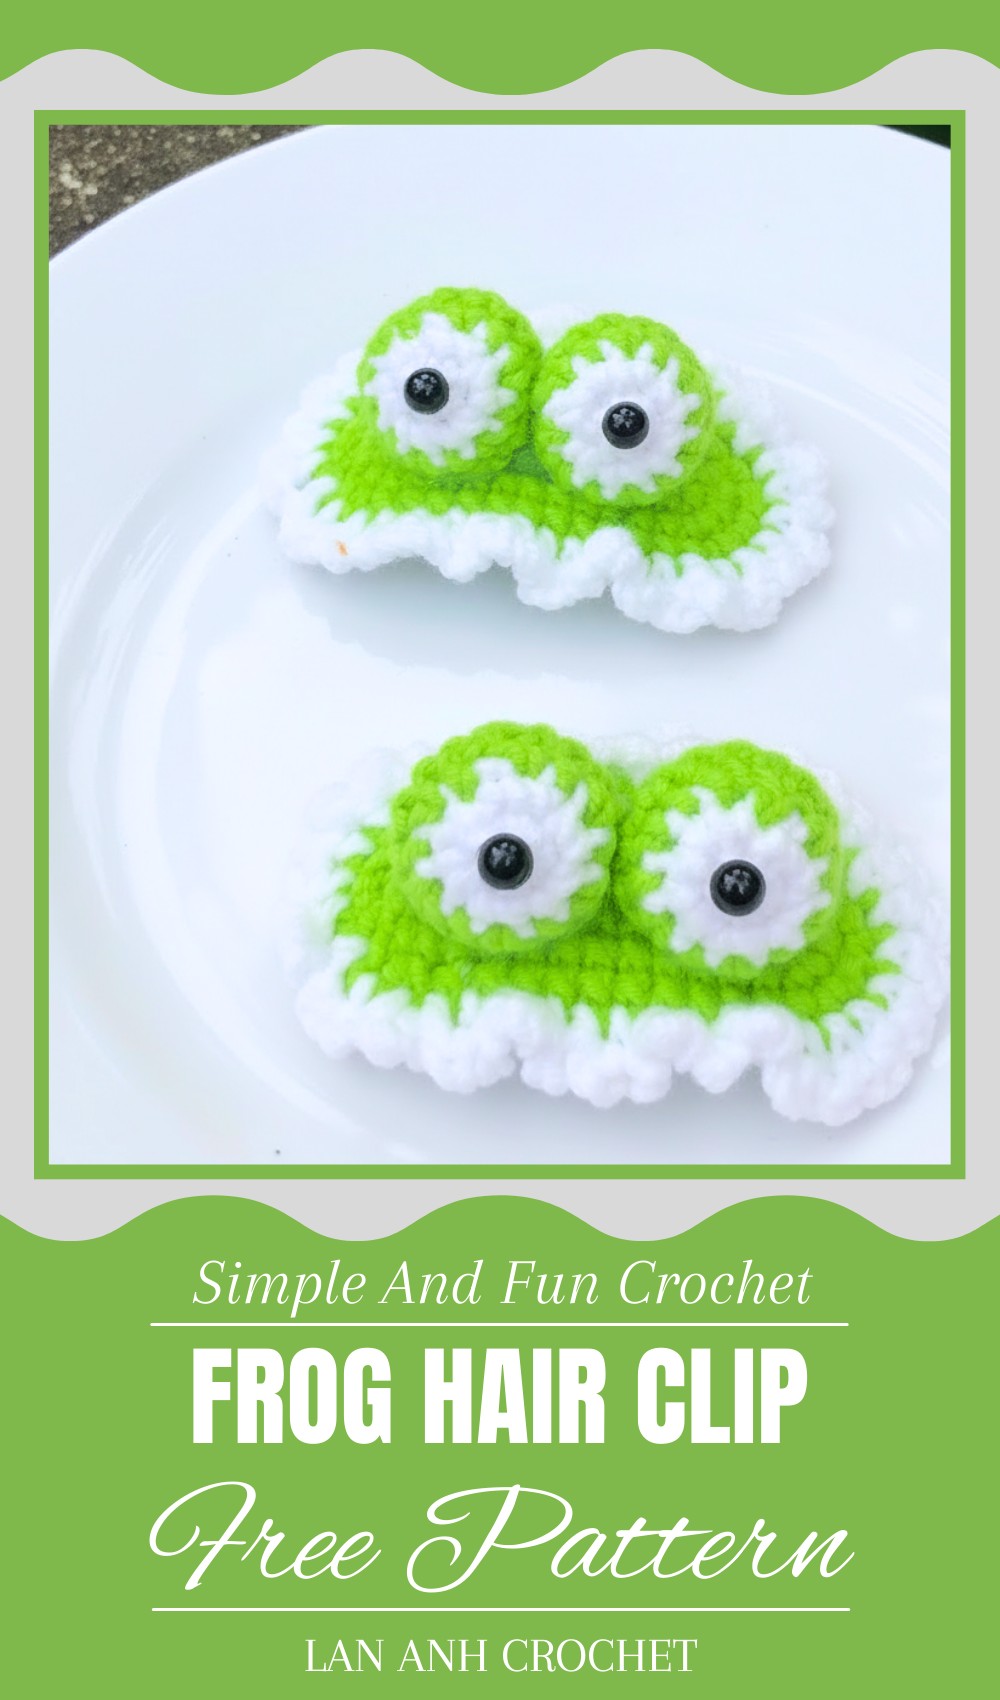
Sweet Crochet Frog Hair Clip to Add Personality
A little green frog hopping happily onto your hair, bringing smiles and playful charm everywhere you go. This is exactly the fun you get with a crochet frog hair clip pattern. Made with soft yarn and bright colors, this adorable frog design adds a lively touch to any hairstyle. The small frog sits snugly on a clip, making it easy to wear and perfect for keeping your hair neatly in place.
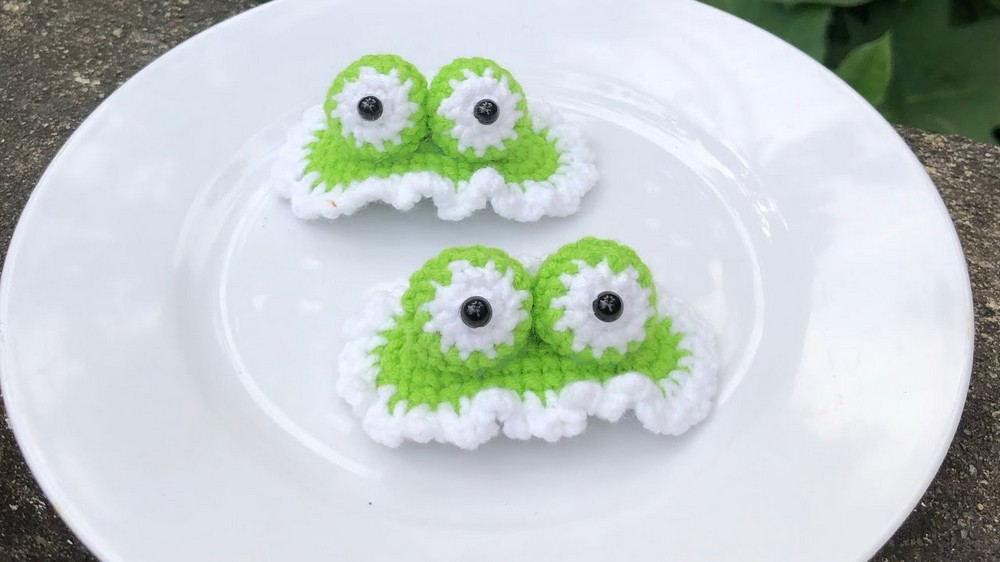
Its big eyes and friendly smile catch attention, turning a simple hair accessory into a cute statement piece. Whether for kids or adults, the crochet frog hair clip pattern offers a delightful blend of beauty and function. Perfect for parties, school, or everyday fun, this handmade clip brightens your look with a cheerful, nature-inspired vibe that’s sure to make you stand out.
Crochet Pattern: Cute Frog Eye Hair Clip
Materials
- Baby yarn in two colors (color codes 25 and 01 recommended)
- 5 cm hair clip blank
- Crochet hook (compatible with baby yarn, approx. size 3-4 mm)
- Sewing needle
- Cotton balls for stuffing
- Scissors
Difficulty Level
Beginner to Intermediate – Includes magic circle, single crochet, half double crochet, increases, decreases, assembling, and stuffing.
Step-by-Step Pattern
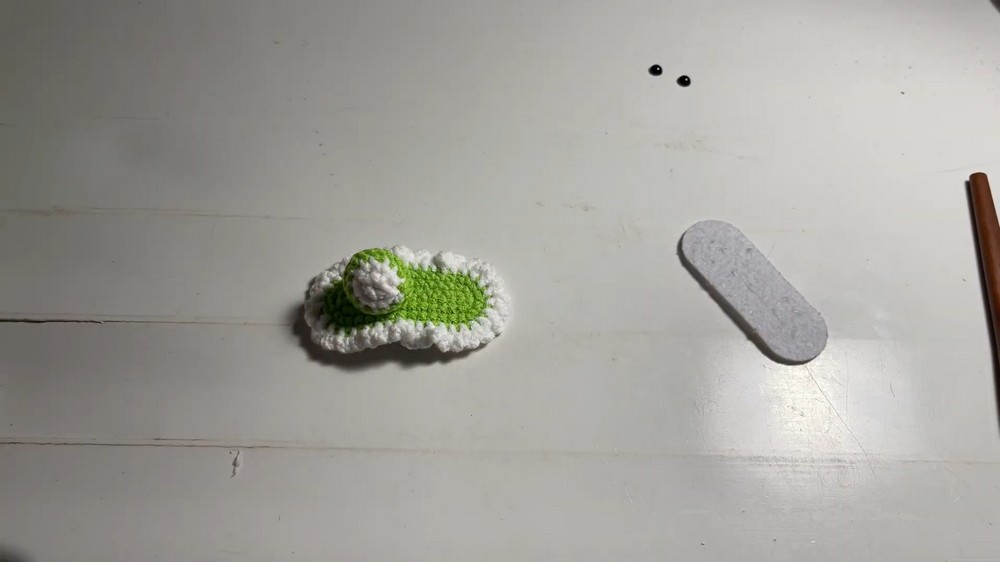
Step 1: Prepare Materials and Workpiece
- Prepare two yarn colors (baby yarn 25 and 01).
- Have your 5 cm hair clip blank ready.
- Start by crocheting a base piece that fits the clip following the separate tutorial as referenced (or prepare your desired workpiece).

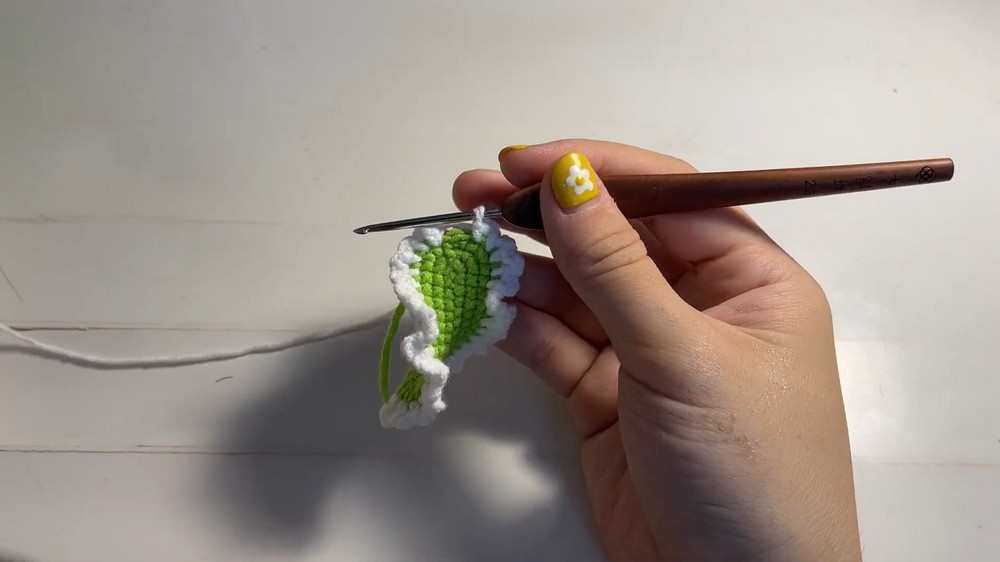
Step 2: Crochet Base Rim (White Yarn)
- Attach white yarn at the rim of the hair clip blank.
- Work a single crochet (sc) stitch into each stitch around the clip blank rim.
- For every few stitches, chain 3 to help curve the fabric neatly around the clip.
- Continue alternating 1 sc stitch and 3 chains along the rim for a neat coverage.
- Hide your yarn ends carefully between stitches as you work for a clean finish.
Step 3: Complete the Base Rim and Fasten Off
- Continue crocheting until you reach the end of the clip rim.
- Slip stitch to join.
- Cut yarn and pull through to fasten off securely.
- Use a crochet hook or needle to tuck in any loose yarn ends.
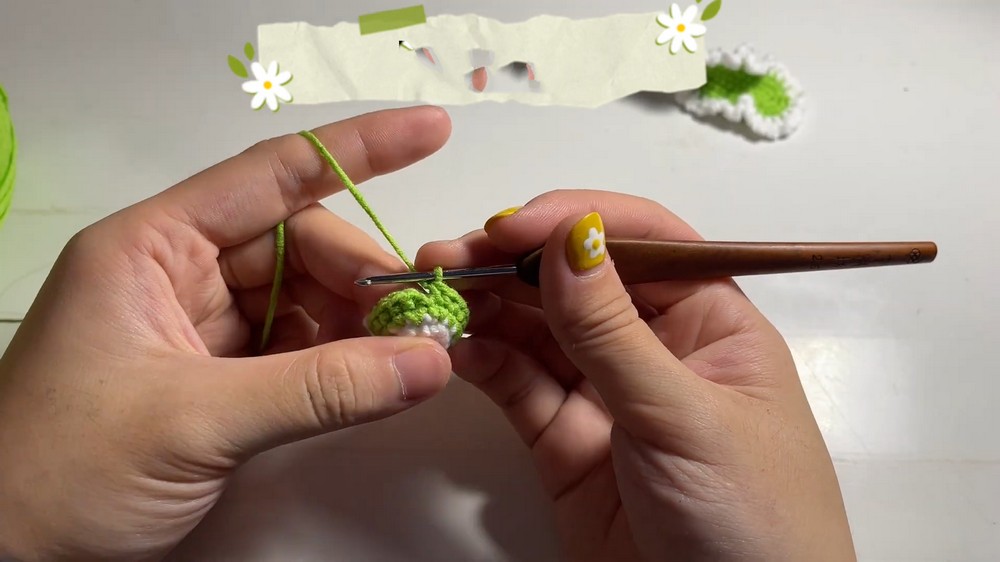
Step 4: Start Crocheting the Eye Center (Magic Circle)
- Using a contrasting yarn color, create a magic circle.
- Crochet 6 single crochet (sc) stitches into the circle.
- Pull the circle tight to close the center hole.
Step 5: Crochet Subsequent Eye Rows
- Join and crochet 2 sc into each stitch around (total 12 stitches).
- Continue working in rounds, increasing evenly per round by alternating 2 sc in one stitch and 1 sc in the next.
- Form a V-shaped pattern where appropriate by putting 2 sc stitches into the same stitch (increase), following the pattern in the video.
Step 6: Complete Eye Shape with Additional Rounds
- Crochet the eye shape evenly expanding by increasing stitches till desired eye size is achieved.
- Use half double crochet (hdc) stitches for thicker and firmer texture in parts as shown for the “nose” area (corner/juncture of the eye shape).
- Follow the V-shaped increase pattern to maintain the shape and volume.
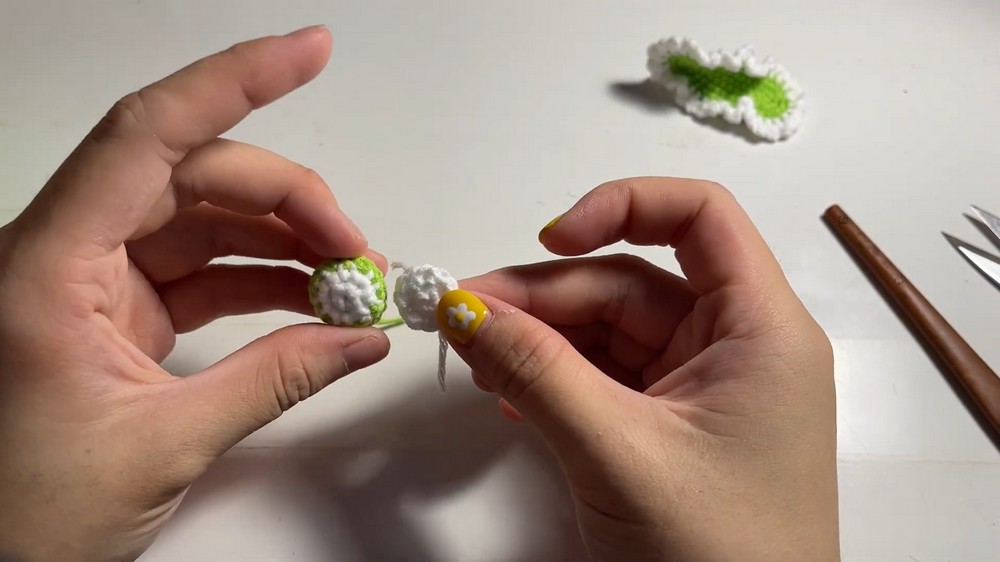
Step 7: Stuff the Eye Shape
- Once the eye is crocheted to full size, stuff lightly with cotton balls for softness and volume.
- Do not overstuff to keep the shape flexible.
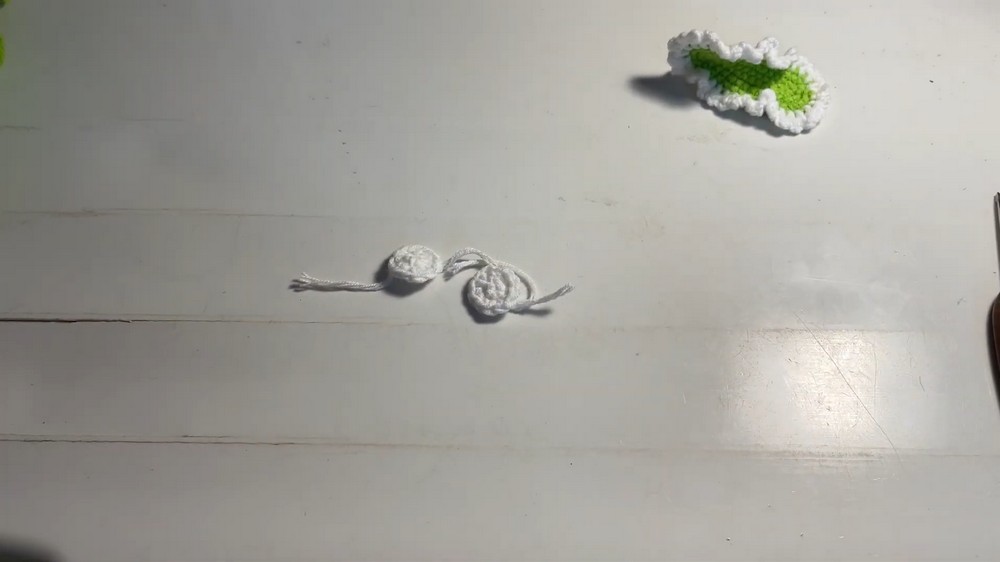
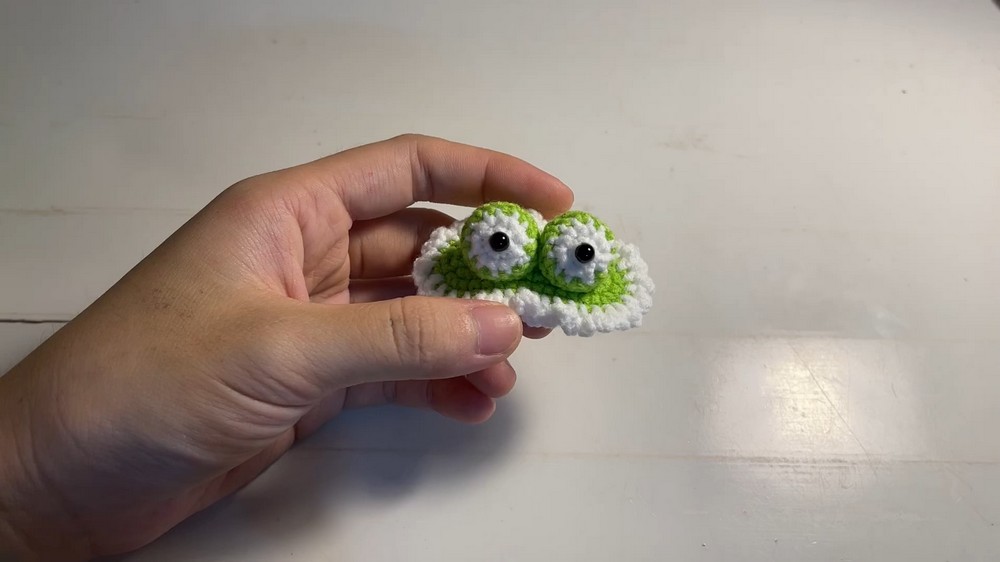
Step 8: Finish Edges and Assemble Two Parts
- Crochet the second eye shape using the same method.
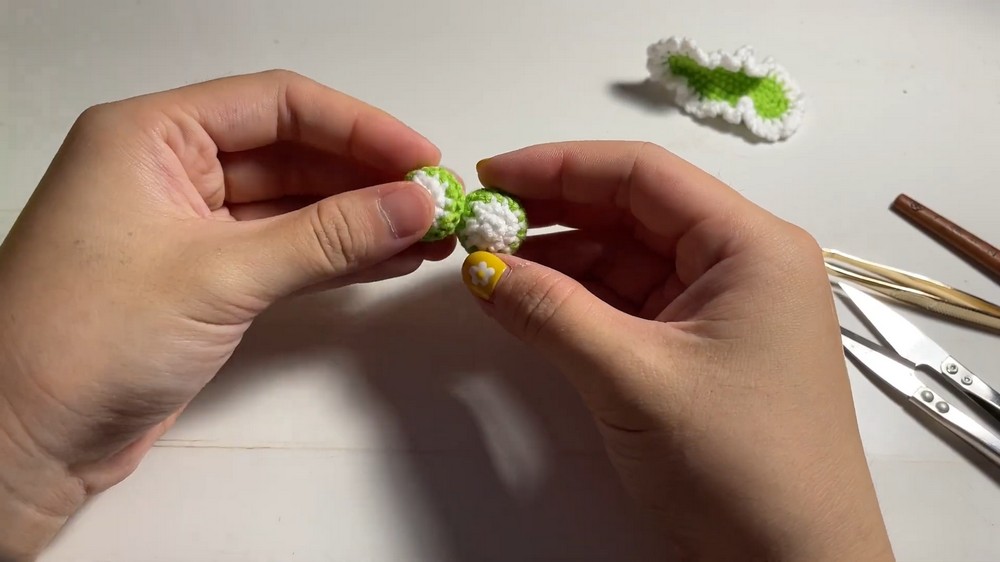
- Place the two eye parts together, lining up edges precisely.
- Sew along the edges using yarn needle to join securely.
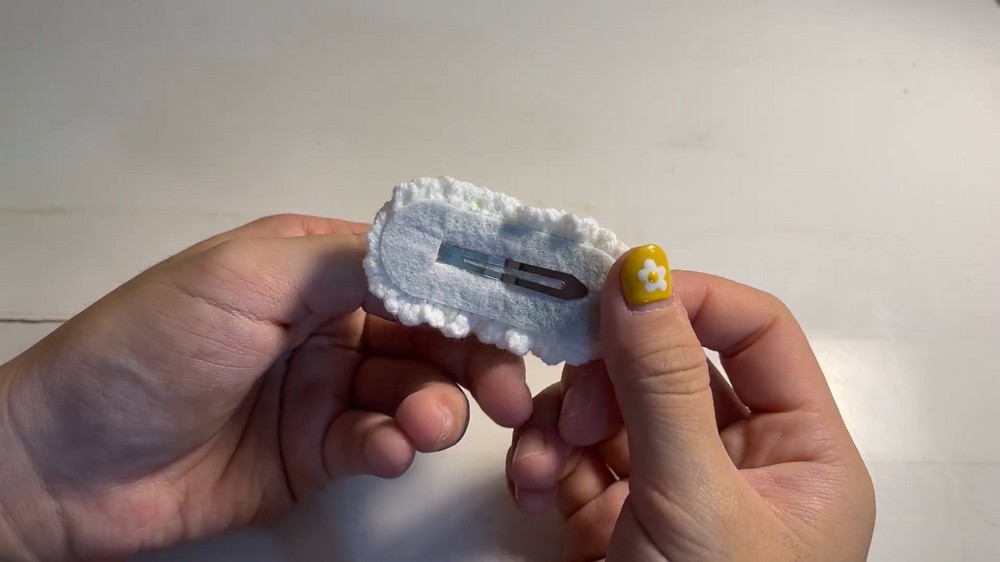
Step 9: Attach the Hair Clip
- Position the crochet eye assembly on the hair clip blank.
- Use yarn or hot glue to attach the crochet piece firmly to the clip base.
- Trim excess yarn and hide all ends neatly.
Special Features
- The pattern features a cute rounded eye shape, created using magic circles and strategic increases/decreases.
- The use of half double crochet stitches adds texture and volume, perfect for the eye’s center.
- Stuffing with cotton gives the eye a soft 3D effect for an adorable finish.
- Versatile technique adaptable to many accessory projects.
Tutor’s Suggestions
- Use stitch markers to keep track of increases in each round for even shaping.
- Keep tension consistent for smooth rounds and clean edges.
- Do a practice swatch for sizing the eye if adapting to different clip sizes or yarn thicknesses.
- When attaching the crochet piece to the clip, check that the clip opens and closes freely.
Uses
- Hair clips for children or adults.
- Cute embellishments for bags, hats, or clothing.
- Small gifts or craft fair items.
Tip
Always tidy your loose yarn ends as you go to avoid bulky joins and to maintain a professional look in your finished hair clip.
Conclusion
This sweet child’s eye hair clip project combines simple crochet methods with fun crafting to create an attractive, wearable accessory. The structured rounds, combined with soft cotton stuffing, make a perfect 3D form that stands out.

Leave a Reply