
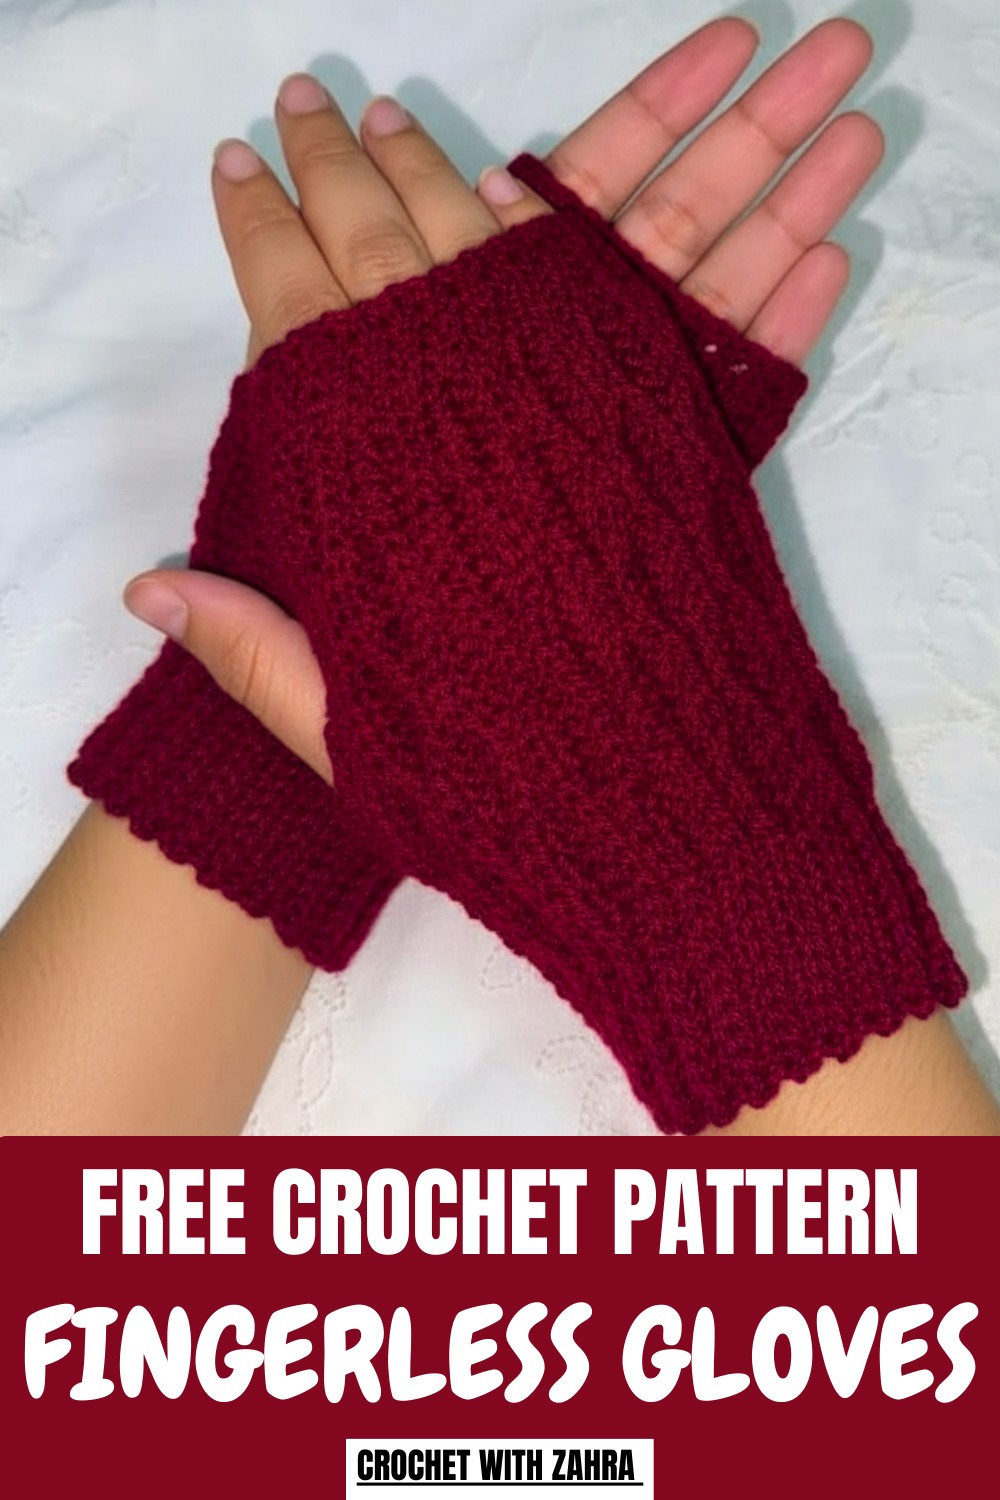
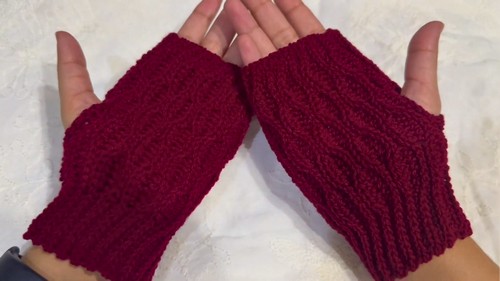
Keep your hands warm while staying stylish with this crochet fingerless gloves pattern, featuring a cozy texture and a fast, easy design.
Blending timeless grace with practical innovation, a crochet fingerless gloves pattern serves as a blueprint for a sophisticated accessory that bridges the gap between style and necessity. This design yields a sleek garment that shields the pulse points from a chill while ensuring the wearer maintains full tactile freedom for handling a smartphone, playing an instrument, or typing with ease. The finished piece boasts a refined silhouette, often featuring intricate textures like raised cables or airy mesh that catch the light beautifully.
Ultra-Warm Crochet Fingerless Gloves Pattern for chilly mornings
Because the fingertips remain exposed, the item provides a versatile layer that works across shifting seasons, offering warmth without the restrictive bulk of traditional winter gear. The result is a chic, lightweight addition to any wardrobe that elevates a simple outfit into something curated and intentional.
Its allure resides in the balance of a snug, supportive fit and the delicate appearance of fine yarn work, making it a favorite for those who value both understated luxury and everyday efficiency.
Step-by-Step Instructions
Materials Needed
- Yarn: A strong 3-ply yarn suitable for crochet gloves.
- Crochet Hook: 3.5 mm hook recommended.
- Extras: Two stitch markers for tracking progress and a weaving needle for finishing.
Step 1: Create a Foundation Using Chains
- Begin with a slip knot.
- Chain 40 stitches to achieve the glove’s base (adjust the number of chains for custom sizing).
- Add 1 chain as a turning chain, then proceed with row 1.

Step 2: Start Row 1
- Work 5 single crochets:
- Insert the hook into the second chain from the hook, pull up a loop, yarn over, and pull through two loops.
- Crochet 5 half double crochets:
- Yarn over, insert the hook into the next chain, pull up a loop (3 loops on the hook), yarn over again, and pull through all loops.
- Mark the first half double crochet using a stitch marker to track it.
- Create 5 slip stitches:
- Insert the hook into the next chain, pull up a loop, and pull through one loop.
- Alternate this pattern of 5 half double crochets and slip stitches until you reach the last 10 chains.
- Work 10 single crochets in the remaining stitches, ensuring proper tension. Chain 1 and turn your work.


3: Start Alternate Rows
Row 2 – Back Loop Work
- For the ribbing part, work slip stitches, inserting the hook into the back loop only.
- In other sections of the row:
- Work half double crochets when continuing from row 1’s half double crochet area.
- Do the same for slip stitches, ensuring you stay consistent with the stitch pattern.
- Use your stitch markers to track the sections and start/end points.
Row 3 Onwards – Alternate Patterns
- Alternate stitches every two rows:
- In areas previously worked with half double crochets, use slip stitches.
- In areas with slip stitches, use half double crochets.
- This creates a textured, alternating design, allowing the Alburn stitch to form its unique pattern.

4: Continue to Build the Gloves
- Complete 22 sets or 44 rows, combining slip stitches and half double crochets for the main glove body.
- Adjust the rows for a custom fit by measuring the glove against your wrist and hand size.
5: Seam and Thumb Hole
- After finishing the rows, fold the glove with the front (good side) facing inward.
- Seam the edges using slip stitches:
- Insert the hook through both layers’ edges, pull up a loop, and pull through.
- Leave a section of stitches (typically 6 stitches) open near the wrist to create the thumb hole.
- Seam the remaining edges and check for fit, making sure the thumb hole aligns properly.

Special Features
- Alburn Stitch Pattern: The alternating texture provides a knitted look, enhancing the glove’s elegance.
- Custom Sizing: Zara guides you on how to adjust the chains and rows for different wrist sizes.
- Versatile Design: The stitch pattern adapts well for creating personalized gloves, using different colors or textures of yarn.
- Thumb Hole Detailing: Allows functionality and comfort while maintaining a clean finish.
Level of Difficulty
The project is intermediate. It requires knowledge of basic crochet techniques (slip stitch, half double crochet, single crochet) and involves alternating stitch patterns to achieve the Alburn design. Beginners can attempt this with patience and careful attention to stitch placement.
Tutor’s Suggestions
- Use Stitch Markers: Zara emphasizes using stitch markers to track the beginning and end of sections. This helps avoid confusion in alternating patterns.
- Maintain Loose Tension: When crocheting into the back loop, keep your tension slightly loose, especially with slip stitches, to make subsequent rows manageable.
- Measure Frequently: Adjust the number of rows and chains according to wrist size for the best fit.
- Alternate Patterns Carefully: After every two rows, ensure you’re switching between slip stitches and half double crochets as instructed.
Uses
- Practical Winter Wear: Perfect for keeping hands warm during cold weather while leaving fingers free for activities.
- Stylish Accessory: The elegant pattern makes these gloves a fashionable addition to everyday outfits.
- Gift Item: Handcrafted gloves are thoughtful gifts for loved ones.
Tip
To enhance the aesthetic appeal, use yarn with subtle color gradients or experiment with two-toned yarn for a unique finish.
Conclusion
This crochet glove tutorial is both practical and stylish, featuring the textured Alburn stitch pattern. With clear instructions, you can create gloves tailored to fit any wrist size, ensuring comfort and functionality. Whether you’re crafting for yourself or loved ones, these handmade gloves offer elegance and warmth. Follow Zara’s tips to master the stitches and finish your piece flawlessly.
Leave a Reply