
Look stylish in comfortable clothing with this Crochet Granny Square Sweater Pattern for cozy look that feel soft and warm during the winter.
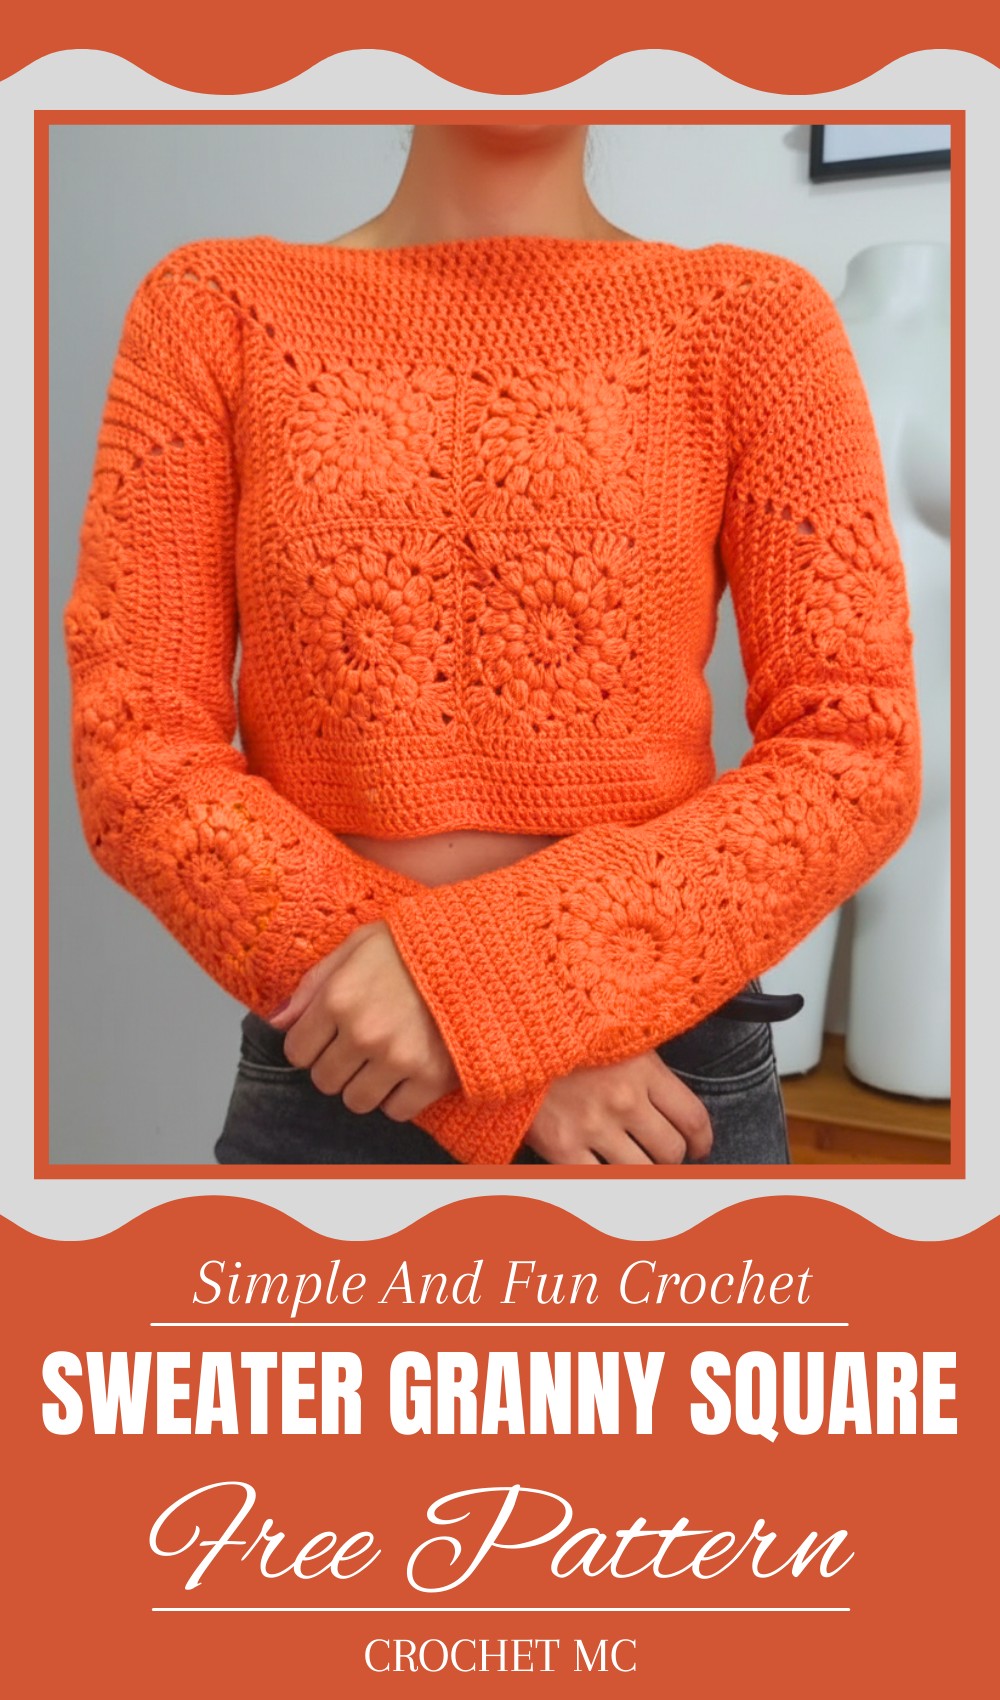
Don’t settle for plain boring sweaters that everyone else wears they lack color and personality. Add a cozy touch to your wardrobe with a handmade sweater that feels warm soft and full of charm. Perfect for chilly mornings evening walks or casual outings it makes every outfit look cheerful and unique. Its colorful squares and textured design give a playful yet stylish look that stands out without being too fancy.
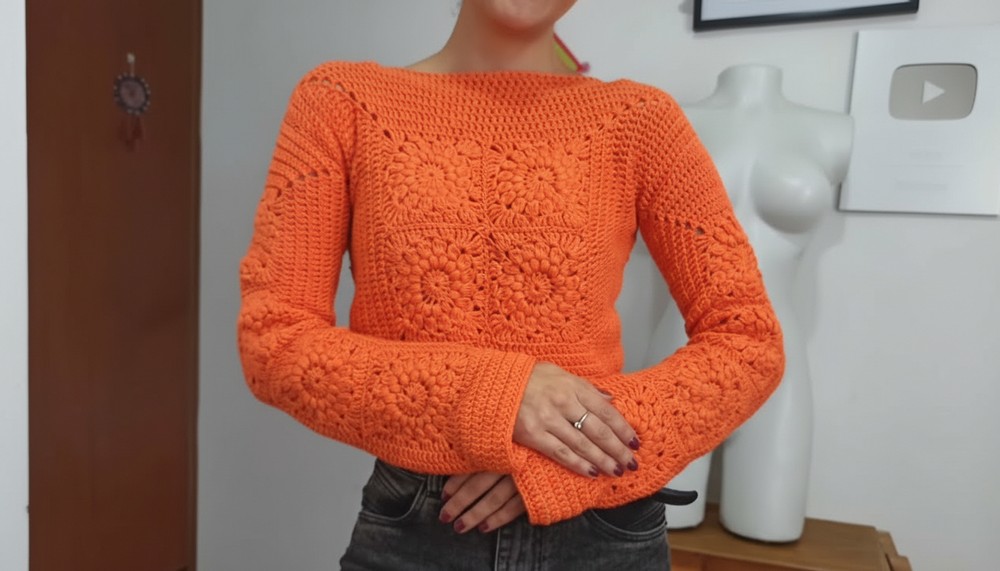
Versatile Crochet Granny Square Sweater Pattern Style it up or down
Easy to wear and comfortable it can be paired with jeans skirts or even layered over dresses for extra warmth. Using yarn and simple crochet stitches anyone can create it in their favorite colors and sizes to match personal style. The Crochet Granny Square Sweater pattern guides you step by step to make this charming sweater even if you are a beginner. Each finished piece carries a sense of pride and creativity making it a cozy treasure for daily life.
Materials List
Required Items:
- Yarn:
- Cotton/Acrylic Blend: A mix of 50% cotton and 50% acrylic yarn is recommended for a medium-weight sweater.
- Alternative Yarn Choices: Wool or 100% acrylic for a warmer garment.
- Yardage: Approximately 410g for size S (dimensions for other sizes will depend on adjustments).
- Yarn Weight: Approximately 245m per 100g skein.
- Crochet Hook:
- Manufacturer recommends 3 mm, but use a 4 mm hook for a looser drape.
- Other Tools:
- Tapestry needle: For sewing and weaving ends.
- Scissors: For cutting yarn.
- Measuring Tape: To ensure proper dimensions.
- Pins: For securing seams during assembly.
Key Abbreviations (US Terminology)
- Ch – Chain
- Sl st – Slip Stitch
- Sc – Single Crochet
- Hdc – Half Double Crochet
- Dc – Double Crochet
- Puff Stitch (Puff): Worked by pulling the yarn up multiple times in the same stitch before pulling through all loops.
- Rep – Repeat
Special Notes
- Granny Squares:
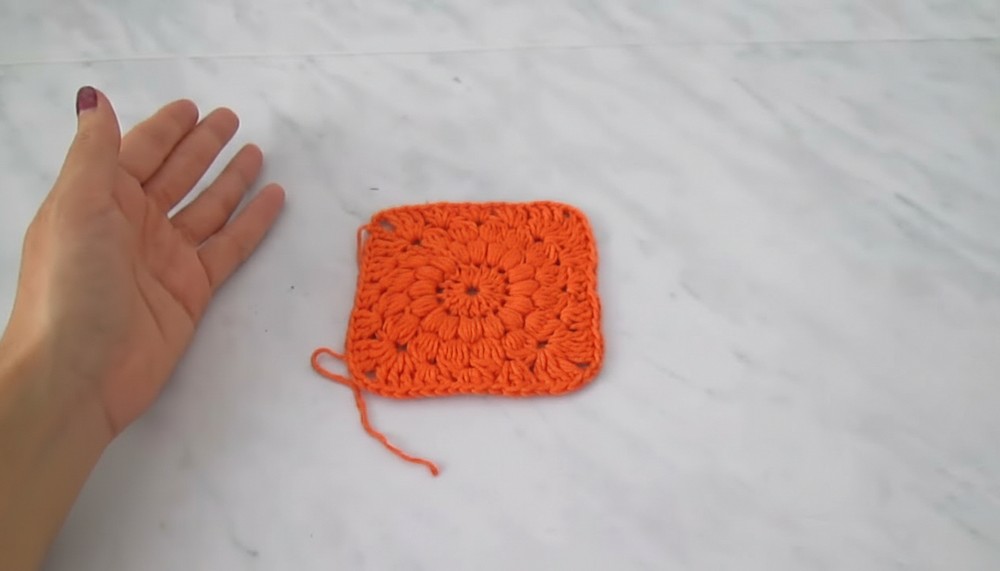
- Each square measures 10 cm x 10 cm.
- The number of squares and rounds will vary depending on the required size and fit.
- Sweater Construction:
- Main Pieces: Two rectangular panels (front and back), each 4×4 granny squares for size S.
- Sleeves: Made using 4 joined squares per sleeve, which will later be adjusted for length and width.
- Size Customization: Follow the instructions to determine whether to increase or decrease squares and rows based on your specific measurements.
- Joining Sections: The sweater is joined using a slip stitch or needle sewing technique, ensuring clean edges.
- Optional Touches: Add a border or ribbing to the bottom hem, sleeves, or neckline for personal styling.
Step-by-Step Crochet Pattern
Step 1: Granny Squares
Round 1
- Begin with a slip knot and Ch 4.
- Join to the first chain with a Sl st, forming a small ring.
- Ch 3 (counts as the first Dc), and work 15 Dc into the ring.
- Total: 16 Dc (including the initial chain).
- Sl st into the 3rd Ch to close the round.
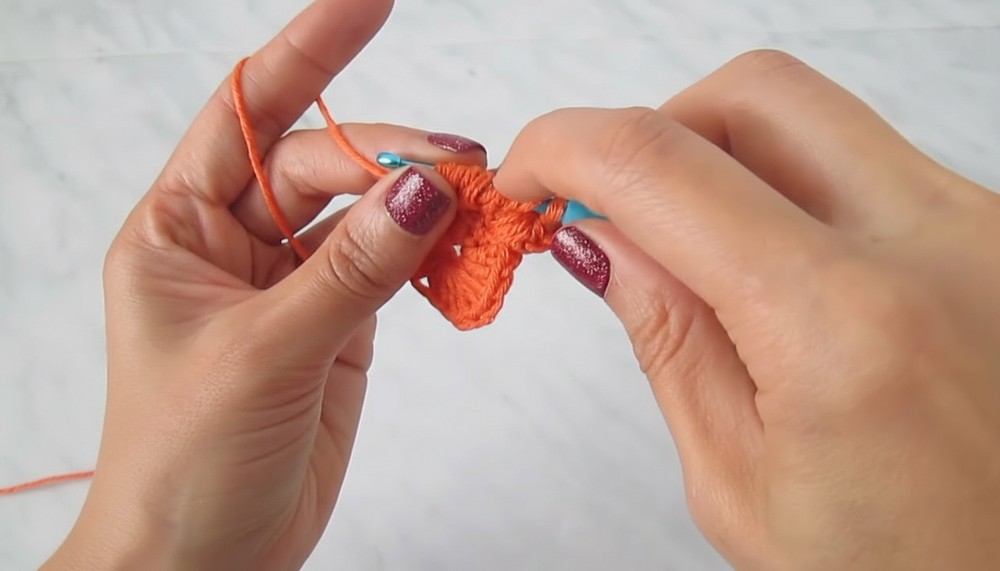
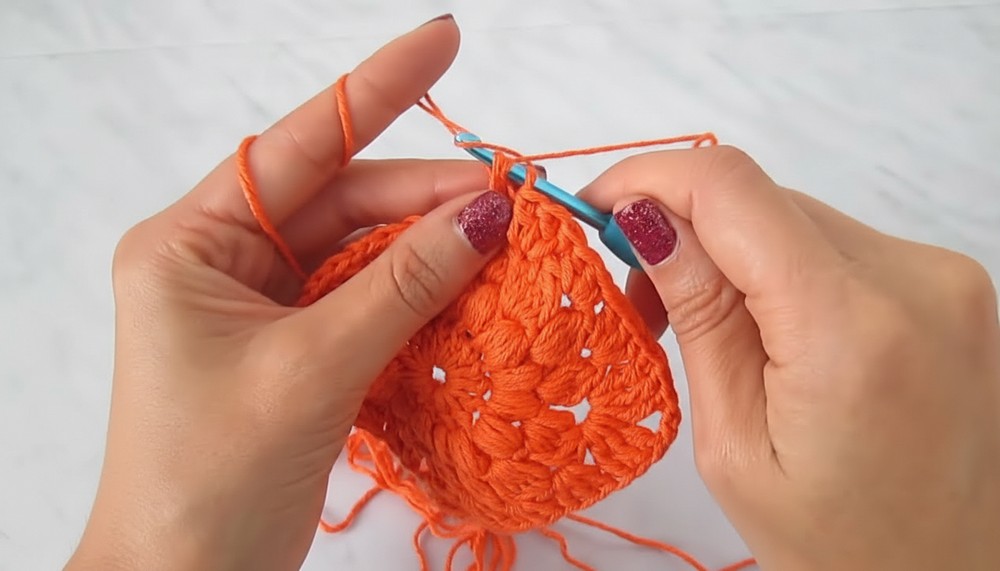
Round 2 (Puff Stitch Round)
- Ch 3 (counts as the first Dc), then work 1 Puff Stitch in the same space.
- Puff Stitch:
- Yarn over, insert hook into the stitch, pull up a loop.
- Repeat this 5 times, keeping 11 loops on the hook.
- Yarn over and pull through all 11 loops.
- Secure with a Ch 1.
- Puff Stitch:
- Work 1 Puff Stitch into every stitch from the previous round.
- Total: 16 Puff Stitches.
- Sl st into the top of the first Puff Stitch to close the round.
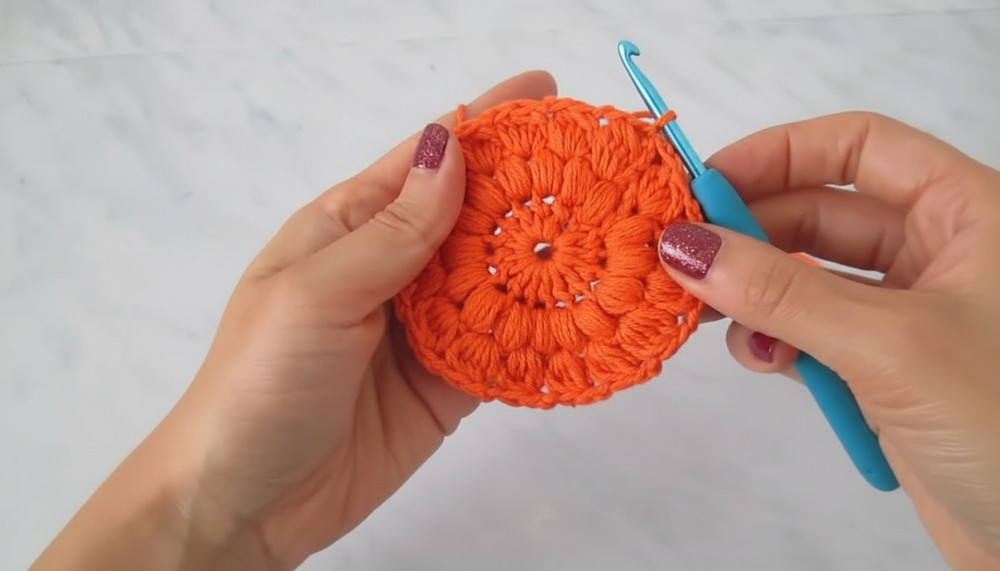
Round 3 (Pineapple Stitch)
- Ch 4 (counts as Dc + 1 Ch).
- In the space between 2 Puff Stitches, work 5 Dc together (Pineapple Stitch):
- Begin 5 Dc without completing them (leave the last loop on the hook).
- Once 6 loops are on the hook (1 from the initial Ch and 5 from the Dc), yarn over and pull through all loops.
- Secure with 2 Ch (1 for the Pineapple, 1 as a spacer).
- Repeat the Pineapple Stitch in each space around the circle (16 Pineapples in total).
- Sl st to the top of the 4 Ch to close the round.
Round 4 (Transforming Circle to Square)
- Corners: Ch 4 (counts as Dc). Work:
- 2 Treble Crochets (Tr) in the next space.
- 2 Ch (corner separation).
- 3 Tr into the same space (this forms one corner).
- Sides: Work groups of 3 Dc in each space between corners. For every center space between corners:
- 3 Hdc for a softer transition.
- Repeat for all 4 corners and sides.
- At the end, join to the top of the starting chain with a Sl st.
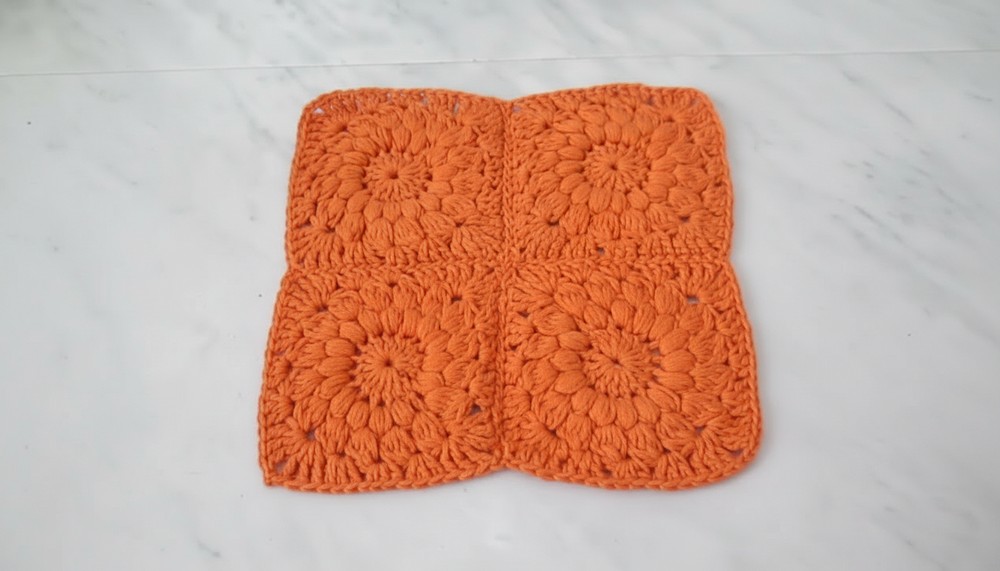
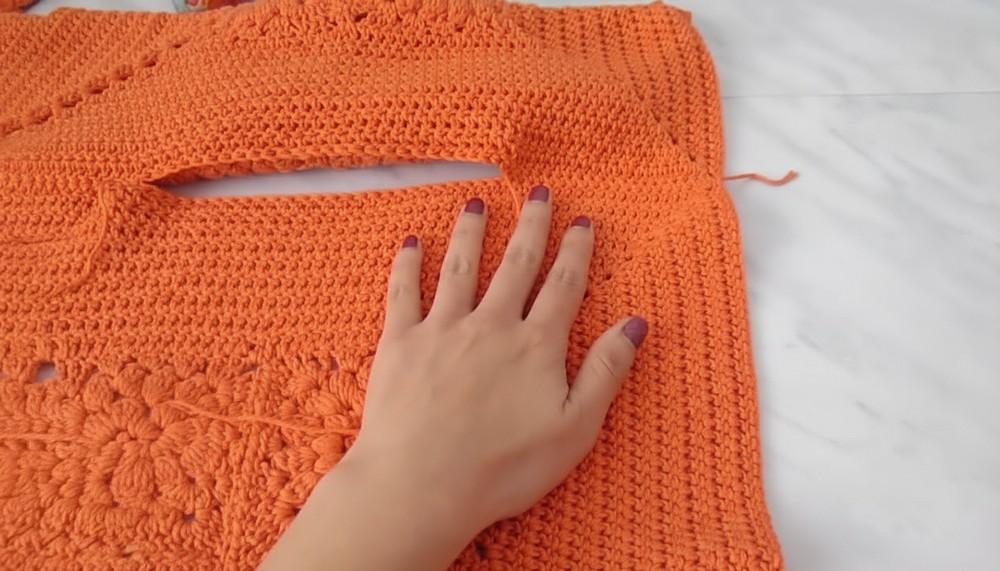
Step 2: Assembly of Squares
- Construct Panels:
- Front and Back: Sew or slip stitch 4×4 grid squares to form two symmetrical panels.
- Sleeves: Sew 4 squares together in a line for each sleeve.
- Seaming:
- Use a needle or slip stitch to join the pieces.
- Seam shoulders first (follow shoulder width from measurements), leaving the neck opening.
- Attach the sleeves to the body along the arm openings. Then sew from wrist to armpit and down the side seams.
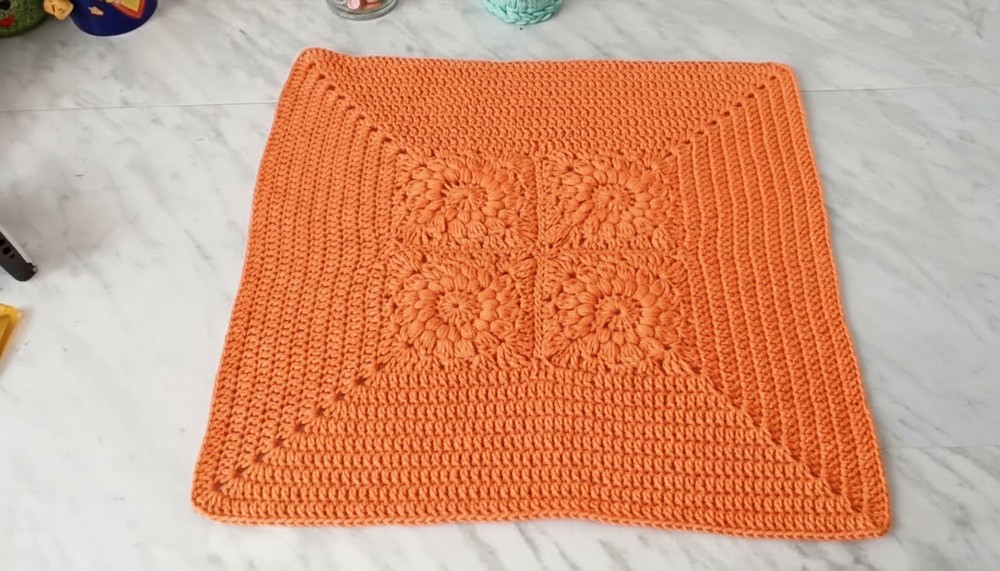
Step 3: Adding Borders and Finishing
- Neckline:
- Work Hdc rounds around the neckline. Add 1-2 rows for a snug yet flexible collar.
- Cuff and Hem Borders (Optional):
- Crochet up to 2-3 rows of Hdc or Sc along the cuffs, and hem, for a neat edge.
Step 4: Weaving in Ends
- Use a tapestry needle to weave in all the tails and hide them securely within the stitches.
Step 5: Blocking (Optional)
To achieve the correct size and neat finishing:
- Gently pin your completed sweater into the desired shape.
- Spray it with water and allow it to dry completely.
Conclusion
Congratulations! You’ve completed your Sun Sweater. This versatile design not only provides warmth but also showcases your crochet skills through a combination of textured stitches and classic granny squares.
Pattern Corrections
- Always maintain an accurate stitch count for each row/round.
- When joining squares, ensure corners align perfectly to avoid uneven edges.
Tips for Beginners
- Practice Puff and Pineapple Stitches beforehand to familiarize yourself with them.
- Keep the stitch tension loose when assembling squares to avoid puckering.
- Experiment with colors! Use contrasting or gradient tones for a vibrant sweater.

Leave a Reply