
Create your own stylish crochet shoulder bag today with this easy, fun pattern that adds a charming, handmade touch to any outfit you love.
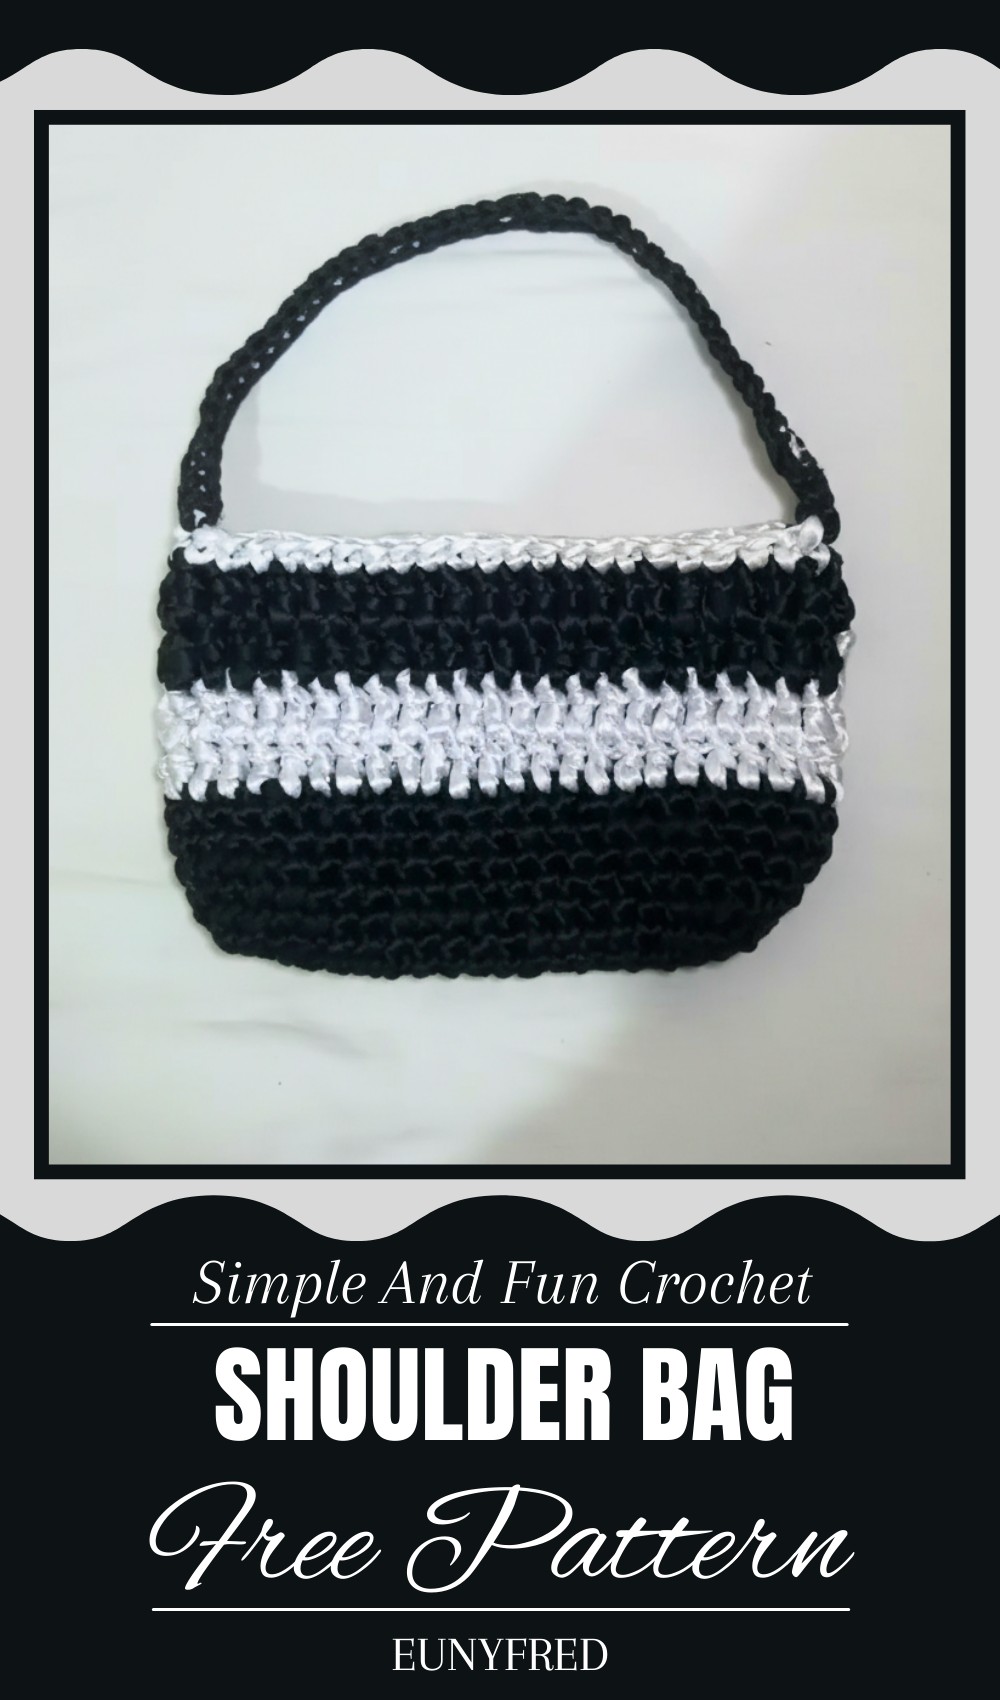
Handmade Crochet Shoulder Bag Pattern to Gift or Keep
This handmade bag is a perfect blend of style and function. Its soft, textured design feels wonderful to touch and looks beautiful with any outfit, whether casual or dressy. The bag’s shoulder strap allows for easy carrying, keeping your hands free while adding a chic touch to your look. Inside, there’s enough space to keep your essentials organized—like your phone, wallet, keys, or small items—making it practical for everyday use.
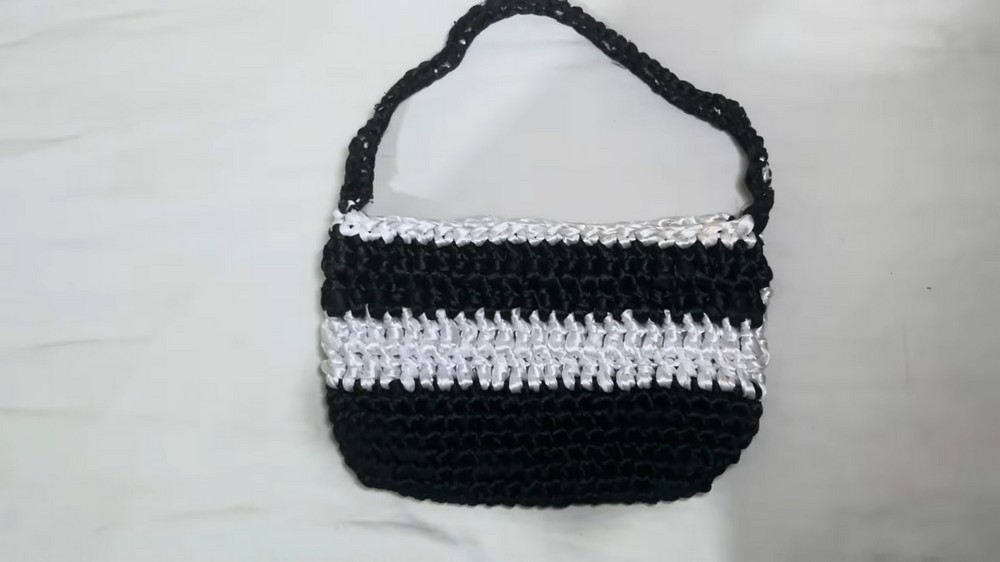
The open weave or solid stitches give the bag a lovely pattern that catches the eye and adds charm. Because it’s lightweight yet sturdy, it’s great for shopping trips, casual outings, or even special events. This bag suits all ages and styles, making it a wonderful gift or personal accessory. Its unique handmade quality means no two are exactly alike, so you carry a little piece of art with you wherever you go. Easy to wear and hard to forget, it’s truly a must-have.
Crochet Ribbon Bag Pattern
Special Features
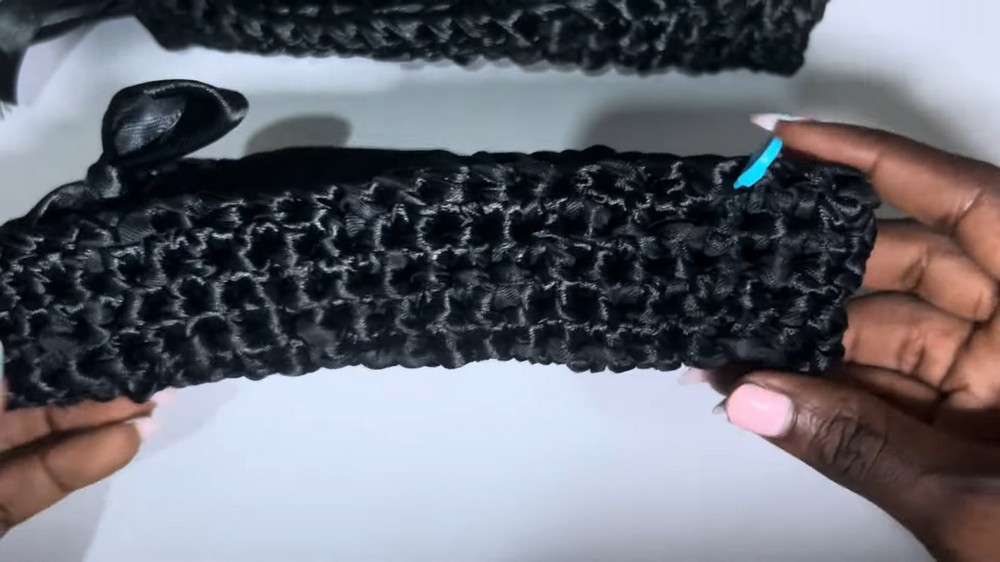
- Made with ribbon yarn for durability and texture
- Simple stitch pattern (single and double crochet) for easy crocheting
- Strategically placed increases ensure bag curves nicely
- Color change and stripes easily incorporated
- Adjustable size by changing initial chain length and rows
Difficulty Level
Beginner — suitable for newcomers with knowledge of basic crochet stitches like chain, single crochet (sc), and double crochet (dc).
Uses
Perfect for an everyday tote, market bag, or stylish accessory for casual outings.
Materials Needed
- 1-inch wide ribbon yarn in two colors (Color A and Color B)
- 8 mm crochet hook
- Stitch markers
- Scissors
- Lighter (optional, for finishing ribbon ends)
Step-by-Step Instructions
Step 1: Starting Chain and Foundation Row
- Make a slip knot with your ribbon yarn.
- Chain 23.
- Skip the first chain from the hook, and work single crochet (sc) in each chain across (22 sc total).
Step 2: Joining Round and Row 1
- Join the last stitch to the first chain with a single crochet to form a round.
- Place a stitch marker at the middle stitch on one side to mark the midpoint.
- Chain 1, then single crochet all the way around the circle.
Step 3: Row 2 – Marking and Preparing for Increases
- Single crochet around as before.
- At the middle stitch (eyeball it between stitch markers), place additional stitch markers on two adjacent stitches to mark the future increase spots.
- Single crochet through all stitches until the end of the row.
Step 4: Row 3 – Increasing to Shape the Bag
- When you reach the stitch marker at the middle:
- Remove the stitch marker.
- Make 2 single crochets in the same stitch to increase.
- Place the stitch marker afterward.
- Single crochet in the next stitches as normal.
- When you reach the other marked middle stitch, repeat the same increase (2 sc in one stitch).
- Continue single crocheting to the end of the round.
- This increase at midpoints creates gentle curves for the bag body.
Step 5: Rows 4-5 – Repeat Increases
- Repeat Step 4 on each row, increasing 2 sc at marked middle stitches.
- After completing increases, place stitch markers to identify the sides for ease of future rows.
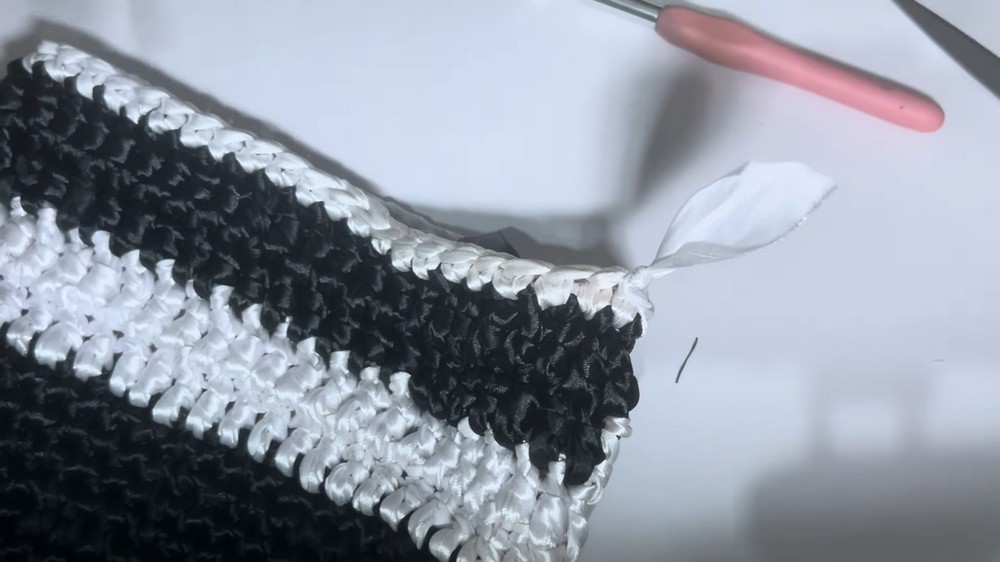
Step 6: Rows 6-7 – Straight Sides (No Increase)
- Single crochet in each stitch all the way around without increasing, maintaining the bag’s shape.
- This builds length and stability.
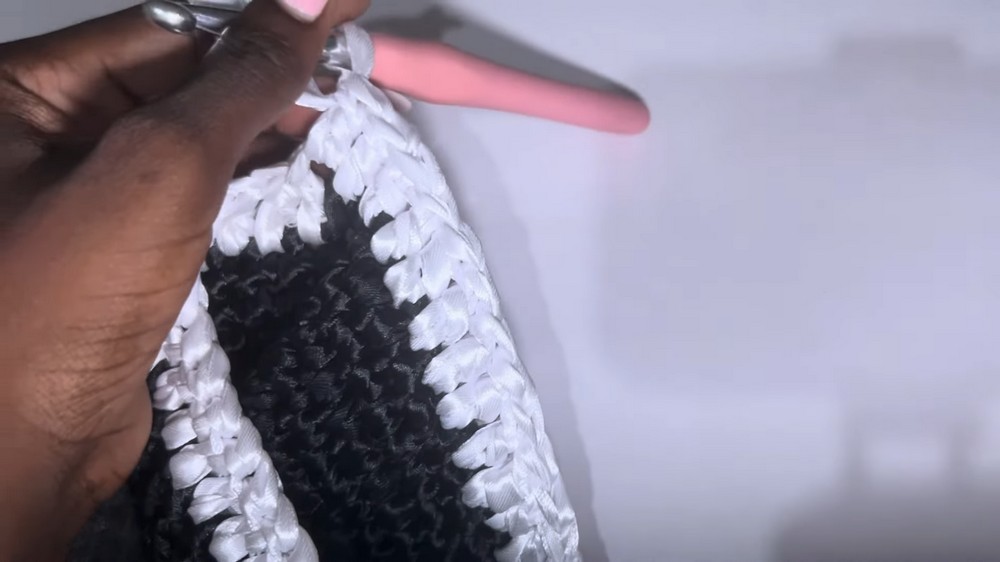
Step 7: Color Transition to Color B and Double Crochet Edging
- Switch to your contrasting ribbon yarn (Color B).
- Join yarn with a slip stitch.
- Chain 2 and work double crochet (dc) evenly around the top edge for a neat, sturdy finish.
- Work about 3 rows of double crochet for desired height.
- Join with slip stitch, fasten off yarn, and weave ends.
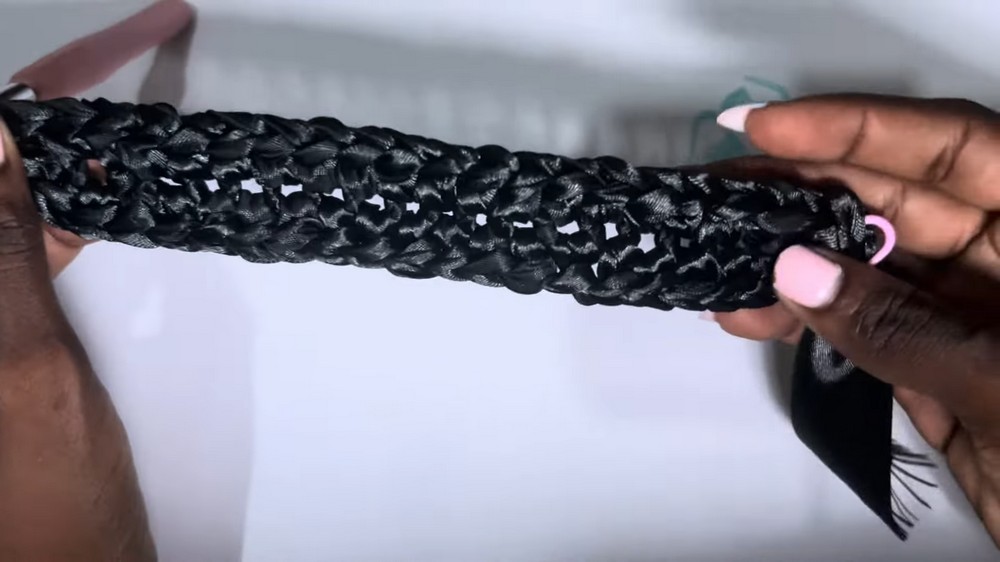
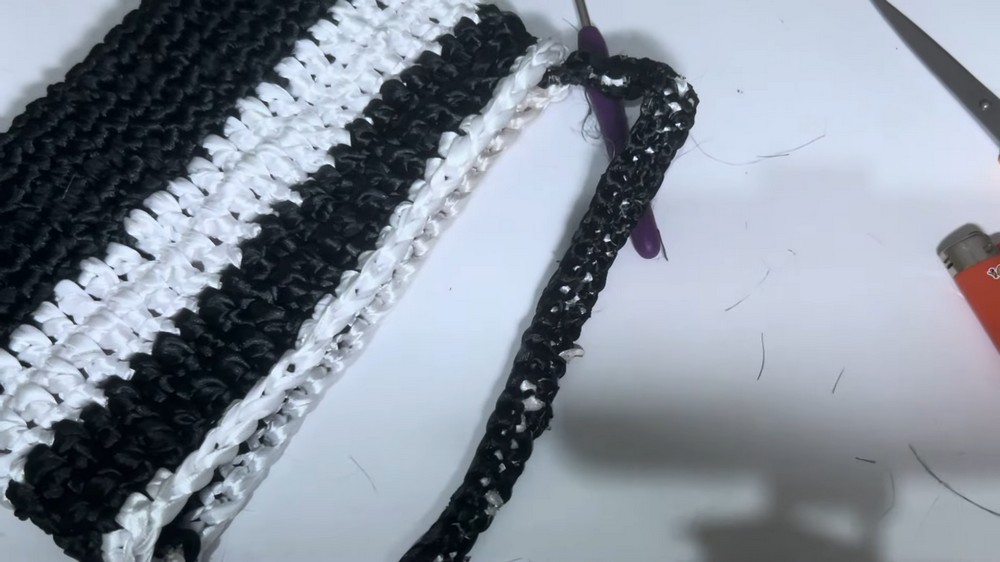
Step 8: Making Drawstrings from Leftover Ribbon
- Cut your leftover ribbons approximately 45 to 50 chains long each.
- Use a 5 mm hook to single crochet into the chain stitches, creating two drawstrings.
- Secure edges with a lighter to prevent fraying.
- Thread drawstrings through top openings for bag closure.
Step 9: Finishing Touches
- Weave in any remaining ends neatly.
- Adjust and tighten any loose edges using the lighter on ribbon ends carefully (test on a scrap first).
- Optional: Attach bag handles or clips for ease of carrying.
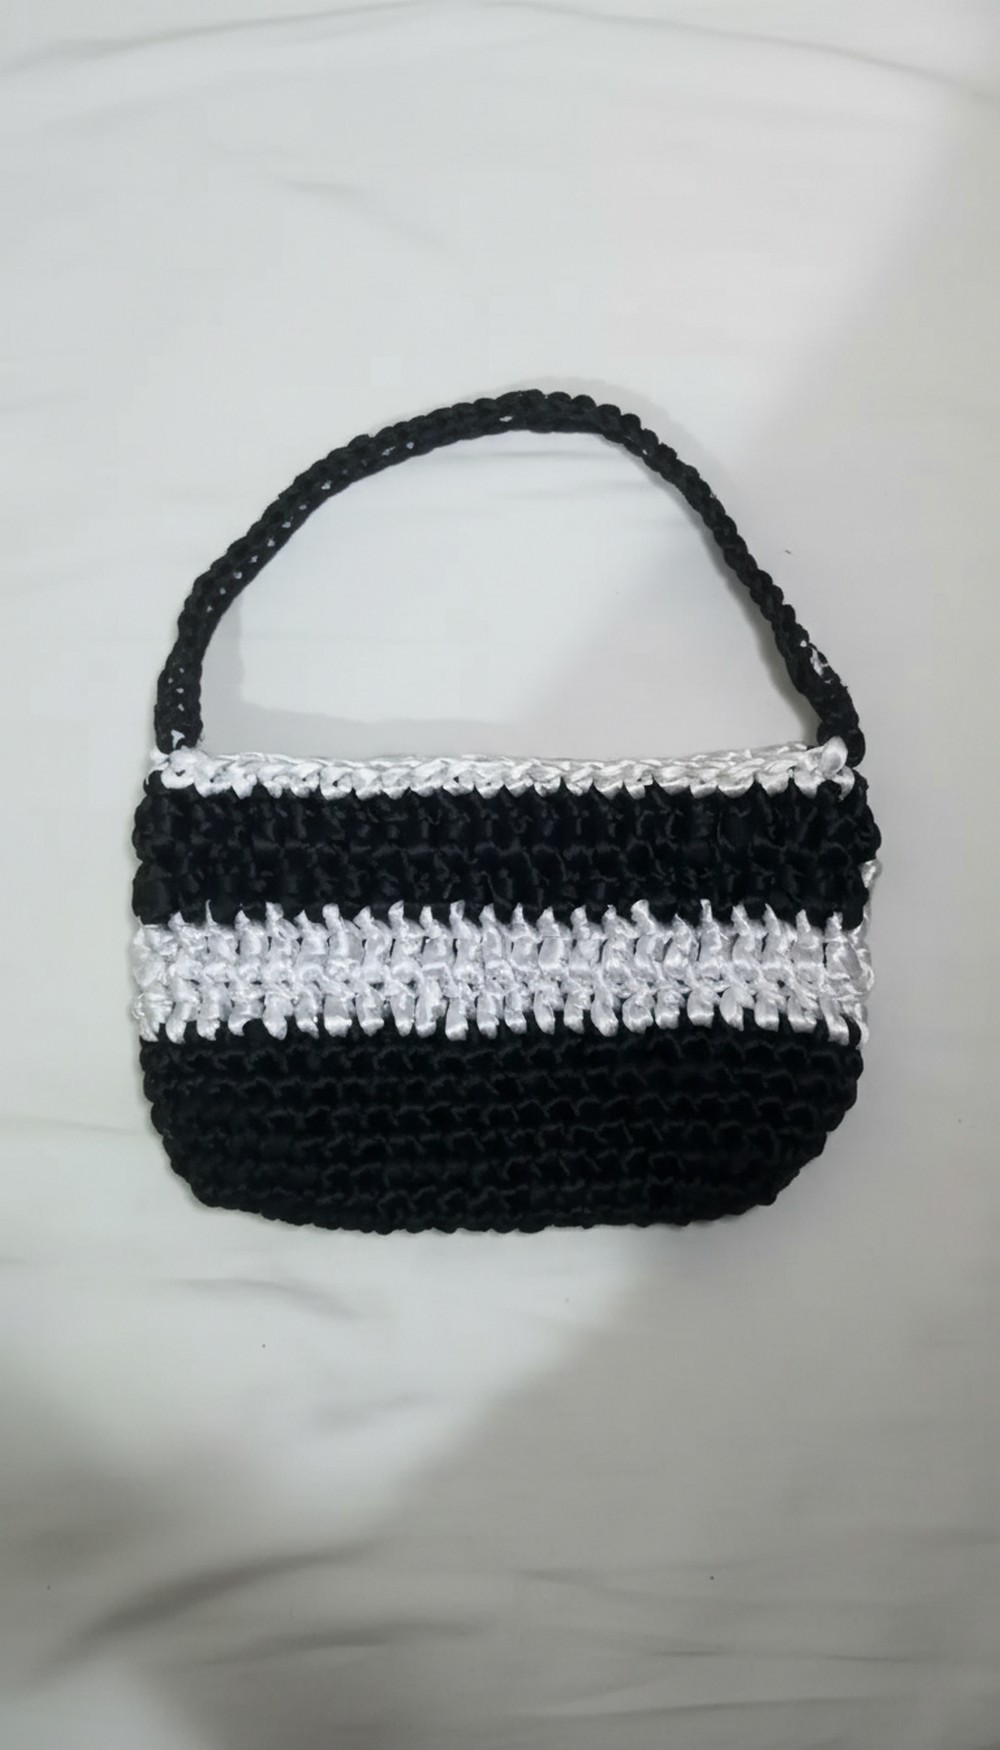
Conclusion
You now have a sturdy, beautifully textured crochet shoulder bag with a comfortable drawstring closure! Perfect as a unique handmade accessory, this bag blends simple crochet skills with ribbon yarn’s strength and charm. The increases create a flattering shape, making the bag roomy yet structured.
Tutor’s Tips
- Keep tension consistent; ribbon yarn can be slippery.
- Use stitch markers at increase points to avoid confusion.
- When joining a new color, secure yarn ends well to prevent unraveling.
- Use a lighter cautiously to seal raw ribbon edges.
- Adjust chain length or rows for custom size preferences.
Leave a Reply