
Stitch a cozy and adorable piece for your little one with crochet baby cardigan pattern perfect for keeping them warm and stylish every day.
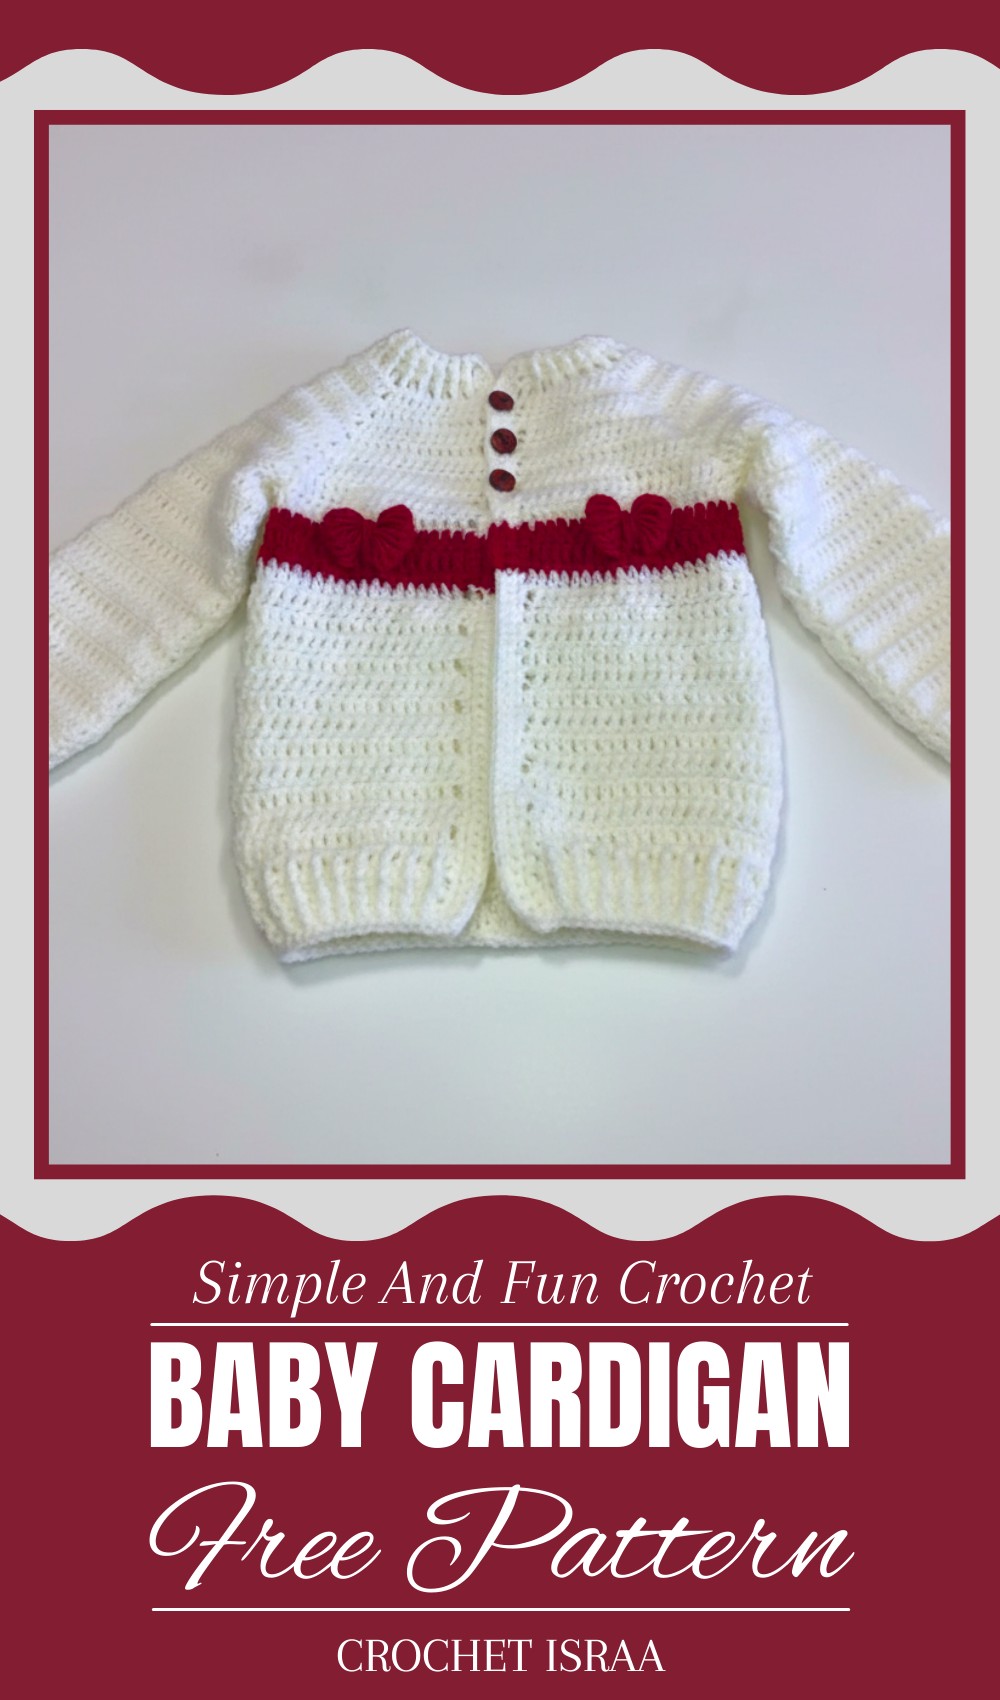
Not all baby clothing feels special or memorable, but a handmade crochet baby cardigan brings a unique charm that stands out. This adorable, soft garment provides warmth and comfort for little ones while showcasing the beauty of intricate pattern and delicate styling. Perfect for everyday wear, family gatherings, or even as a thoughtful gift, it offers something far beyond regular store-bought items.
Elegant Crochet Baby Cardigan Pattern to Treasure Forever
With endless color options and designs, it can be tailored to match any outfit or occasion, making it both practical and personal. Whether you’re looking for a cozy layer during chilly weather or just want to add a touch of elegance to a baby’s wardrobe, this charming cardigan is the perfect choice. It holds the love and care of its creator and becomes a cherished piece that families can keep for years as a sweet reminder of precious times.
Materials List
- Yarn:
- White yarn, approximately 100 g (100% acrylic or baby-friendly yarn).
- Red yarn, approximately 25 g for accents.
- Hook: 3 mm crochet hook.
- Extras:
- Stitch markers.
- Scissors.
- Tapestry needle for seaming and weaving in ends.
Skill Level
Intermediate. This pattern includes techniques such as puff stitches, post stitches, and shaping.
Key Abbreviations (US Terminology)
- ch: chain
- dc: double crochet
- hdc: half double crochet
- fphdc: front post half double crochet
- bphdc: back post half double crochet
- puff st: puff stitch
- sc: single crochet
- sl st: slip stitch
- dec: decrease
- sp: space
- st: stitch
Special Notes
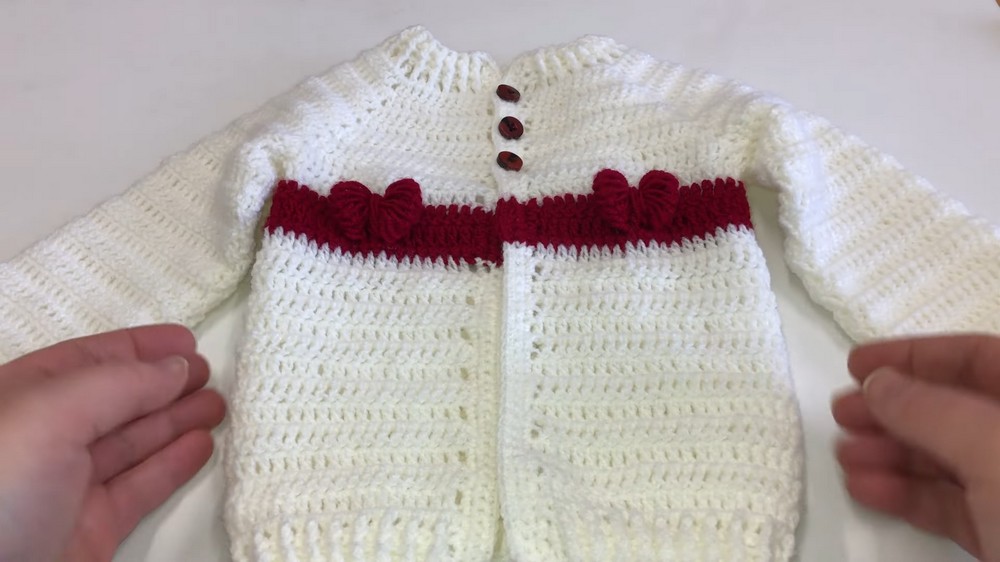
- Butterfly Detailing: The butterfly design is achieved through puff stitches and special textured techniques. Follow carefully for a consistent result.
- Adjustments: To size up, ensure increases in multiples of 4 for the base chain and overall shaping. Reference Row 29 for instructions on buttonholes and margins.
- Maintain Consistency: Ensure stitch counts at the end of each row to maintain symmetry.
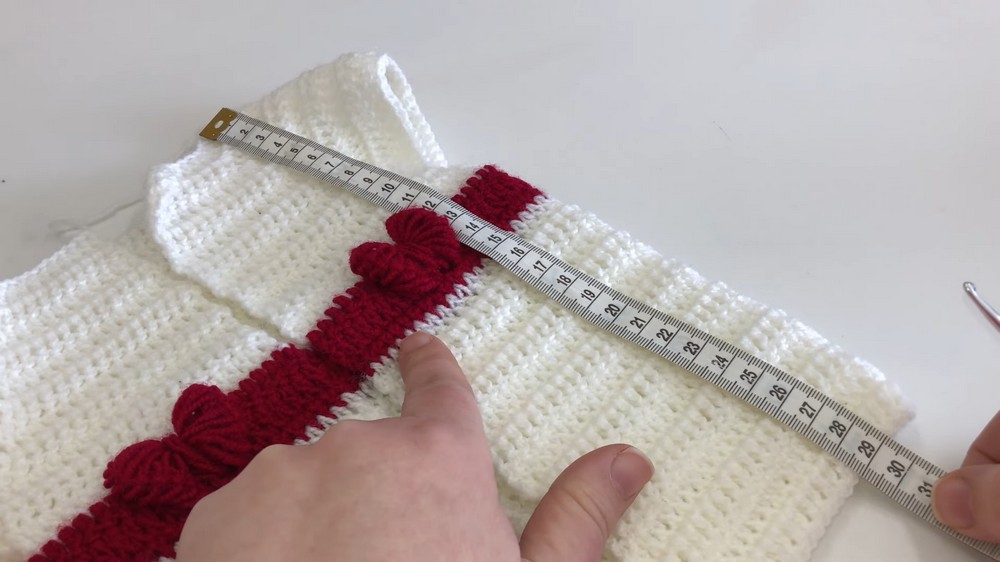
Finished Measurements
- Finished width: 28 cm (approx. 11 inches).
- Finished length: 29 cm (approx. 11.5 inches) from shoulder to hem.
Pattern Instructions (0-3 months size)
Body Section (Starting at Yoke)
Foundation Chain
- Make a slip knot and chain 66.
- Add 2 chains for turning (total 68 chains).
Row 1: Foundation Row
- Dc in the 3rd chain from the hook.
- Work dc in the next 9 chains (10 dc total). Ch 1.
- Work dc in the next 13 chains. Ch 1 (13 dc total).
- Work dc in the next 20 chains. Ch 1 (20 dc total).
- Work dc in the next 13 chains. Ch 1 (13 dc total).
- Work dc in the last 10 chains (10 dc total).
Rows 2–9: Shaping the Yoke with Increases
- Ch 2, turn.
- Work 1 dc in the same stitch, then dc in each stitch to the chain space.
- In each ch-1 space, work (dc, ch 1, dc) to increase. Place stitch markers in each ch-1 space created.
- Repeat across each section, working 1 dc in each stitch and (dc, ch 1, dc) in each chain space.
- Repeat this row for a total of 9 rows, or until the yoke reaches 10 cm (approx. 4 inches).
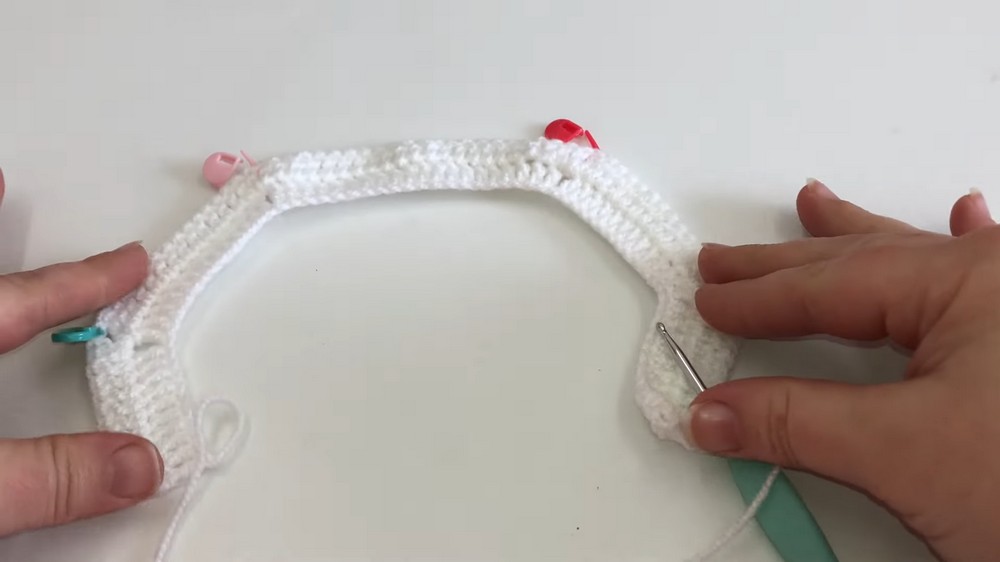
Row 10: Dividing the Sleeves and Body
- Ch 2, turn.
- Work dc in each stitch until the first chain-1 space.
- In the first ch-1 space, work: (2 dc, ch 2), skip all stitches of the sleeve to the next chain-1 space and work (2 dc).
- Continue working dc across the back section until the next chain-1 space. Repeat the steps for the second sleeve.
- Complete the row by working dc in the remaining stitches.
You should now have 84 stitches for the body section, with the sleeves separated.
Row 11–28: Building the Body
- Row 11: Work 1 dc across, working 2 dc into each ch-2 space. You will have 84 stitches.
- On the last stitch of Row 11, switch to red yarn.
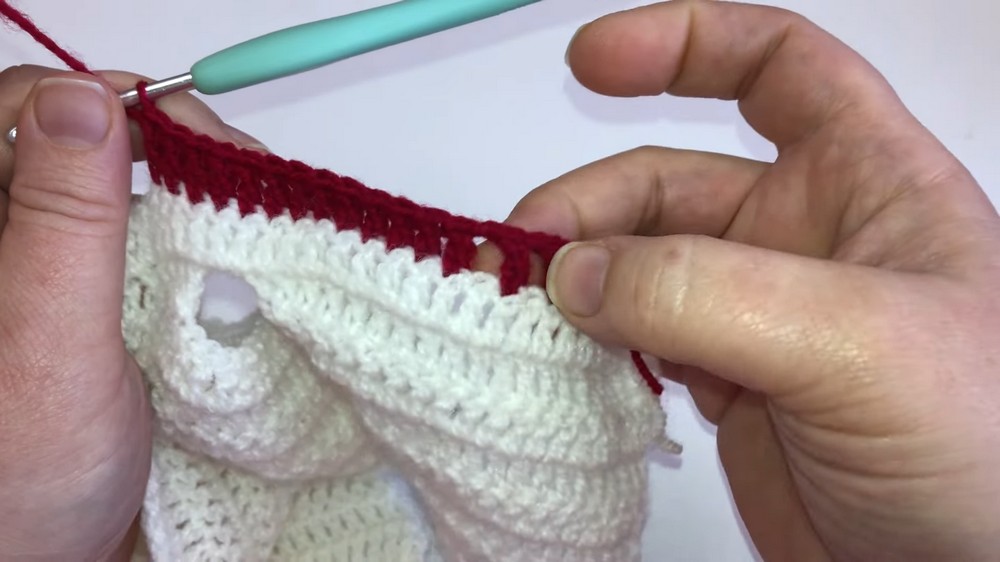
- Row 12:
- Ch 2, turn. Work dc in the same stitch.
- Work dc in the next 6 stitches.
- Ch 1, skip 1 stitch, then work dc in the next stitch. Repeat (dc, ch 1, skip 1, dc) across the row to create spaces for butterfly details.
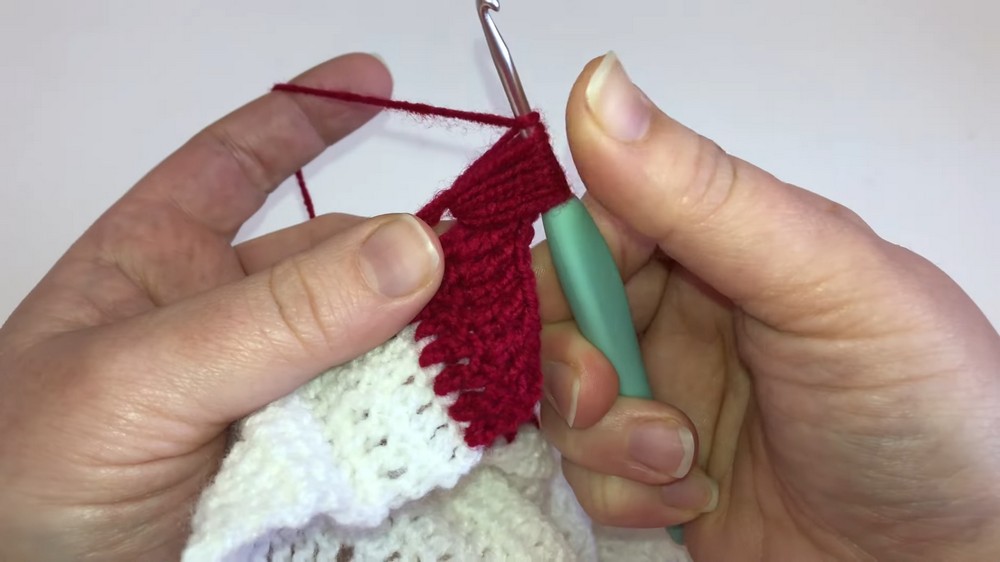
- Row 13 (Butterfly Row):
- Ch 2, turn, work dc in the first 7 stitches.
- Ch 1, then work the butterfly motif:
- Yarn over, insert your hook behind the previous double crochet, yarn over and pull through a loop.
- Repeat this step 8 times, creating 9 loops on the hook.
- Yarn over, pull through 2 loops, repeat pulling through 3 loops at a time until only 2 are left, and finally pull through the last 2 loops.
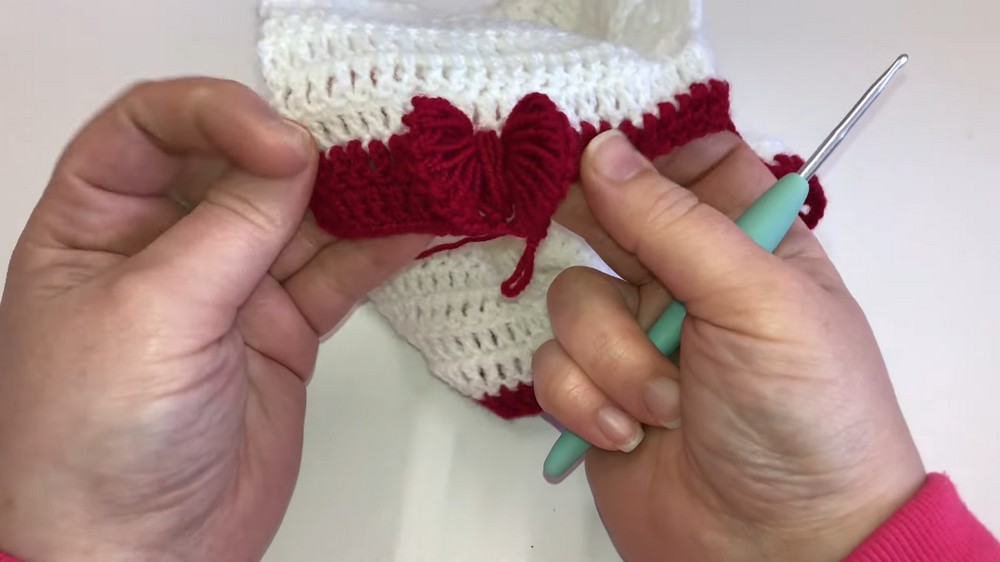
- Work a puff stitch in the next stitch, pulling through all loops after repeating 4 times.
- Repeat the butterfly motif.
- Work dc across remaining stitches.
- Row 14: Single crochet in each stitch across (total 84 sc).
- Rows 15–28: Work dc rows, creating a straight body section until the piece measures 29 cm.
Row 29–31: Adding Ribbing
- Switch to 3 mm hook, ch 2, and turn. Work:
- fphdc in first st, bphdc in the next st, alternating across the row.
- End with 1 hdc in the last stitch.
- Repeat this row for 3 rows to create ribbing at the bottom edge of the cardigan.
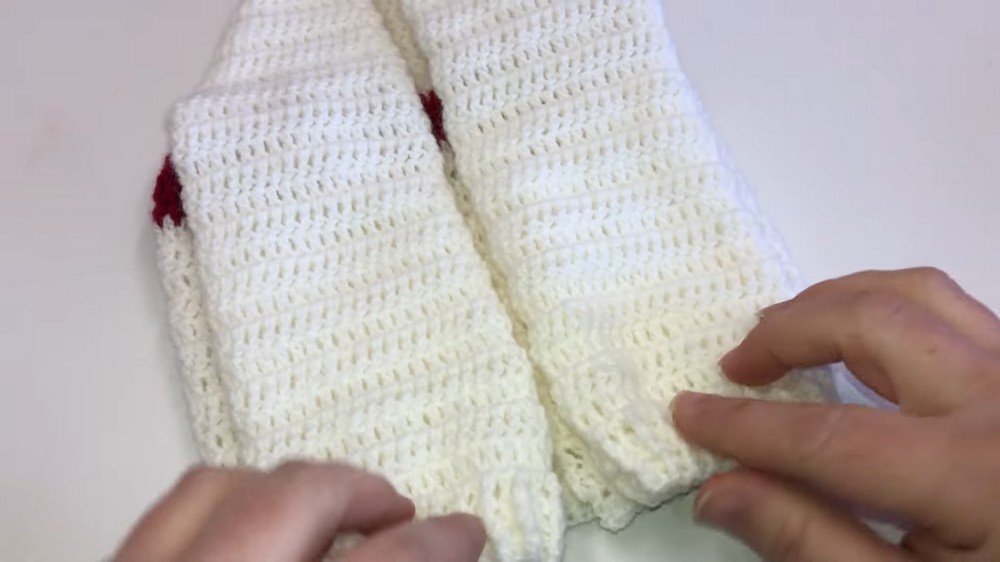
Sleeves
- Attach yarn at the underarm with a sl st.
- Round 1: Ch 2, work dc around the sleeve opening, joining with a sl st.
- Rounds 2–19: Work dc rows in a spiral fashion, maintaining stitch counts.
- Last 3 Rounds: Switch to fphdc/bphdc pattern using the 3 mm hook for ribbing.
Button Band
- Attach yarn along the edge of the cardigan opening.
- Row 1: Work sc evenly across the edge (including neckline).
- Row 2 (Buttonholes):
- Mark buttonhole positions.
- Chain 2, skip the necessary stitches where buttonholes are needed, then continue with sc.
- Row 3: Work additional sc rows, ensuring you add 2 sc in each chain-2 space for buttonholes.
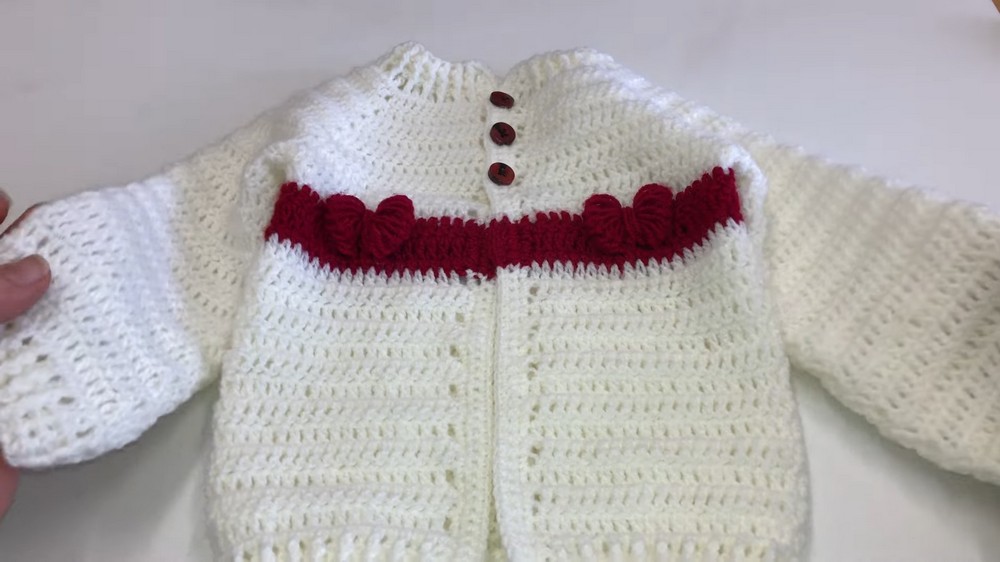
Conclusion
Congratulations! Your adorable butterfly-detailed crocheted baby cardigan is complete. This timeless cardigan is perfect for 0-3 months, with guidance to size up for older babies.
Pattern Corrections
- Stitch counts are provided for clarity; ensure you follow the row instructions correctly for the butterfly motifs. Miscounting stitches in the body may affect symmetry.
- This pattern is designed for front opening, and button placement can adjust to personal preferences.
Tips
- Color Play: Experiment using contrasting colors for the butterflies and ribbing for visual impact.
- Blocking: Gently block the cardigan after completion to enhance stitch definition and shape.
- Buttons: Use baby-safe buttons that are securely fastened.

Leave a Reply