
Transform any corner into a charming space with this crochet spiral hanging doll pattern perfect for thoughtful gifting and personal decor.
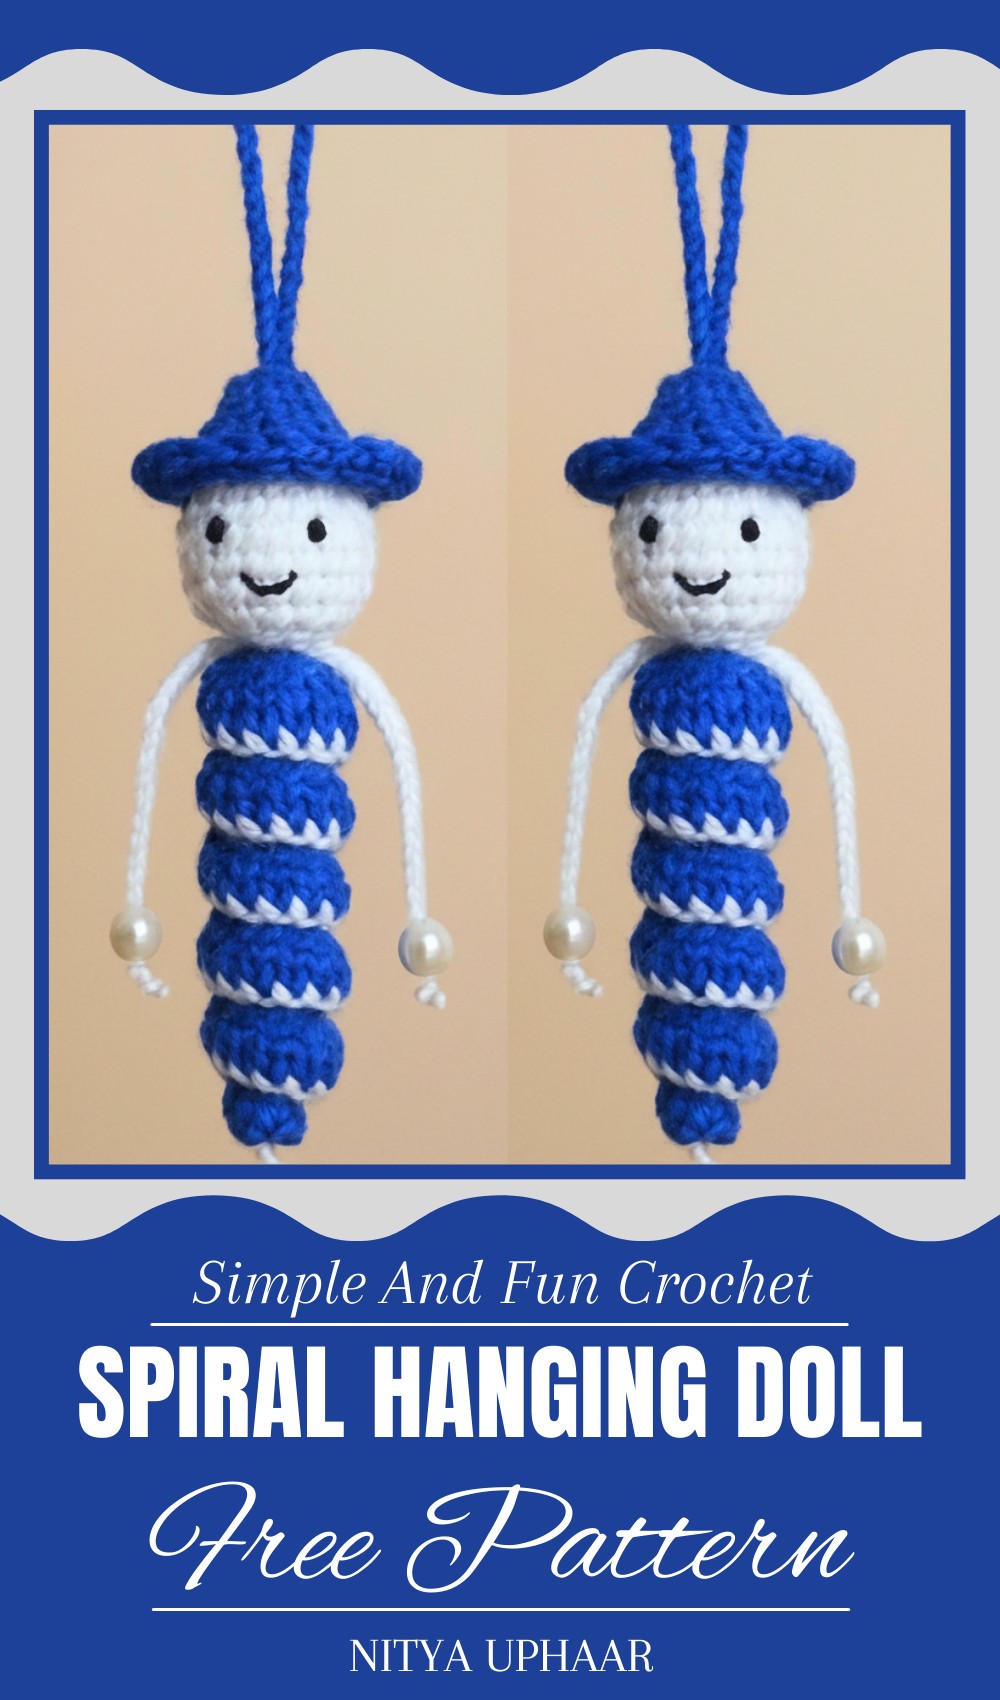
This beautiful spiral hanging doll is more than just a piece of decoration; it’s a lovely way to bring life and charm into any corner of your home. The playful spiral shape catches the eye, while the adorable doll adds a sweet and cheerful touch that instantly brightens any space. Whether you’re looking to enhance a child’s bedroom, a cozy nursery, or even a doorway, this pattern works perfectly to create a warm and welcoming vibe.
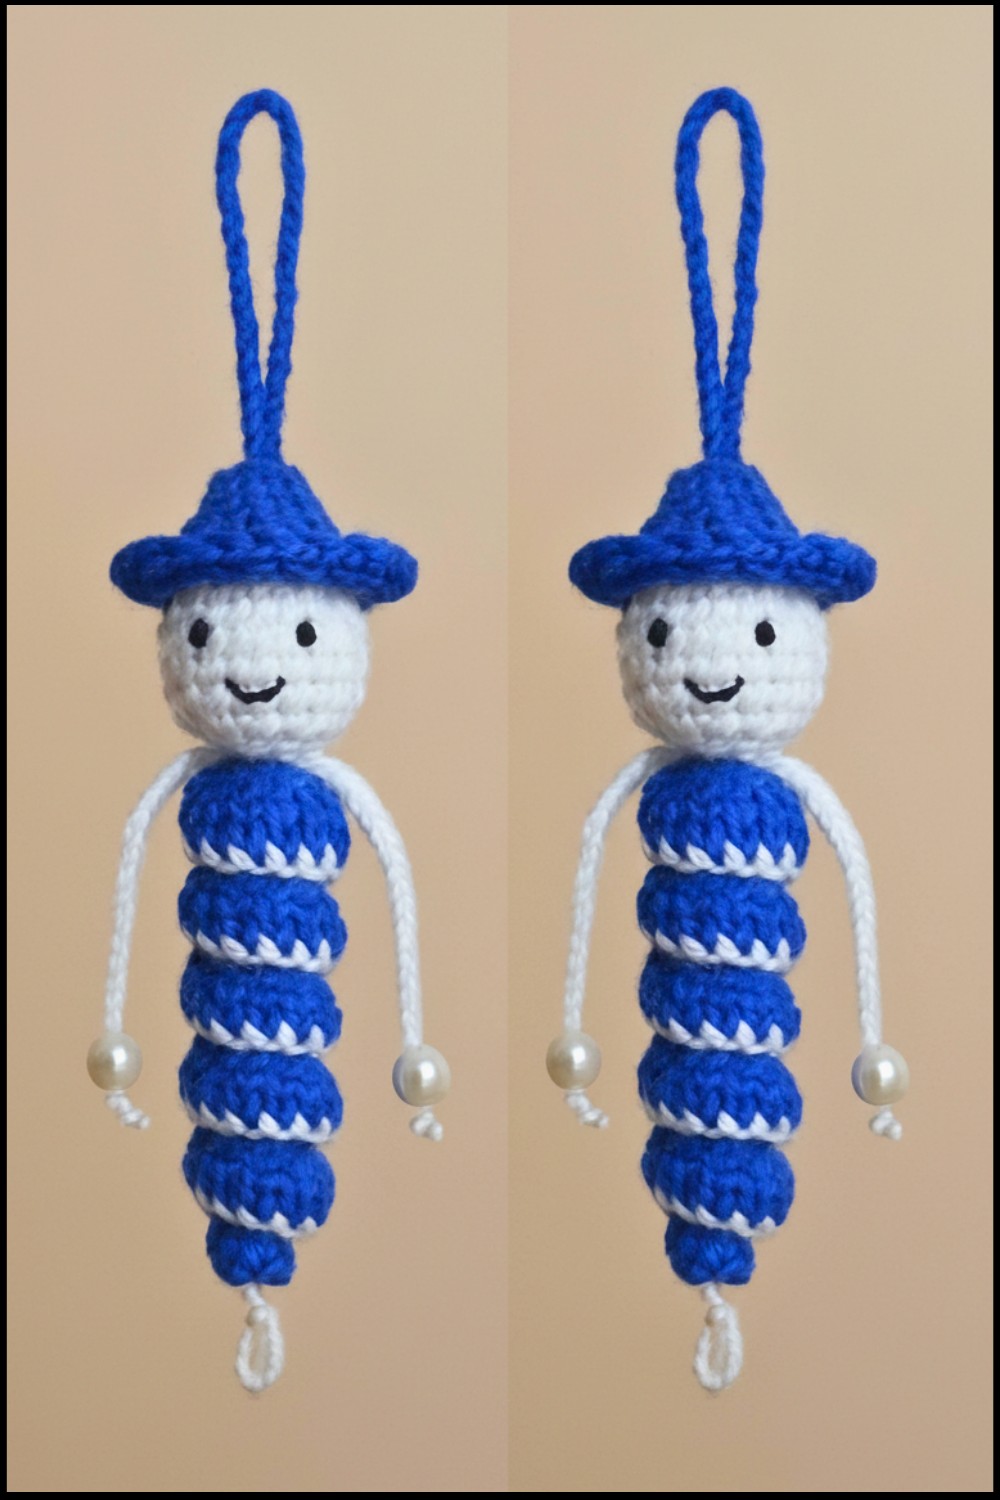
Cute Crochet Spiral Hanging Doll Pattern to Brighten Any Nursery
It’s not just for you — it’s a thoughtful handmade gift that will leave loved ones smiling. Imagine the joy of gifting it at birthdays, baby showers, or holidays, bringing happiness in the form of creativity and care. You can make it your own by playing with different colors and styles to match the space around you. Wherever it’s displayed, this stunning piece is sure to bring smiles and sunshine, every single time.
Materials List
- Main Yarn:
- Color 1: White yarn (for the head).
- Color 2: Pink yarn (for the body and hat).
- Color 3: Black yarn (for the eyes, mouth, and details).
- Optional: Green and red yarn for Christmas-themed dolls.
- Yarn Type: 4-ply acrylic yarn (Vardhman was used, but other brands will work).
- Optional Beads:
- Two for hands and a larger one for the body bottom (size: 8mm).
- Hook Size: Use a 2.5mm crochet hook to match the 4-ply yarn.
- Filling Materials: Cotton or polyester fiberfill (for stuffing the head).
- Tools:
- Tapestry needle.
- Scissors.
Skill Level
Beginner to Intermediate.
Key Abbreviations (US Terminology):
- ch: Chain.
- sc: Single Crochet.
- inc: Increase (2 single crochets in the same stitch).
- dec: Decrease (single crochet two stitches together).
- dc: Double Crochet.
- hdc: Half Double Crochet.
- sl st: Slip Stitch.
- st(s): Stitch(es).
Special Notes
- The doll is made in separate parts (head, body, arms, hat, and string) and assembled at the end.
- The sizes and colors are customizable. You can adjust the number of chains for body length or spiral tightness.
- Use safety eyes or stitch eyes using black yarn for safety around children.
Pattern Instructions
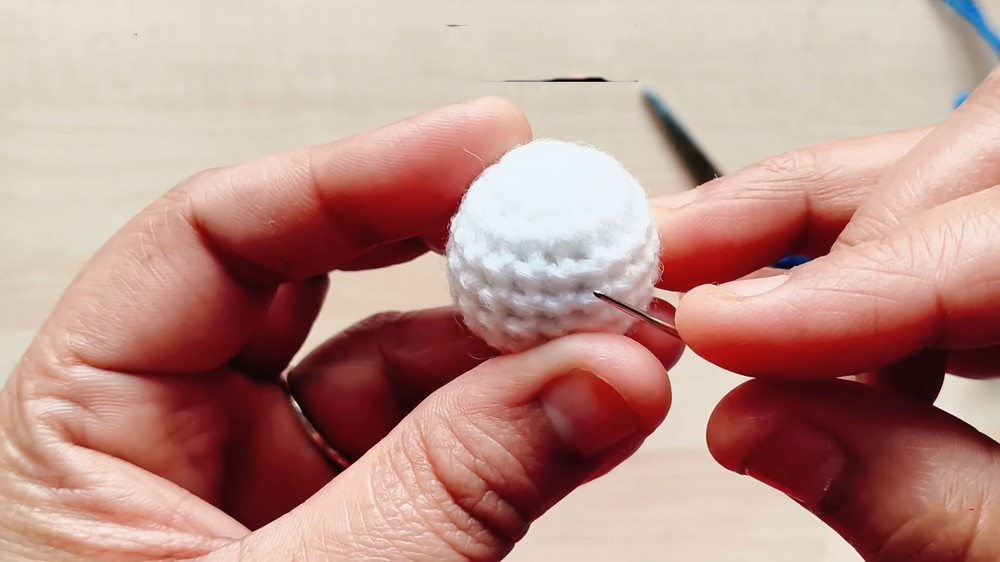
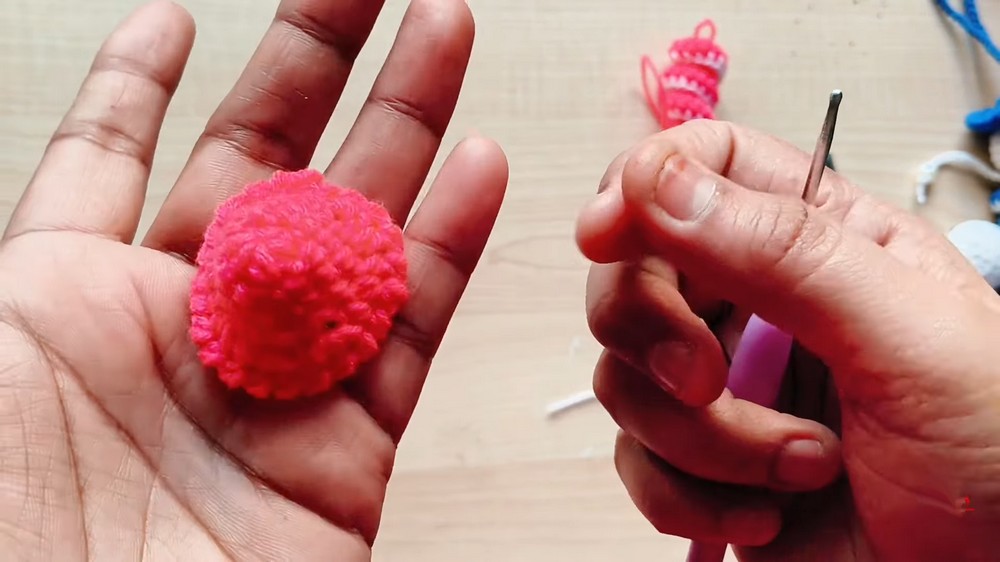
1. Head
- Begin with White Yarn
- Create a magic ring and ch 1 to secure it.
- Round 1: Work 6 sc into the magic ring. Pull the tail to close the ring. Join with a sl st into the first sc. (6 sc)
- Round 2:
- inc in each st around (work 2 sc into every stitch). (12 sc)
- Join with a sl st in the first sc.
- Round 3:
- [1 sc, inc] Repeat 6 times around. (18 sc)
- Join with a sl st.
- Rounds 4–7:
- Work 1 sc in each st around. (18 sc per round)
- Join with a sl st at the end of each round.
- Round 8 (Decrease Round):
- Work [1 sc, dec] around. (12 sc)
- Stuff the head with fiberfill to give it shape.
- Round 9:
- Dec in every st around to close the head. (6 sc)
- Fasten off, leaving a long tail for sewing.
- Use the needle to weave through the remaining 6 sts, pull tight to close the hole, and knot securely.
- Details for Face:
- Use black yarn to embroider eyes and a mouth.
- For eyes, place them between the 4th and 5th rounds, with 4 sts between the eyes.
- For the mouth, embroider between the 5th and 6th rounds by creating a slight curve.

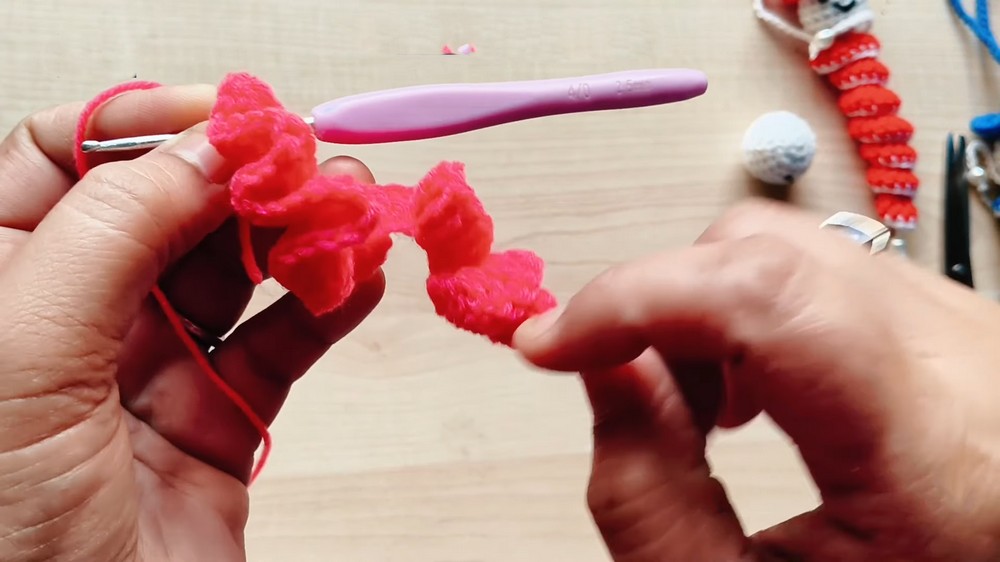
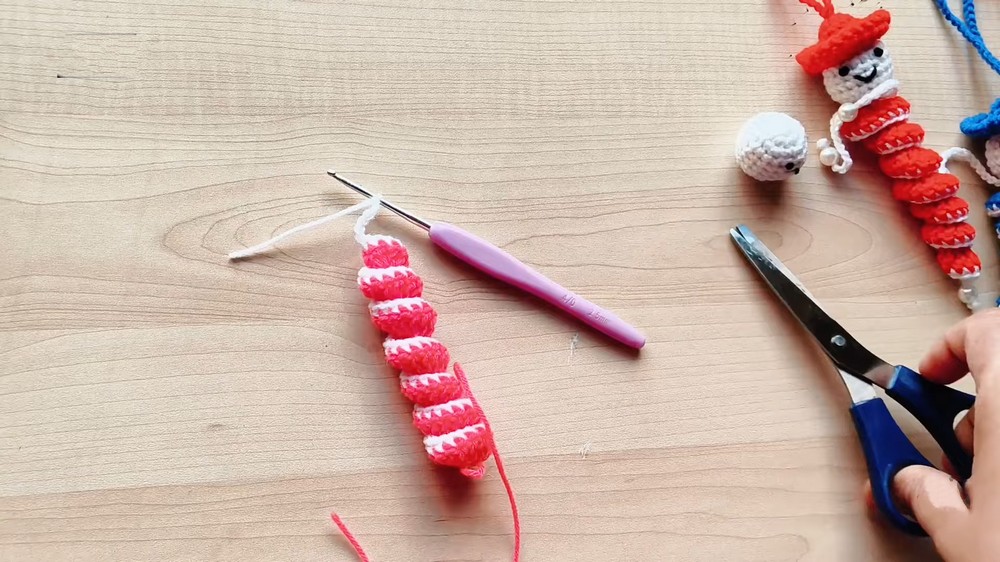
2. Spiral Body
- Begin with Pink Yarn
- Ch 30 (or adjust based on your desired spiral length).
- Row 1:
- Starting in the 3rd ch from the hook, work 3 dc in each ch across the row.
- Result:
- As you work, the row will naturally curl into a spiral shape.
- Fasten off, leaving a long tail for sewing.
- Optional Detailing:
- Using white yarn, attach at the start of the spiral and work sc around the edge. This adds a neat border framing the spiral.
3. Hat
- Begin with Pink Yarn and Work a Magic Ring:
- Ch 1 to secure the ring.
- Round 1:
- Work 6 hdc into the magic ring. Pull to close and sl st to join. (6 hdc)
- Round 2:
- [1 hdc, inc] Repeat around. (9 hdc)
- Round 3:
- [2 hdc, inc] Repeat around. (12 hdc)
- Round 4:
- [3 hdc, inc] Repeat around. (15 hdc)
- Round 5 (Front Loop Only):
- Work a [1 hdc, inc] pattern into the front loops only around. (24 hdc)
- Round 6 (Reverse Single Crochet):
- Work reverse sc (crab stitch) in each st around.
- Fasten off and weave in ends.
4. Arms
- Begin with Pink Yarn:
- Leave a long thread tail, and ch 36.
- Fasten off.
- Create two identical arms.
- Attach Beads:
- Slip an 8mm bead onto the end of the chain. Secure with a knot at the bead end. Trim excess yarn.
5. Hanging String
- With Pink Yarn:
- Ch 50 (or adjust based on desired length).
- Fasten off, leaving a tail for sewing.
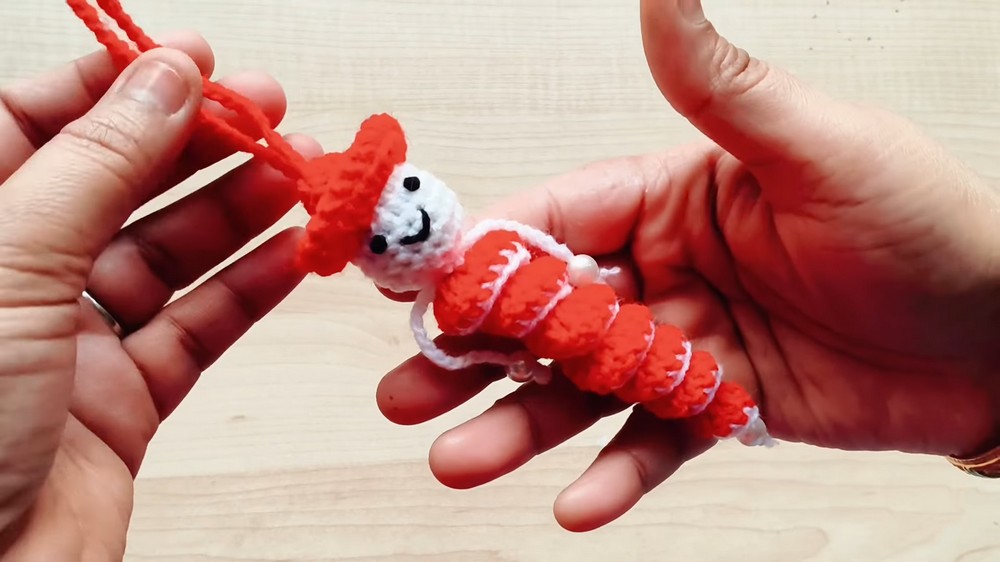
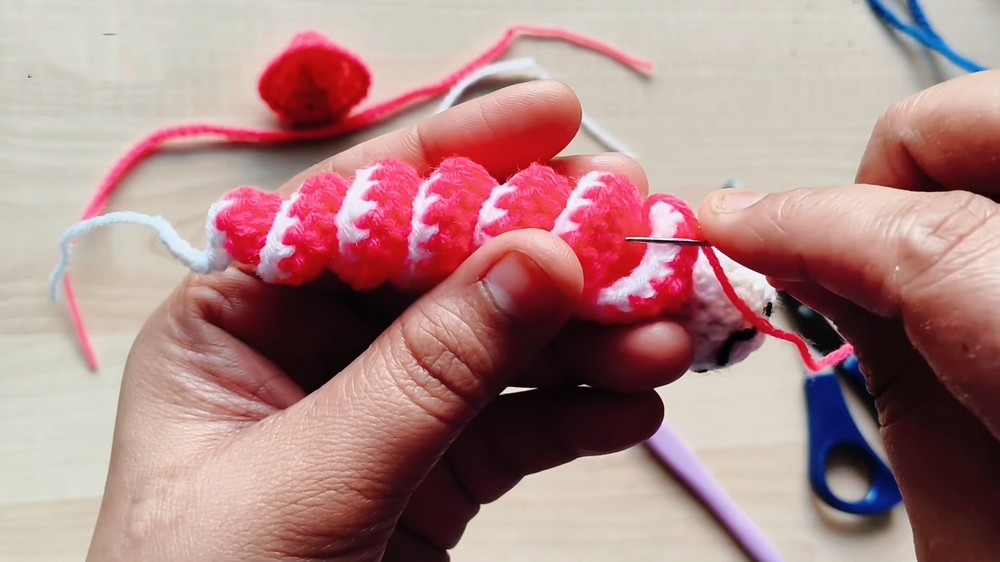
Assembly
- Attach the Spiral Body to the Head:
- Using the tail from the spiral, stitch the spiral to the base of the head.
- Attach Arms:
- Insert both arms through stitches near the neck area, ensuring symmetrical placement. Secure with knots or stitches.
- Fix the Hanging String:
- Pull the hanging string through the top of the head and tie securely.
- Attach the Hat:
- Place the hat over the head so it sits snugly. Use the magic ring hole to secure the string coming through.
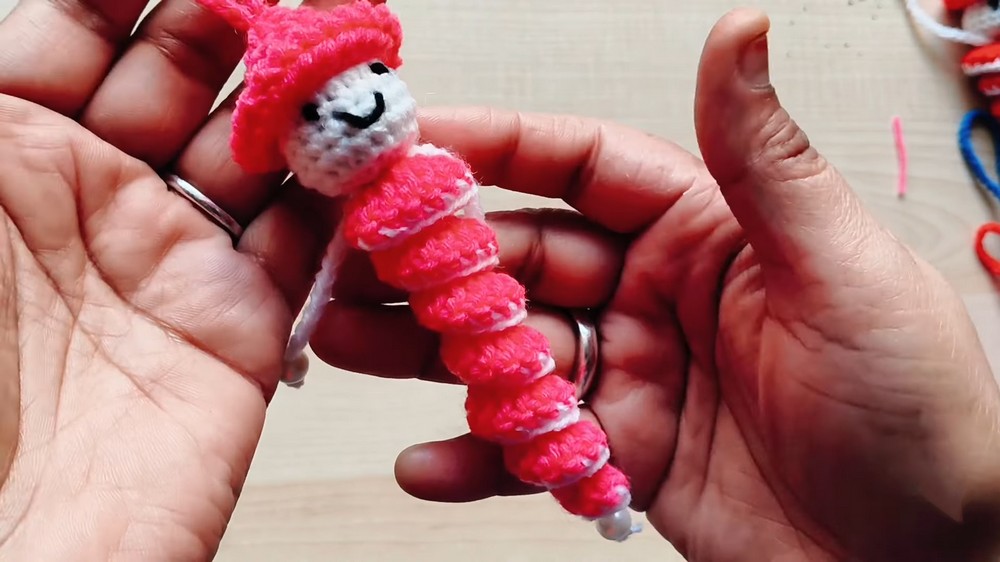
Conclusion
Your spiral hanging doll is now complete! This versatile, playful design works as an ornament for your home, car, or even as a cheerful Christmas decoration. You can experiment with colors and accessories to suit any season or occasion.
Pattern Corrections
- If your spiral body does not curl properly, ensure the tension and number of dc per chain are consistent.
Tips
- Adjusting Spiral Length: For a longer or shorter body, increase or decrease the number of foundation chains.
- Safety for Children: If gifting to a child, replace beads with stitched designs to ensure safety.
- Customization: Use festive colors like green, red, and white to create holiday-themed hanging dolls.
Leave a Reply