
Bring joy to your hands with this Crochet Fox Foxnoo Pattern, full of cheerful textures, cute personality, and a lovable fox ready to charm everyone around.
Lovely Crochet Fox Foxnoo Pattern Which Fits Any Theme
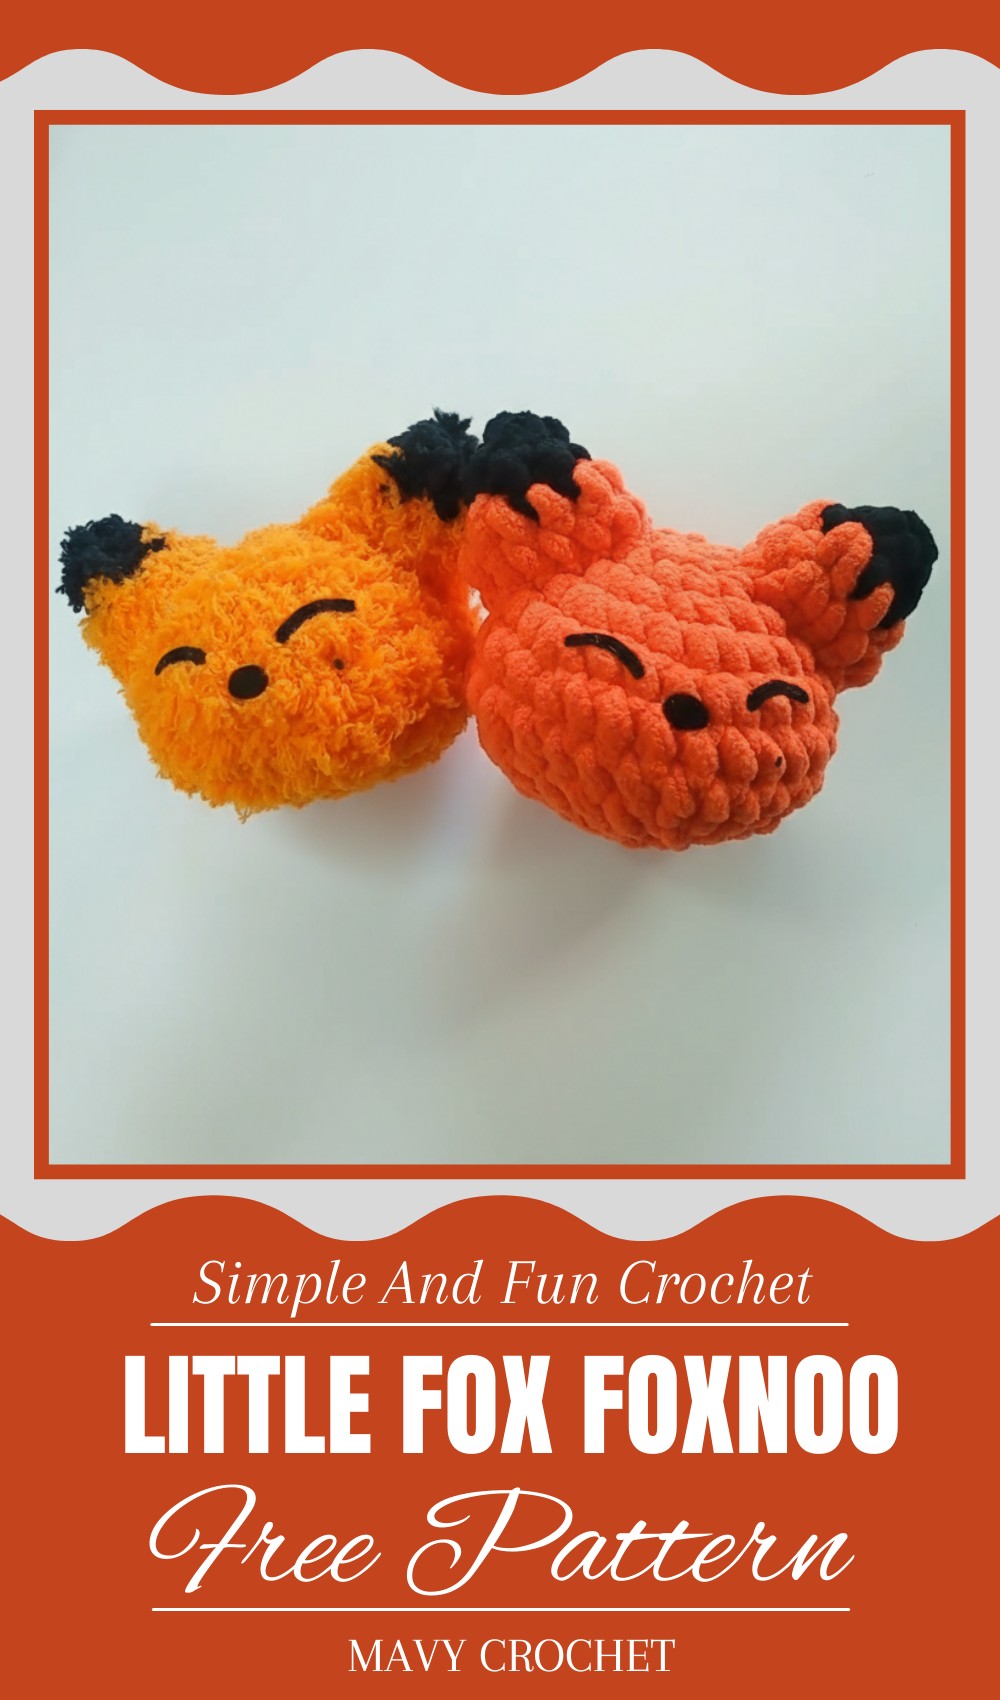
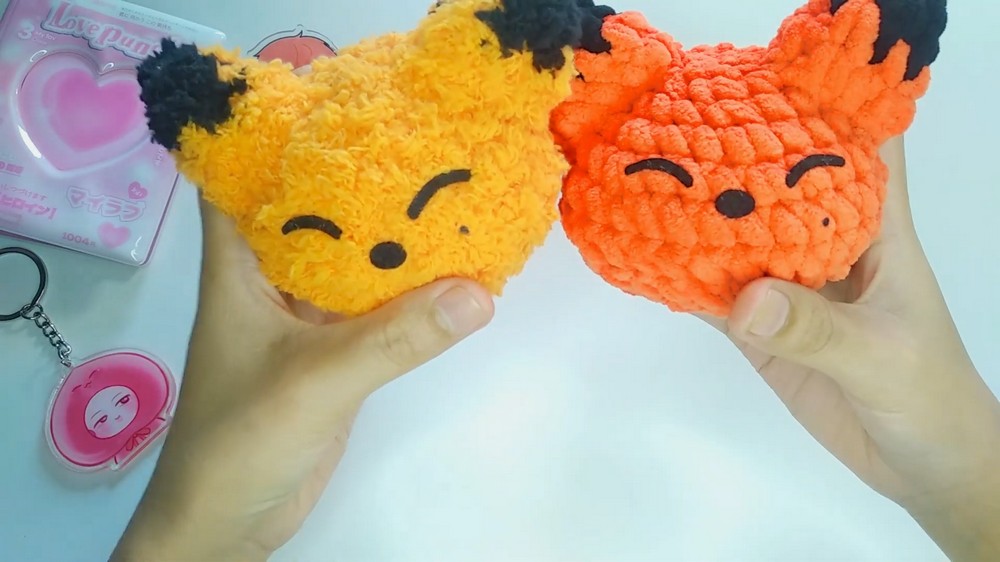
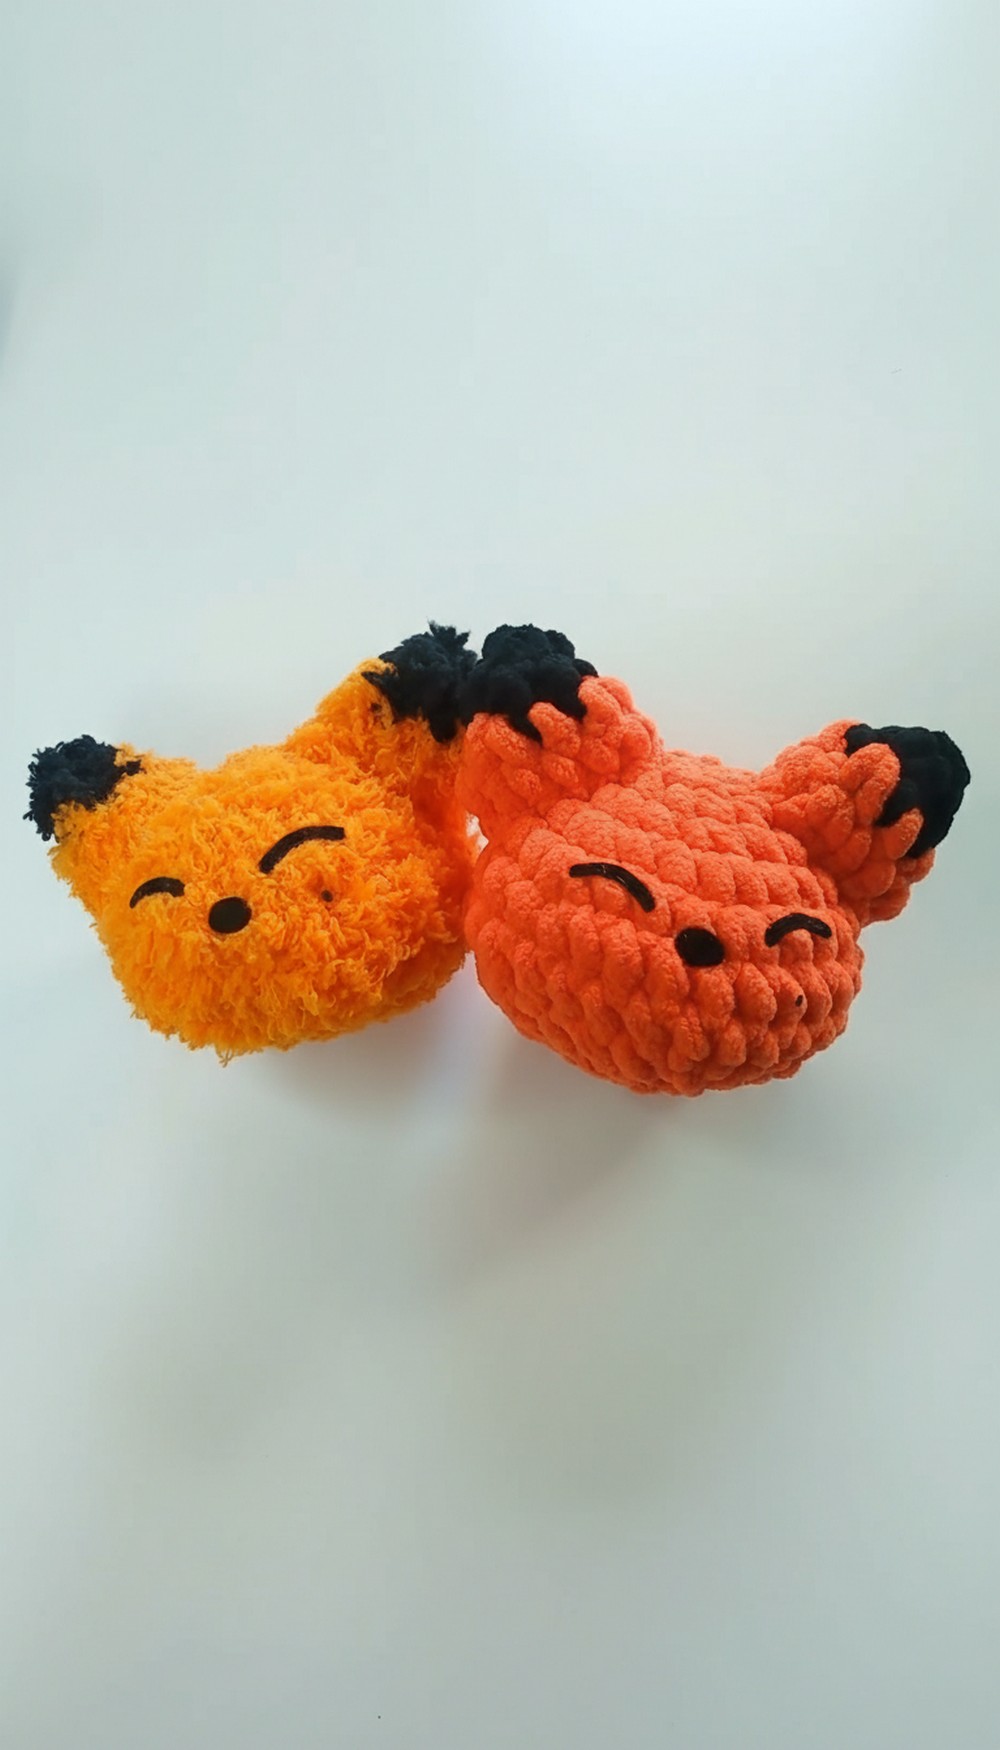
A delightful little fox with bright eyes and a bushy tail makes any crochet project exciting, especially for those just starting out. This Foxnoo pattern brings a playful character to life through simple stitches, perfect for beginners eager to learn. Its charming orange and white coloring, combined with carefully crafted details like pointy ears and a fluffy tail, create an adorable and realistic look that’s hard to resist.
The pattern focuses on easy shapes and assembly, helping new crocheters build confidence while forming a lovely little figure. This fox can be a cheerful decoration on a shelf, a cozy toy for children, or a unique handmade gift that carries a personal touch. Compact and light, it’s perfect to carry along or display anywhere.
Blending straightforward techniques with enchanting design, this Foxnoo crochet pattern invites creativity and promises a satisfying, enjoyable crafting experience for beginners.

Crochet Fox Amigurumi – Step-by-Step Pattern
Special Features
- Adorable fox amigurumi with detailed shaping
- Use of basic crochet stitches with increases and decreases
- Color change incorporated for details (ears)
- Includes 3D facial features: ears, eyes, nose, and cheeks
- Fluffy yarn option for a plush effect
Difficulty Level
Beginner to Intermediate
This pattern mainly uses single crochet (sc), increase, decrease, and color change techniques. Basic crochet knowledge including magic ring and stitch markers is helpful.
Materials Needed
- Orange yarn (6.5 mm hook recommended)
- Black and orange yarn for ears and facial details
- Stitch marker
- Fiber fill for stuffing
- Yarn needle
- Scissors
- Craft glue for small details (optional)
Pattern Instructions
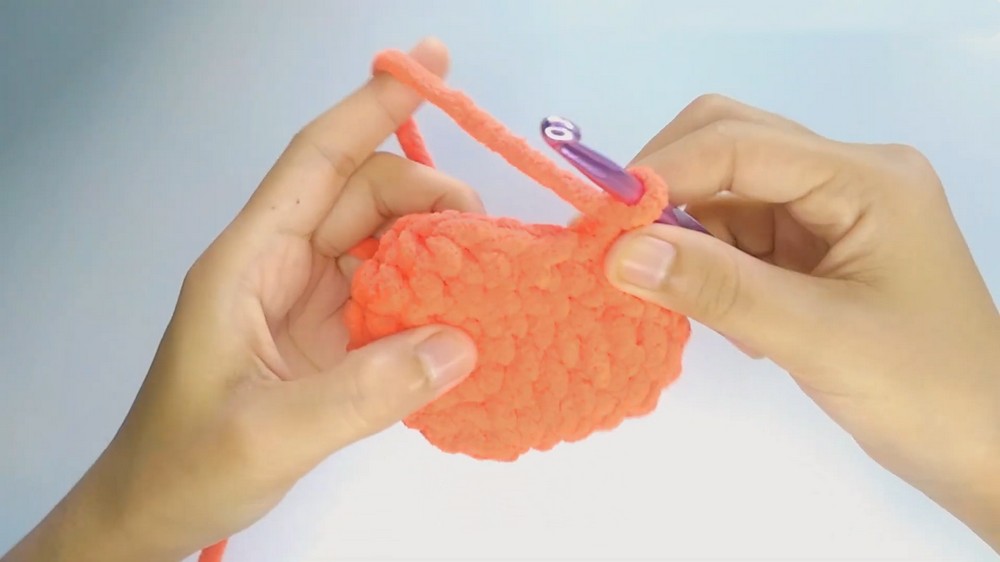
1. Fox Head and Body (Orange Yarn)
- Make a magic ring.
- Round 1: Make 6 single crochet (sc) inside magic ring. Mark first stitch.
- Pull yarn to close ring tightly, remove marker.
- Round 2: Make 6 increases (2 sc in each stitch), total 12 sc.
- Round 3: 1 sc, 1 increase repeat around, total 18 sc.
- Round 4: 2 sc, 1 increase repeat around, total 24 sc.
- Round 5: 3 sc, 1 increase repeat six times, total 30 sc.
- Rounds 6 & 7: Make 30 sc evenly (no increases).
- Round 8:
- Make 3 sc, mark after 1st sc,
- Make 1 decrease (crochet front loops of two stitches together),
- Repeat pattern around, total 24 sc.
- Round 9: 2 sc, 1 decrease repeat, total 18 sc.
- Round 10: 1 sc, 1 decrease repeat, total 12 sc.
- Finish off Round 10, start stuffing firmly.
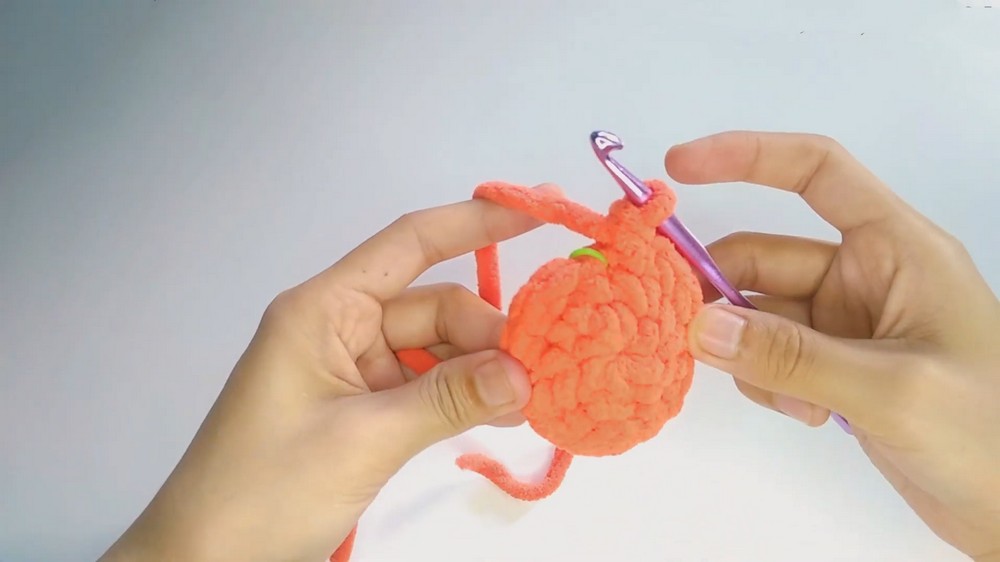
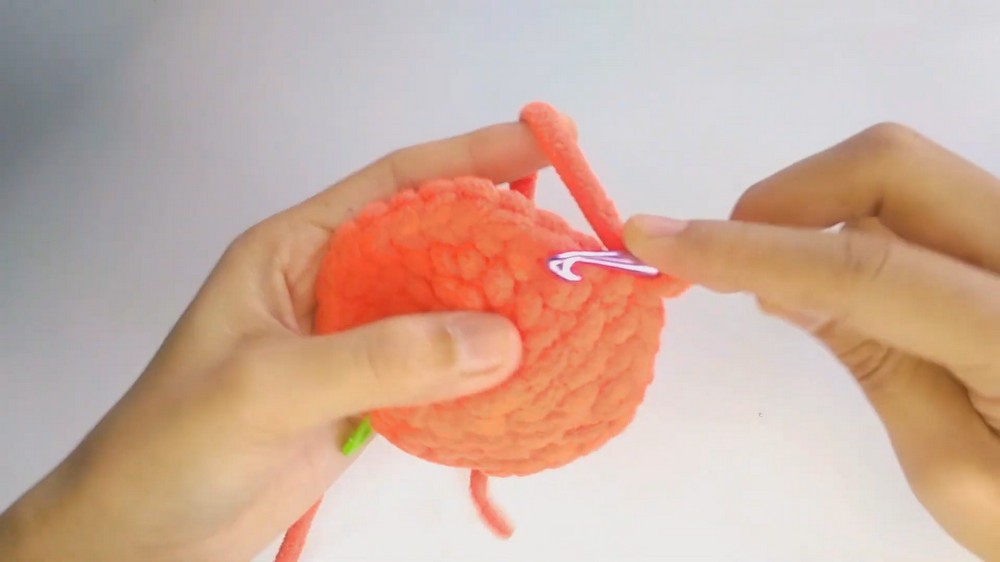
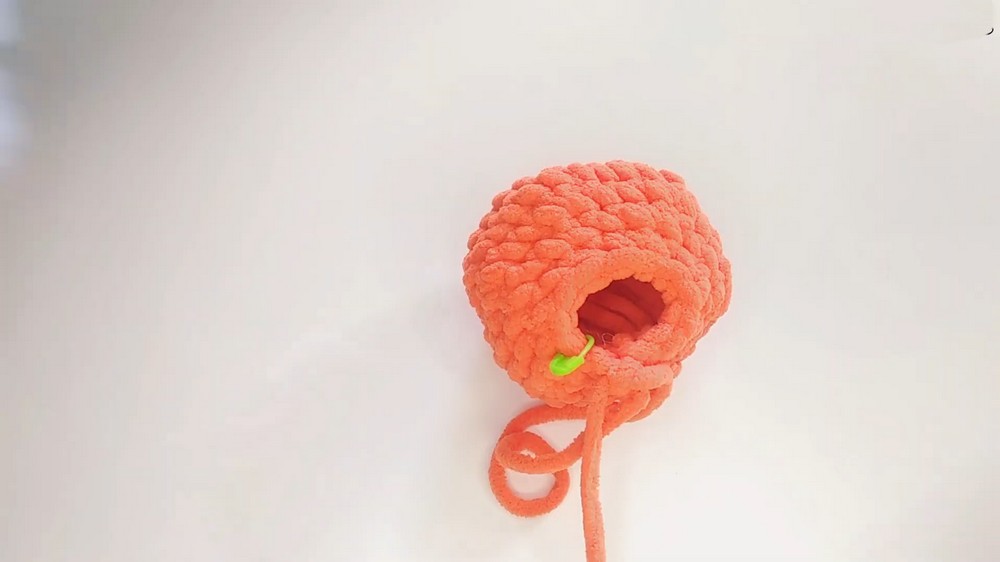
2. Stuffing and Closing
- Stuff the fox head/body firmly with fiber fill as you finish Round 10.
- For Round 11, use slip stitch around (50 stitches) loosely (referencing tutorial), then pull yarn taut to close hole and finish off.
- Leave a yarn tail for sewing.
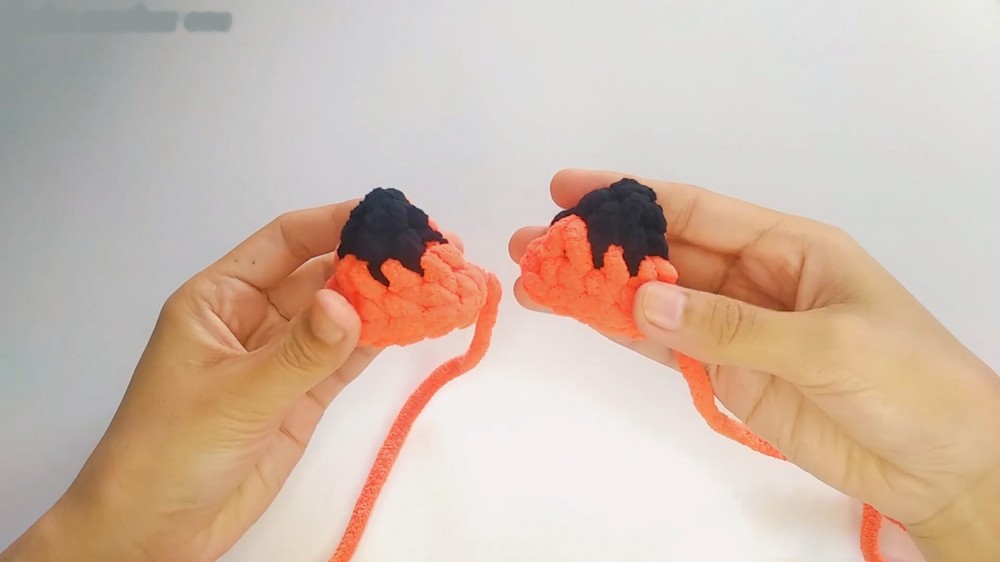
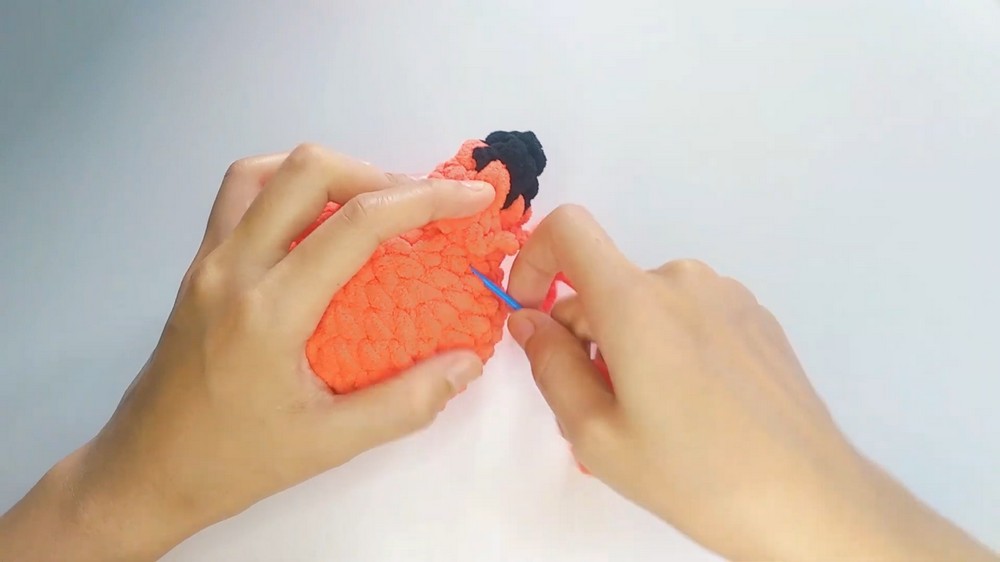
3. Making the Ears (Black with Orange Accent)
- Make 2 ears.
- Ear 1: Black yarn
- Make a magic ring.
- Round 1: 3 sc inside ring. Mark first stitch.
- Pull tight and remove marker.
- Round 2: Make 3 increases (2 sc in same stitch, repeated 3 times), total 6 sc.
- At the end of Round 2, chain with orange yarn for accent, do not pull black yarn tight.
- Round 3:
- 1 sc, 1 increase repeat, total 9 sc.
- Round 4:
- 2 sc, 1 increase repeat, total 12 sc.
- Finish Round 4 by slip stitch and cut yarn leaving tail to sew.
- Repeat for second ear.
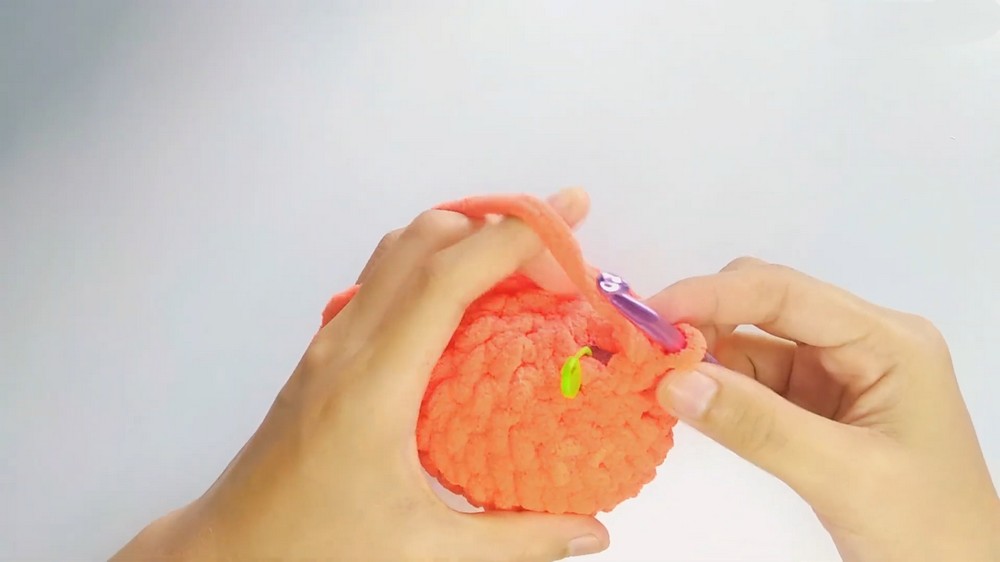
4. Assembly
- Sew ears onto fox head between Rounds 2 and 5, symmetrically on both sides.
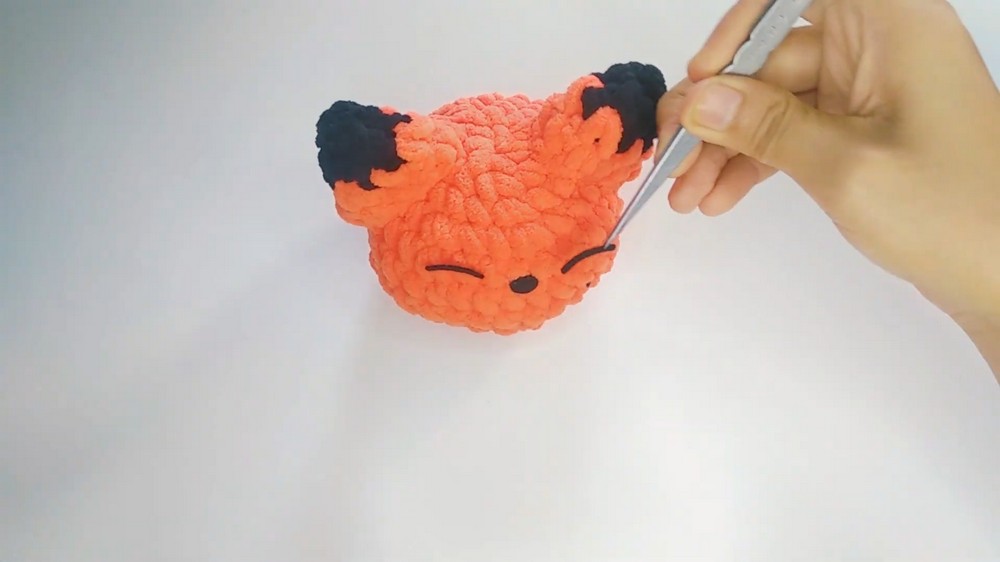
5. Facial Features: Eyes, Nose, and Moles
- Cut small pieces of black felt or embroider for eyes, nose, and facial moles.
- Glue or sew the nose between Rounds 5 and 6.
- Glue eyes on Round 5 level.
- Glue or sew moles near cheeks or suitable facial location.
Tutor’s Suggestions
- Use stitch markers to track rounds precisely.
- When making decreases, crochet through front loops only for cleaner shaping.
- Stuff the fox evenly to maintain roundness and avoid lumps.
- Attach ears securely so they won’t detach after handling.
- Fluffy yarn can be used for a cozy, soft final product.
Uses
- Lovely plush toy or collectible amigurumi
- Gift for kids or fox lovers
- Practice piece for crochet shaping and color changes
- Home or nursery decoration
Tip
To maintain shape, gently block your finished fox using steam or shape it by hand before stuffing. This will give crisp rounds and neat facial features.
Conclusion
This charming fox amigurumi pattern offers a rewarding project combining shaping, colorwork, and assembly to bring a cute character to life.
Leave a Reply