
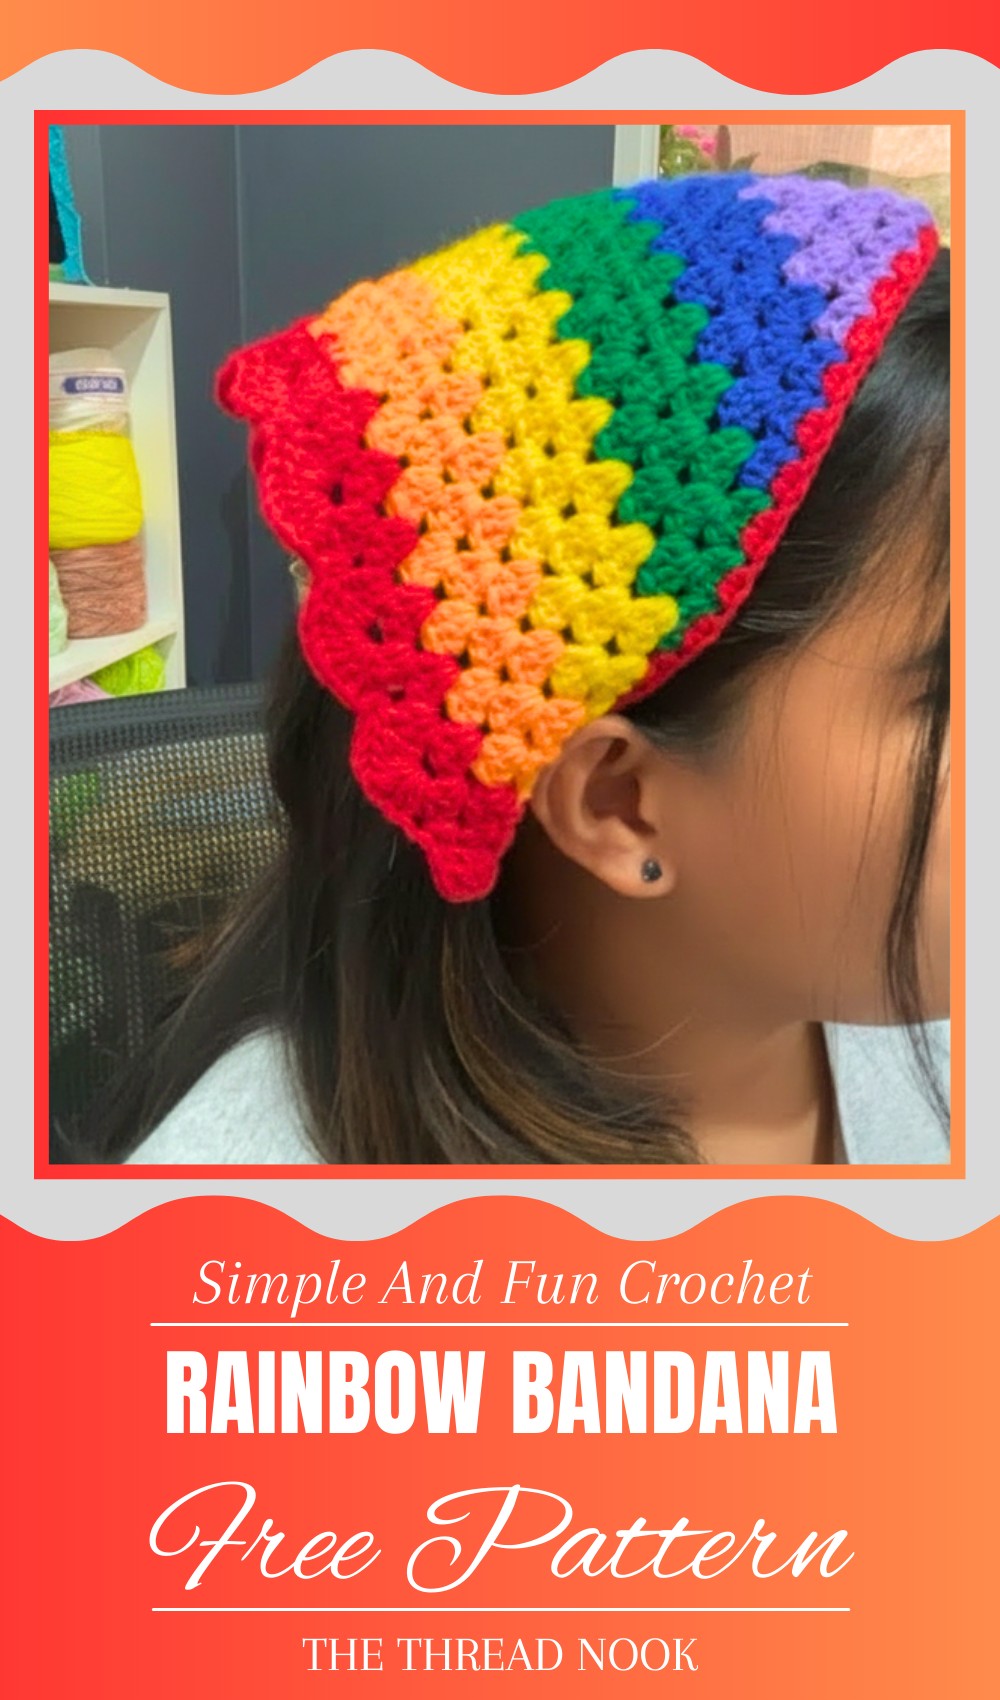
Brighten your look with a cozy crochet rainbow bandana that adds a splash of color and fun to every outfit, perfect for all seasons and easy to wear.
Bright colors come together like a joyful hug in this crochet rainbow bandana, instantly lifting your spirits and brightening any day. Soft and cozy, it’s perfect for keeping your hair in place or adding a splash of color to simple outfits. The rainbow stripes flow in a charming triangle shape that fits comfortably around your head or neck, making it great for chilly mornings or sunny afternoons.
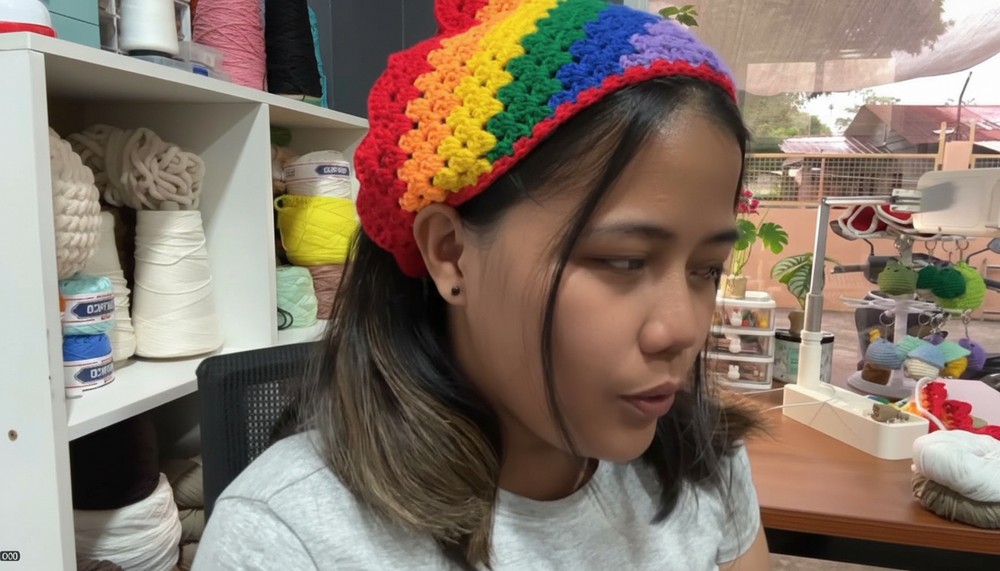
Handmade Crochet Rainbow Bandana Pattern Full of Joy and Color
Whether you’re heading out to play, running errands, or just relaxing, this bandana feels like a warm, cheerful friend that adds happiness to every moment. Its handmade texture invites you to touch and enjoy the comfy softness, while the vibrant colors make it a standout accessory for all seasons. Wearing this crochet rainbow bandana is like wrapping yourself in happiness, turning ordinary days into colorful adventures filled with smiles and good vibes.
Colorful Rainbow Bandana Crochet Pattern
Materials:
- Six colors of 4-ply acrylic yarn or any similar yarn (~30 to 40 grams each)
- Crochet hook 3.5 mm (or size appropriate for your yarn)
- Yarn needle
- Stitch markers
- Scissors
Special Features:
- Worked in rounds from a magic ring forming a triangle
- Color changes every few rows to create rainbow stripes
- Classic granny cluster stitch texture
- Fan stitch edging adds beautiful finishing detail
- Long straps made with slip stitches for easy tying or styling
Uses:
- Stylish and colorful head or neck scarf
- Lightweight accent accessory for all seasons
- Fun gift for crochet lovers or as a beginner-friendly project
Step-by-Step Pattern
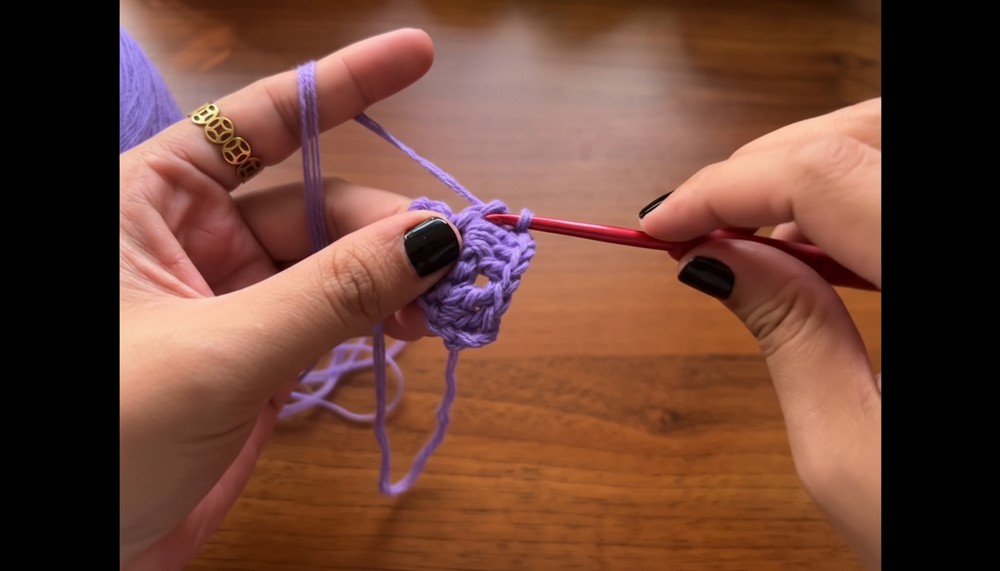
Step 1: Create Magic Ring and First Round
- Make a magic ring.
- Chain 3 (counts as first double crochet).
- Work 2 double crochets (dc) inside the ring.
- Chain 1.
- Work 3 dc in the same ring.
- Pull the tail to close the ring tightly.
- Chain 3, turn your work. This chain 3 counts as first dc for the next round.
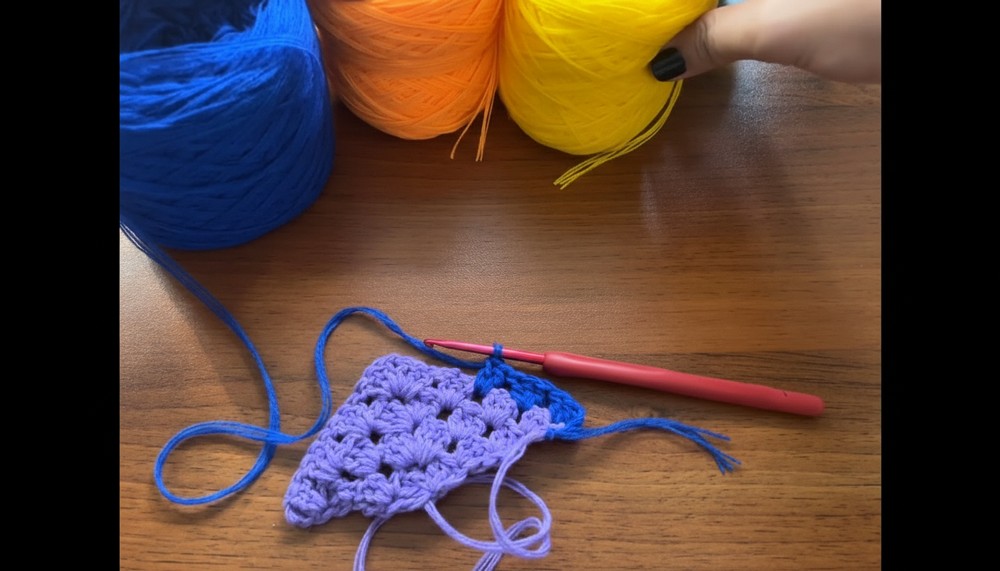
Step 2: Round 2 – Forming First Granny Clusters
- Work 2 dc in the same stitch (including the chain 3) for a cluster of 3 dc.
- Skip 2 stitches.
- In the next chain-1 space, work 3 dc, chain 1, 3 dc (a double granny cluster).
- Repeat skipping 2 stitches and working granny clusters in chain-1 spaces until you reach the last chain-3 of the previous round.
- Work 3 dc on top of the last chain-3 to create the triangle point.
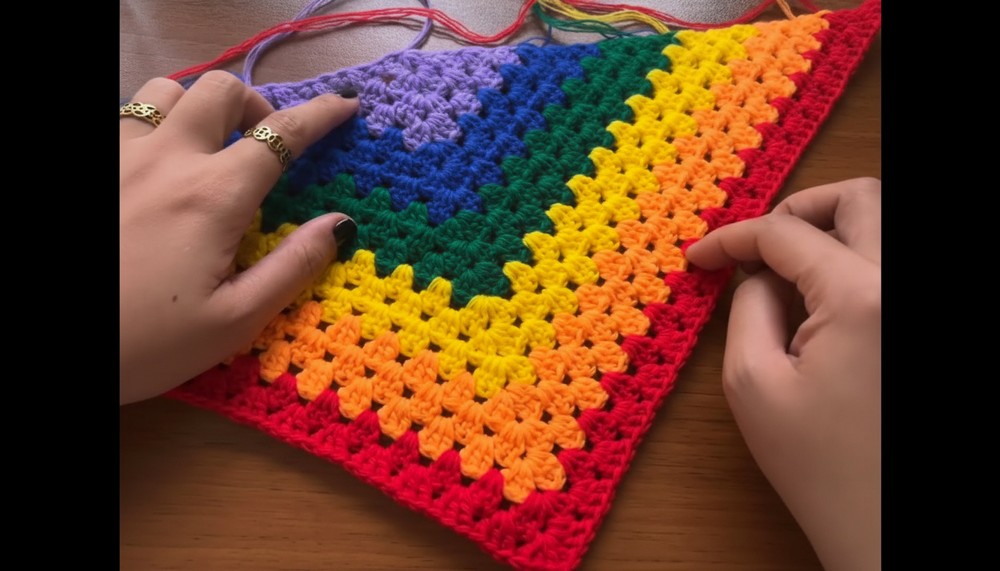
Step 3: Repeat Rounds for Color and Size
- Chain 3 (counts as first dc), turn work.
- Repeat granny clusters with chain-1 spaces between clusters, working 3 dc, chain 1, 3 dc into center chain-1 space of the previous round’s cluster (center of triangle).
- Skip over stitches between cluster spaces as before.
- Make 4 rows per color in total, then change color for the next stripe.
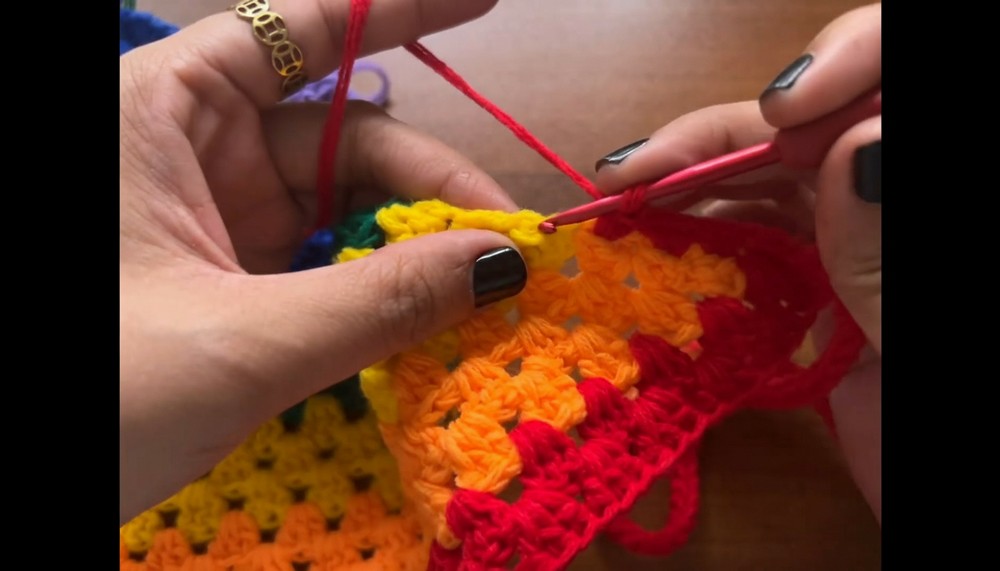
Step 4: Color Change Technique
- Before finishing the last dc of the previous color, yarn over with new color and pull through both loops to complete stitch.
- Continue pattern with new yarn color.
- Weave in loose ends later after finishing all color stripes.
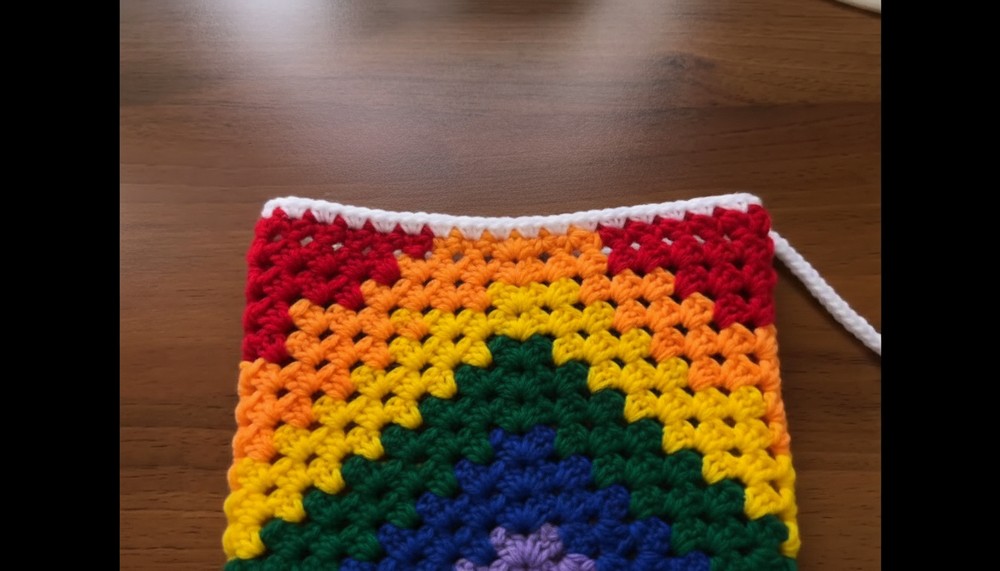
Step 5: Work Through Rainbow Colors
- Work 4 rows in purple, 3 rows each in blue, green, yellow, and orange.
- Finish main triangle with red.
- Keep measuring until bandana ~17 inches long and ~8 inches wide (adjust as needed).
Step 6: Make Long Strap
- Chain approximately 80 chains (approx. 15 inches; adjust length as desired).
- Work slip stitches evenly back across the chain.
- Repeat chain and slip stitch for second strap on opposite triangle side.
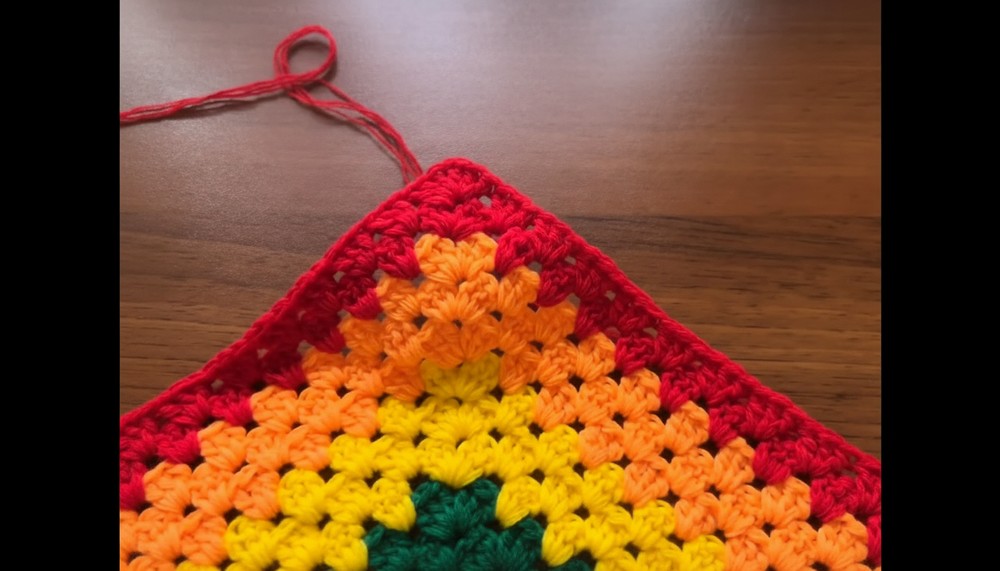
Step 7: Edging Around Bandana Triangle
- Work 2 single crochets (sc) in each double crochet stitch along edges of bandana triangle.
- On the last 2 stitches of edge, work 7 double crochets (dc) in one stitch to create decorative fan.
- Make 1 sc in next stitch.
- Repeat fan and single crochet pattern to edge until bandana is fully edged.
- Finish row with slip stitch and fasten off yarn.
Step 8: Finishing Touches
- Weave in all tails with yarn needle, hiding ends inside stitches.
- Optionally sew on handmade tags or embellishments.

Tutor’s Suggestions:
- Use stitch markers to mark the center cluster of the triangle for easy counting.
- Keep tension even throughout stripes to maintain smooth triangle shape.
- Carry yarn loosely when changing colors to avoid puckering.
- Block finished bandana to straighten edges and improve drape.
Tip:
To hide color transition tails neatly, crochet over them for a few stitches while working the next row; this strengthens yarn joins and eliminates bulk inside your project.
Conclusion
This rainbow bandana is a vibrant and fun accessory that brightens any outfit. Its easy granny cluster stitch pattern combined with neat color changes and elegant edging creates a professional-looking piece suitable for all skill levels.
Leave a Reply