
Brighten your day with a cheerful crochet granny bucket hat that’s easy to wear, comfy, and adds a playful splash of color to any outfit.
On a sunny afternoon, picture yourself stepping outside with a hat that brings both charm and comfort. This crochet granny bucket hat is soft and colorful, blending classic granny square designs with a modern shape. Its round top and gently sloping brim protect your face from the sun while adding a cheerful pop of color to any outfit. Made with simple stitches and easy patterns, this hat feels light and breathable, perfect for warm days at the park, beach, or casual strolls.
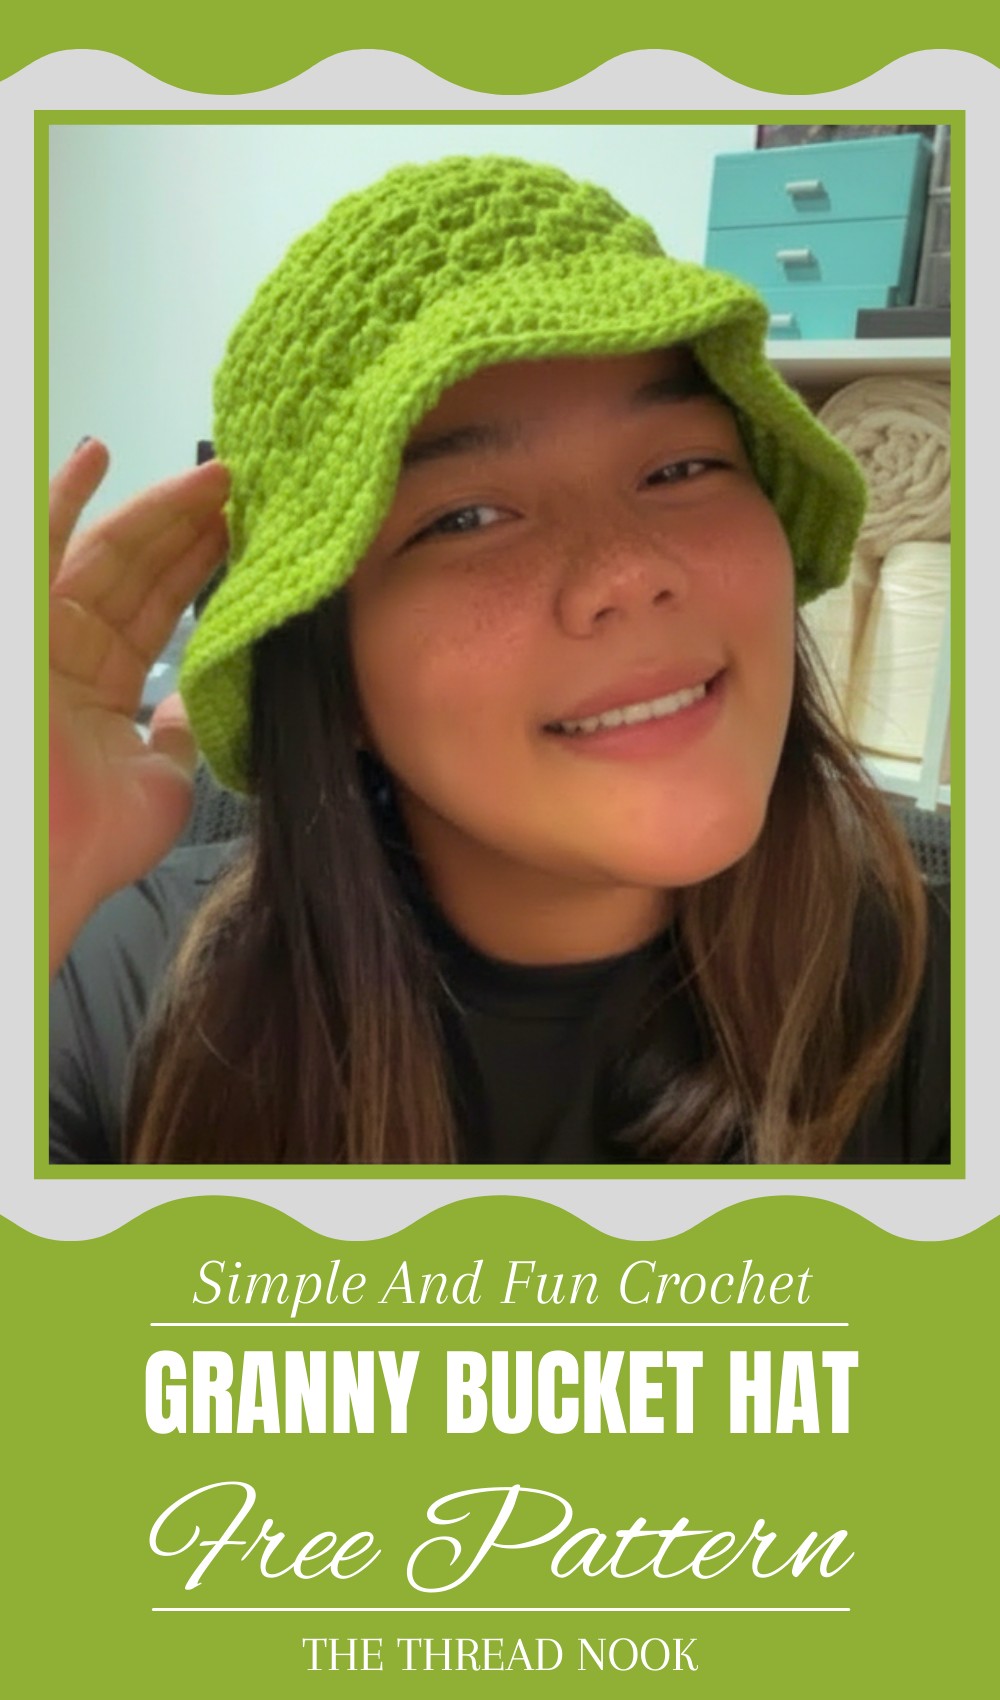
Fresh and Fun Crochet Granny Bucket Hat for Sunny Days
The patchwork style gives it a handmade, cozy look that invites compliments and smiles. Whether you wear it with jeans or a summer dress, this hat adds a fun, vintage vibe that suits all ages. It’s not just a hat—it’s a sunny day’s best friend, ready to keep you cool and stylish wherever you go. Simple to make and joyful to wear, it brightens any wardrobe.
Simple Granny Bucket Hat Crochet Pattern
Materials:
- 5-ply Milk Cotton yarn (category 4, worsted weight)
- Crochet hook 4.5 mm
- Stitch marker
- Yarn needle
- Scissors
- Tape measure
Special Features:
- Worked top-down starting from a magic ring
- Classic increasing rounds to shape crown
- Simple granny cluster stitch for body texture
- Fully reversible brim with smooth finishing edges
- Easy to customize size with simple stitch count adjustments
Step-by-Step Pattern
Step 1: Take Head Circumference Measurement
- Measure head circumference with a tape measure (example: 22 inches).
- Choose base chain length accordingly; this pattern fits 21.5–22.5 in head size.
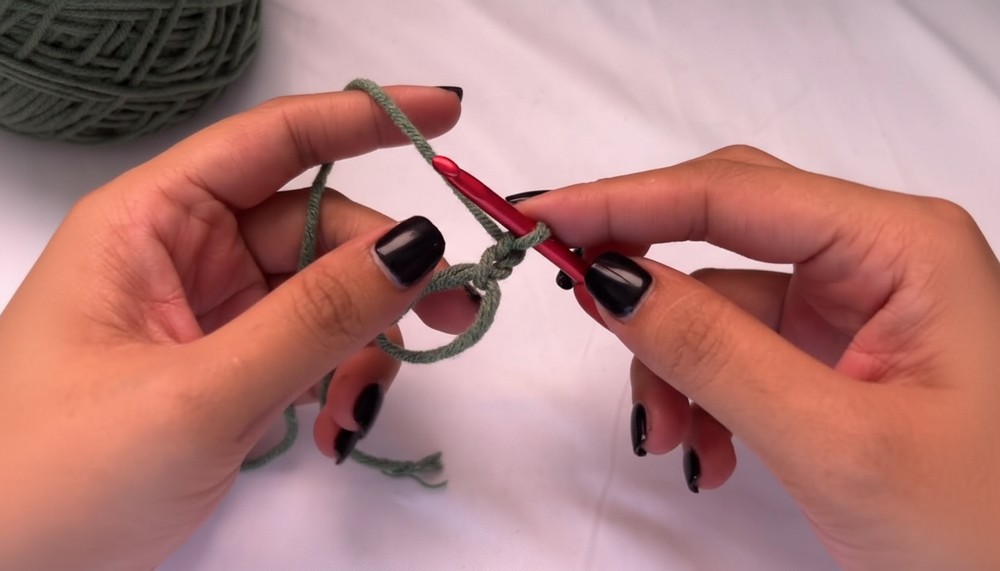
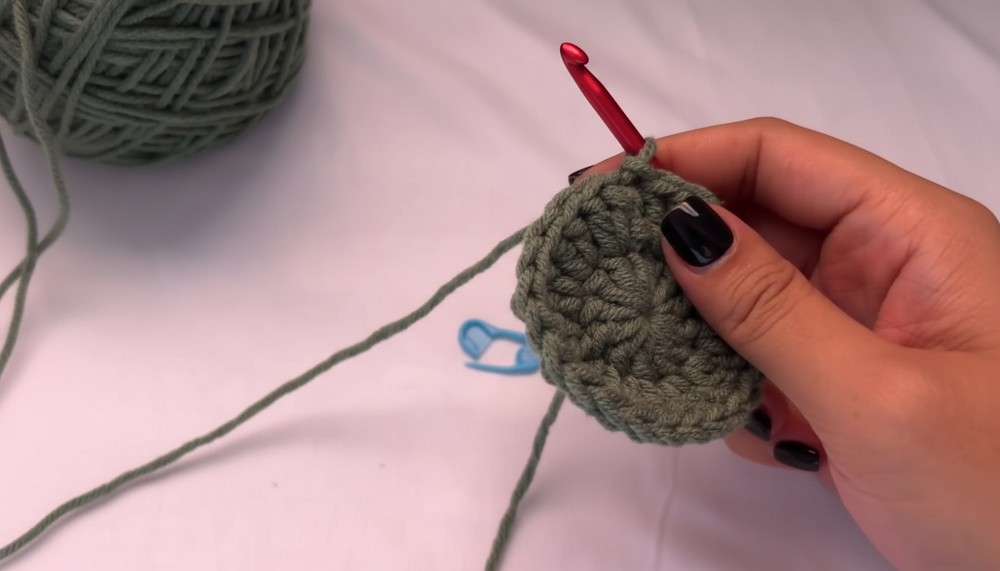
Step 2: Start with a Magic Ring and First Round
- Make a magic ring.
- Chain 2 (does not count as stitch).
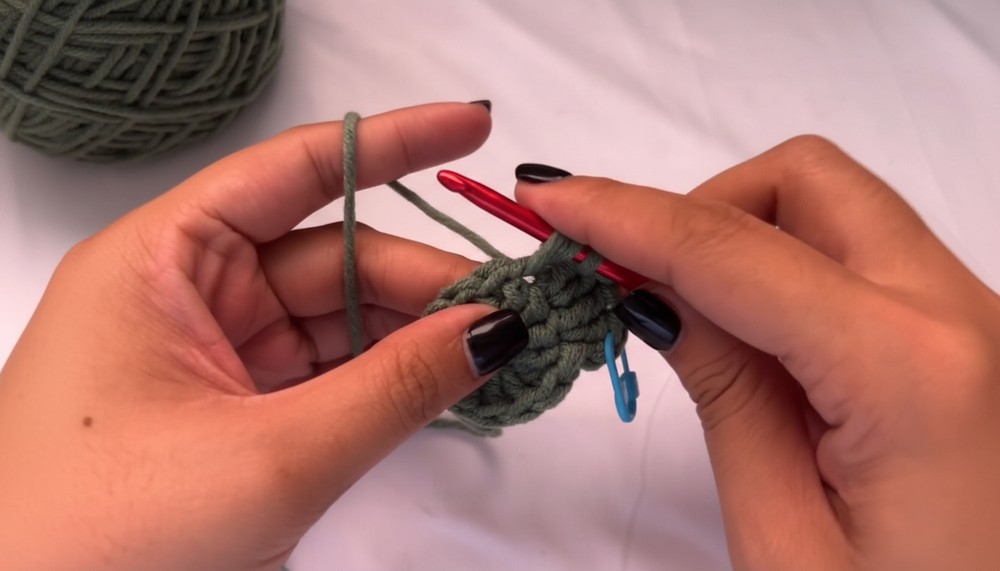
- Work 12 double crochets (dc) into the magic ring.
- Place stitch marker on first dc.
- Pull tail to close ring.
- Join with slip stitch to first dc.
Step 3: Round 2 – Increase Every Stitch
- Chain 2 (not counted).
- Work 2 double crochets in each stitch around (total 24 dc).
- Place stitch marker on first dc.
- Join with slip stitch.
Step 4: Round 3 – Increase with Pattern
- Chain 2 (not counted).
- 1 dc in first stitch, 2 dc in next stitch, repeat around (total 36 dc).
- Join and place stitch marker.
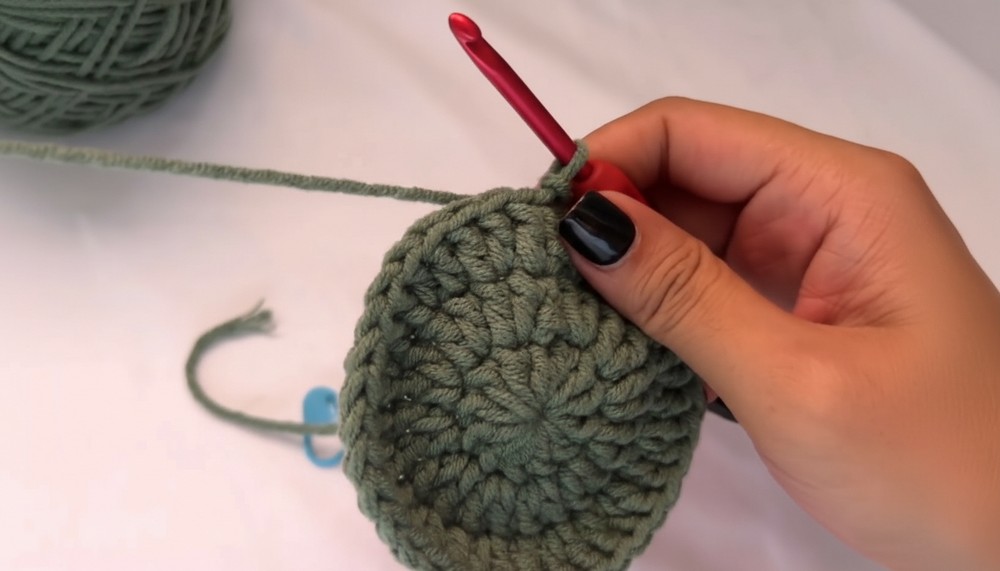
Step 5: Round 4 – Increase Pattern
- Chain 2.
- 1 dc in first 2 stitches, 2 dc in next stitch, repeat around (48 dc total).
- Join and place marker.
Step 6: Round 5 – Increase Pattern
- Chain 2.
- 1 dc in first 3 stitches, 2 dc in next stitch, repeat around (60 dc total).
- Join and place marker.
Step 7: Round 6 – Increase Pattern with 4 dcs Before Increase
- Chain 2.
- 1 dc in first 4 stitches, 2 dc in next stitch, repeat around (72 dc total).
- Join and place marker.
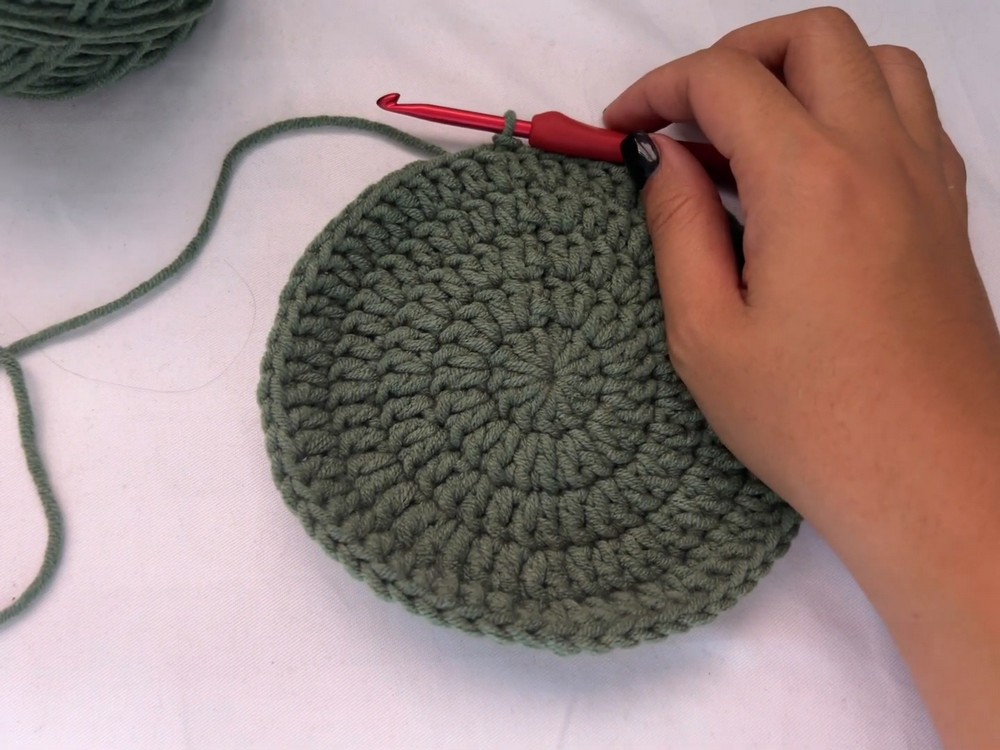
Step 8: Round 7 – Increase Pattern (4 dcs + Increase), finish crown
- Chain 2.
- 1 dc in next 4 stitches, 2 dc in next stitch, repeat, ending making sure total stitches match required circumference.
- Join with slip stitch.
- Crown height should be ~6 inches or your target measurement.
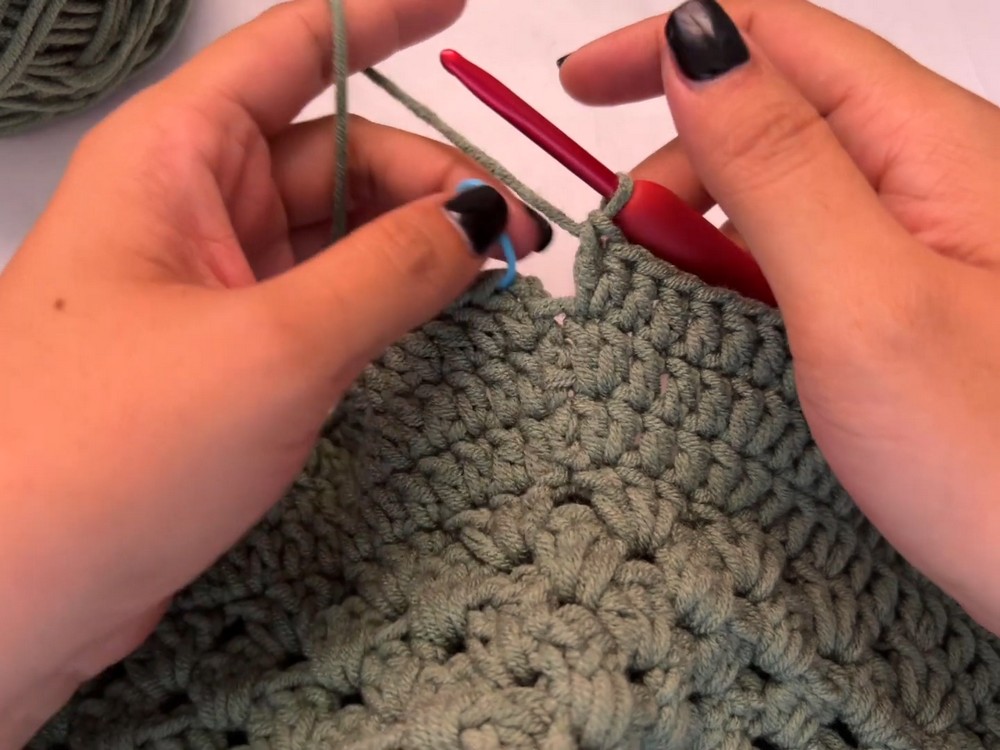
Step 9: Start Granny Stitch Body
- Chain 2 (count as first dc), make 3 dcs in same stitch (counts as granny cluster).
- Skip 2 stitches, make 3 dcs (granny cluster) in next stitch, repeat till almost end.
- End with 2 remaining stitches skipped, slip stitch to top of chain-2 to complete round.
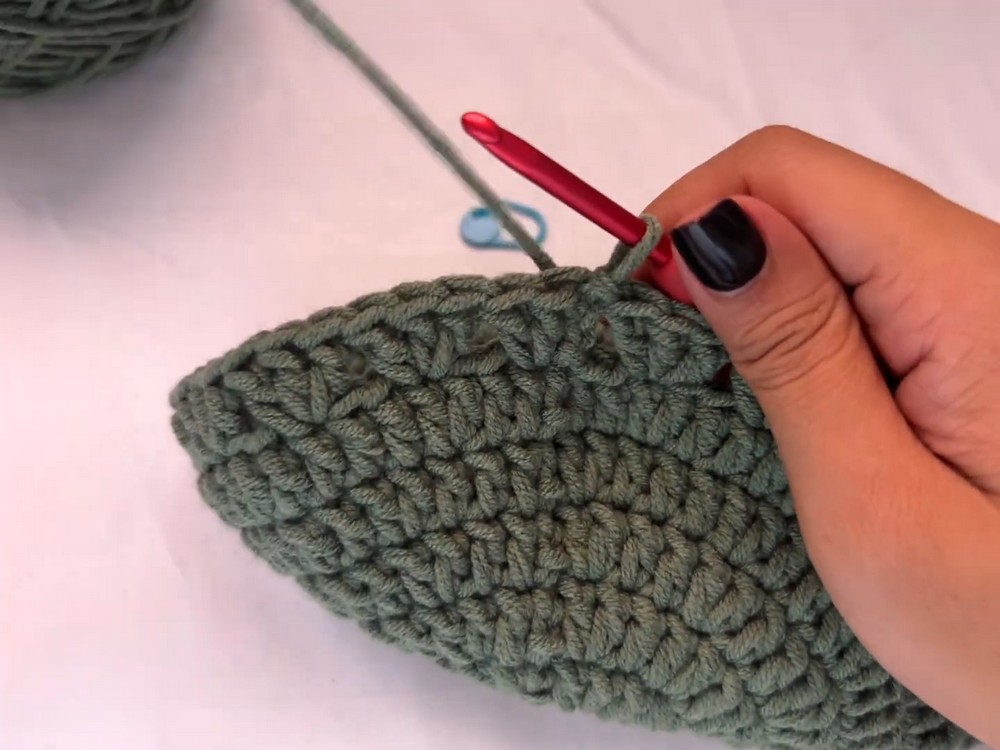
Step 10: Round 2 to 7 – Repeat Granny Clusters
- Chain 2, turn work.
- Make 3 dc granny clusters in each chain space from previous round.
- Slip stitch to join at end of row.
- Repeat until body measures desired height (~3.5 inches or more).
Step 11: Check Work Direction on Last Round
- Make sure last round finishes on right side of work; if on wrong side, turn work.

Step 12: Start Brim Round 1
- Chain 2 (not counted).
- Dc in next 2 stitches, increase (2 dc in next stitch), repeat around.
- Join with slip stitch.
Step 13: Brim Round 2
- Chain 2.
- Dc in next 3 stitches, increase, repeat around.
- Join and place stitch marker.
Step 14: Brim Round 3
- Chain 2.
- Dc in next 9 stitches, increase, repeat around.
- Join and place stitch marker.
Step 15: Brim Round 4 (No Increase)
- Chain 2.
- 1 dc in each stitch around.
- Join and place marker.
Step 16: Brim Round 5 (Single Crochet Finish)
- Chain 1 (not counted).
- Work single crochet in each stitch around.
- Join and finish off yarn, leaving long tail for weaving.
Step 17: Finishing
- Weave in all loose ends neatly using yarn needle.
- Block hat lightly if needed for shape.
Tutor’s Suggestions:
- Use stitch markers consistently, especially on increases and round joins.
- Adjust hook size or yarn weight if your hat doesn’t match size needed.
- Ensure foundation rounds are snug but not too tight for stretchability.
- You can make the brim wider by adding more increase rows or more rounds of granny stitch body.
Tip:
If you want a softer brim, consider switching to a smaller hook size or switching to half-double crochets on the brim rounds for a firmer edge without bulk.
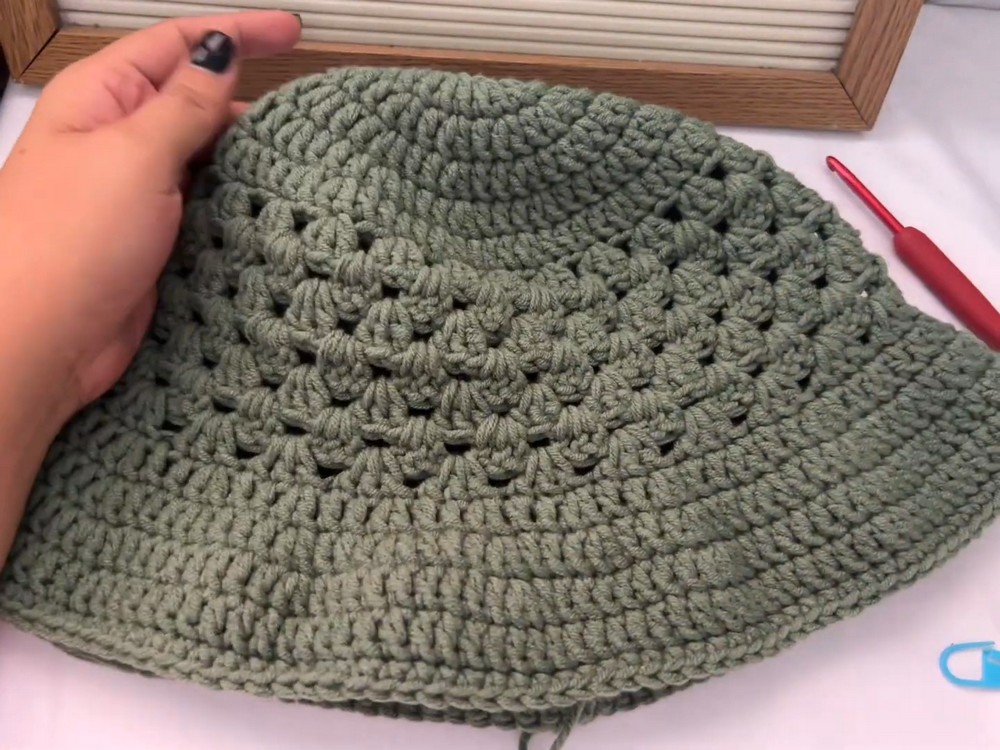
Conclusion
This simple granny bucket hat is an easy, customizable project perfect for all skill levels. The classic granny stitch adds texture and personality, while the structured brim gives stylish shape.
Leave a Reply