
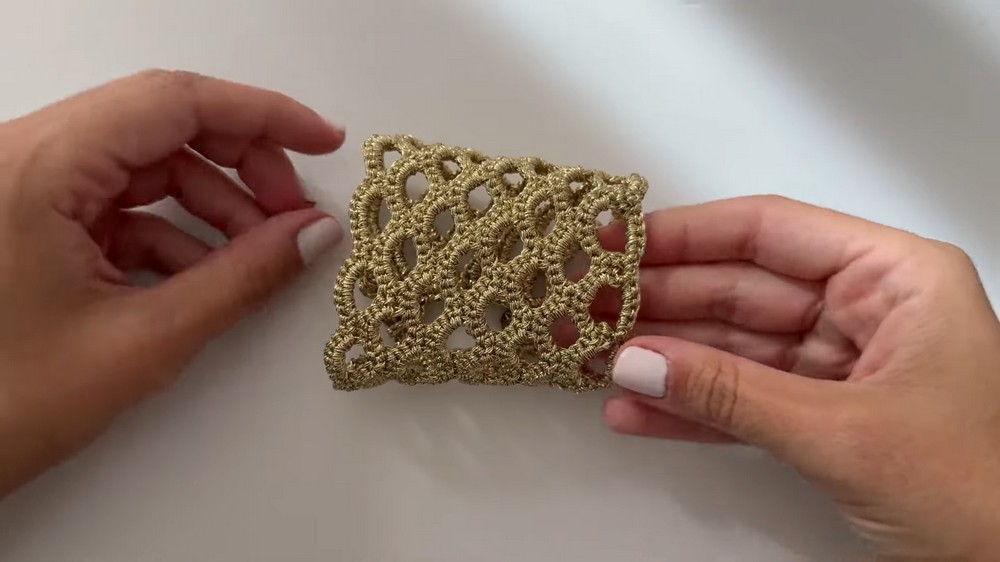
Wear stylish jewelry around your wrist with this Crochet Bracelet Pattern to build a lovely piece of art that looks beautiful for any party.
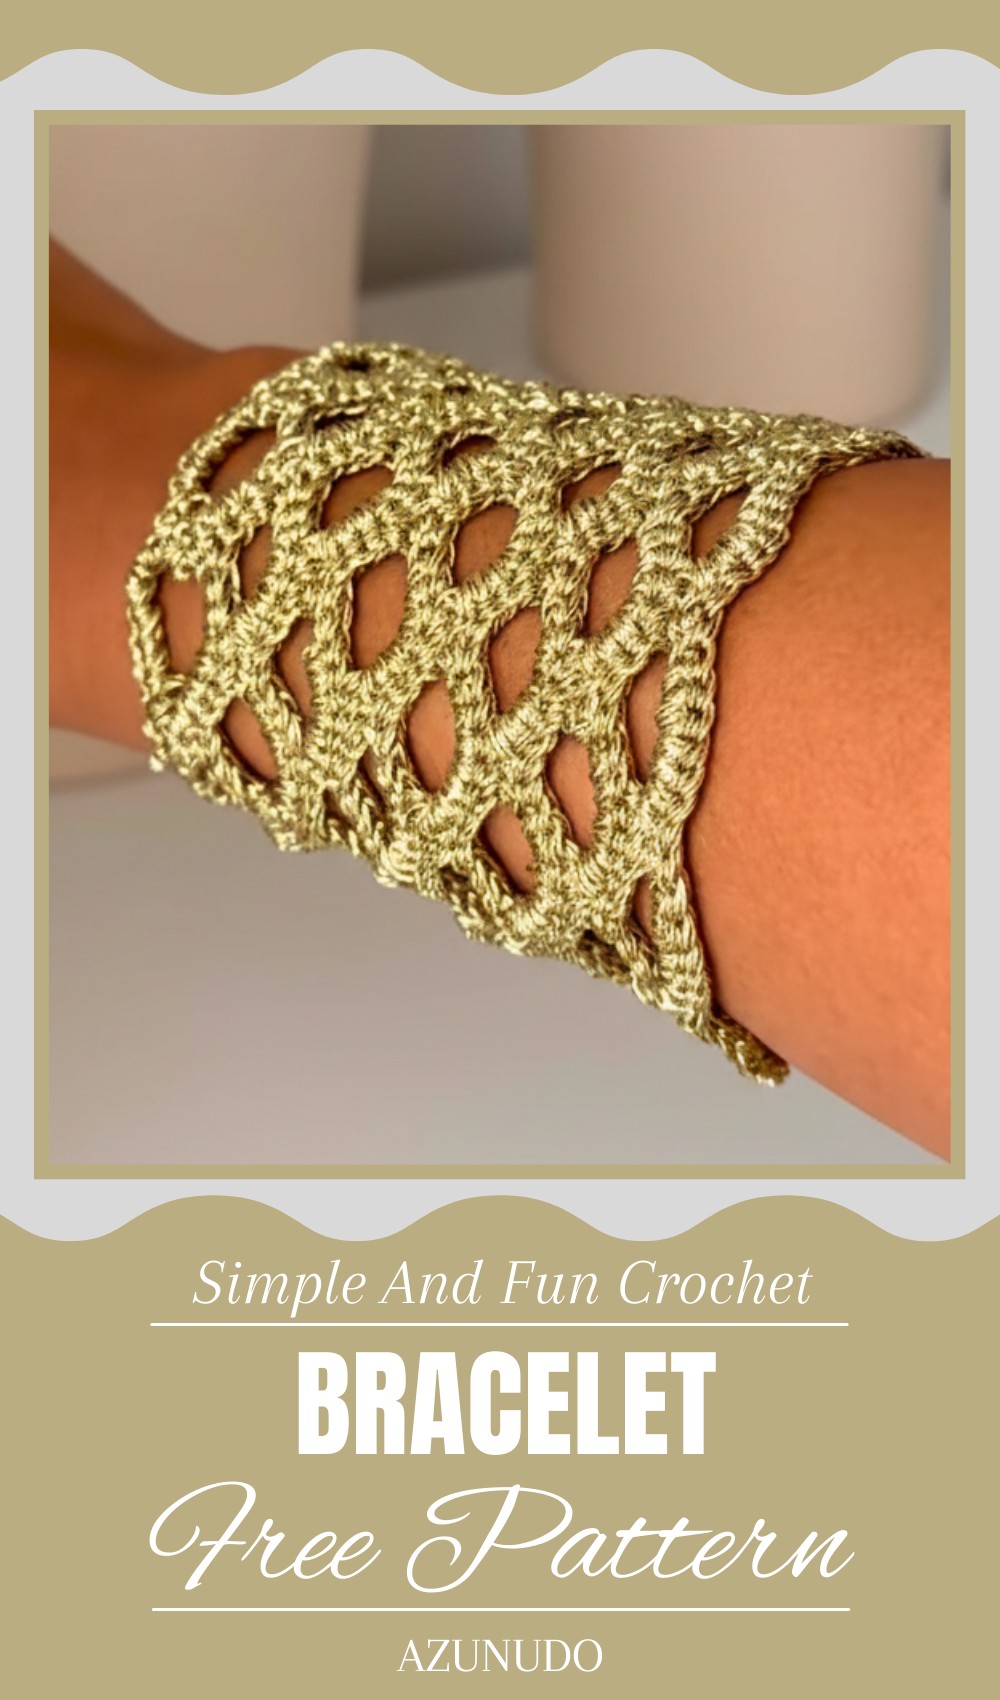
A handmade bracelet brings beauty and charm to any style, making it a perfect addition to your daily outfit or a special occasion. Using a crochet bracelet pattern, you can create a unique and creative design that reflects your personality. This bracelet is versatile and easy to match with any look, whether you prefer something bold or soft and subtle. It is not only a stylish accessory but also meaningful when given as a gift to someone special.
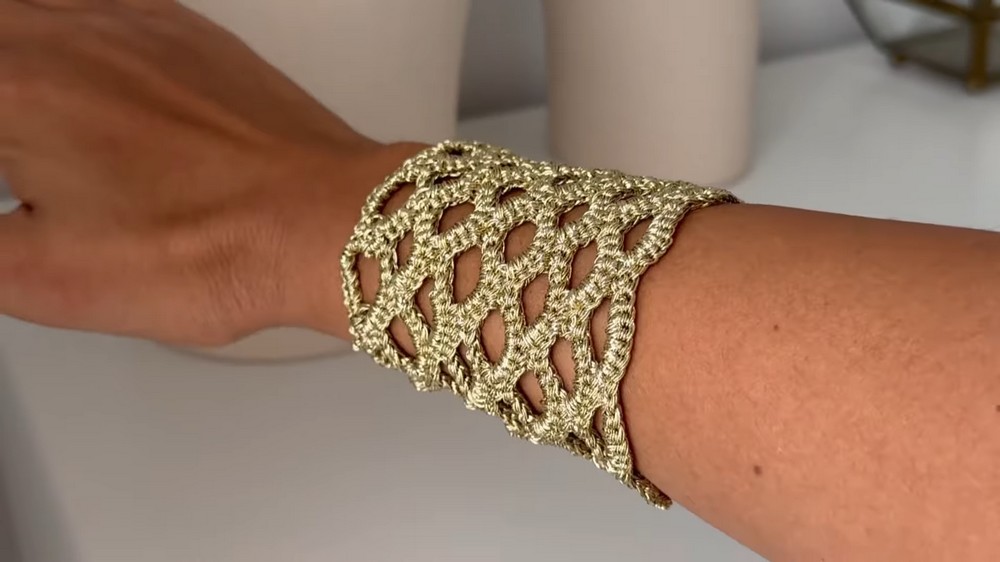
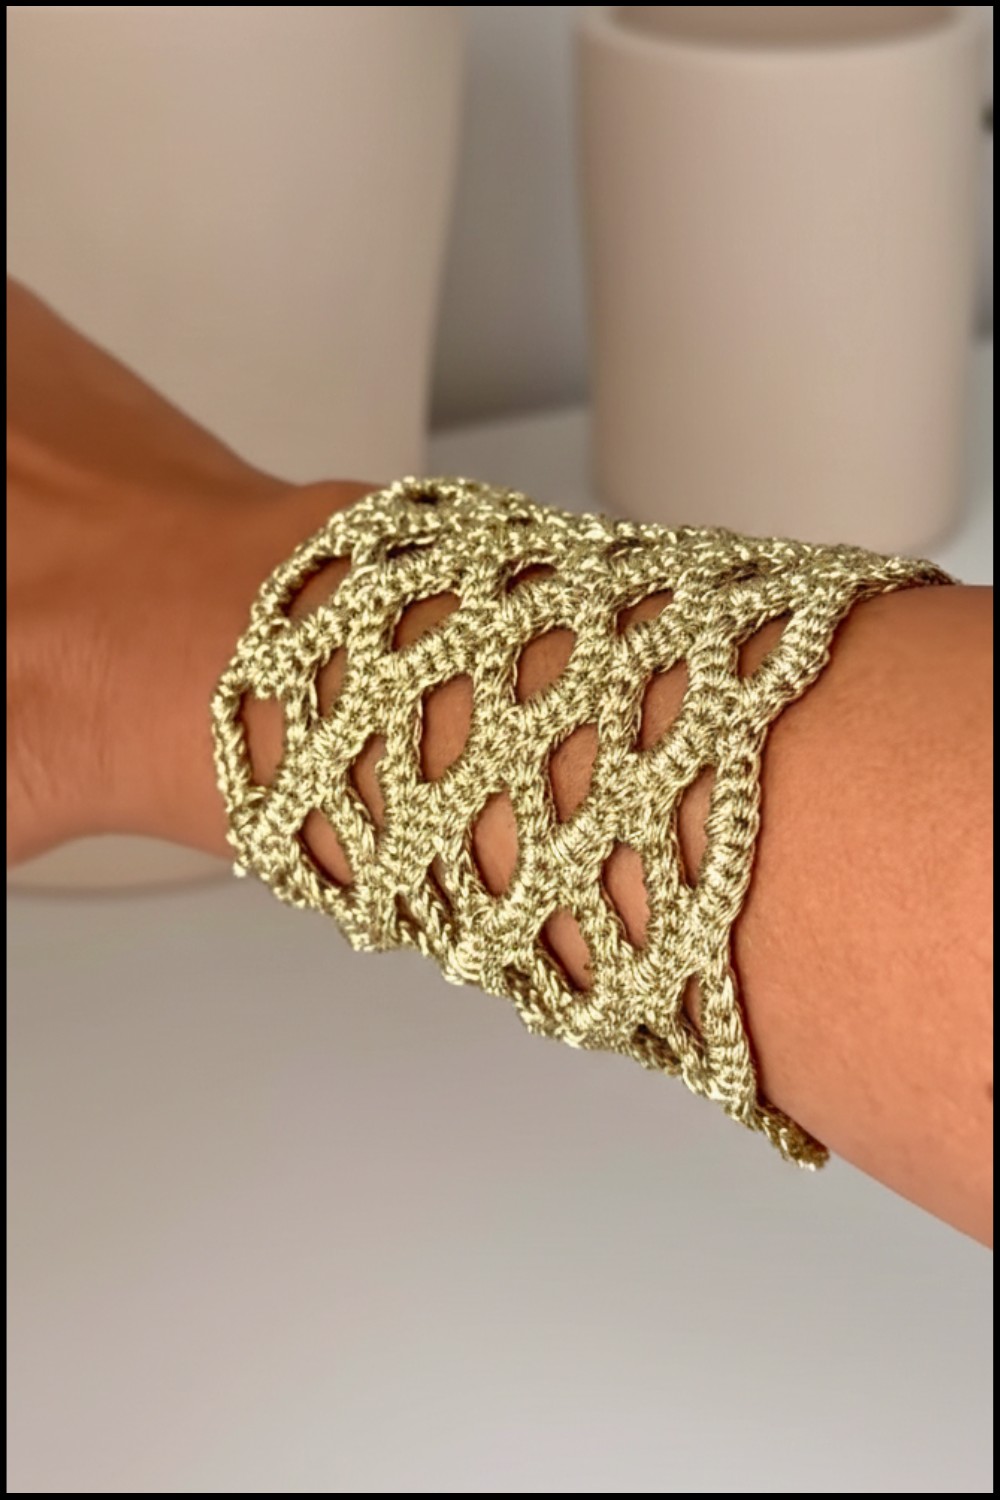
Modern Crochet Bracelet Pattern A style that matches every single outfit
Creating it is simple and enjoyable, even for beginners, making it a fun activity for anyone. You can experiment with different colors, pattern, and designs to make your bracelet truly one of a kind. Easy to wear and lovely to share, a crochet bracelet brings something special to your wardrobe—a mix of elegance, creativity, and the joy of handmade art.
Materials List
Required Items:
- Yarn:
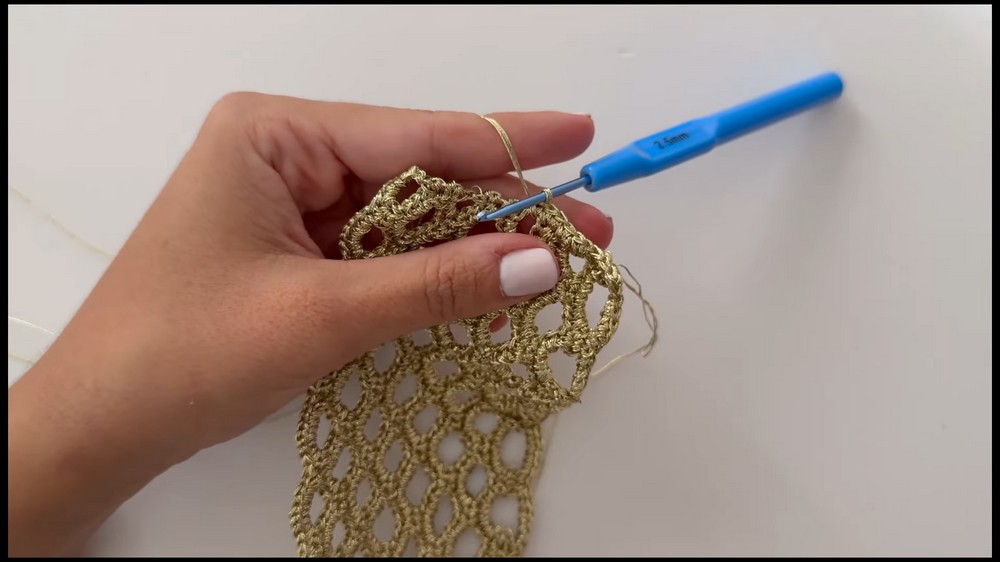
- Thin Crochet Thread in gold (or similar thread for an elegant look).
- Alternative Material: Light-colored cotton thread available for tutorial purposes.
- Crochet Hook:
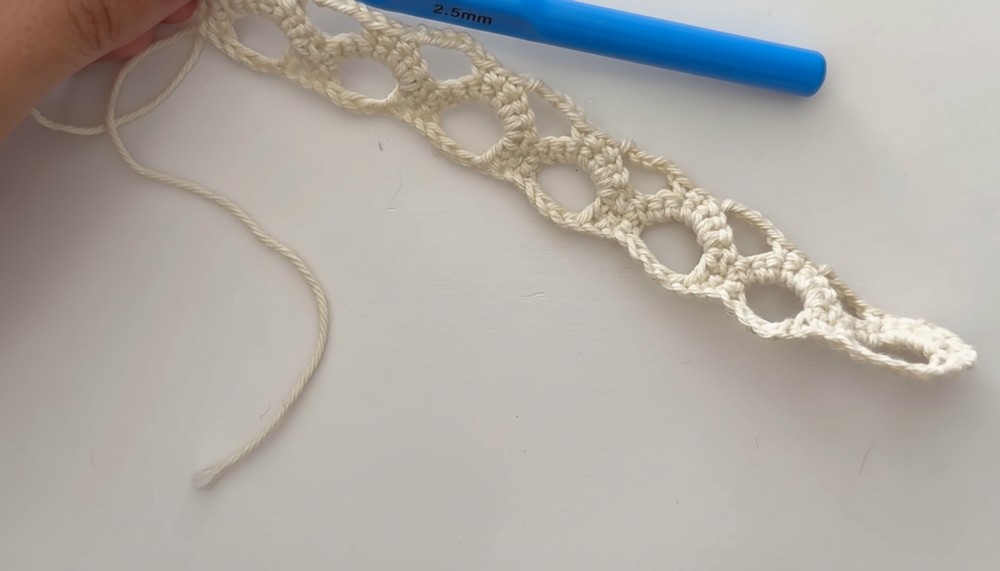
- Appropriate for thread weight (e.g., 2.5 mm – 3 mm for thin crochet thread).
- Buttons/Balls:
- For closure, ensure the size fits through crochet loops.
- Other Tools:
- Scissors: For cutting yarn.
- Needle: For sewing buttons and weaving in ends.
- Lighter: Optional, for sealing thread ends to prevent fraying.
Key Abbreviations (US Terminology)
- Ch – Chain
- Sl st – Slip Stitch
- Sc – Single Crochet
- Hdc – Half Double Crochet
- Dc – Double Crochet
- Rep – Repeat
Special Notes
- Thread Preparation: For optimal thickness, fold the thread to have three strands before starting.
- Adjustable Length: The bracelet length will be measured against your wrist before the final closures are added.
- Pattern Flexibility: If extra chains are made at the beginning, they can be undone after completing subsequent rows.
Step-by-Step Crochet Pattern
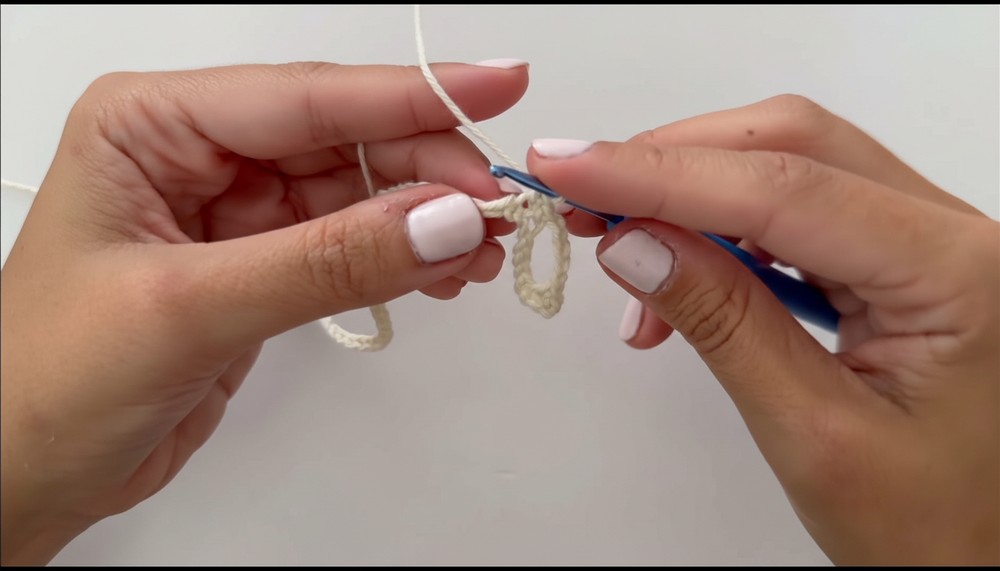
Step 1: Foundation Chain
- Preparation:
- Create a slip knot with three strands of folded crochet thread.
- Using the loop method, make sure three strands are secured before starting.
- Foundation Chains:
- Ch the required length for your wrist measurement, subtracting anticipation for closures.
- Ensure the chain length is slightly longer than the desired fit.
- Recommended: Extra chains can later be undone once the pattern is established.
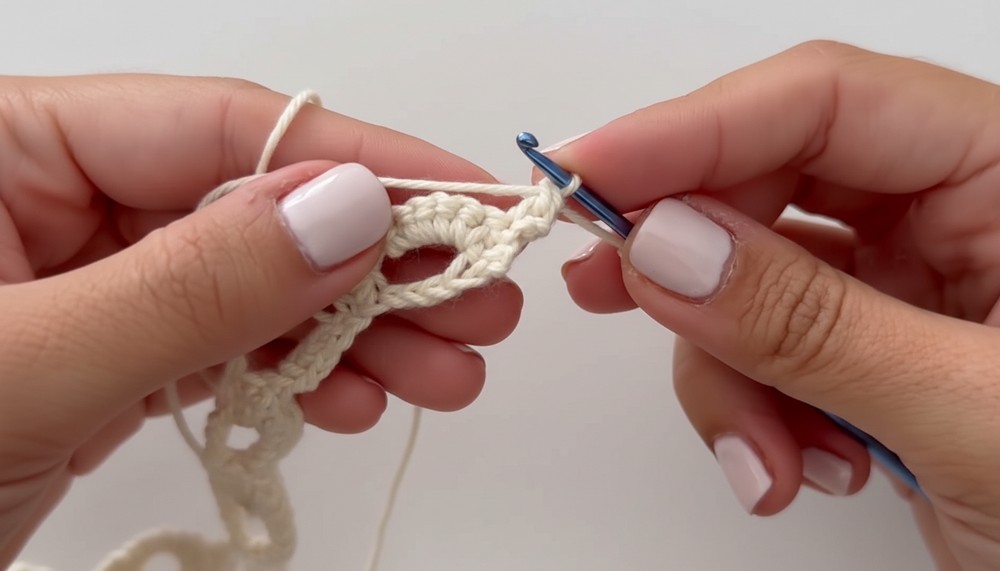
Step 2: Create the Mesh Base
- Chain and Turn:
- Create a Ch 1 as a turning point.
- Work 1 Sc into the second chain from the hook.
- Pattern Foundation:
- Ch 5, skip the next 4 foundation chains. (Form the first mesh arch).
- Insert and Sc in the 5th chain.
- Continue 2 more Sc into consecutive chains
- Continue Working Across:
- Repeat the arch pattern: Ch 5, skip 4 chains, 3 Sc.
- Continue until the end of the row, ensuring arches are evenly spaced.
- If needed, undo any excessive chains.
Step 3: Establish Main Pattern
- Row 2 (Mesh to Solid Transition):
- Ch 1 and turn.
- Sc into the first stitch from the previous row.
- Work 7 Sc around the arch space.
- Sc into the middle Sc of the 3 Sc group from the prior row.
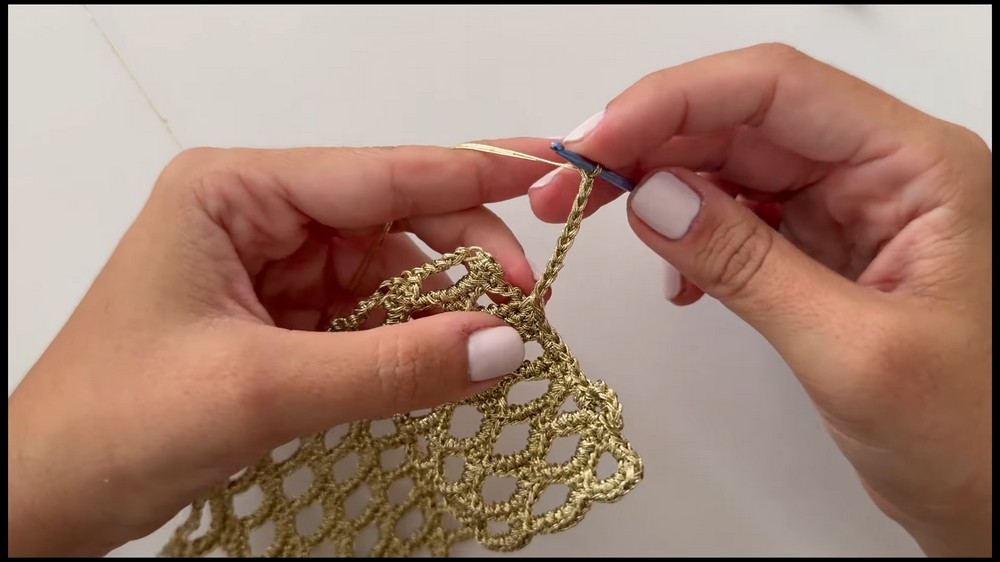
- Row 3 (Repeat Arches):
- Ch 1 and turn.
- Sc first, Ch 2.
- 3 Sc into the next arch space.
- Ch 5, skip to next set of Sc, Sc 3.
- Row 4:
- Repeat Row 2, ensuring the mesh pattern alternates with closed stitches for texture.
- Established Repeat:
- Alternate between Rows 2 and 3 until desired width is achieved.
Step 4: Finishing
- Sc Edge:
- Work Sc around all edges of the rectangle to stabilize and create a neat finish.
- Closure Hooks:
- From the last corner with Sc, Ch for loops:
- First loop mid-edge for a shorter button hook: Ch 7, connect directly.
- Second loop for a button on the opposite edge: Ch 10 for a longer hook.
- From the last corner with Sc, Ch for loops:
- Double-Check Closure Fit:
- Before finalizing, ensure button loops securely fit closures for wrist comfort.
Step 5: Button Attachment
- Sew Buttons:
- Securely attach buttons to the base of loops using matching thread, ensuring alignment for closure.
- Reinforce by sewing buttons inside the button leg, providing length for adjustment.
- Verify Fit and Functionality:
- Check button alignment within created loops for a snug fit.
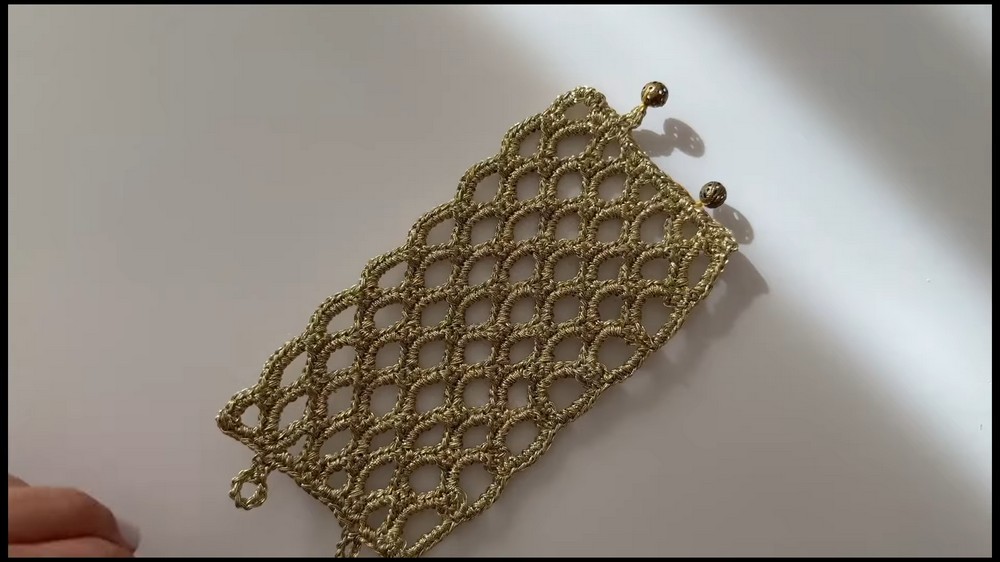
Conclusion
Congratulations on completing your crochet bracelet! This intricate, adjustable bracelet can be further personalized with additional embellishments or beads to enhance its beauty.
Pattern Corrections
- Ensure uniformity: Keep stitch tension consistent to avoid irregular edges.
- Adjust button placements: Initial attempts may need shifting for a perfect fit.
Tips for Beginners
- Master Sc and Ch: Practice Sc and Ch as they form the foundation of this design.
- Thread Management: Ensure three threads remain even throughout to avoid tangles.
- Relax and Enjoy: The bracelet assembly is designed to be meditative; enjoy the process.
Leave a Reply