
Rock a playful look with this free crochet cat ear beanie pattern, for adding fun and warmth to any outfit while spreading smiles everywhere.
A little hat with two cute points on top can make any child or adult smile every single day. Soft yarn and playful shapes blend together in this lovely accessory that brings extra fun to your look. The crochet cat ear beanie pattern gives everyone the chance to wear something warm with a cheerful twist. It keeps the head cozy during cool days and fits nicely for all ages thanks to its stretchy and gentle feel.
Free Crochet Cat Ear Beanie Pattern for Cozy Days

Two charming ears sit on top turning a normal beanie into a bold way to show your love for animals or just a playful spirit. Picking your favorite colors is easy so every person can make it special. This pattern is made for simple steps so anyone can join in and have success. Perfect for street style games or family gatherings the crochet cat ear beanie pattern makes people laugh and brings families closer with every wear.
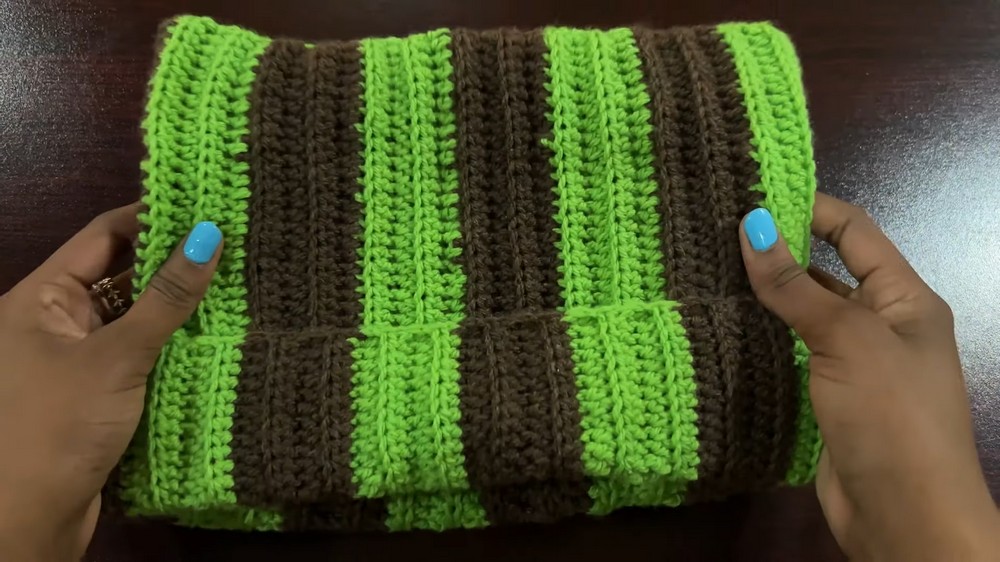
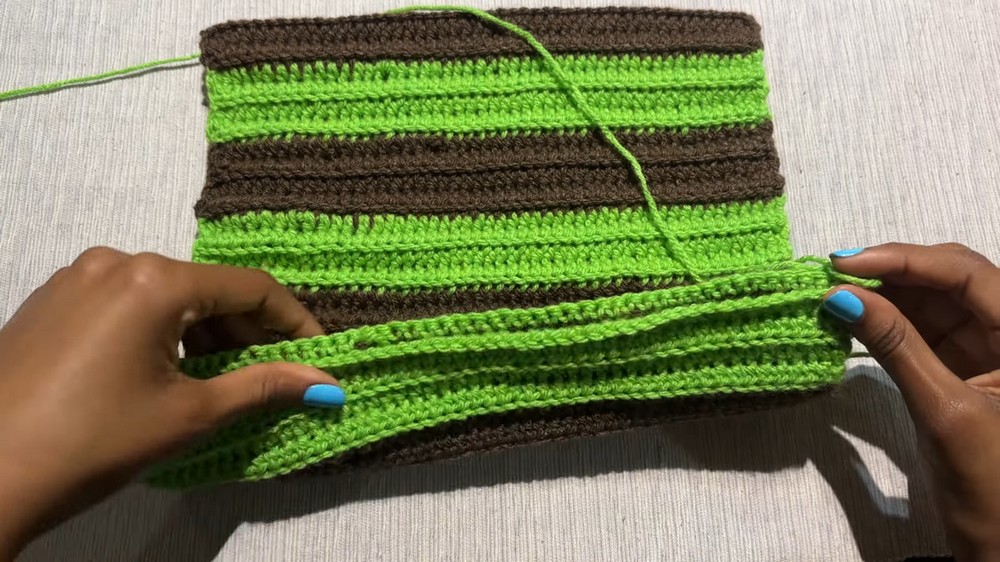
Easy Striped Beanie Free Crochet Pattern
Materials List
- Yarn: Two skeins (100g each) of 100% acrylic DK yarn (suggested colors: green and brown)
- Hook: 4.5 mm crochet hook (a 4 mm can also be used according to preference)
- Tapestry Needle: For sewing and weaving in ends
- Scissors: For cutting yarn
Key Abbreviations
- ch – chain
- sc – single crochet
- hdc – half double crochet
- sl st – slip stitch
- BL – back loop
Note: Pattern is written using US crochet terminology.
Special Notes
- Work loosely but evenly when chaining; do not make the foundation chain too tight.
- Each color block consists of four rows; change color at the end of every fourth row.
- When changing colors, complete the last yarn-over of the final hdc with the new color for a clean transition.
- Always make a turning chain at the end of each row (ch 1 or ch 2); it does not count as a stitch.
- Size can be adjusted by varying the number of foundation chains (for height) or total rows (for circumference).
Pattern Instructions
1. Foundation
- Make a slip knot.
- Ch 50. (Adjust this number for a taller or shorter beanie.)
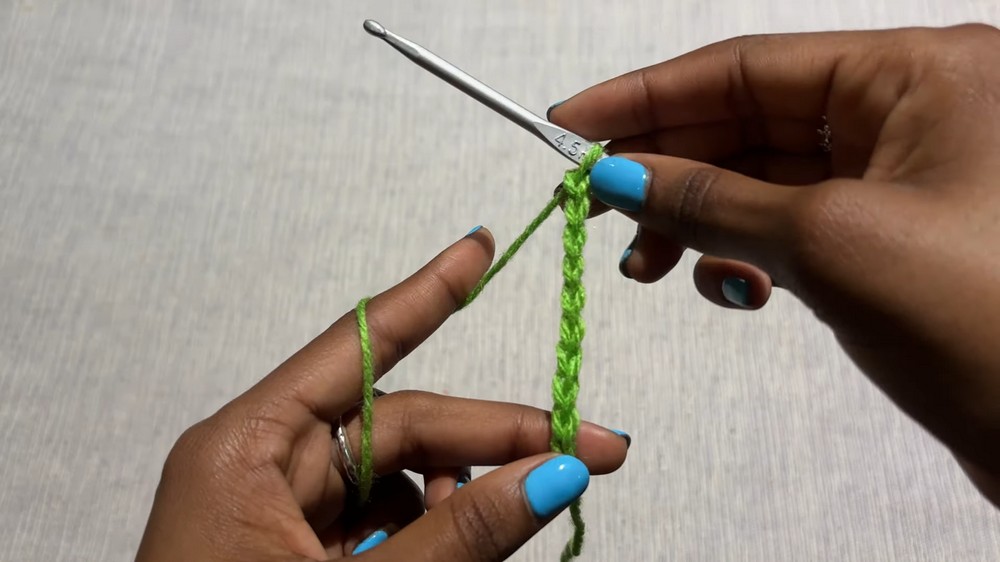
2. Row 1 – Base Row
- Skip the first two chains from the hook.
- Hdc in the third chain from the hook and in each ch across. (Total: 48 hdc)
- Ch 1 (or ch 2), turn. This is your turning chain; it does not count as a stitch.
3. Row 2 – Begin Ribbing
- Hdc in BL of each stitch across.
- At the end of the row, hdc in both loops of the last stitch.
- Ch 1 (or ch 2), turn.
4. Rows 3 & 4 – Continue Working Ribbing
- Repeat Row 2: Hdc in back loop only across, hdc in both loops of the last stitch.
- Ch 1 (or ch 2), turn.
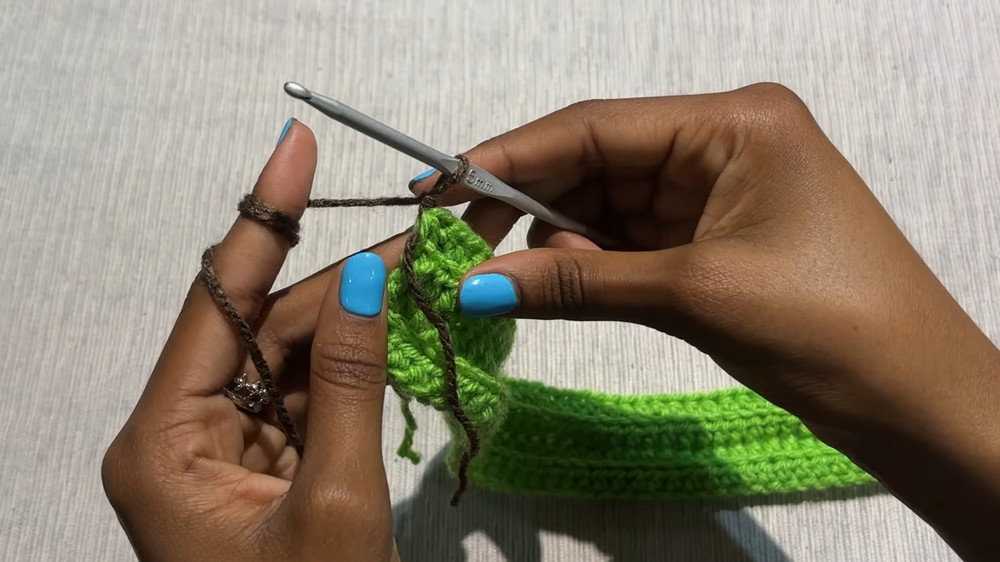
5. Row 4 – First Color Change
- Work hdc in BL up to the last stitch.
- In the final stitch: Begin hdc as usual (yarn over, insert hook, yarn over, pull up a loop; 3 loops on hook), then drop the old color and yarn over with the new color, pulling through all loops to finish the stitch with the new color.
- Tie the ends of the two colors together for security. You can weave in the tails later or crochet over them as you go.
- Ch 1, turn.
6. Rows 5–8 (Second Color)
- In new color: hdc in BL of each stitch across (last stitch: hdc in both loops).
- Ch 1 (or ch 2), turn at end of each row.
- Repeat until you have 4 rows in this color.
- Switch color as detailed in Step 5.
7. Continuing Pattern
- Alternate colors every 4 rows by changing color on the last yarn-over of the final hdc of each fourth row.
- Continue in this fashion until your beanie reaches the desired circumference. (In the sample, a total of 56 rows is used.)
8. Final Row (Optional for Clean Edge)
- After the final block, attach the first color and work 1 row of sc across in both loops for a finished edge. (This helps to match the beginning and end for a consistent seaming color.)
- Ch 1, turn.
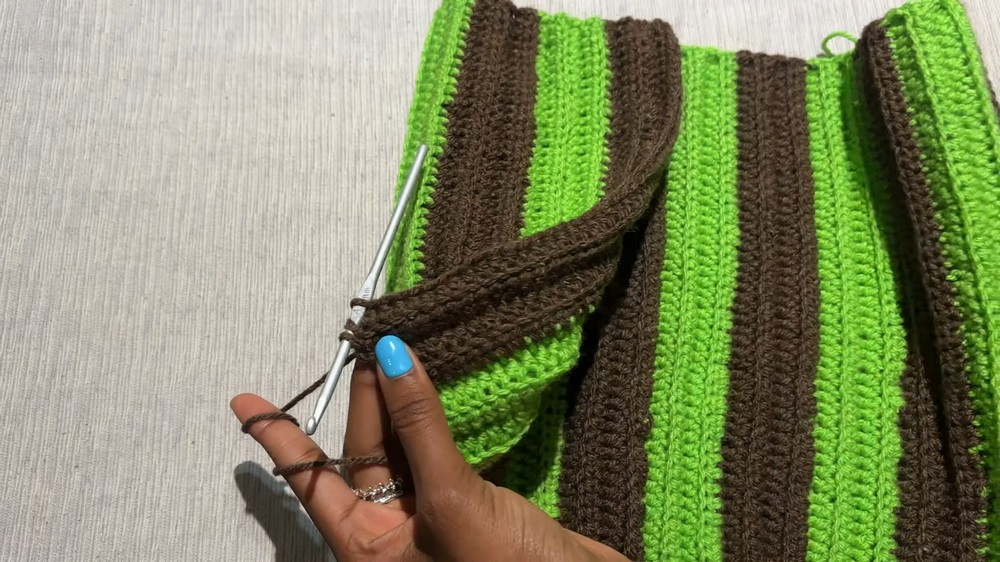
9. Assembly
Fold and Seam
- Fold the beanie in half with right sides together.
- Use the attached yarn tail, or a new length with a tapestry needle, or sl st, to sew the side seam through both loops of each row.
- At the top, sew along the top edge to close the crown by weaving back and forth, pulling tight to cinch the beanie closed.
- Go over the last few stitches multiple times to secure.
Finishing
- Weave in all yarn tails with the tapestry needle.
- Turn the beanie right side out.
Conclusion
Your striped ribbed beanie is complete! This simple project is suitable for beginners and can easily be customized by changing colors, width (foundation chains), or length (row count). The result is a stretchy and comfortable hat with bold, clean stripes.
Pattern Corrections
- Ensure the final row count produces the desired adult or child-sized circumference. For adult, 56 rows are generally sufficient; size up or down as needed.
- When changing color, always finish the last hdc of the row with the new color for neat stripes.
Tips
- To avoid holes at seams, sew through both loops neatly and pull snug but not too tight.
- If you prefer not to see the seam, use the mattress stitch for joining.
- To make a slouchy beanie, add more foundation chains; for a closer fit, reduce the number.
- Regularly check your work for even tension and stitch counts.
Leave a Reply