
Boost your accessory lineup naturally by trying this free crochet bag with 2 pockets pattern that adds neat pockets and casual style in equal measure.
Making your own accessories is so much fun, especially when they are useful for everyday life. The YouTube channel DIY Maycraft offers wonderful tutorials that are clear and so easy to follow, making crocheting feel simple and enjoyable. This project helps you create a beautiful and practical tote bag that you’ll be proud to show off. You can get started right away with this wonderful Free Crochet Bag With 2 Pockets Pattern. This handmade bag is a great project for anyone who loves to combine crocheting with fashion.
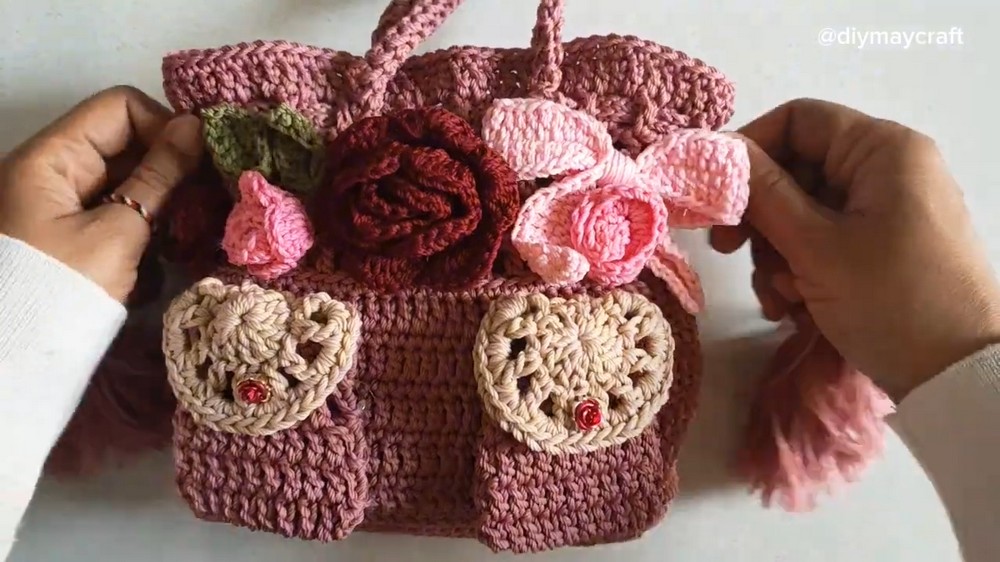
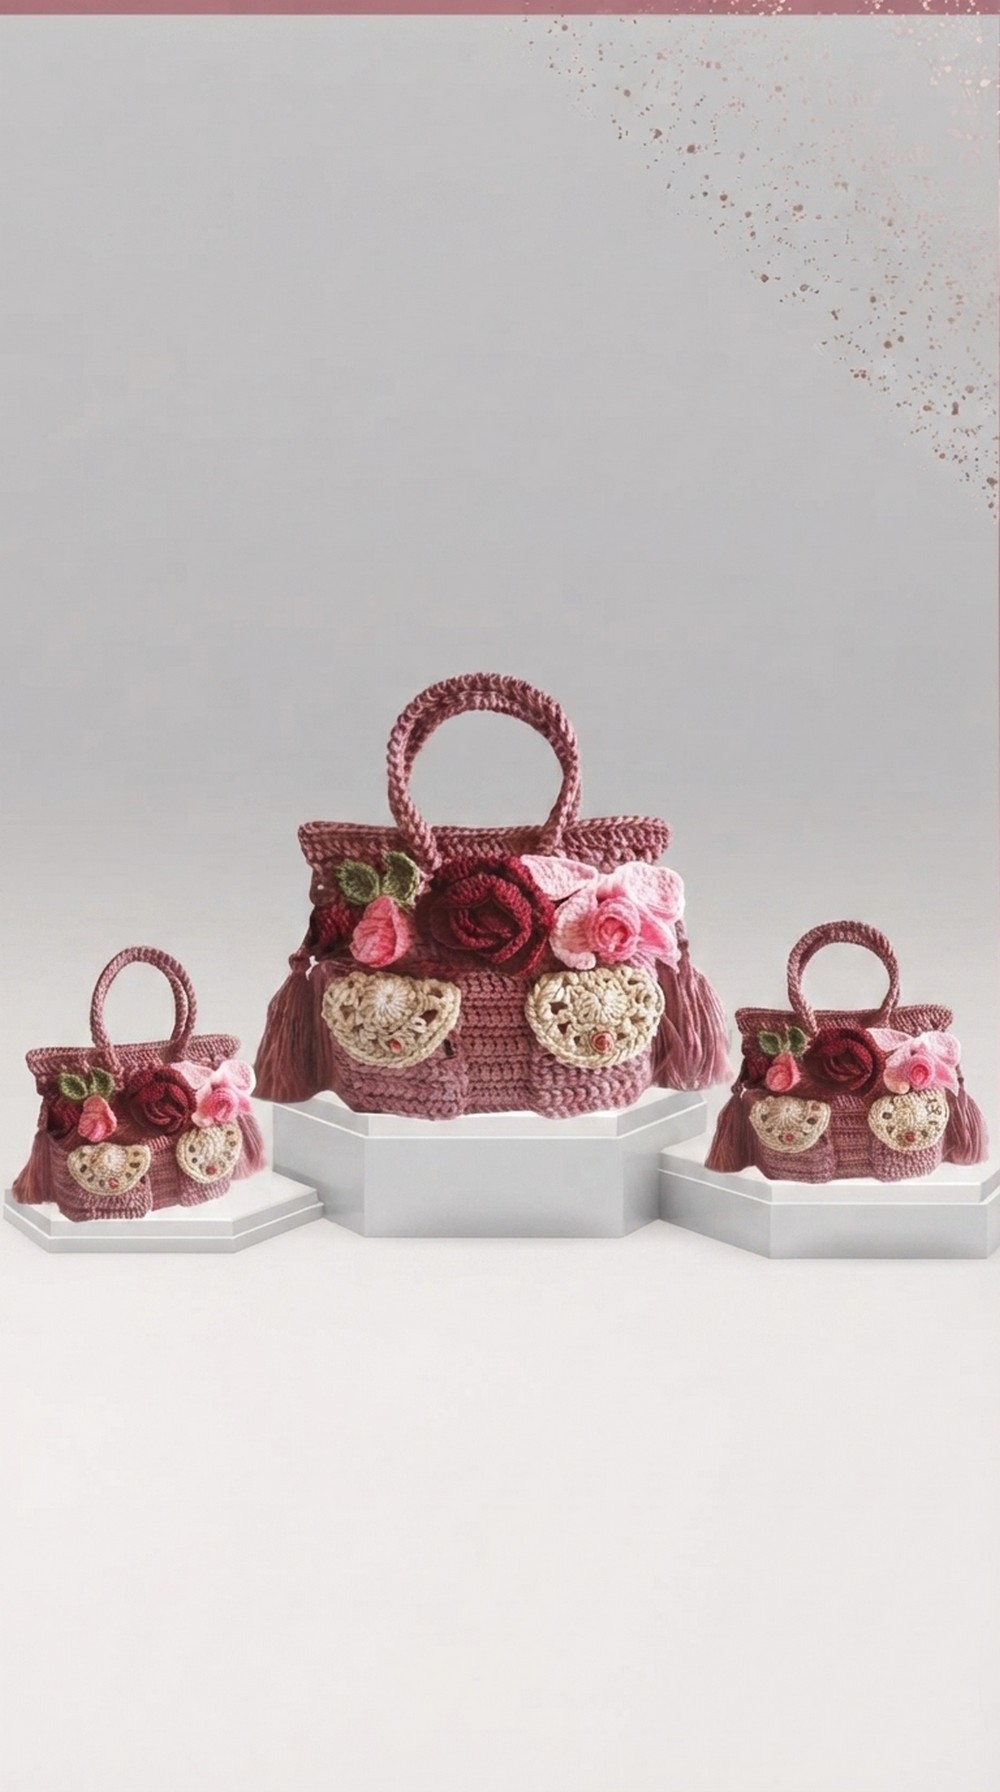
What makes this crochet tote bag truly special are the two big, roomy pockets on the front. They are not just useful for holding your phone and keys; they also give the bag a cool, layered look that stands out.
Bag With 2 Pockets Free Crochet Pattern
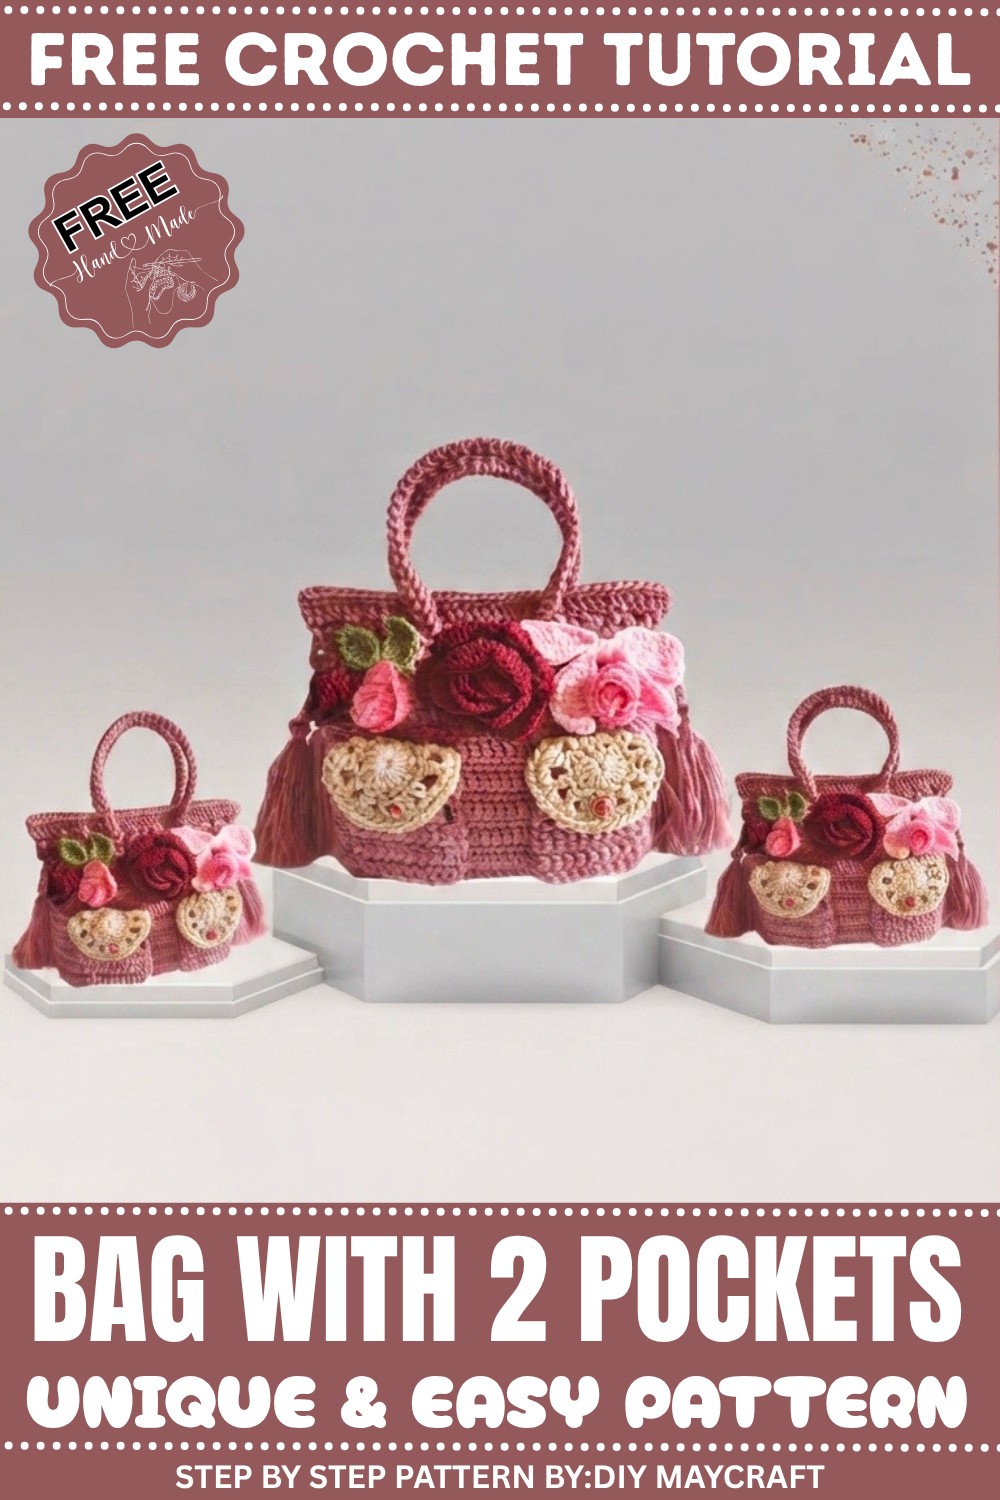
The overall shape of the bag is a classic rectangle, making it perfect for holding everything from books to groceries. The stitches used in the pattern create a lovely, tight texture that is both beautiful to look at and strong enough for daily use. It is a simple design that looks very chic and put-together.
You will find so many uses for this amazing crochet bag. Take it with you on a trip to the market, use it as a stylish library bag, or pack it with your yarn for a crocheting day with friends.
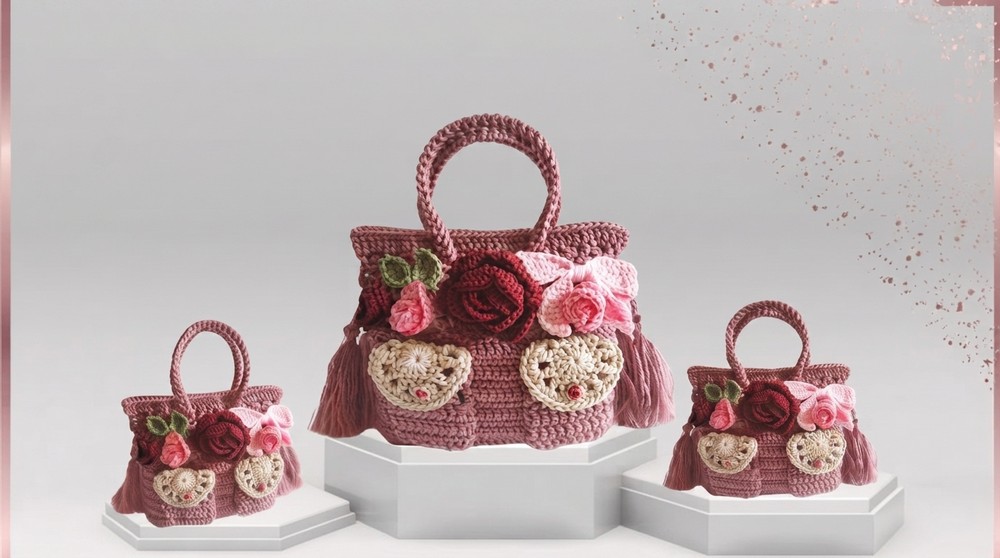
The comfy, sturdy handles make it easy to carry all day long. The best part is choosing your own colors! You can make a bright, colorful bag for the summer or use neutral tones for a bag that matches everything. This easy crochet bag pattern makes a wonderful handmade gift for someone special, too.
Easy Crochet Drawstring Bag with Front Pockets
This simple crochet project results in a cute and useful bag measuring about 20 cm by 20 cm. It features small front pockets and a drawstring closure, perfect for everyday items. The pattern uses basic stitches and easy techniques, making it suitable for beginners who want to try a slightly textured and shaped bag.
Quick Overview
- Start with a flat rectangular base made using single crochet stitches.
- Build the bag’s sides by working in rounds with single crochet and double crochet rows alternated for texture.
- Add a pretty mesh pattern near the top for ventilation and decoration.
- Create a shoulder strap using a simple cord (Romanian cord method).
- Crochet two drawstring cords to thread through the mesh rows at the top and finish with tassels.
- Make small front pockets with oval bases, mesh bodies, and buttoned flaps, then sew them onto the bag.
Important Notes for Beginners
- Use the right hook size (6/0 for main parts, 4/0 for drawstring) and yarn type (Polythick yarn) as recommended for best results.
- Keep your tension even — not too tight or loose — for neat stitches and correct size.
- Read stitch abbreviations and explanations carefully before starting.
- Work slowly, especially during the mesh section and pocket construction to keep stitch counts accurate.
- Use stitch markers if possible to mark rounds starts or special stitches.
- Don’t worry if your first attempt looks slightly different — practice will improve your tension and shaping!
Skill Level
- Beginner-Friendly: Perfect for those who know or are learning:
- How to make chain (ch) stitches.
- How to make single crochet (SC) and double crochet (DC) stitches.
- How to work in rows and in rounds.
- Basic increases and stitch pattern repeats.
- Following simple mesh stitch patterns.
- Making crochet cords (Romanian cord).
- Sewing and assembly basics.
Materials
- Polythick yarn (medium/ bulky weight yarn)
- Crochet hooks: 6/0 (main body), 4/0 (drawstring cords)
- Tapestry needle for sewing pockets and finishing
- Button for pocket flap
- Scissors
- Stitch markers (optional)
Finished Size
- Bag size: Approximately 20 cm wide and 20 cm tall
- Shoulder strap: About 60 cm long (adjustable by making longer or shorter)
- Drawstring cords: Two cords each about 50 cm long before finishing
- Pocket size: Small, just enough to fit on the bag front neatly
Stitch Abbreviations (What You Need to Know)
| Abbreviation | Name | What It Means |
|---|---|---|
| ch | Chain | Yarn over and pull through loop |
| sc | Single Crochet | Insert hook, yarn over, pull through loop, yarn over, pull through two loops |
| dc | Double Crochet | Yarn over, insert hook, yarn over, pull loop through, yarn over, pull through two loops twice |
| BLO | Back Loops Only | Crochet only in the back loop of stitch |
| sl st | Slip Stitch | Insert hook, yarn over, pull through both yarn loop and loop on hook |
Special Techniques
- Romanian cord: A simple crochet cord used to make sturdy straps or drawstrings.
- Mesh stitch pattern: Alternates chains and double crochets to create open, airy fabric.
Step-by-Step Crochet Pattern
Step 1: Make the Base of the Bag
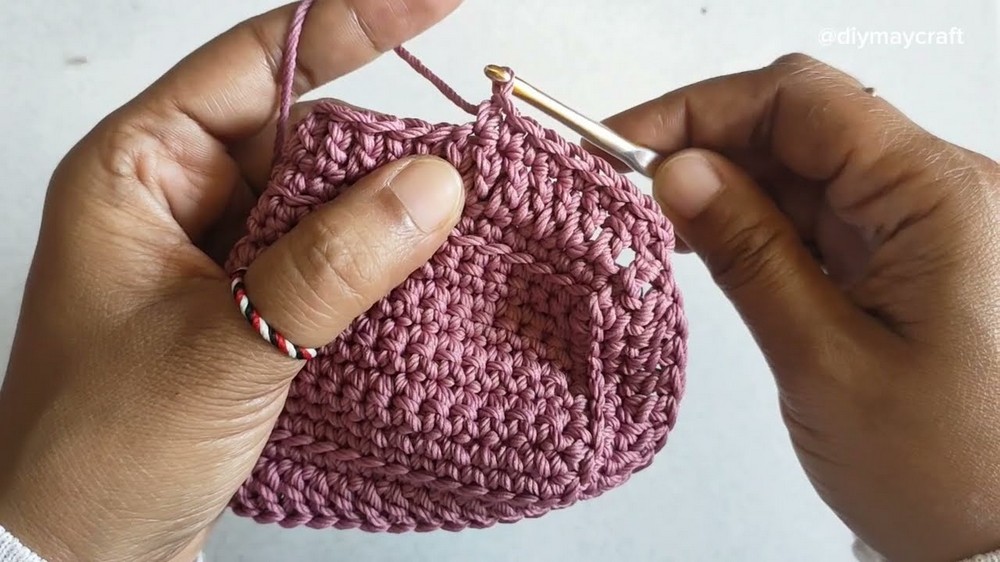
- Make a slip knot and chain 30.
- Add 1 extra chain to turn.
- Work 30 single crochet (SC) stitches into the chain from step 1 (one SC in each chain).
- Continue working back and forth in rows of 30 SC stitches until you have about 30 rows. This makes a strong flat rectangle base for the bag.
- Finish the base with one round of SC worked evenly around the edge:
- Make 8 single crochet stitches along each long side of the rectangle.
- Add increases (3 SC in the same stitch) at each corner to smooth the edges.
Step 2: Build the Main Body
- Working in rounds from the base edge:
- Round 1: Work SC stitches but only into the back loops only (BLO) of each stitch.
- Round 2: Work DC stitches in every stitch around.
- Round 3: Work SC stitches in every stitch around.
- Repeat Rounds 2 and 3, alternating DC and SC, for a total of 10 rounds to build the bag walls to the desired height.
- Rounds 14–18 (Mesh Rows):
- Chain 4, skip 1 stitch, make 1 DC, then chain 1.
- Repeat this pattern all around to create a mesh pattern.
- Round 19: To close the gaps, work 1 DC into every stitch and chain space from the mesh rows.
- Round 20: End with a round of SC stitches to give a neat top edge.

Step 3: Make Straps and Drawstrings
- Shoulder Strap:
Using the Romanian cord technique, create a cord approximately 60 cm long.
Attach each end securely on opposite sides of the bag. - Drawstring Cords:
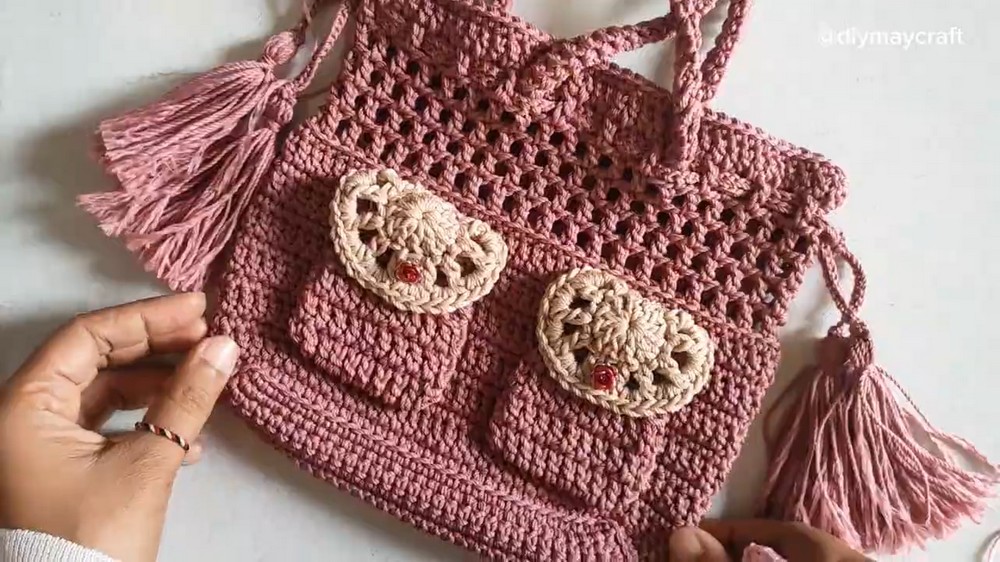
Using two strands of Poly-eri yarn and a smaller 4/0 hook, make two cords about 50 cm long each.
Weave these cords through the openings made in the mesh rows (Round 18).
Finish cords with decorative tassels on the ends.
Step 4: Make Front Pockets and Closure
- Pocket Base:
Chain 12 to form the pocket base.
Work DC stitches around in an oval shape for 3 rounds to create a small pouch. - Pocket Body:
Work 2 rows of the mesh pattern (chain 4, skip 1 stitch, DC) as done in the bag body.
Finish with 1 round of SC stitches to solidify the pocket edges. - Pocket Flap:
Start with a magic ring.
Work 11 DC stitches into the ring to form a small flap.
Add 1 mesh round following the chain and DC pattern.
Finish with a round of SC stitches for a neat edge. - Assembly:
Sew the flap to the top edge of the pocket.
Attach a button to the flap for closure.
Sew the completed pocket onto the front of the bag with the tapestry needle.
Assembly and Finishing Touches
- Weave in all loose ends neatly inside the bag or pockets.
- Attach and secure the shoulder strap and drawstring cords firmly.
- Position and sew the pockets carefully to lay flat and look tidy.
- Adjust the strap and drawstring lengths to your comfort or style preference.
Final Measurements
- Bag size is around 20 cm tall and 20 cm wide square.
- Shoulder strap approximately 60 cm long — can be lengthened or shortened.
- Drawstring cords about 50 cm each with tassel ends.
- Front pockets measure just enough to fit comfortably on the bag’s front panel.
Wrap-Up
This beginner-friendly crochet bag balances ease with creativity. Using straightforward stitches like single and double crochet, a beautiful mesh pattern, and making separate drawstrings and pockets teaches valuable crochet skills. The end product is a charming, practical bag with a functional drawstring closure and stylish front pockets.
Take your time working through each step, counting stitches carefully, and practicing comfortable tension. With patience and care, your finished bag will be both sturdy and pretty—a perfect accessory for daily use or gifting!
Leave a Reply