
Personalize your style with charming crochet coin purse pattern that adds a touch of creativity and uniqueness to your everyday essentials.
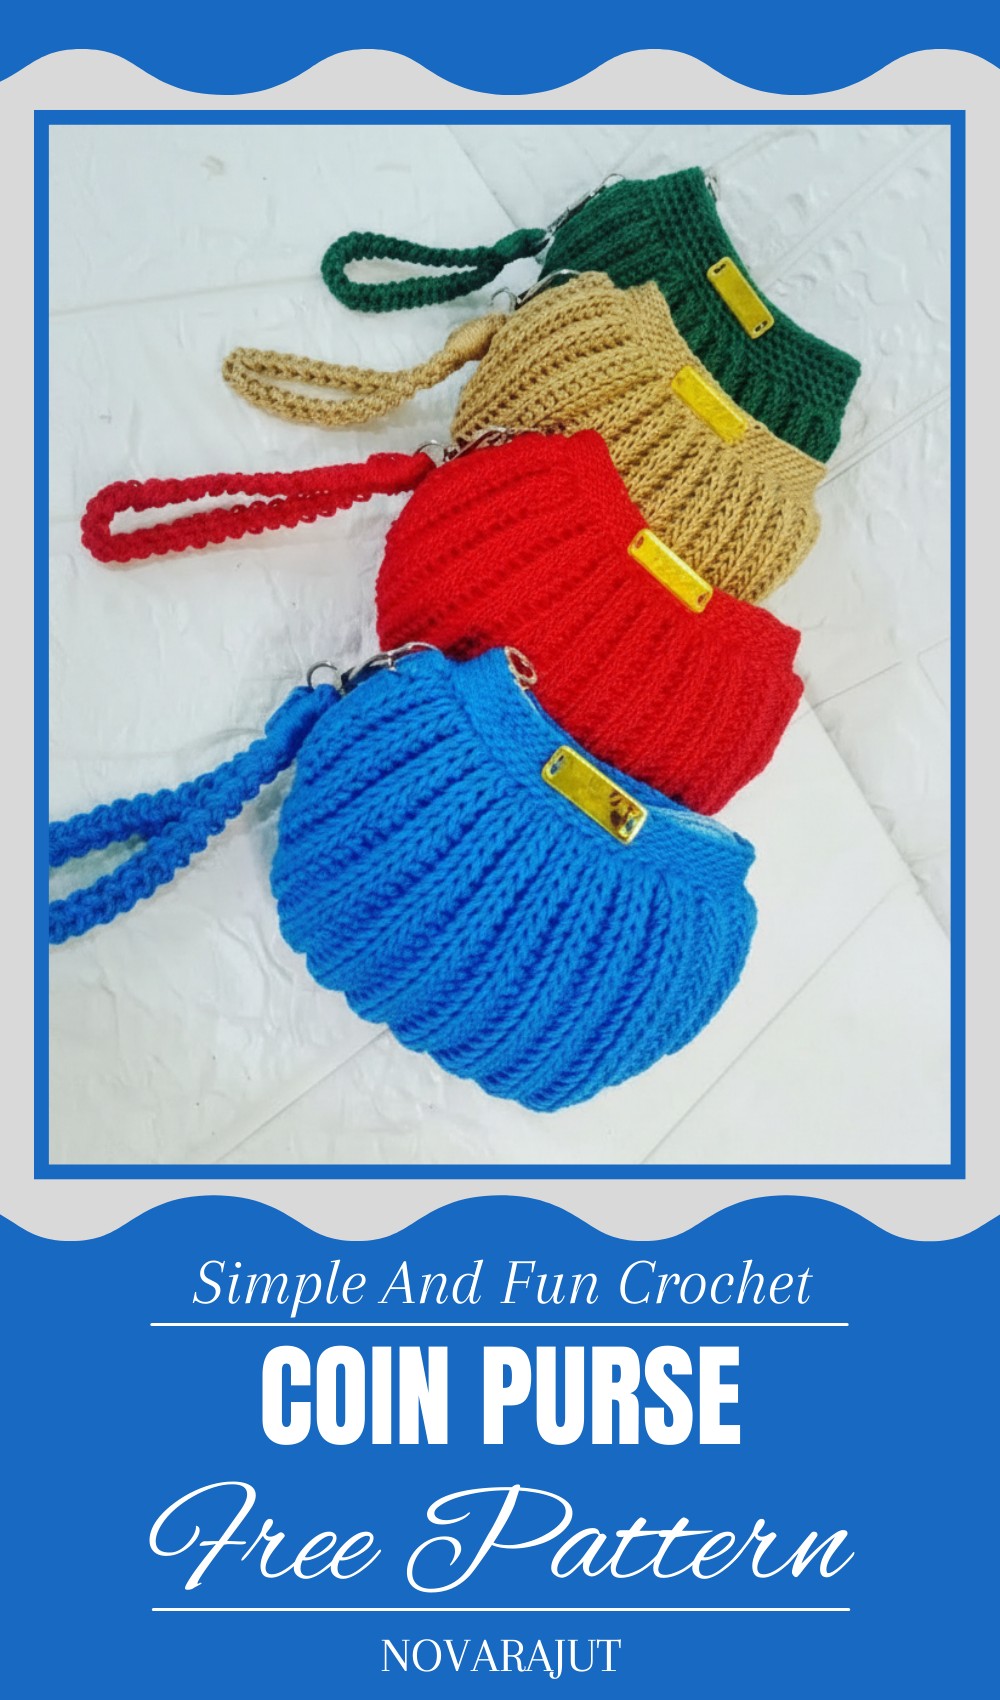
A beautiful handmade item adds a special charm to everyday life and a coin purse is the perfect example of this. This tiny yet practical creation is ideal for safely storing coins, keys, or small essentials, and its delicate design makes it a joy to carry. Using a crochet coin purse pattern allows you to crochet a unique piece in vibrant colors, soft hues, or intricate patterns to match any personality or style.
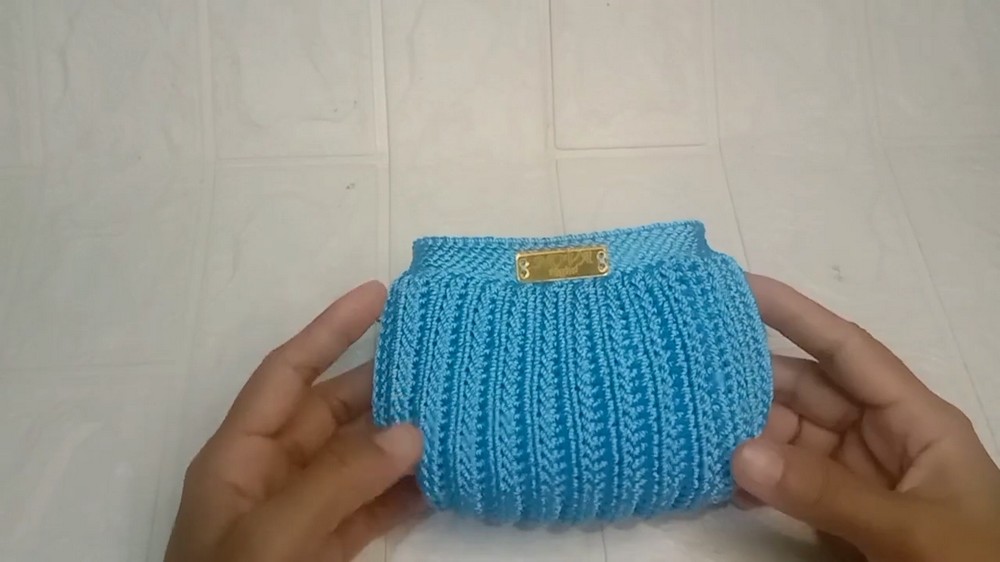
Unique Crochet Coin Purse Pattern for Everyday Elegance
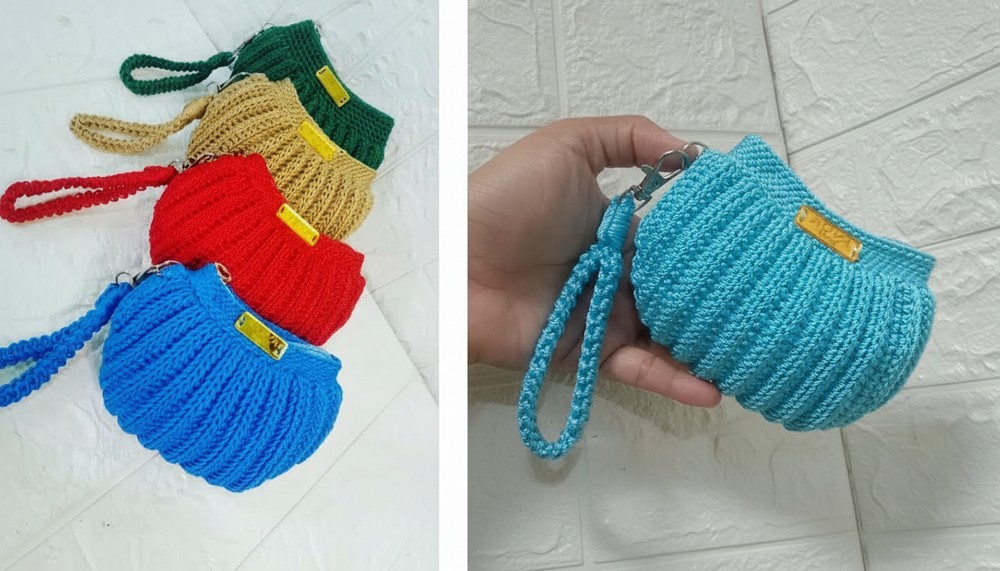
This purse is not just practical but also serves as a thoughtful gift for a loved one, spreading a touch of warmth and creativity. Whether for a quick trip, organizing your bag, or presenting as a heartfelt keepsake, this tiny treasure brings beauty and function together. The process of making one is simple and enjoyable, offering both relaxation and a sense of accomplishment. Adding a handmade crochet coin purse to your routine is a delightful way to combine utility with creativity.
Materials Required
To crochet the coin purse:
- Yarn Type:
- Poly shiny thread (polykilap) for durability.
- Alternate suggestions: nylon thread or cotton yarn (size #4, medium).
- Hook Size: 3.0mm or 2.5mm crochet hook (adjust based on yarn material).
- Scissors: For trimming yarn.
- Stitch Marker: Helpful for indicating rows while decreasing and shaping.
- Rings: For straps/decorations (e.g., D-rings, size 1cm).
- Lighter or Glue (Optional): To seal yarn ends if using nylon thread.
Key Abbreviations (US Terminology)
- SC: Single Crochet
- SL ST: Slip Stitch
- CH: Chain
- DEC: Decrease by merging two stitches into one (SC2TOG).
- ST(S): Stitch(es)
- Back Loop (BLO): Work into the back loop only of the stitch.
Special Notes
- Tension Control: Ensure consistent tension, especially when using nylon or shiny thread (it can easily slip).
- Size Adjustment: You can adjust the dimensions by increasing or decreasing the foundation chain length or adding rows.
- Finishing: If using nylon yarn, seal the ends using a lighter to avoid fraying.
Step-by-Step Crochet Coin Purse Pattern
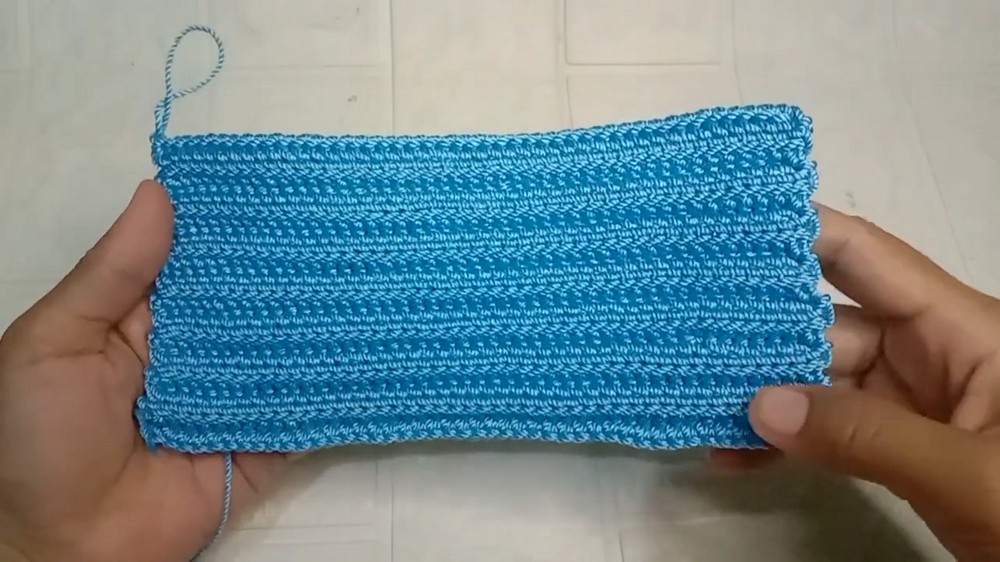
Step 1: Create the Base
Foundation Chain:
- Create a slip knot and work 45 CH for the base length.
- Work 1 additional CH for turning.
Row 1 (SC Row):
- Into the 2nd CH from the hook, work 1 SC.
- Continue working SC into each CH across the row. (45 STS total).
- At the end of the row, CH 1, turn your work.
Row 2 (BLO SC):
- Work SC BLO (single crochet into the back loop only) for texture, beginning in the first stitch.
- Crochet across all 45 STS until the end of the row.
- CH 1, turn your work.
Repeat Row 2:
- Repeat ROW 2 until you have 15 rows total (for a width of approximately 8.5 cm).
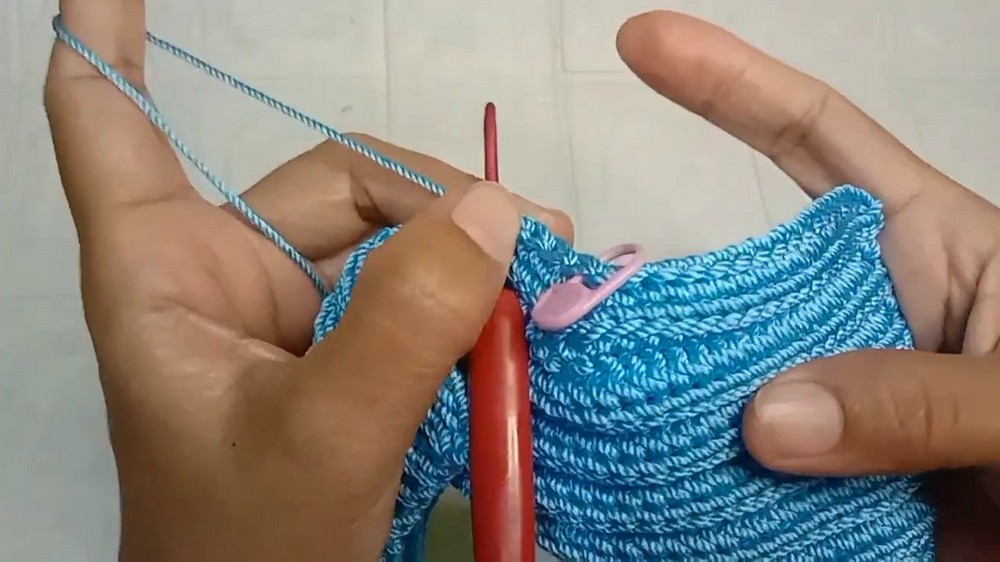
Step 2: Begin Decreases
Set Up Stitch Markers:
- Locate the center stitch of the purse base by counting to the 23rd ST (middle stitch). Mark this with a stitch marker.
Decrease Row Pattern:
- CH 1, turn your work.
- Begin the row with SC stitches BLO.
- Stop when 3 STS remain before the stitch marker.
Decrease Instructions:
- DEC: Combine the next 2 STS into 1.
- Insert hook into the first stitch, pull up a loop.
- Insert hook into the second stitch, pull up a loop.
- Yarn over and pull through all loops.
- For the next 3 STS (center stitches), work a SC3TOG (combine 3 STS into 1):
- Insert hook into first stitch, pull up a loop.
- Repeat for the next two stitches.
- Yarn over and pull through all loops.
- DEC: Combine the next 2 STS into 1 after the stitch marker.
Repeat Row:
- Continue working SC BLO along the rest of the row. Finish with a CH 1, turn.
- Repeat the reduction row for 5 total rows, decreasing at both ends and the center.
Step 3: Create Both Panels
- Repeat Steps 1 and 2 to create a second identical panel.
- Confirm both panels are the same size (final measurement: 13 cm x 18 cm).
Step 4: Join the Panels
Assembly:
- Start by aligning both panels with the right sides facing outward.
- Attach the yarn with a slip knot to the edge of one panel.
- SC around the edges to join both panels, ensuring the stitches overlap neatly.
- Work SC stitches into the loops of both panels simultaneously.
- Leave the top edge open for the coin pocket.

Step 5: Attach Rings
- Insert D-Ring:
- Take the D-ring (1cm size). Slip it through the inner corner of the top edge.
- Secure the ring by crocheting around it with SC stitches.
- Repeat for Both Sides:
- Add D-rings to opposite corners of the purse top for symmetry.
Step 6: Finish the Edges
Slip Stitch Border:
- Attach yarn with a slip knot to the top open edge of the purse.
- Slip Stitch around the entire edge opening for a clean and polished look.
- Work into each stitch as you go.
- Make 7 rows of slip stitches to create a reinforced border.
Step 7: Optional Strap or Handle
- If desired, attach a handwoven strap or chain strap to the D-rings using the same yarn or clip-on handles.
- Strap length can be customized based on individual preferences.
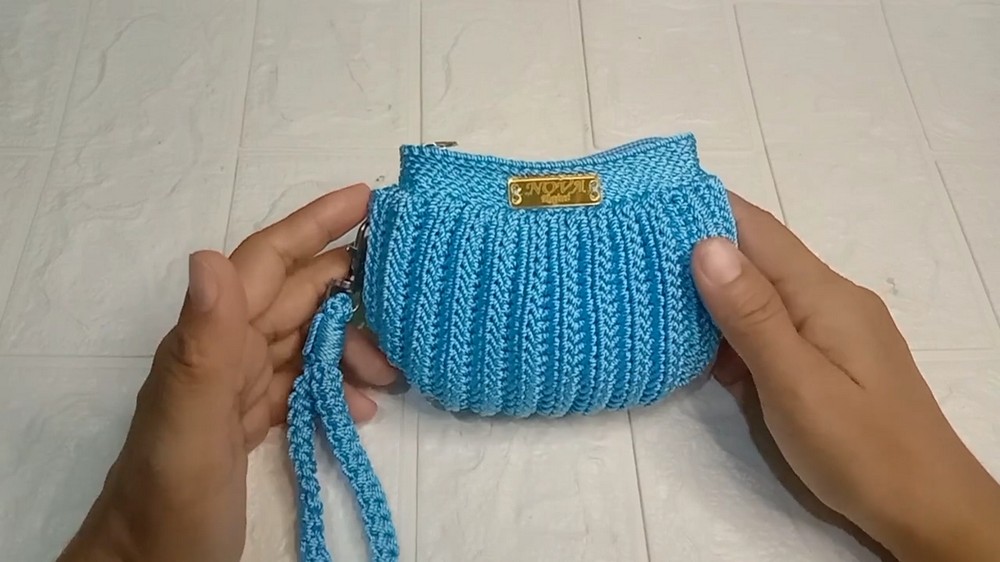
Conclusion
Congratulations! Your Crochet Coin Purse is complete. This sturdy and stylish purse is perfect for holding coins, cards, or small everyday essentials. It can also serve as a thoughtful handmade gift.
Pattern Corrections and Tips
- Prevent Misshaped Panels: Keep the tension consistent throughout to avoid uneven edges.
- Stronger Finish: Seal yarn ends with a lighter (for nylon thread) or weave thoroughly using a tapestry needle.
- Custom Size: Adjust the width and height by increasing foundation chain or row count.
Pro Tip for Durability
Lining the inside of the purse with fabric can add strength, especially for frequent use or heavier items. Sew the lining neatly to avoid bulk.

Leave a Reply