
Brighten your reading time with this Free Crochet Strawberry Cake Book Cover Pattern, a cute and cozy design that protects books while adding sweet handmade charm.
In a small quiet moment, a plain book once looked dull and unprotected, with its cover slowly wearing out over time. The Free Crochet Strawberry Cake Book Cover pattern changes that simple look into something soft, colorful, and full of charm. It is made by shaping yarn into a sweet cake style, with soft layers, creamy edges, and tiny strawberry details that sit on top like decoration.
Free Crochet Strawberry Cake Book Cover Pattern Protect Books in Style
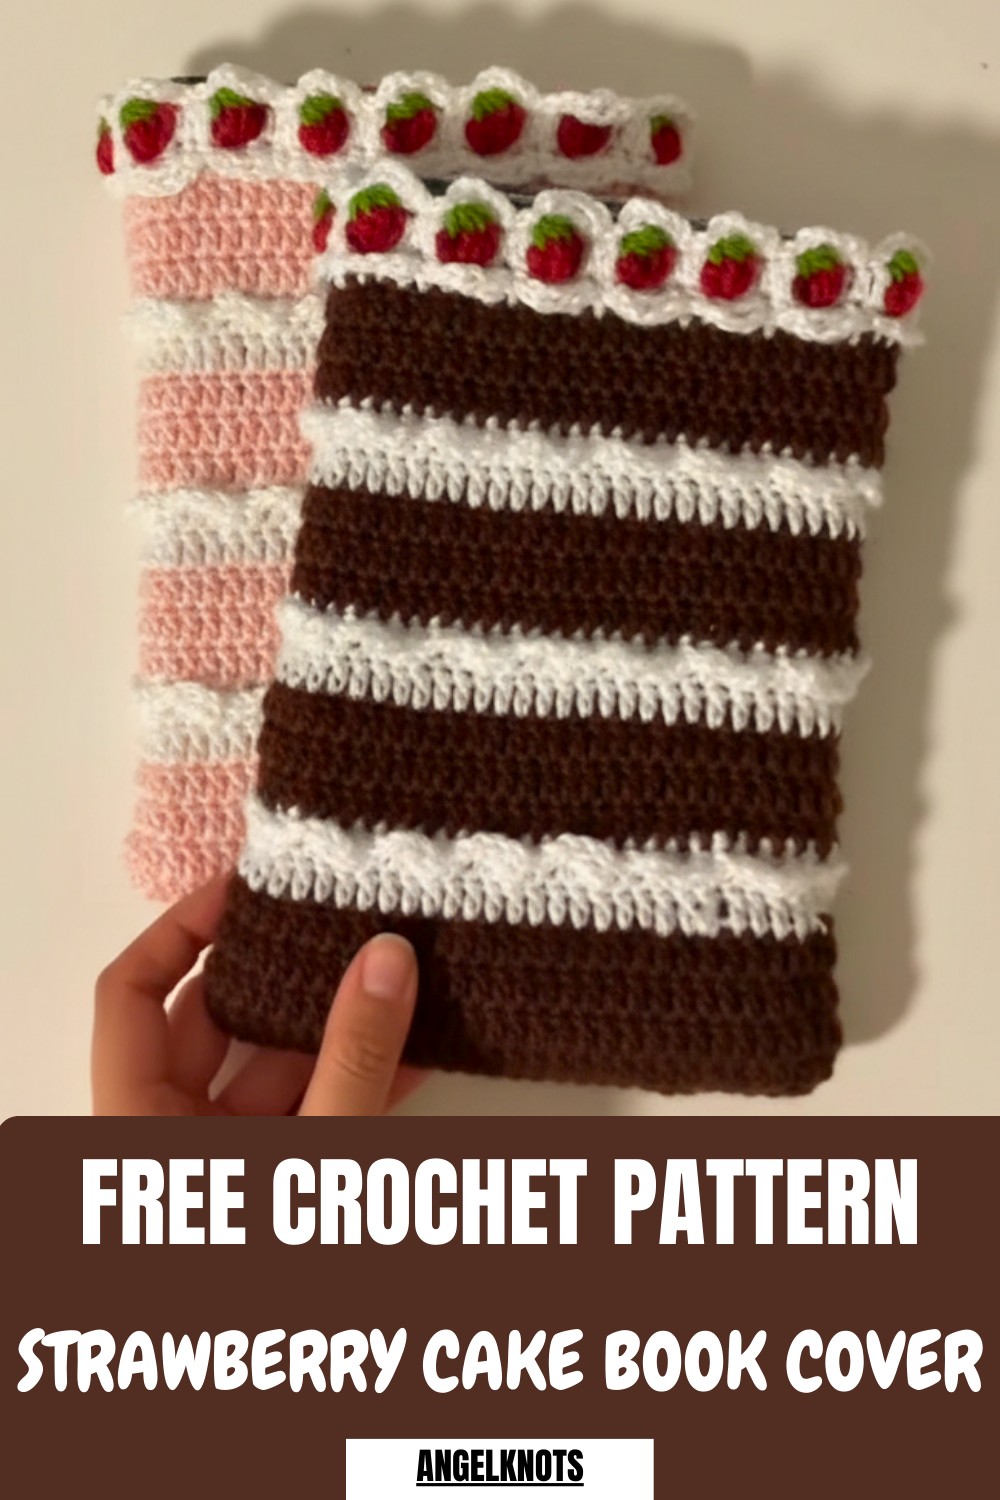
This kind of cover not only protects the book from dust and damage but also makes it look special and eye-catching. The design feels soft in hand and fits nicely around the book, giving both comfort and beauty. Its bright colors and cake-like shape make it look fun, almost like a real dessert made from yarn. Many similar crochet covers are also made to be adjustable and decorative, making them useful for daily reading while adding a cute personal touch.

Strawberry Cake Crochet Book Cover
Materials Needed
To crochet the Strawberry Cake Book Cover, you’ll need the following:
- Yarn:
- Main Color (MC): Medium-weight (worsted) acrylic yarn for the base (e.g., pink for “strawberry cake”).
- White Yarn: Medium-weight acrylic yarn for the cream layers.
- Red Yarn: Medium-weight acrylic for the strawberries.
- Green Yarn: Medium-weight acrylic for the strawberry stems.
- Hook: 4.0 mm crochet hook.
- Stitch Markers: For marking rounds and crucial stitches.
- Scissors: For cutting yarn.
- Tapestry Needle: For weaving in loose ends.
Optional Items
- Measuring Tape: To ensure precise dimensions.
- Blocking Materials: For shaping and finishing the book cover perfectly.
Skill Level
- Intermediate to Advanced
- The pattern involves changing colors, working in rounds, and implementing decorative stitches like picots and loops in a structured sequence.
Key Abbreviations
- ch = Chain
- st(s) = Stitch(es)
- sl st = Slip Stitch
- sc = Single Crochet
- dc = Double Crochet
- tr = Treble Crochet
- sk = Skip
- yo = Yarn Over
Special Notes and Tips
- Color Changes: When changing colors, always finish the last step of the current stitch with the new yarn color.
- Beginner’s Caution: Allow enough yarn slack for color transitions, especially with multicolor rows.
- Tidy Finishing: For a polished result, secure and weave in all yarn ends to the wrong side.
- Adjustable Size: You can modify the starting chain length to adjust the dimensions of the book cover.
Pattern Instructions
Follow the steps below to crochet the book cover with decorative details:
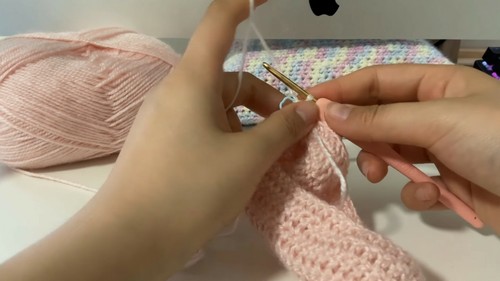
Step 1: Base of the Book Cover
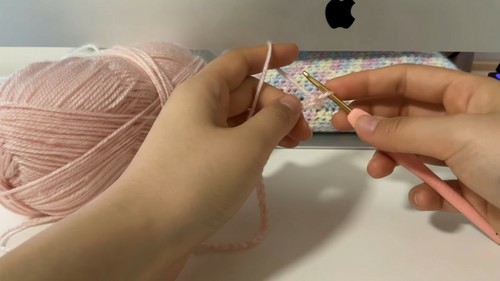
- Make a Slip Knot and Foundation Chain:
- With MC (Main Color) yarn, create a slipknot and chain 27.
- Add 1 extra chain to account for the height of the first single crochet round (28 total chains).
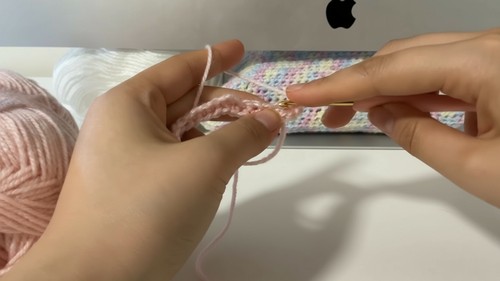
- Round 1:
- Objective: Create the foundation row and form the oval shape for the book cover.
- Insert your hook into the 2nd ch from the hook.
- Work 1 sc into each chain across (26 scs).
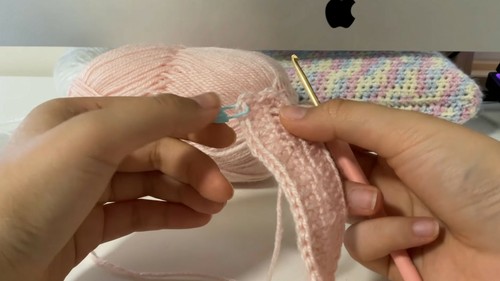
- In the last chain space, work 4 sc, turning your work to continue along the opposite side of the foundation chain.
- Work 1 sc into each chain across.
- In the final chain space, work 3 sc to round the corner and complete symmetry.
- Join the round with a sl st into the first sc. Place a stitch marker in this stitch.
- Rounds 2–5:
- Chain 2, replace the stitch marker, and work in dc across the entire round.
- Ensure symmetry on both edges of the oval while maintaining smooth edges.
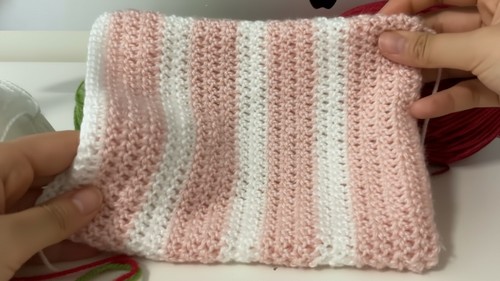
Step 2: Body of the Cake (Double Crochet Rounds)
- Rounds 6–7:
- Follow the same structure as Rounds 2–5 of dc stitches.
- Color Change: On the final dc of Round 5, switch to White Yarn for cream detailing.
- Round 8:
- Continue with White Yarn. Chain 2 and dc around, starting with the first st.
- Work even until the round is complete, marking the first stitch of the round.
- Repeat the Double Crochet Rounds:
- Rounds 9–10: Work in MC again for two rounds of double crochets.
- Follow the color change guide for alternating colors to simulate the “cake” and “cream” layers.
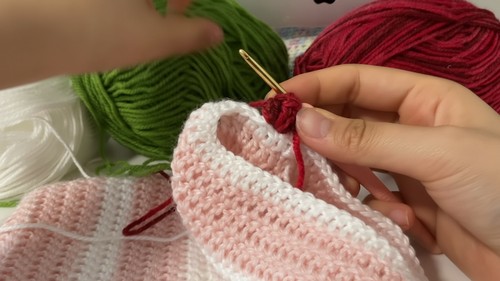
Step 3: Strawberries Row
- Attach Red Yarn:
- After completing the cake base, create the strawberries as follows:
- In the next st, work 5 dc into the same stitch with Red Yarn.
- Complete Strawberry Shape:
- After completing the 5 dc, insert your hook below the top of the first red stitch, yo, and pull through all loops to close the berry.
- Green Top:
- Using Green Yarn, create loops and stems on the strawberries by inserting into specific spaces between red stitches as described in the transcription, gathering 3–4 loops, and pulling through.
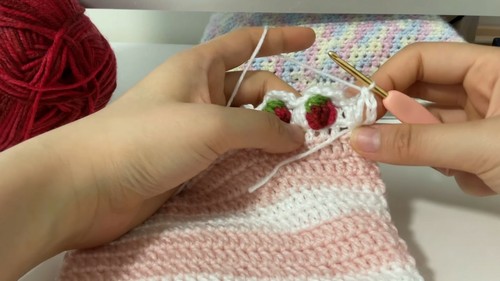
Step 4: Cream Layers
- Start at the base of each strawberry with White Yarn. Work tr and chain stitches to create ruffles around the strawberries to mimic whipped cream.
- Follow the exact method described in the transcription, chaining 4 and working dc or tr in every fourth stitch. Adjust spacing as needed to ensure even alignment.
- Repeat the ruffle layer for 3 tiers: Above, below, and along the strawberry borders to give the “cream” a stacked appearance.
Finishing and Assembly
- Weave In Ends: Flip your work inside out and use a tapestry needle to weave in the yarn ends for a clean look.
- Secure Tails: Tie the tail ends securely before trimming for added durability.
- Adjust Shape: Block the project by lightly dampening and pinning it to size if necessary.
- Flip Work Right-Side Out: Ensure all visible layers are smooth and symmetrical.
Conclusion
Congratulations on completing your Strawberry Cake Crochet Book Cover! This delightful design combines creativity, texture, and charm, making it an excellent, practical addition to your book collection or as a handmade gift.
Pattern Correction Tip
If you notice unevenness in the strawberries or cream, double-check your stitch count alignment with the rows below. Ensure your double crochets and frill ruffles are centered symmetrically to enhance the overall appearance.
Pro Tip to Elevate Your Project
Consider using sparkle or glitter yarn for the cream to give it a frosted effect, or add small seed beads to mimic sugar sprinkles over the strawberries.
Leave a Reply