
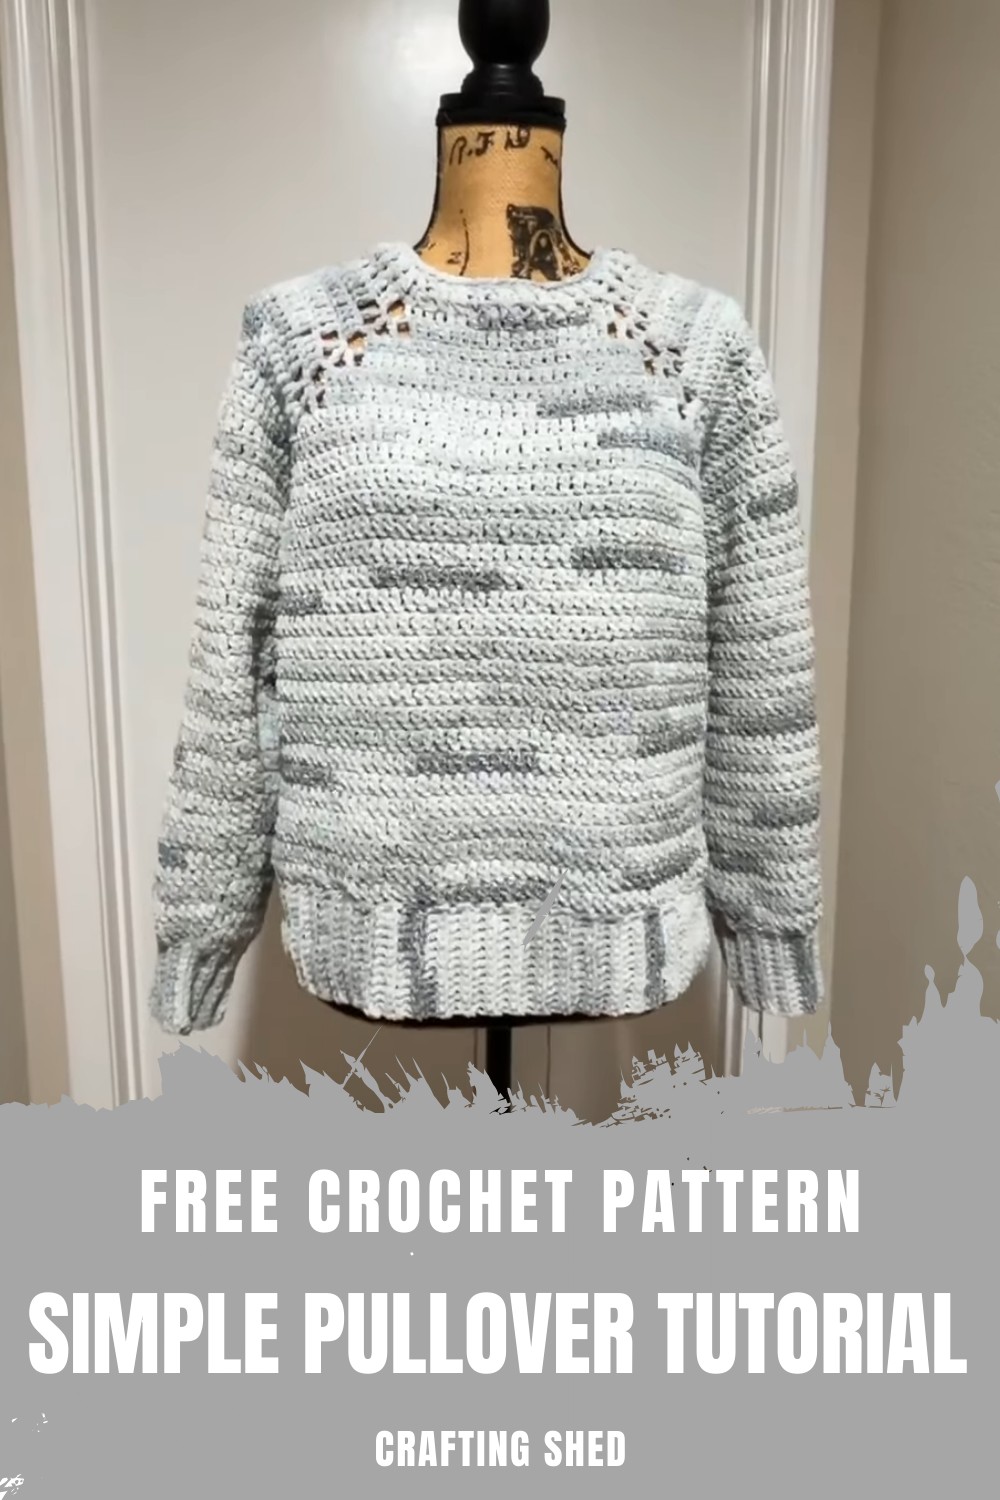
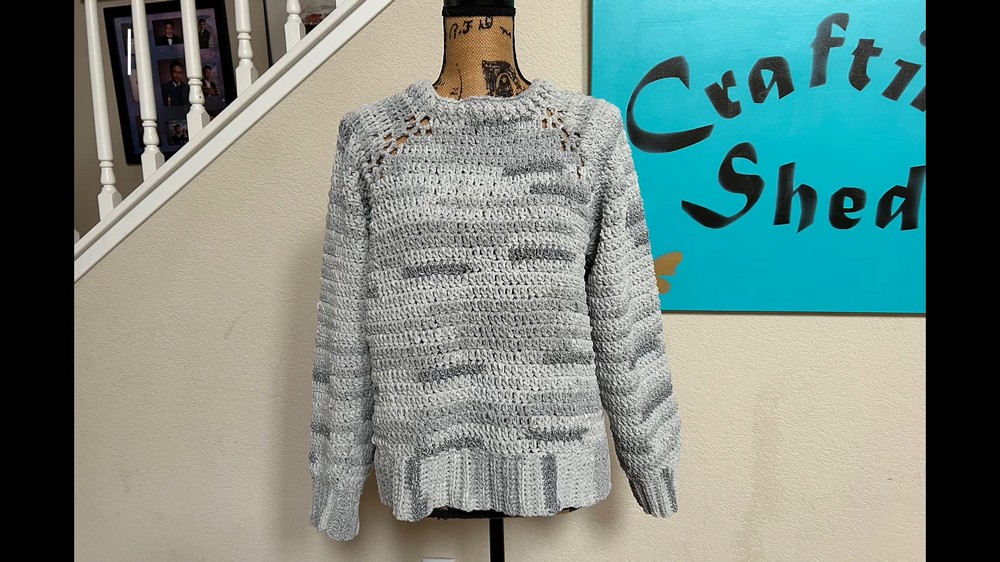
Upgrade your wardrobe with this free crochet pullover pattern featuring a cozy fit, modern square neckline, and the perfect balance of comfort and style.
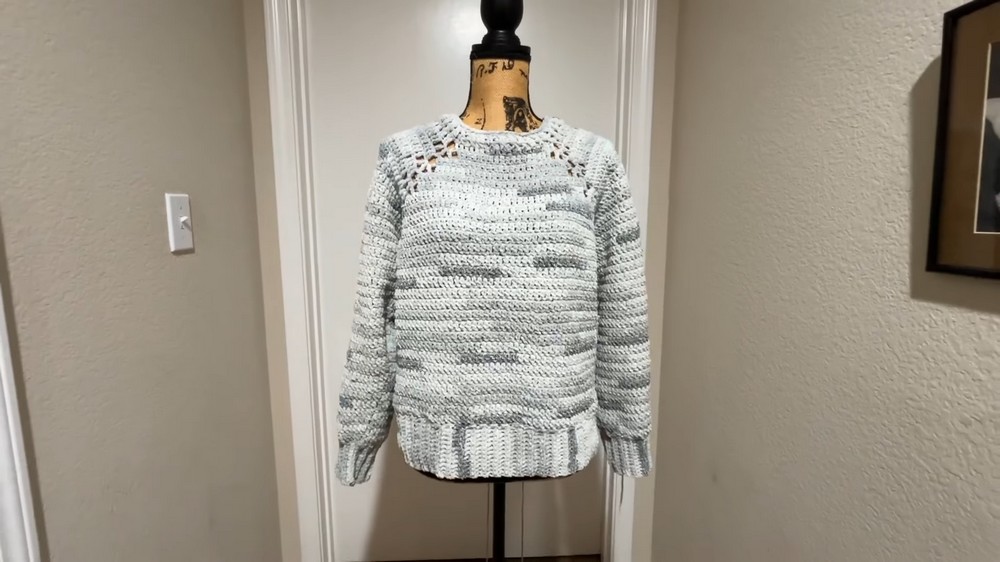
Comfort meets style in a soft, cozy pullover that’s perfect for everyday wear. This free crochet pullover pattern features a beautiful square neckline and a smooth, relaxed fit, making it both practical and elegant. Its seamless design ensures a polished look, with sleeves worked directly into the body for added durability. Lightweight yet warm, this pullover complements any season, offering breathability on warmer days and snugness in cooler weather.
Simple Crochet Pullover Pattern with Perfect Fit Adjustments
Whether paired with jeans or layered over a dress, it suits casual settings while maintaining a refined appearance. The texture feels as gentle as it looks, blending functionality with charm effortlessly. Easy to customize, this piece adapts to various sizes while maintaining its timeless appeal. A wardrobe essential that combines comfort, versatility, and beauty, this crochet pullover transforms simple stitches into something truly special for any occasion.
Simple Pullover Crochet Pattern
Materials
- Yarn:
- Loops and Threads Skinny Chenille Yarn – Medium Weight (#4), 944 yards total (used here: Gray Stripe Color).
- Substitute any medium-weight yarn for similar results.
- Hook:
- 5.0 mm crochet hook (H-8)
- Other Tools:
- Tape Measure: For ensuring accurate measurements during construction.
- Stitch Markers: Useful for marking corners and armhole openings.
- Blunt/Tapestry Needle: For weaving in ends and sewing seams.
- Scissors: For cutting yarn.
Skill Level
- Intermediate: While the stitches are simple (double crochet, single crochet), the pattern involves shaping corners, creating armholes, gradual decreases, and textured ribbing.
Abbreviations
(US Crochet Terminology)
- ch: Chain
- sl st: Slip Stitch
- dc: Double Crochet
- sc: Single Crochet
- dc2tog: Double Crochet Two Together
- fpdc: Front Post Double Crochet
- bpdc: Back Post Double Crochet
Special Notes
- Adjusting fit is easy; simply add or subtract yoke and body rounds to achieve the desired width and length.
- The armhole joining chains can be customized (use more chains for larger sizes or fewer chains for smaller sizes).
- The ribbing on cuffs and neckline is worked back loop only to create texture.
Pullover Pattern Instructions
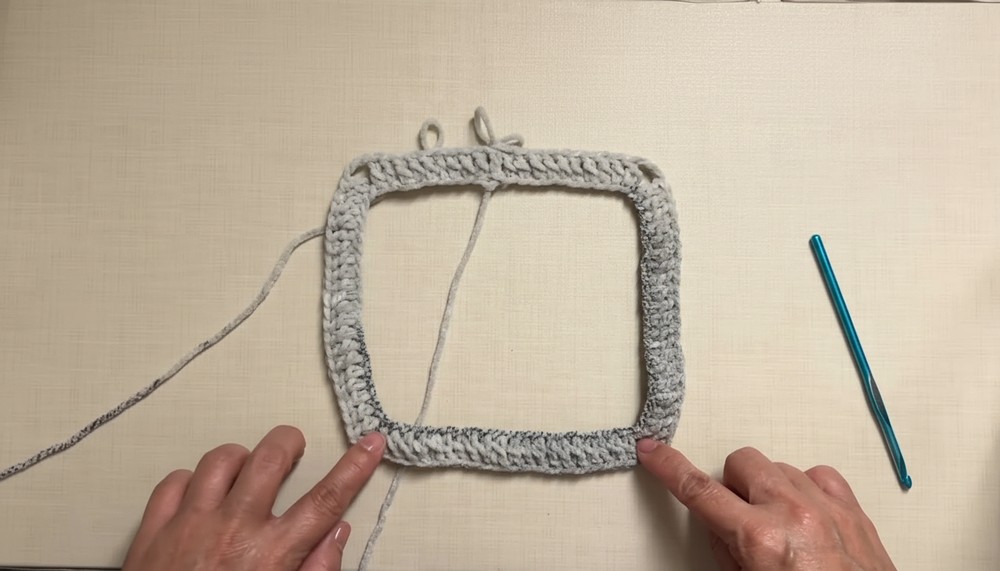
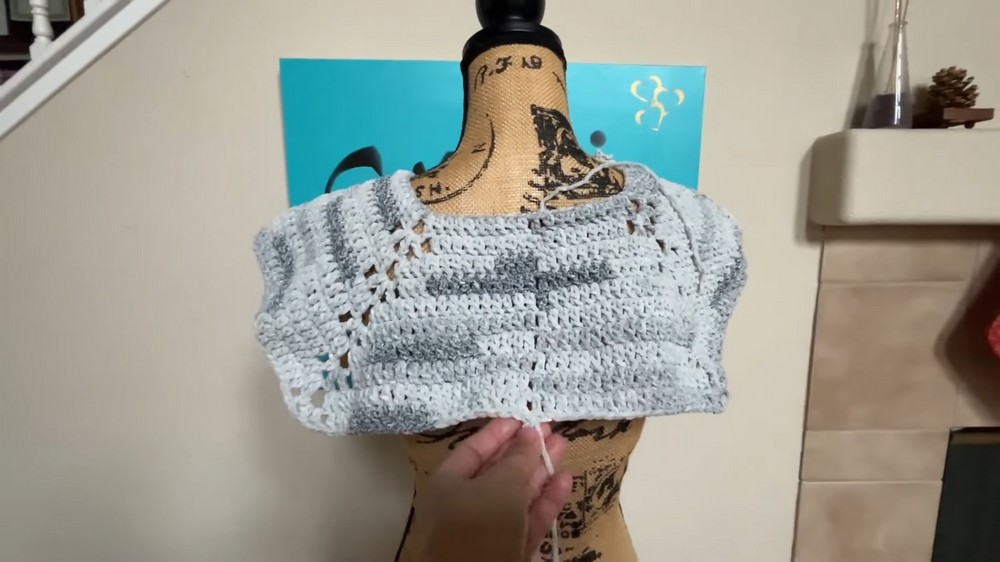
Step 1: Square Yoke
Foundation Chain
- Ch 80 to form the starting chain.
- Join with a sl st into the first chain to form a ring.
Round 1:
- Ch 3 (counts as 1 dc).
- Dc in the next 9 chains (10 dc including ch 3).
- Ch 3 (corner).
- Dc in the next 20 chains (first long side).
- Ch 3 (corner).
- Repeat: Dc 20, ch 3 two more times for the next two sides.
- Dc in the remaining 10 chains, ch 3 (last corner), and join with sl st in the top of beginning ch 3.
You will now have 4 equal sides of 20 dc each with ch 3 corners separating them.
Round 2:
- Ch 3 (counts as dc).
- Dc in each stitch across, stopping 1 stitch before the corner.
- For corners: Ch 1, skip 1 st, and work (dc, ch 2, dc) into the corner ch-3 space.
- Ch 1, skip 1 st, then continue dc across next side.
- Repeat around for all corners.
Join with sl st in the top of beginning ch 3.
Round 3:
- Ch 3, dc in each stitch across, stopping at the chain spaces before the corner.
- Dc in ch-1 space, dc in next st, and work 2 dc into ch-2 space, then ch 3 (corner).
- Skip next st, work 2 dc into next chain space, dc in next st, and continue dc across next side.
- Repeat for all corners.
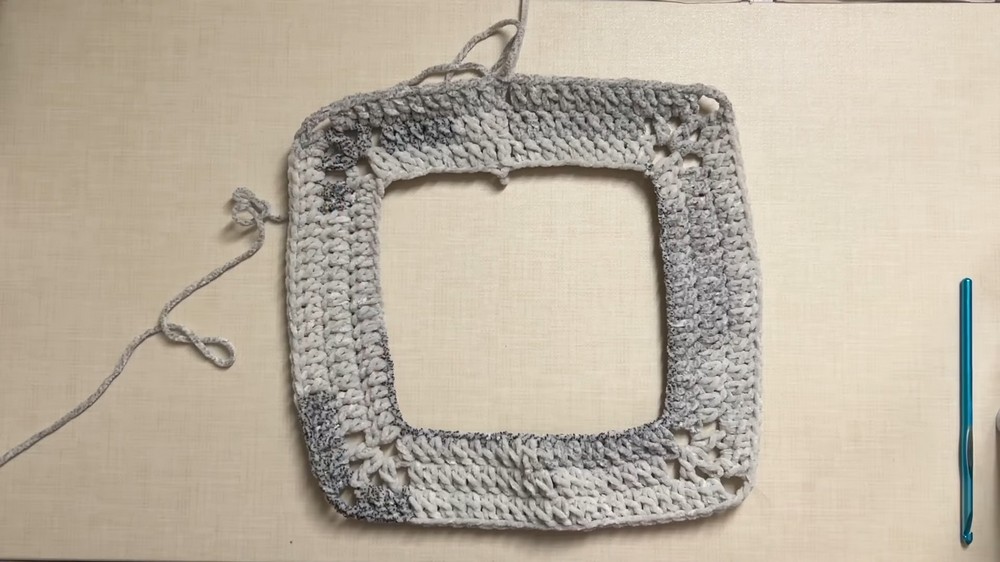
Join with sl st in the top of beginning ch 3.
Rounds 4–10:
- Repeat Rounds 2 and 3 alternately for gradual increases.
- After completing 10 rounds, fold the square in half to measure the yoke (neckline).
Step 2: Creating the Body
Round 1:
- From the last stitch, ch 3 (counts as dc), then dc across the first side.
- At the corner, work dc in ch-1 space, dc in next stitch, and 2 dc in ch-2 space.
- Ch 8 (armhole joining chain), skip the next side of stitches, and continue to the next corner.
- Work dc in corner stitches, 2 dc in ch-2 space, and dc in remaining stitches on the side.
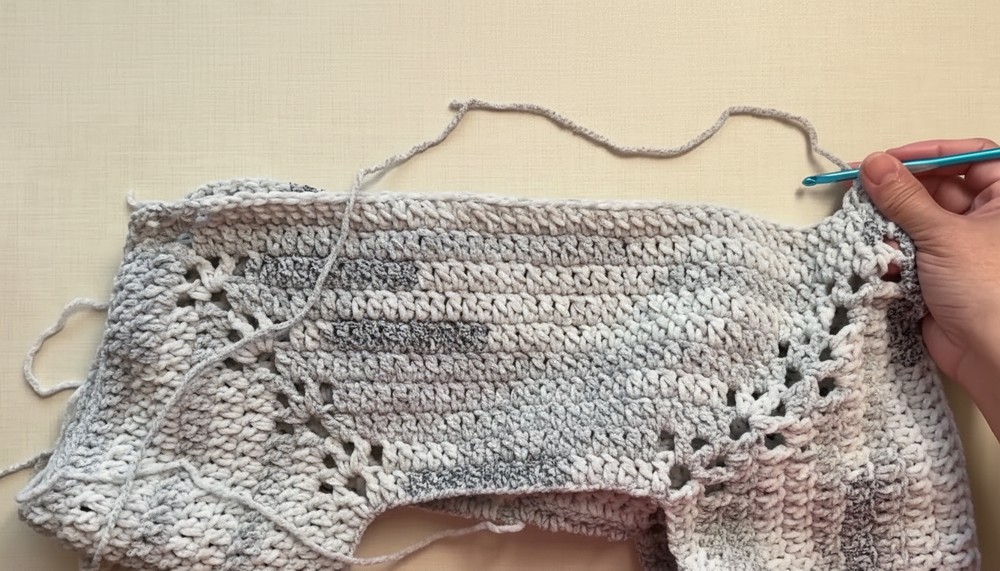
Repeat to create armholes for the other corners.
Rounds 2+:
- Ch 3, and work dc in each stitch around, including the armhole chain spaces for seamless continuity.
- Continue working one dc into each stitch until desired body length is reached (measured from shoulders).
Step 3: Sleeves
Sleeve Base:
- Attach yarn to one stitch in the armhole joining chains.
- Ch 3, work a round of dc into armhole stitches and chains, ensuring even coverage.
Sleeve Decreases:
- Round 2: Begin with dc2tog at the start of the round.
- Work dc across the sleeve and join with sl st.
- Round 3: Begin working dc2tog at the end of the round.
Repeat Rounds 2 and 3 alternately for decreases every other round, creating a tapered sleeve.

Cuffs:
- For ribbing, switch to sc back loop only:
- Ch 13 at one sleeve edge, then work sc BLO across.
- Attach with sl st into 3 base stitches, turn, and repeat to form ribbing.
- Continue this cuff pattern around the sleeve.
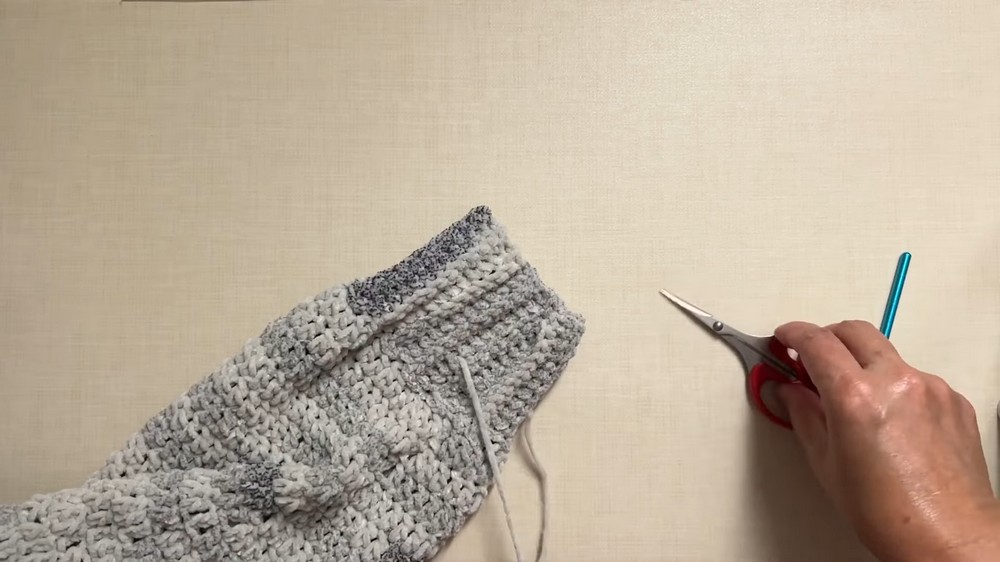
Repeat the same procedure for the second sleeve.
Step 4: Neckline Ribbing
- Attach yarn to the neckline edge.
- Work fpdc (front post double crochet) and bpdc (back post double crochet) alternately across each stitch.
- Join with sl st at the end of the round.
- Repeat this step for 2–3 rounds depending on width preference.
- Finish with 1 round of sc for clean edging.
Step 5: Finishing Edges
- At the body hem, repeat the cuff ribbing pattern using sc BLO.
- Work evenly around the bottom edge for a polished and unified look.
Measurements
- Body Width: ~21 in.
- Body Length: ~23 in.
- Sleeve Length: ~27 in. (including cuff).
- Neck Width: ~6 in.
Conclusion
Congratulations on completing your Simple Pullover! This versatile design allows endless customization options for length, width, and color combinations. The straight-forward construction makes it great for crocheters of all levels.
Pattern Corrections
- Ensure armhole chains are spaced evenly to prevent tightness or gap issues.
- Confirm stitch counts remain consistent to maintain symmetry.
Tips
- Blocking: Block your finished pullover for a smoother and professional finish.
- Color Variations: Experiment with color blocking or stripes for a personalized look.
- Fit Adjustments: For larger sizes, increase yoke rounds and armhole chain counts accordingly.
Leave a Reply