
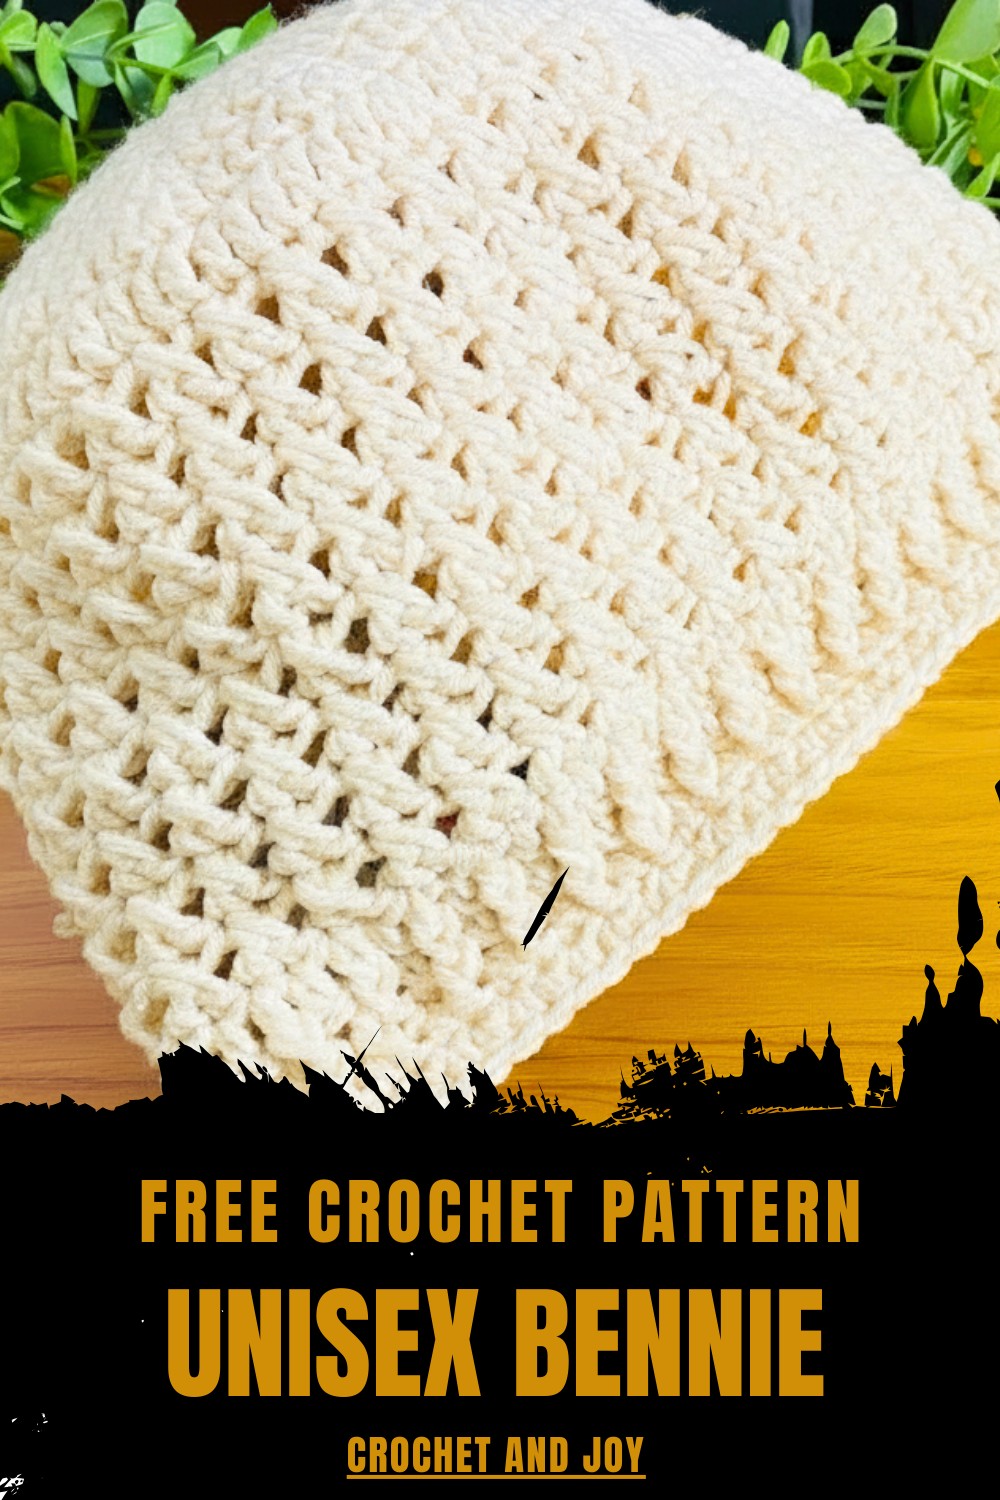
Slip into style with this free crochet unisex beanie pattern that’s comfy, trendy, and perfect for keeping warm while showing off your personality.
A cozy and stylish hat is more than just an accessory, it’s a way to stay comfortable while looking great. This free crochet unisex beanie pattern brings versatility and charm to any wardrobe. To suit anyone, its simple yet modern design makes it a must-have for chilly days. The beanie offers a snug, comfortable fit and features a classic look that never goes out of style.
Free Crochet Unisex Beanie Pattern You’ll Love
Perfect for warmth without bulk, it’s ideal for casual outings, daily wear, or as a thoughtful handmade gift. The pattern is easy to follow, making it beginner-friendly and a great project for crochet lovers at any skill level. With its timeless appeal, this unisex beanie works well in any color, offering endless customization options to match personal style. Whether for practicality or fashion, this beanie combines functionality with simplicity, helping you create something special for yourself or loved ones.
Crochet Easy Beginner-Friendly Cap Pattern
Materials Needed
- Yarn: Medium-weight yarn (recommended: worsted weight, size 4)
- Crochet Hook:
- 4 mm (for the main body of the hat)
- 3.5 mm (for the final few rows for a tighter edge)
- Stitch Markers: For marking the beginning and end of rounds.
- Darning Needle: For weaving in ends and securing loose yarn.
- Scissors: For cutting yarn.
Gauge
- Gauge isn’t strictly critical for this design, but aim for approximately 7 DC = 2 inches. Adjust hook or yarn to achieve similar results.
Finished Size
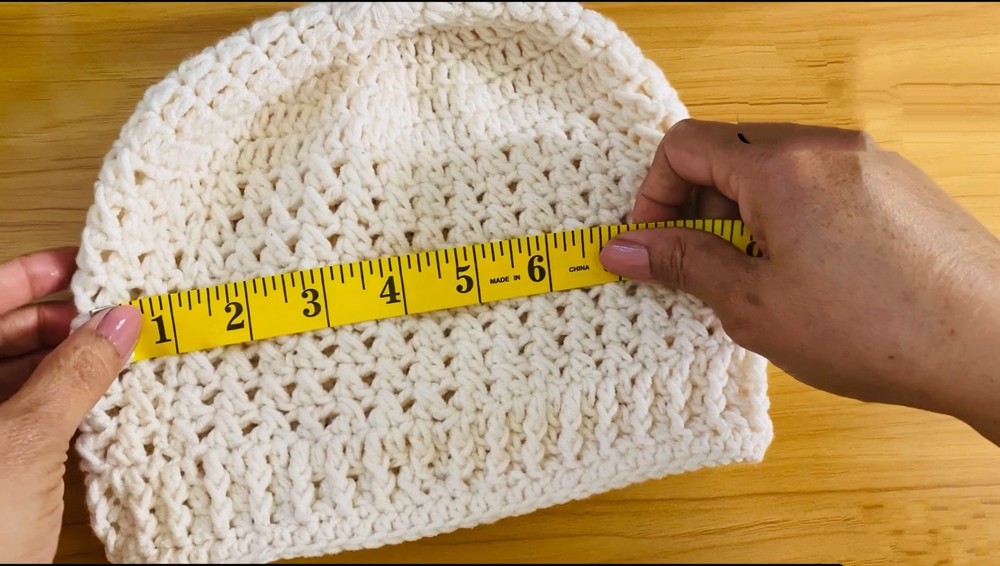
- Width: 9 inches (unstretched, laid flat).
- Length: 8 inches from crown to brim.
- The hat fits medium to large adult head sizes.
Tips for Success
- Adjusting Size: Increase or decrease rounds to customize the circumference and depth of the cap.
- Hook Size: Switch to a smaller hook in the last few rows for a snug brim.
- If the crown isn’t flat after increasing rounds, block the hat lightly to smooth out imperfections.
- Yarn Choice: Choose stretchy yarn for added comfort and fit.
Pattern Instructions
This hat is worked in rounds starting from the crown and continuing through the body.
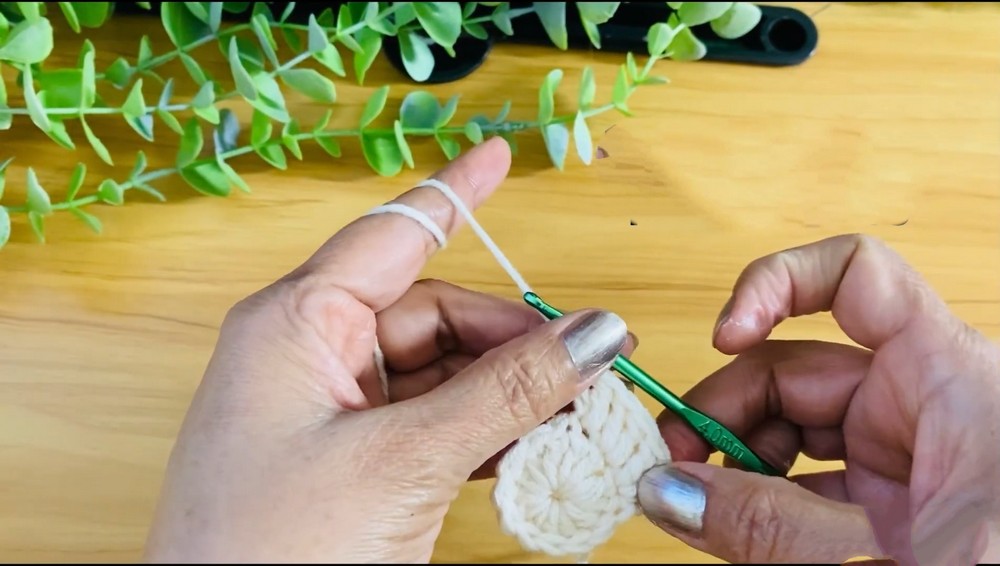
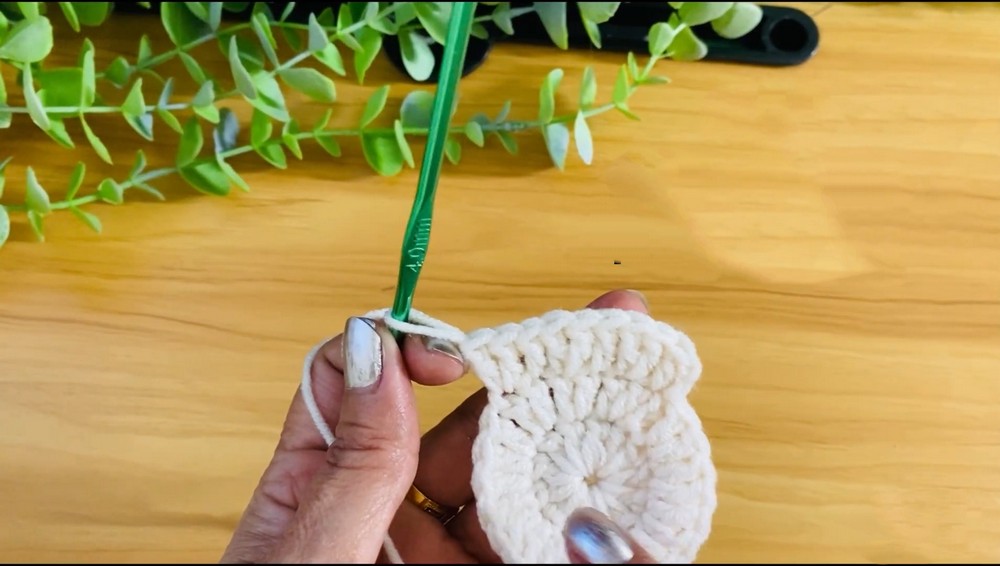
Step 1: Crown
- Round 1:
- Begin with a slip knot.
- Chain (ch) 4 and join with a slip stitch (SL ST) into the first chain to form a ring.
- Chain 2 (does not count as a stitch).
- Work 12 double crochets (DC) into the ring.
- Join with a SL ST to the first DC. [12 stitches]
- Round 2:
- Chain 2 (does not count as a stitch).
- Work 2 DC in each stitch around. [24 stitches]
- Round 3:
- Chain 2.
- (DC in the next stitch, 2 DC in the next stitch) repeat around. [36 stitches]
- Round 4:
- Chain 2.
- (DC in the next 2 stitches, 2 DC in the next stitch) repeat around. [48 stitches]
- Round 5:
- Chain 2.
- (DC in the next 3 stitches, 2 DC in the next stitch) repeat around. [60 stitches]
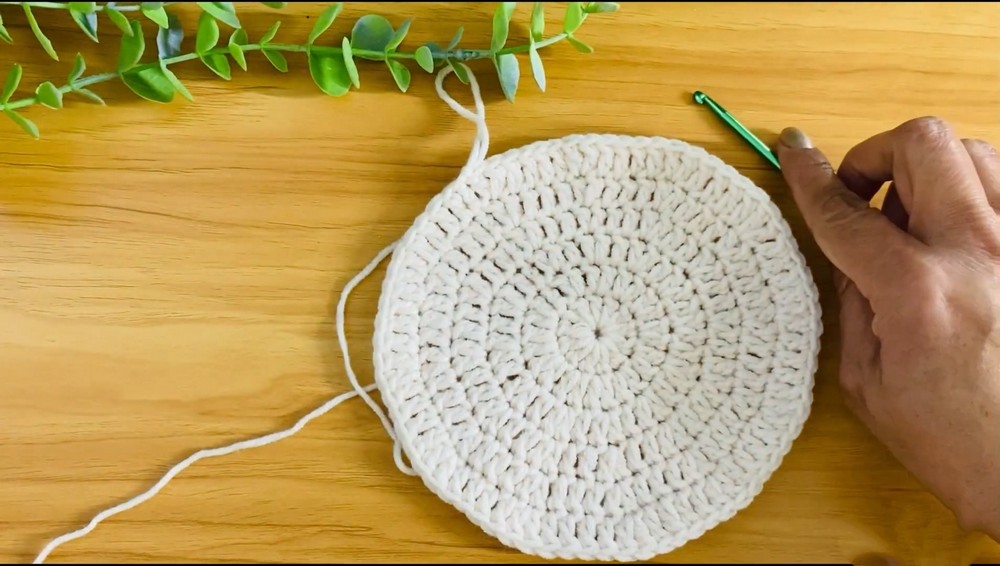
- Round 6:
- Chain 2.
- (DC in the next 4 stitches, 2 DC in the next stitch) repeat around. [72 stitches]
At the end of Round 6, the crown should measure approximately 6-7 inches wide.
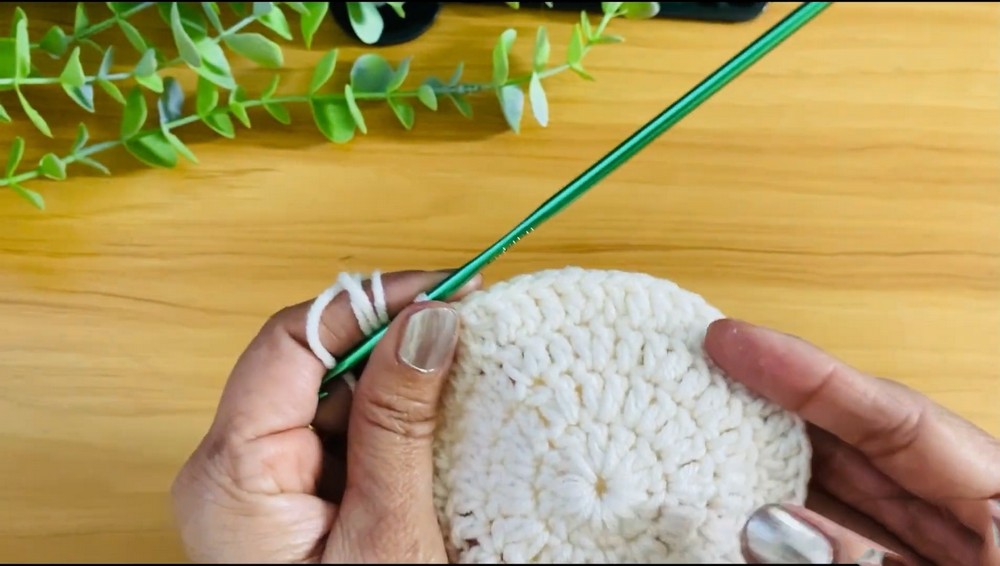
Step 2: Body of the Hat
- Rounds 7-9:
- Chain 2.
- Work 1 DC in every stitch around. Do not increase. Join with a SL ST at the end of each round. The hat maintains 72 stitches.
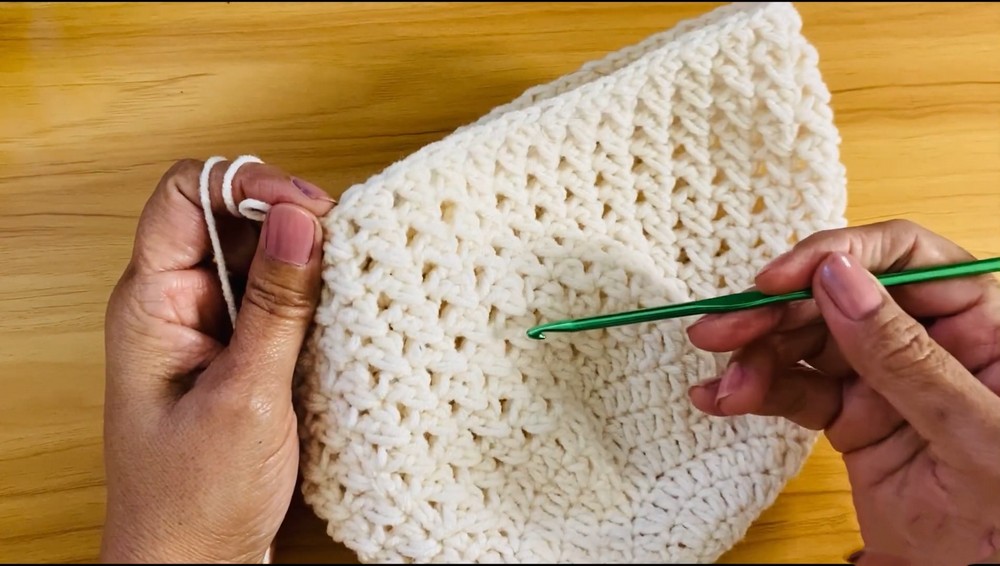
- Rounds 10-12:
- Begin creating the pattern rows. Chain 2.
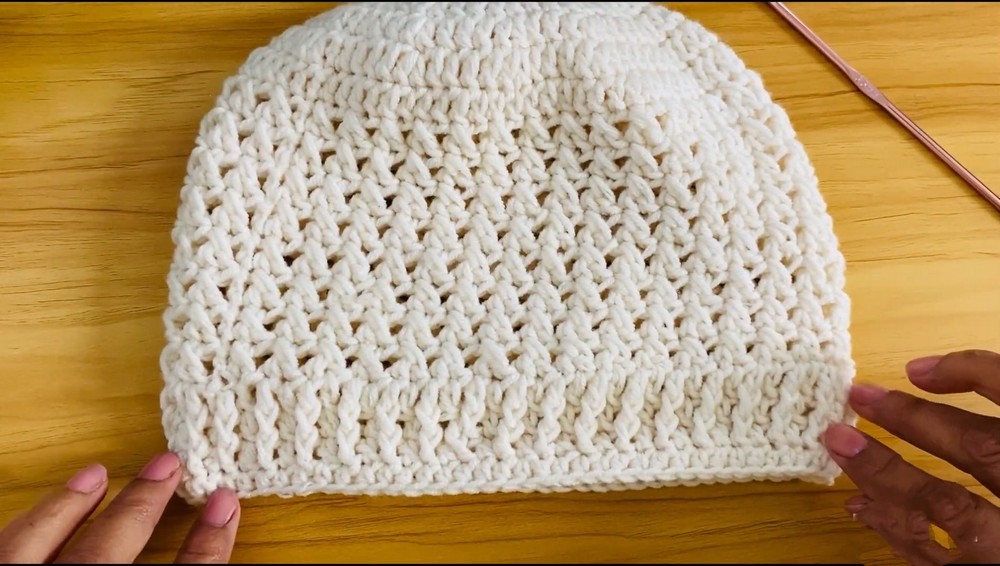
- (Skip 1 stitch, DC in the next stitch, DC in the skipped stitch) repeat across the round. This creates a textured cross-stitch pattern.
Tip: Be consistent with skipping and crossing to maintain the decorative appearance.
- Rounds 13-15:
- Repeat the pattern rows (skip 1, DC in next, DC in skipped stitch) until the desired height is achieved.
Step 3: Brim
- Round 16:
- Switch to a 3.5 mm hook for tighter stitches.
- Chain 2.
- Work 1 DC in each stitch across the round. [72 stitches]
- Rounds 17-18:
- Chain 2. Work Front Post Double Crochet (FPDC) into the next stitch and follow with Double Crochet (DC) into the next stitch.
- (FPDC, DC) repeat across the round to create a ribbed brim.
- Round 19 (Final):
- Chain 1.
- Work Half Double Crochet (HDC) in each stitch. Join with a SL ST. This finishes the brim with a neat edge.
Step 4: Finishing
- Fasten Off: Cut the yarn and pull it through the last stitch.
- Weave in Ends: Use the darning needle to weave in all loose ends securely.
Customization Ideas
- Stripes: Change yarn colors every few rounds for stripes.
- Pom-Pom: Add a pom-pom or tassel to the top for extra flair.
- Folded Brim: Increase the length during pattern rows to create a foldable brim.
- Smaller Sizes: Reduce the number of increasing rounds for child-sized hats.
Special Techniques
- Front Post Double Crochet (FPDC):
- Yarn over, insert the hook around the post of the designated stitch (from front to back), yarn over and pull through, complete as a DC.
- Magic Ring (Optional): You can substitute the chain ring with a magic ring for a neater, tightly closed center.
Conclusion
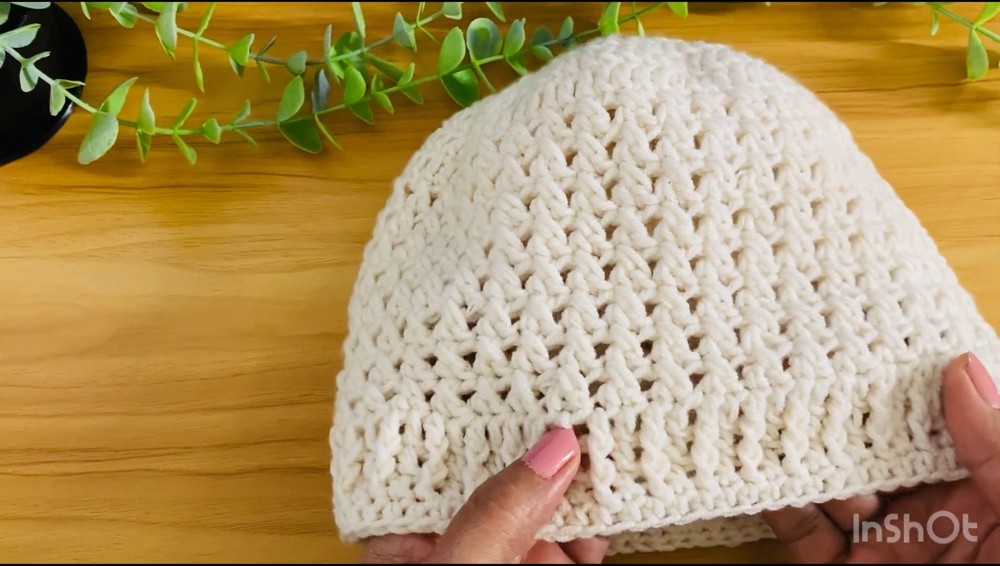
Your crochet beanie is complete! This beginner-friendly design is perfect for gifting or personal wear. The classic style suits all genders and can easily be customized with colors and textures.
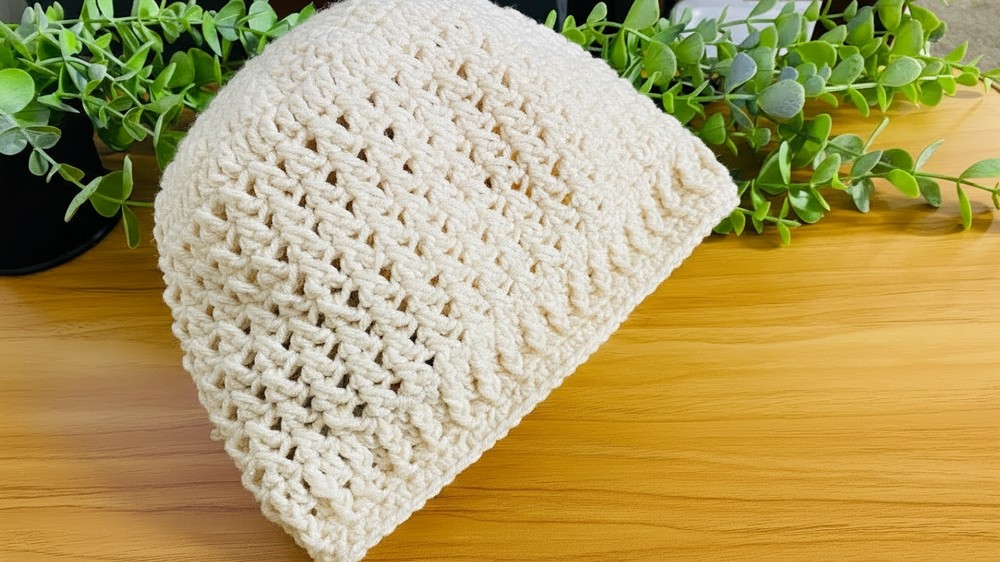
The finished hat has a soft, flexible fit with a defined crown and a neatly ribbed brim. Adjust the pattern easily for larger or smaller sizes or add decorative elements like buttons, appliqués, or embroidery for unique touches.
Important Remarks
- Final Measurement: Ensure the hat measures approximately 9 inches wide and 8 inches deep for an adult head circumference.
- Check Stitch Count: At the end of each round, count your stitches to avoid errors.
- Tension: Maintain even tension throughout to ensure the hat is smooth and consistent.
Leave a Reply