
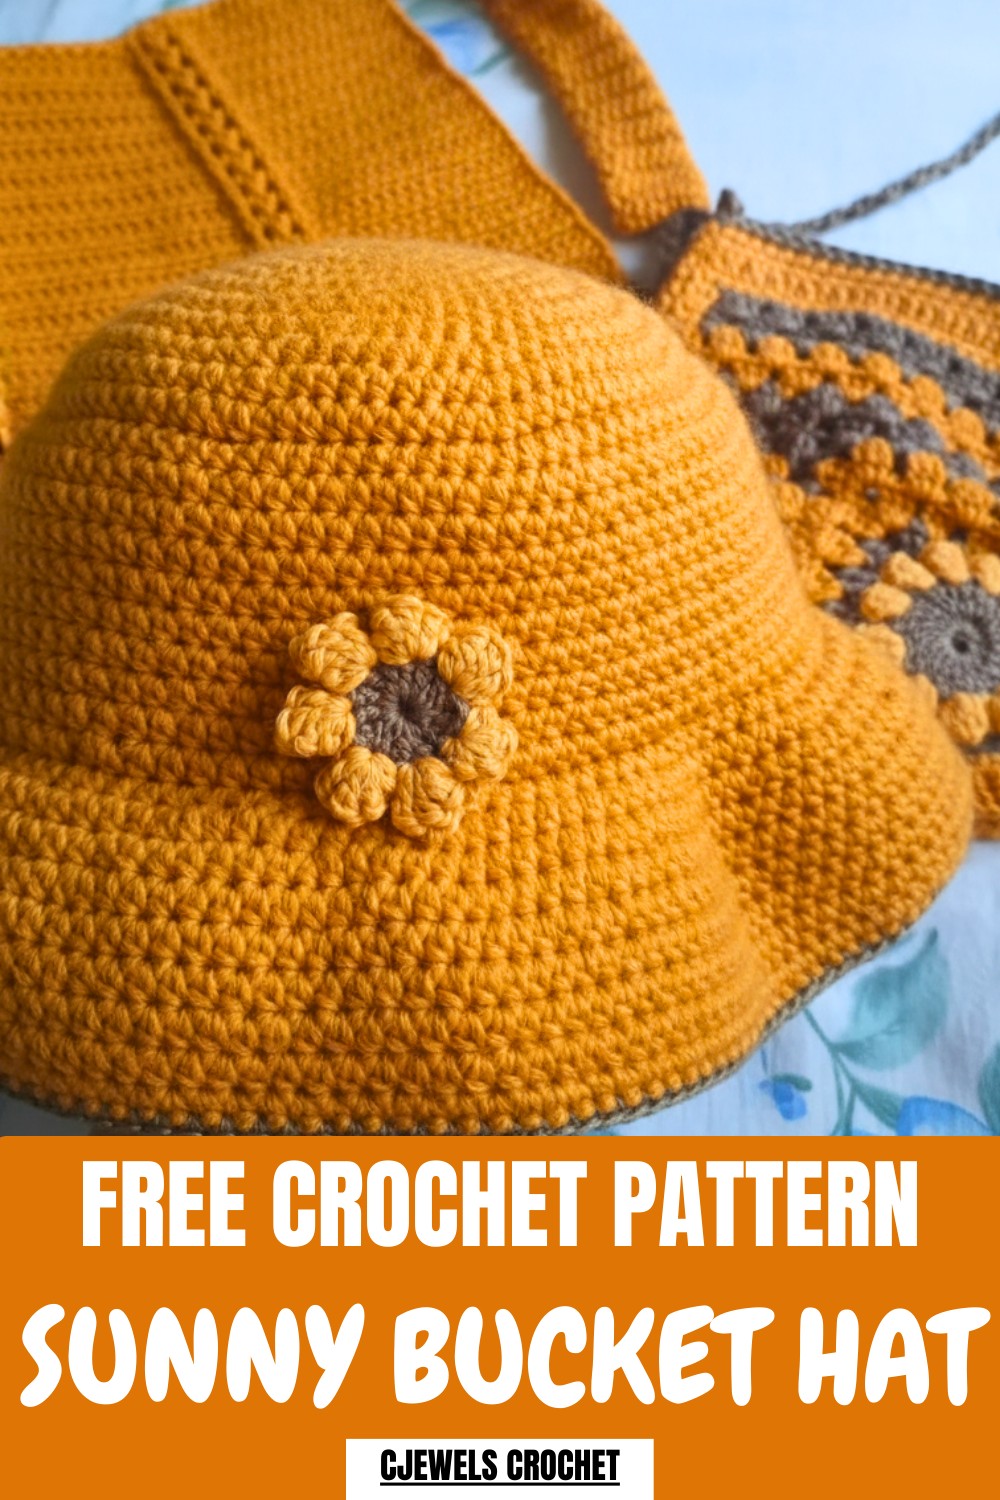
Snag this free crochet Sunny Bucket Hat pattern and whip up a trendy, sun-ready accessory that’s perfect for adding charm and shade to your summer outings.
Stay cool and fashionable with an accessory that’s both practical and adorable! The Sunny Bucket Hat adds a pop of joy to any outfit, thanks to its vibrant design and lightweight feel. Perfect for sunny days, this crochet hat isn’t just about looks—it provides excellent sun protection while keeping you breezy and comfortable. The textured stitches give it a charming, handcrafted vibe, making it a standout addition to your wardrobe.
Free Crochet Bucket Hat Pattern for Summer Adventures
Whether you’re heading to the beach, strolling through the park, or attending a casual picnic, this hat is the ideal companion to shield you from the sun in style. The free crochet Sunny Bucket Hat pattern makes it easy to create your own version of this summertime essential.
Crochet Bucket Hat with Flower Pattern
Finished Size
- Crown diameter (base): Approx. 6.25 inches (16 cm) after 9 foundation rounds.
- Hat height: Approx. 8.5 inches (21.5 cm) including the brim.
- Brim width: Approx. 2.25 inches (6 cm).
Finished fit is suitable for an average adult size head (21-23 inches in circumference). Adjustments are detailed below for other sizes.
Materials Required
- Yarn: Medium weight/size 4 cotton or acrylic yarn in at least two colors:
- Main Hat Color (Color A): ~100g
- Flower Petal Color (Color B): Small amount
- Flower Center Color (Color C): Very small amount
- Crochet Hook: 5mm (U.S. size H) or the size recommended for your yarn.
- Scissors
- Stitch Markers: Essential for marking the start of each round.
- Measuring Tape: To measure the diameter and height of your hat.
- Tapestry Needle: For weaving in ends and attaching the flower.
Gauge
- 10 half double crochets x 7 rows = 4 inches (10 cm).
- Measure your hat regularly to ensure the correct fit; adjust hook size or tension if needed.
Special Techniques Used
- Increase (Inc): Work two half double crochet (HDC) stitches into the same stitch.
- Front Post Stitches: For sections where you need to work into the front loop only, insert your hook into the front loop instead of both loops.
- Magic Ring: Used to create a tight starting circle for the optional decorative flower.
- Cluster for Petals: Three treble crochet (TrC) cluster, fastened together at the top to form a petal.
Pattern Instructions
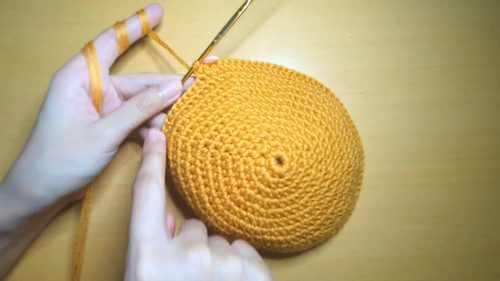
Base (Crown) of the Hat
- Create a Slip Knot: Start with a slip knot, leaving a 4-6 inch yarn tail.
- Foundation Chain: Chain 5 and join with a slip stitch (sl st) into the first chain to form a ring.
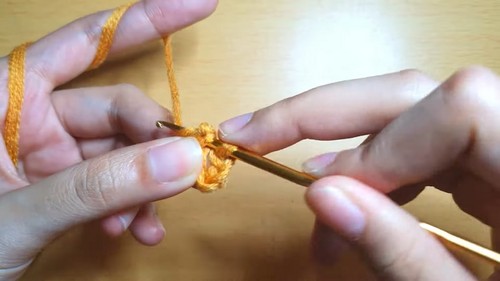
Round 1:
- Chain 1 (ch 1) (does not count as a stitch).
- Work 9 half double crochet (HDC) into the circle.
- Join the last stitch to the first HDC using a slip stitch.
Stitch Count: 9 HDC.
Round 2:
- Chain 1.
- Work 2 HDC into each stitch around (an increase in every stitch).
- Mark the first stitch with a stitch marker for clarity.
Stitch Count: 18 HDC.
Round 3:
- Chain 1.
- Pattern: 1 HDC in the first stitch, 2 HDC in the next stitch (increase). Repeat this pattern around.
Stitch Count: 27 HDC.
Round 4:
- Chain 1.
- Pattern: 1 HDC in each of the next 2 stitches, 2 HDC in the third stitch (increase). Repeat this sequence around.
Stitch Count: 36 HDC.
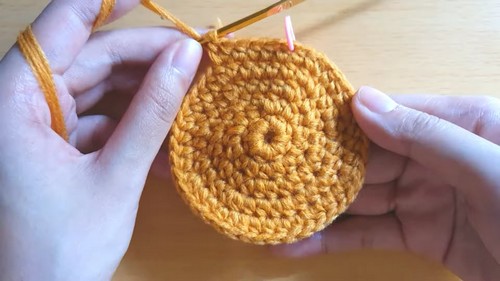
Continue Increasing:
- For each subsequent round, increase the number of single HDC stitches between increases by 1:
- Round 5: 1 HDC in next 3 stitches, Inc → 45 HDC.
- Round 6: 1 HDC in next 4, Inc → 54 HDC.
- Continue this pattern until the diameter of the base reaches 6.25 inches (16 cm) or fits your desired size. For size small, this is usually 9 rounds.
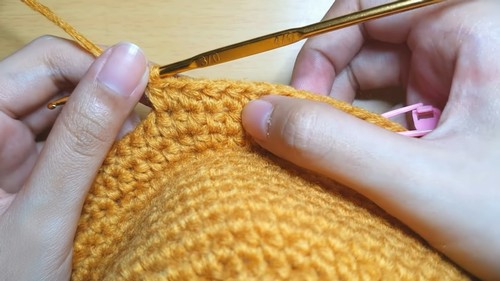
Body of the Hat
- Transition Round (Front Loop Only):
- Work 1 HDC into the front loop of each stitch around. Mark the first stitch. No increases.
Stitch Count: Same as the last round from the base.
- Work 1 HDC into the front loop of each stitch around. Mark the first stitch. No increases.
- Remaining Rounds:
- From this point, work in both loops of every stitch.
- Place 1 HDC in each stitch around.
- Mark the first stitch of each round to ensure seamless transitions.
- Continue until the total height (from the crown to the base of the body) measures 10 rounds or approximately 5.5 inches (14 cm).
Rim (Brim) of the Hat
- Round 1:
- Work 1 HDC into the front loop only of each stitch around.
- Use the increase pattern: 1 HDC in the next 6 stitches, 2 HDC in the 7th stitch (increase).
- Repeat around.
Stitch Count: Increases worked evenly.
- Round 2:
- Work in both loops from this point forward.
- Increase after 8 stitches: 8 HDC, Inc.
Stitch Count: Increase evenly.
- Continue Brim Expansion:
- Add 2 more stitches between each increase for subsequent rows (e.g., 10 HDC, Inc).
- Repeat until the brim reaches 2-3 inches (desired width).
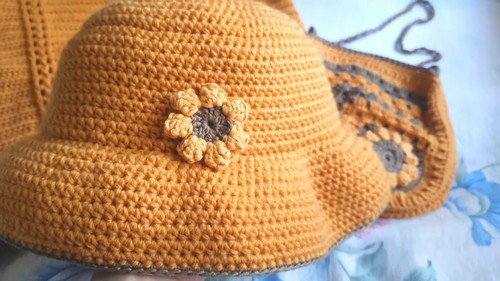
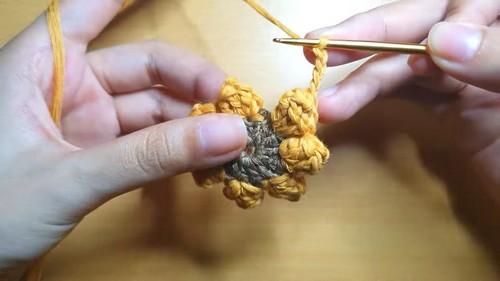
Optional Decorative Flower
- Make a Magic Ring.
- Chain 2, work 14 DC into the ring, and join with a sl st to the first DC.
- With a new color, chain 3 and create clusters of 3 treble crochet into every other DC to form petals.
- Work around and finish off. Sew the flower onto the bucket hat with a tapestry needle.
Customization Ideas
- Size Adjustments:
- Increase or decrease the crown diameter to adjust the hat size. Generally, the diameter = head circumference ÷ 3.14.
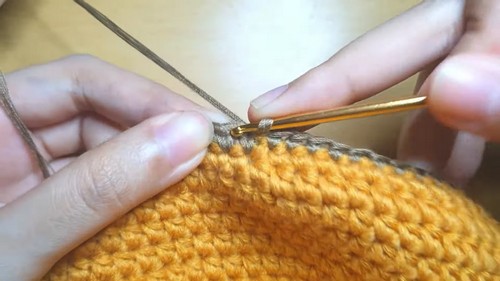
- Color Variations:
- Use multiple colors for stripes, alternating the body, brim, or flower.
- Textured Look:
- Alternate rows of HDC with rows of single crochet for added texture.
Finishing
- Weave in all loose ends using a tapestry needle.
- Steam block or wet block the hat to achieve the perfect shape.
Tips for Maintaining Pattern Consistency
- Use a stitch marker to keep track of the start of each round.
- Measure your work frequently to ensure the sizing matches your expectations.
- Avoid pulling stitches too tightly, especially for the cable or decorative sections.
Conclusion and Final Thoughts
Congratulations! You’ve completed this stylish crochet bucket hat with a floral embellishment. Its versatility makes it perfect for sunny days or as a trendy accessory. Experiment with yarn colors and flower placements to create personalized gifts or accessories.
Leave a Reply