
Enjoy the charm of the Free Crochet Heart Granny Pouch Pattern, perfect for gifts, keepsakes, or carrying daily essentials with style and warmth.
A small pouch can hold big charm when it’s handmade with love! This Free Crochet Heart Granny Pouch pattern is a delightful way to add sweetness to your accessory collection. Featuring a unique heart-shaped granny square design, it stands out with its playful and warm appearance, perfect for any season. The soft texture of crocheted yarn combined with the intricate heart design makes it not only beautiful but also practical for carrying coins, small trinkets, or make-up essentials.
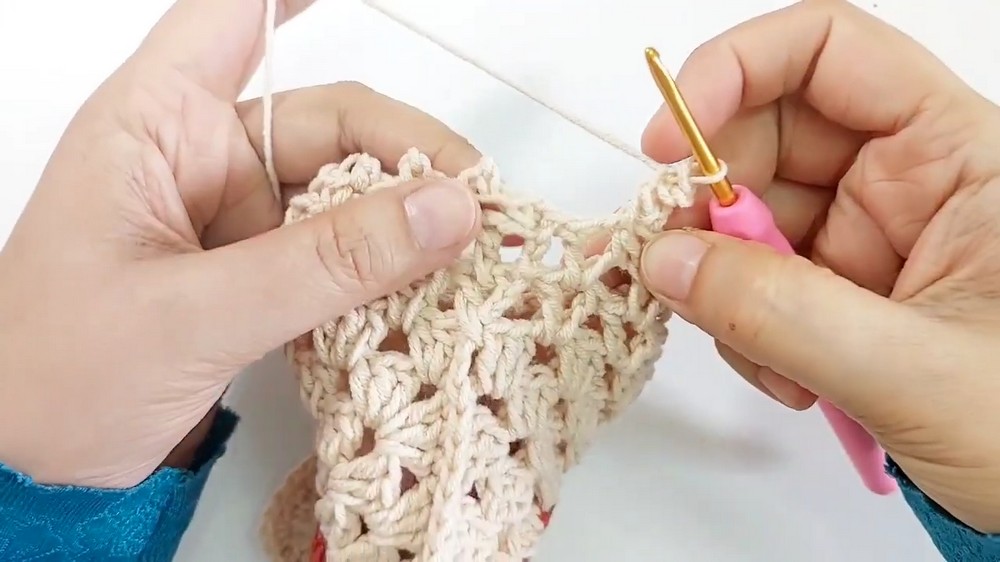
Free Crochet Heart Granny Pouch Pattern for Small Essentials
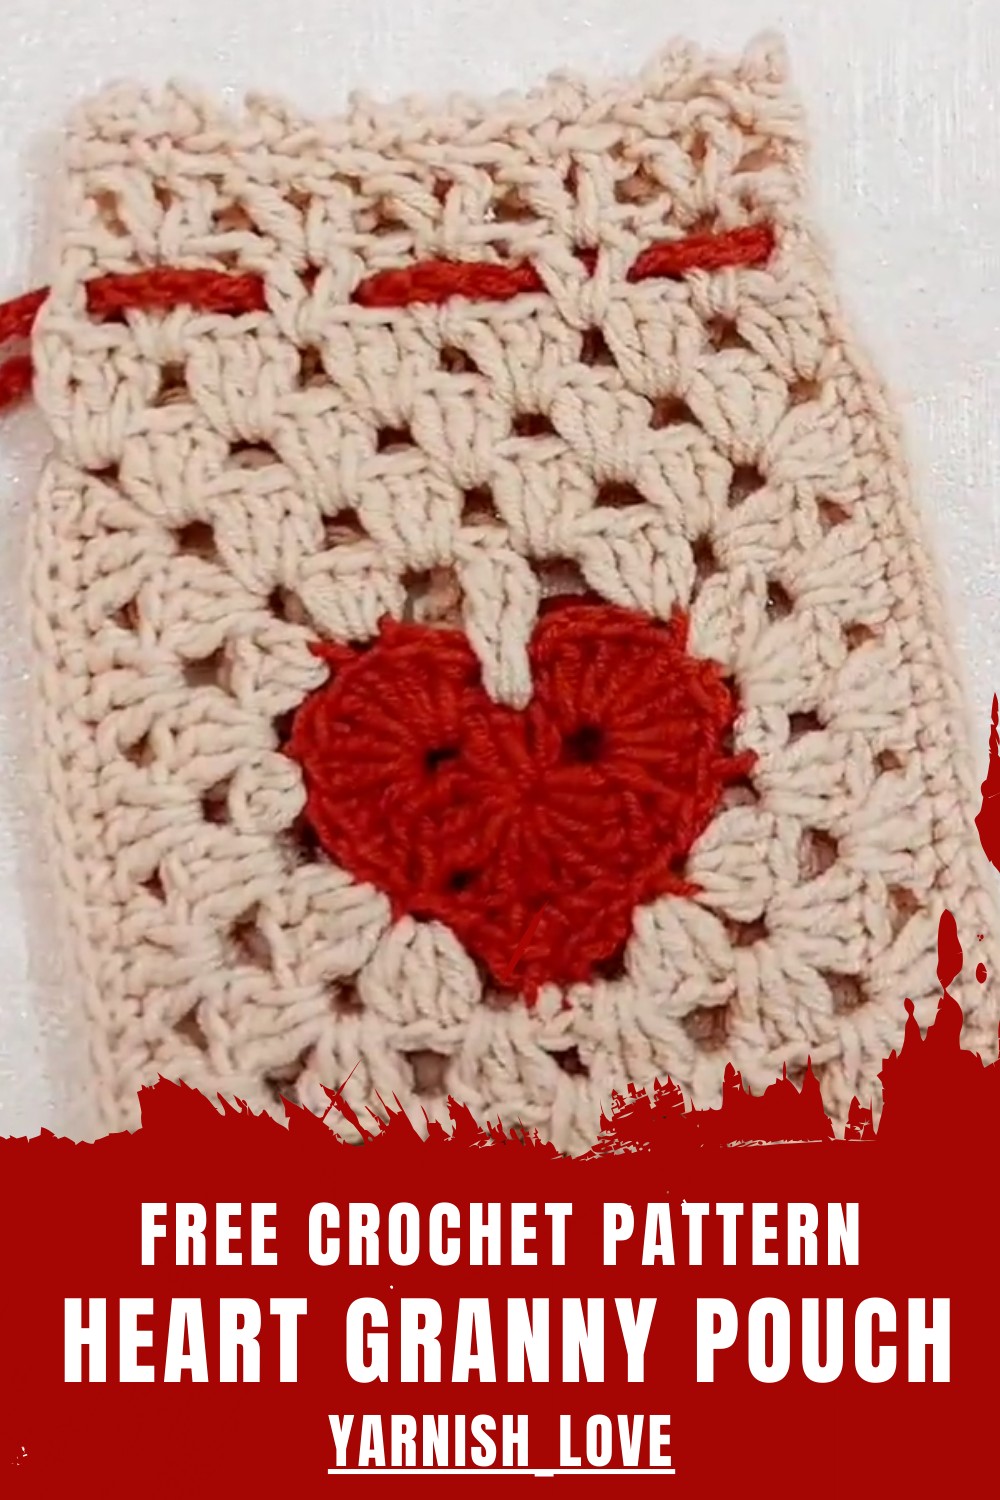
The pouch offers a compact yet stylish way to keep your everyday necessities safe, while showcasing your creativity and love for handmade items. Its snug size fits easily into any bag, or can be used as a standalone mini clutch for a casual outing. Whether it’s for personal use or gifting, this heart granny pouch is sure to brighten someone’s day with its thoughtful and charming design.

Valentine Heart Granny Square Pouch – Step-by-Step Pattern
Skill Level
- Intermediate: Familiarity with foundational crochet stitches (sl st, sc, hdc, dc), joining squares, and creating V-stitch patterns is required.
Materials
- Yarn:
- Alize Cotton Gold or similar DK-weight yarn. Use two or three colors for added contrast (e.g., red for hearts, pink for edging, and white for the top of the pouch).
- Hook Size:
- 3 mm crochet hook.
- Other Essentials:
- Scissors.
- Tapestry needle for seaming and weaving in ends.
Gauge
- Gauge: 14 dc x 8 rows = 4 inches (10 cm)
Adjust hook size if the gauge deviates significantly, especially for larger or tighter tension.
Finished Size
- Width: 6 inches (15 cm).
- Height: 6 inches (15 cm), excluding the strap.
Special Techniques
- Joining Granny Squares with Single Crochet (sc):
- Insert the hook through stitches or spaces of both pieces and secure them using sc for a neat seam.
- V-Stitch:
- A decorative pattern made by working (1 dc, ch 1, 1 dc) into the same space.
- Picot Edging:
- A decorative bump created with chain 3, sl st into the first chain.
Tips for Success
- Work evenly and carefully when joining the squares to ensure clean alignment.
- Block your granny squares before beginning to give them a polished finish.
- Use a contrasting color for the strap or edging to enhance the Valentine’s theme further.
Pattern Instructions
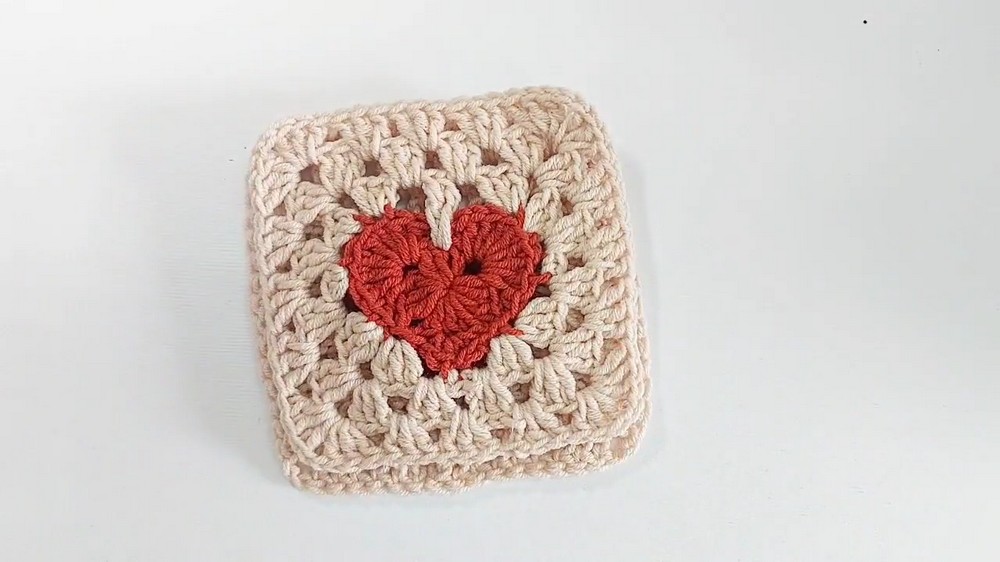
Part 1: Preparing the Granny Squares
- If you haven’t already, crochet two heart granny squares.
- The tutorial for the heart granny square is available as a separate guide.
- Use the same size hook and yarn to ensure they match perfectly.
- Once both squares are complete, do not fasten off the second square, as you will move directly to the joining process.
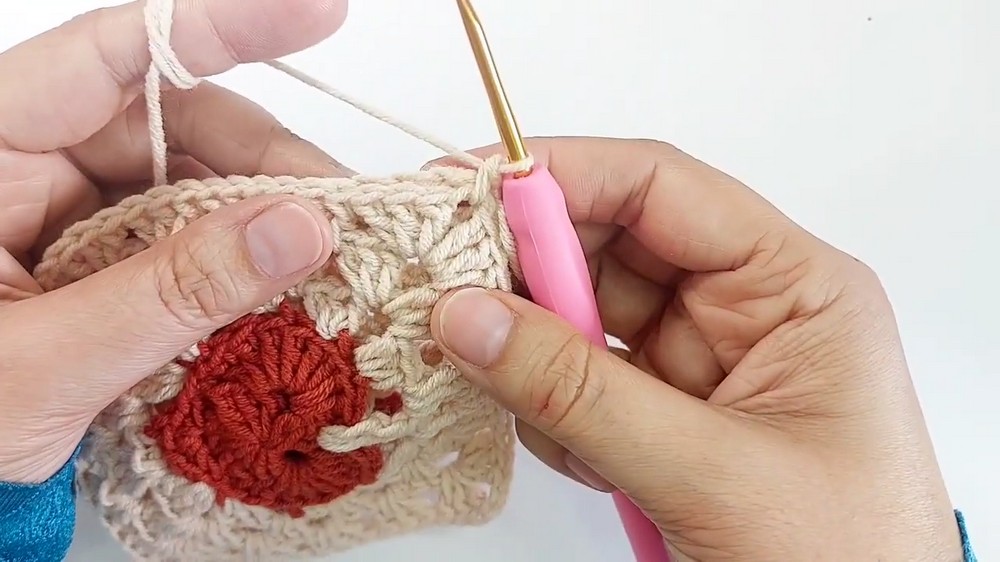
Part 2: Joining the Granny Squares
- Position the Squares:
- Place the squares back sides together, ensuring the front sides face outward.
- Create and Anchor the Seam:
- Start by making a slip knot.
- Insert your hook into the corner chain space of both squares.
- Join the Edges with Single Crochet (sc):
- Yarn over and pull through both layers to make a single crochet.
- Continue working 1 sc into each stitch along the edges of both squares, keeping the stitches aligned.
- At each corner space, make 3 sc to ensure clean turning of the corner.
- Join Three Sides Only:
- Continue joining two edges with sc and leave the top side open to form the pouch opening.
- Fasten Off Seam:
- Once three sides are joined, fasten off the yarn and weave in the ends.
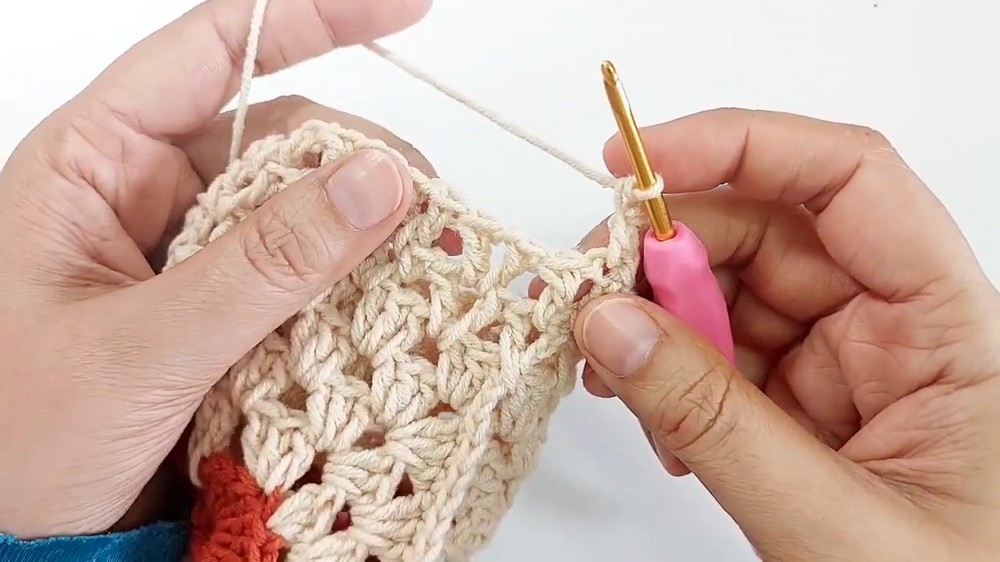
Part 3: Creating the Top of the Pouch
Now we will switch to working in rounds to create the pouch’s top (the part above the granny square seam).
Round 1 – Double Crochet in Each Space
- Attach your yarn to any corner of the open top.
- Ch 3 (counts as a dc), and work 2 dc into the same corner.
- Skip over individual stitches and work directly into the spaces between the clusters:
- Into each space, make 3 dc.
- Once you have worked all the spaces around the top, join with a slip stitch to the top of the starting chain-3.
Round 2 – V-Stitches
- Ch 4 (counts as dc + ch 1).
- In the next space, work 1 dc, ch 1, 1 dc (creates a V-stitch).
- Repeat this V-stitch pattern into every space around (this adds a decorative, open lace detail).
- At the end of the round, join with a slip stitch into the third chain of the starting ch-4.
Round 3 – More V-Stitches
- Similar to Round 2:
- Ch 4 (counts as 1 dc + ch 1),
- Work 1 dc, ch 1, 1 dc into the ch-1 space of each V-stitch in the previous round.
- Continue the pattern all the way around, and join with a slip stitch.
Round 4 – Picot Edging
- Ch 1, and sc into the first stitch.
- Skip the next stitch and create a picot:
- Ch 3, sl st into the first chain.
- Skip the next stitch and make 1 sc into the next st.
- Repeat the [ch 3, sl st into first chain, skip 1, sc] pattern all around.
- To finish, join with a sl st into the first single crochet.
- Fasten off and weave in all loose ends.
Part 4: Adding the Strap
- Make the Strap Base:
- Attach yarn to one corner of the pouch opening.
- Begin chaining: Ch 70 (or desired strap length).
- Secure the Strap:
- Once the chaining is complete, join the other side of the chain to the opposite corner of the pouch with a sl st.
- Optional Reinforcement:
- Work sl st or sc back along the chain for added strength.
- Fasten off and weave in any remaining yarn.
Finishing the Project
- Block the pouch lightly to even the shape and smooth out any uneven stitches.
- Add optional embellishments such as buttons, tassels, or beads to enhance the Valentine theme.
- Use the pouch for small items or as a gift bag for Valentine surprises.
Customization Ideas
- Multiple Colors:
- Use a different color for each round of the granny square or edging for a more vibrant look.
- Larger Pouch:
- Crochet larger granny squares or add extra rounds for a bigger pouch.
- Creative Touch:
- Add handmade tags or stitch “Love” with embroidery thread for a personal touch.
Conclusion
Congratulations! Your Valentine Heart Pouch is complete. This charming accessory combines functionality with a heartfelt theme, making it perfect for Valentine’s Day or any special occasion. Its customizable nature allows for unlimited creativity, whether in colors, strap length, or decorative finishes. Enjoy using it or giving it as a thoughtful gift!
Important Remarks
- If the pouch looks too tight, use a larger hook or add extra stitches/spaces as needed.
- This project showcases a perfect balance of decorative artistry and practicality, ensuring you’ll cherish your creation.
Leave a Reply