
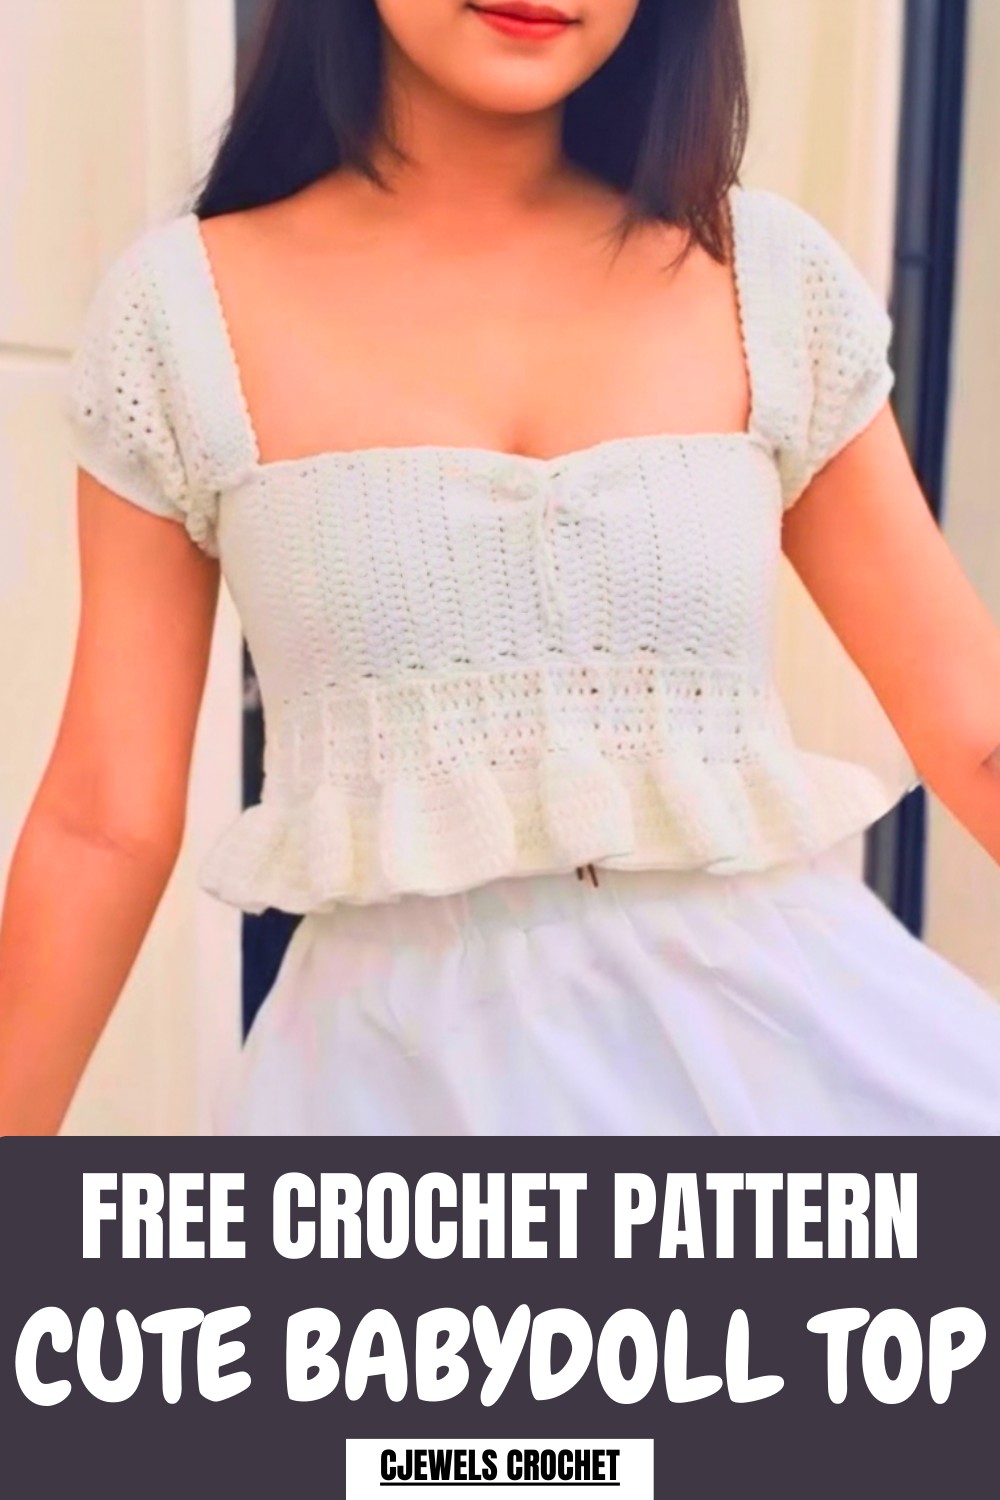
Dress up in comfort with this free crochet baby doll top pattern, that offers a light airy feel adds soft charm and suits casual days.
A light and playful shape forms with a gentle flow that feels easy and pleasing to wear. The Crochet Baby doll Top pattern helps shape a relaxed top that sits softly and gives a cute and graceful look. Its loose style feels comfortable on the body and gives a free and easy feel throughout the day. The guide is clear and easy to understand so anyone can complete it without confusion.
Free Pattern, Cute Baby Doll Top for Casual Outfits
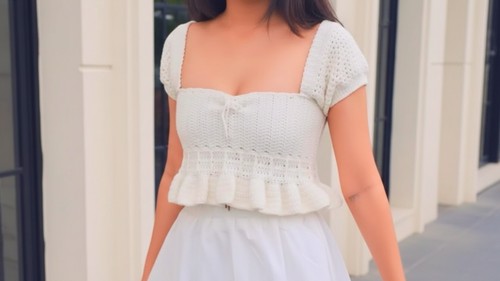
The finished top looks neat and full of charm, making it stand out in a simple way. It gives a soft and pleasant feel while also showing a touch of personal style. This piece brings comfort and beauty together, turning simple material into something lovely that adds a calm and pretty touch to everyday clothing.
Adeline Baby Doll Top Free Crochet Pattern
Materials List
- Yarn: 4-ply Milk Cotton Yarn (Switch between shades as desired)
- Hook: 4 mm crochet hook (adjust if needed for gauge/yarn choice)
- Stitch Markers: 8 recommended (for straps and sleeve placement)
- Scissors: For cutting yarn
- Darning/Tapestry Needle: For finishing and weaving in ends
Key Abbreviations
- ch – chain
- sc – single crochet
- dc – double crochet
- hdc – half double crochet
- sl st – slip stitch
- fpdc – front post double crochet
- bpdc – back post double crochet
- inc – increase (2 stitches in one)
- inv dec – invisible decrease
Note: Pattern uses US crochet terminology.
Special Notes
- The top is constructed in four sections: Chest, Ruffles, Straps, and Sleeves.
- Sleeves are optional; you may omit them for a sleeveless top.
- Adjust chain counts and strap lengths as needed for size variation.
Pattern Instructions
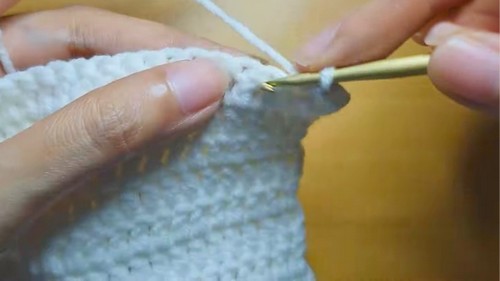
1. Chest Section
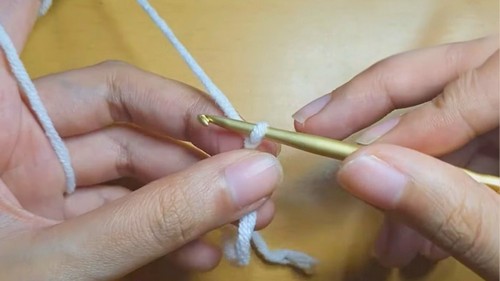
Foundation and Body
- With 4-ply milk cotton yarn, make a slip knot.
- Ch 21.
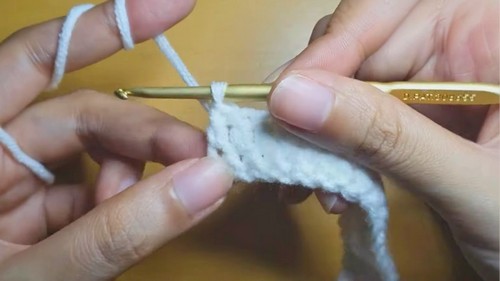
- Row 1:
- Sc in the second ch from hook, sc in each ch across.
- Total: 20 sc.
- Row 2:
- Ch 2, turn.
- Dc in the first stitch, dc in each stitch across.
- Total: 20 dc.
- Rows 3–63:
- Repeat: Ch 2, turn, dc in first stitch and each stitch across.
- Work until you have 63 rows (ending with dc rows).
- Row 64 (Edging):
- Ch 1, turn.
- Sc in each row across, working 2 sc in the side of each dc row.
- Go all the way around.
2. Ruffled Part
Joining and Shaping Ruffles
- Change to a new color yarn if desired.
- Join yarn at the ends (connect both sides).
Ruffle Rows
- Round 1:
- Ch 1.
- Work in FRONT LOOP only:
- [1 sc in first loop, 2 sc in next loop (inc)] repeat around.
- End round with sl st in first sc.
- Round 2:
- Ch 2.
- [1 dc in each of next 2 sts, 2 dc in next st (inc)] repeat around.
- End round with sl st.
- Round 3:
- Ch 2.
- [1 dc in each of next 3 sts, 2 dc in next st (inc)] repeat around.
- End round with sl st.
- Rounds 4–6:
- Ch 2.
- Dc in each stitch around, no increases. Join with sl st.
- Add more rounds for longer ruffles if desired.
3. Back Edging and Lace
Edges
- Attach yarn to back edge.
- Work 2 sc per row of dc across the back edge.
- At the corner, sc in each stitch, ch 1, turn, continue with 2 sc per row of dc.
- Repeat for both sides.
Lace Attachment
- Row 1:
- Sl st in first stitch.
- Ch 3, skip 3 sts, sc in 4th and 5th sts.
- [Ch 3, skip 3, sc in 4th and 5th] repeat across.
- Row 2:
- Ch 4, skip 3, sc in 4th and 5th sts.
- Repeat as above.
- End:
- Ch 5, sc in last stitch, ch 1. Cut yarn.
- Repeat for second edge.
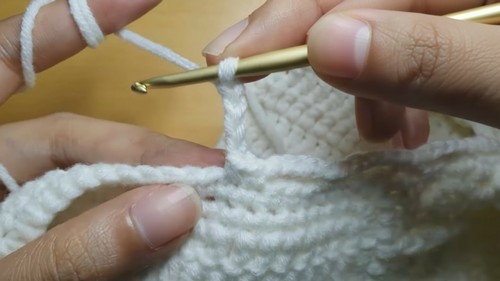
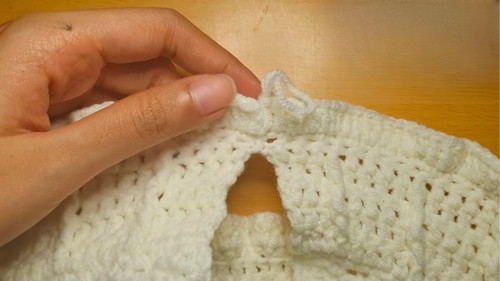
4. Straps
- Place 8 stitch markers for strap positions:
- On front, place at 16th, 19th, 40th, and 43rd stitches. Repeat on the back.
- Attach yarn at first marker.
- Ch 1, sc in same st, sc in next 3 sts (total 4 sc).
- Ch 1, turn, sc across. Repeat until you have 73 rows for the strap.
- On final row, leave last sc with 2 loops, attach strap to back with sc. Do not cut yarn yet.
5. Sleeves (Optional)
- Ch 1, turn, hdc in each row of sc on strap edge.
- Continue hdc in each stitch around armhole. Join with sl st.
Mesh Sleeve Rounds
- Rounds 1–10:
- Ch 1, hdc in same stitch, ch 1, skip 1, hdc in next stitch.
- Repeat pattern around, join with sl st.
- Round 11:
- Ch 1, hdc in each ch1-space and hdc stitch around.
Decrease Rounds
- Round 12:
- Ch 1, sc in first st, inv dec (sc in 2 front loops together).
- [sc, inv dec] repeat around. Join with sl st.
- Round 13:
- Ch 1, sc in next 3 sts, inv dec. Repeat around, join.
- Rounds 14–16:
- Ch 1, sc in each st around; finish with sl st.
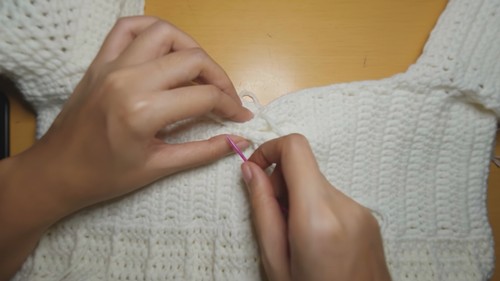
Finishing
- Sl st in first stitch and next two stitches, ch 1, cut yarn.
6. Final Details
- Use darning needle and a short strand of yarn to add decorative details or finish the edge if desired.
Conclusion
Congratulations! You have completed the Adeline baby doll top – a simple, classy outfit that can be customized in color and length. The top can be made sleeveless or with sleeves. Adjust strap placement and length for best fit.
Pattern Correction
- Ensure consistent stitch count for symmetry.
- Adjust width, strap length, or ruffle length as needed for size preferences.
- If armholes are too tight or loose, add or decrease stitches in sleeve rounds accordingly.
Tips
- Use stitch markers to help position straps and sleeves evenly.
- Weave in yarn tails securely to maintain durability.
- Try the top on as you work the straps to ensure perfect fit.
- For a longer top or more dramatic ruffles, simply add more rounds before finishing.
Leave a Reply