
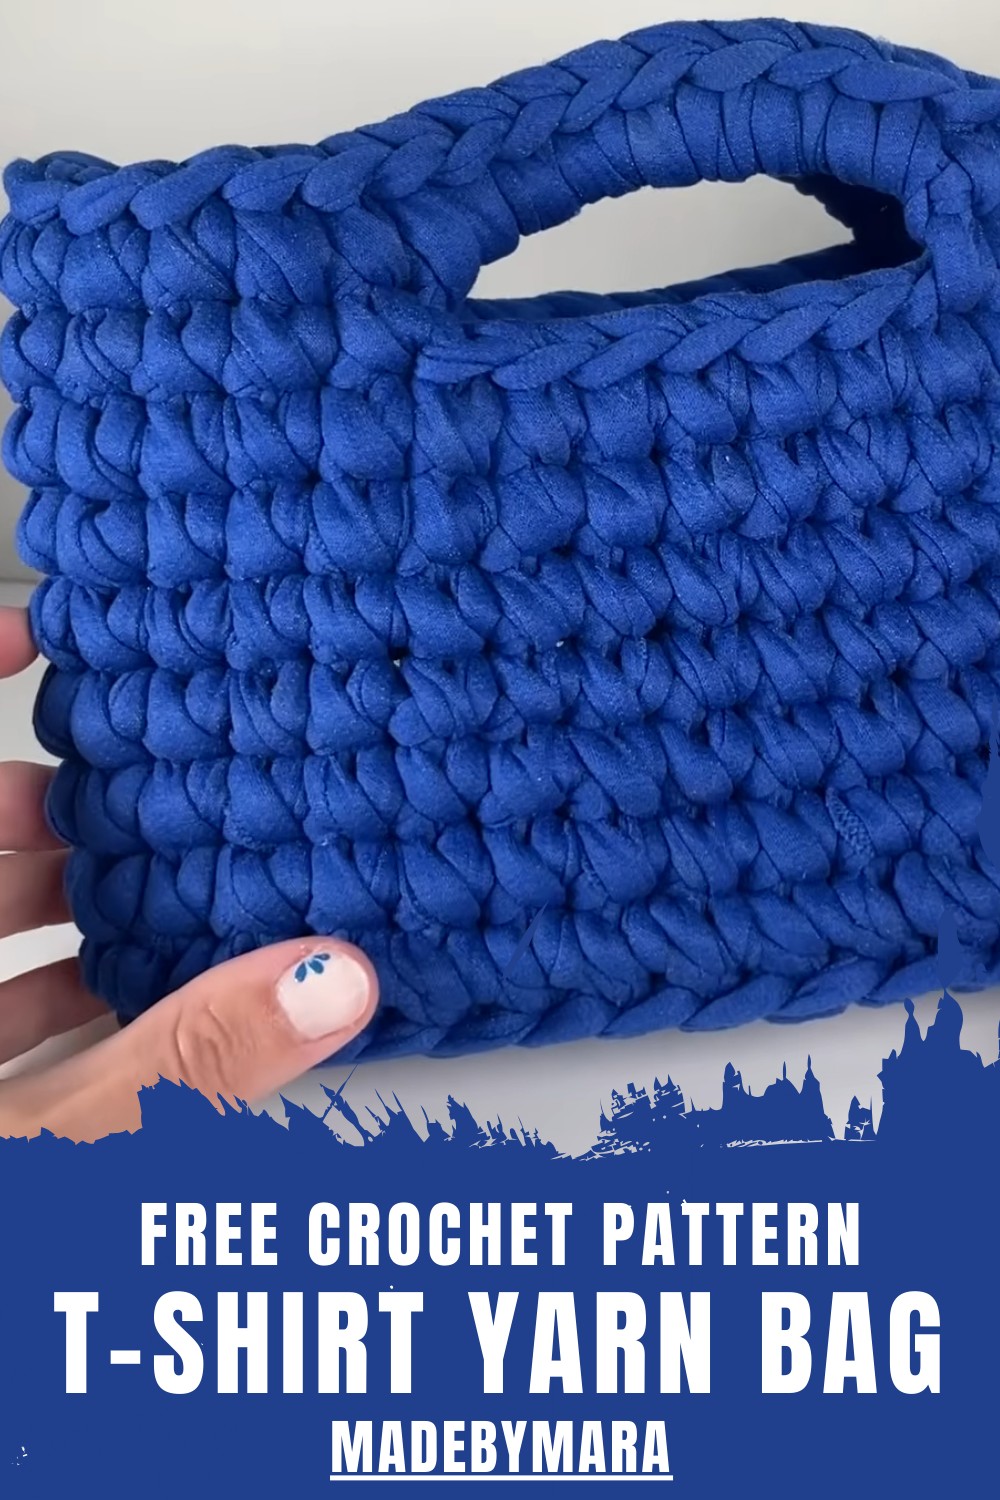
Carry essentials in style with this free crochet T shirt yarn bag pattern that offers strong hold supports and keeps items neatly organized.
A strong and stylish bag begins to take form with thick strands giving it a bold and useful shape. The Crochet T-shirt Yarn Bag pattern helps shape a durable bag that feels sturdy and comfortable to hold every day. Its firm texture and wide space make it perfect for shopping, carrying books, or keeping daily items in one place. The simple yet attractive look fits well with any outfit and adds a neat personal touch.
Trendy T shirt Yarn Bag – Free Crochet Pattern
The handles feel secure and easy to grip, making it practical for regular use. The instructions are clear and simple so anyone can complete it without difficulty. The finished bag stands out with its strength and charm, giving a sense of pride. It offers usefulness, style, and creativity, turning simple material into a reliable bag that supports daily needs with ease and adds a pleasant touch to everyday life.
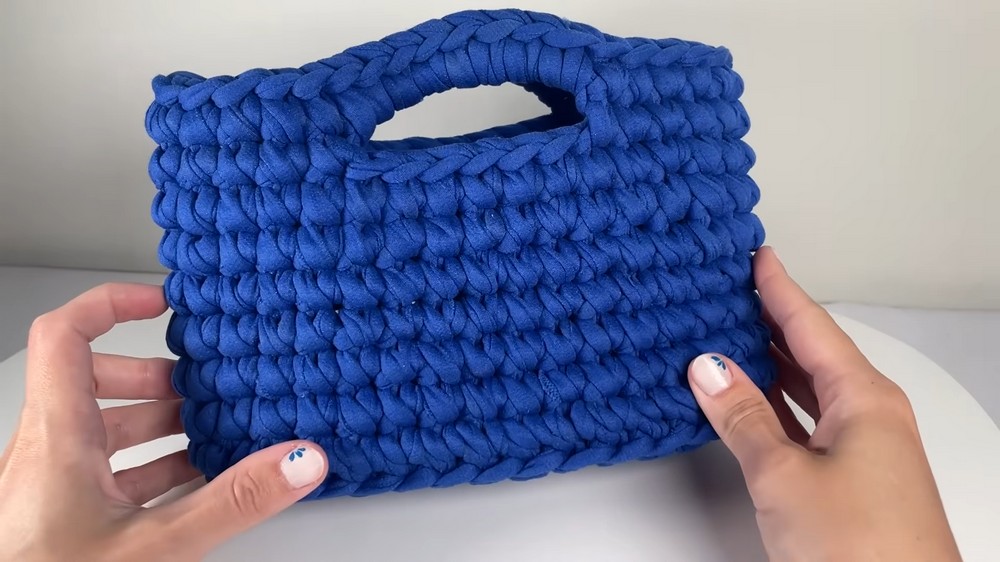
Easy Crochet T-shirt Yarn Bag Pattern
Materials List
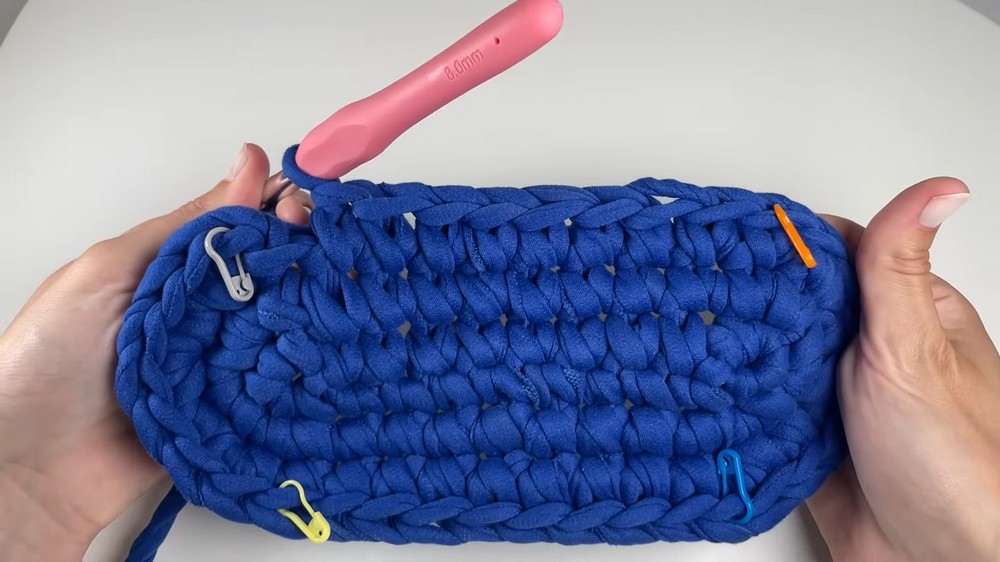
- Yarn: T-shirt yarn (sample uses approx. 3cm wide; use your preferred thickness)
- Hook: 8 mm crochet hook (larger or smaller for different sizes)
- Scissors
- Yarn needle: For seaming and weaving in ends
- Stitch markers: 2–4 recommended (for marking increases/handle placement)
Key Abbreviations
- ch – chain
- sc – single crochet
- st(s) – stitch(es)
- sl st – slip stitch
- BL – back loop
- inc – increase (2 sc in one stitch)
Pattern uses US crochet terminology.
Special Notes
- The size of your finished purse will depend on the width of your yarn, hook size, and tension.
- Stitch markers are important for tracking corner increases and handle placement.
- Work initial rows in joined rounds, then switch to continuous rounds for a seamless body.
Pattern Instructions
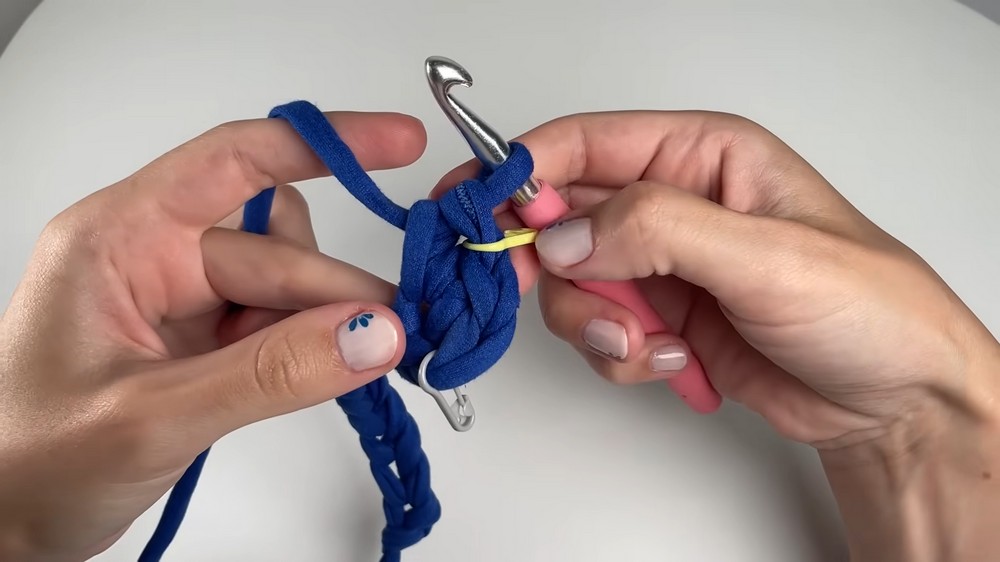
1. Base Chain
- Make a slip knot.
- Ch 11 (or any number for desired purse length).
- Ensure your foundation chain is not too tight; use a relaxed hand.
2. Oval Foundation Round
- Turn your chain, work into the back bumps:
- Skip the first ch from the hook. In the 2nd ch, work 3 sc (place a marker in the first and third of these 3 sc).
- Next, sc in each bump across until the last ch (should be 8 sc between increased corners for a ch-11 base).
- In the last ch, work 3 sc (again, mark the first and last sc of the 3).
- Working along the other side of the chain:
- Sc in each stitch across until you meet the first set of marked stitches (8 sc between corners).
3. Join & Begin Rounds
- sl st to the first sc of the round to join.
- Ch 1 (does not count as a st).
4. Second Round (Increase Round)
On each “corner” (marked stitches), increase as follows:
- Work 2 sc in each of the 3 corner sts at both ends, replacing markers on the first and last st of each corner.
- Work 1 sc in each st along the flat sides (should be 8 sc on each long side).
- Join with sl st to first sc, ch 1.
5. Third Round (Increase Round)
- Corners:
- Pattern is: (2 sc, sc in next st) in each corner section.
- This results in 9 sts at each end (increased from previous 6).
- Pattern is: (2 sc, sc in next st) in each corner section.
- Sides:
- 8 sc each side (remains unchanged for the pattern shown).
- Join with sl st to first sc, ch 1.
Check for evenness and adjust if necessary for your length/width.
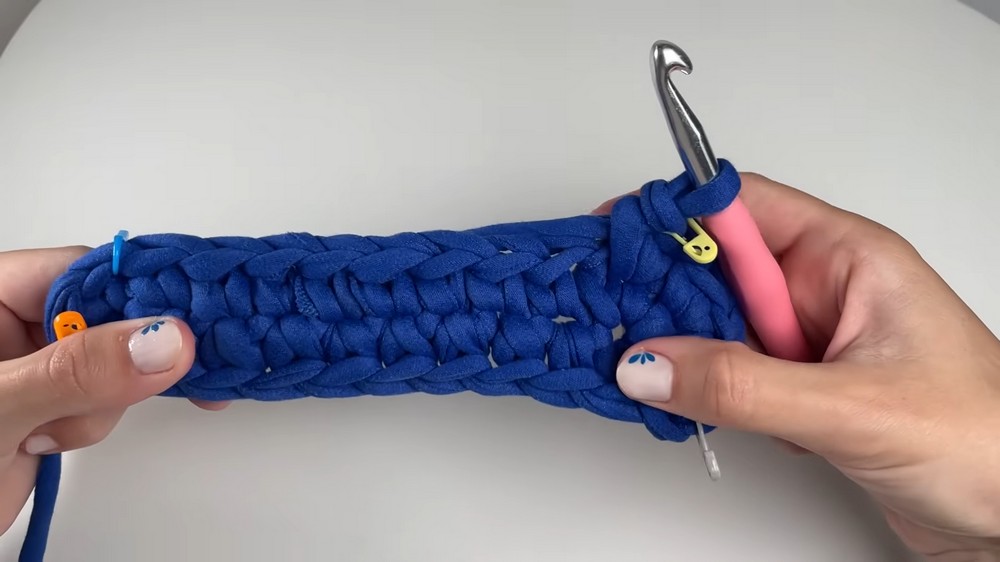
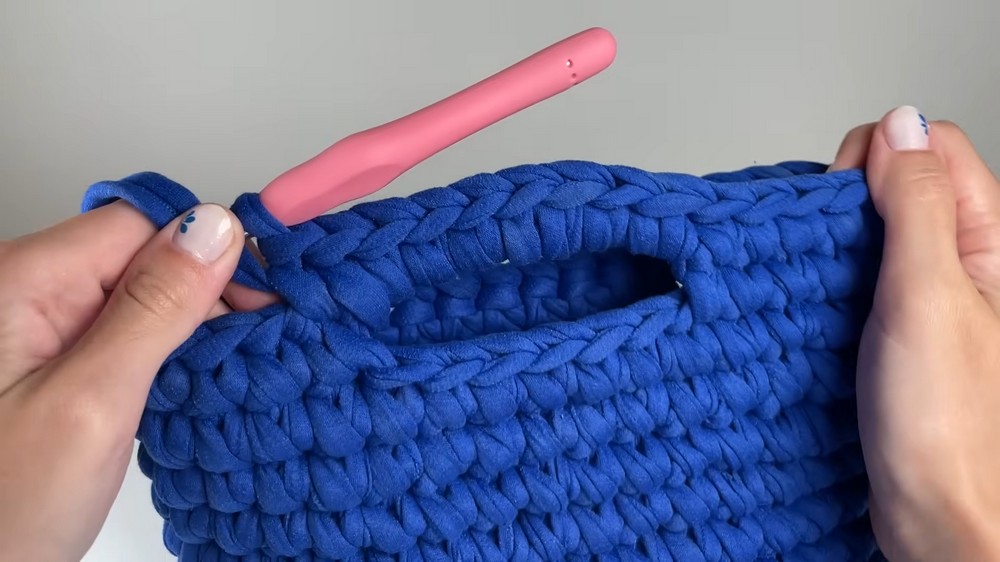
6. Body of the Purse
Work 1 row through back loops only to build the ‘wall’:
- sc in BL of each st around (34 sts in sample, verify count).
- Join with sl st, ch 1.
Switch to continuous rounds:
- Remove all markers except the one for the round’s first st.
- Work in continuous (spiral) rounds: sc in each st around.
- After each new round, move marker up to the new first sc.
- Repeat for desired height (sample worked 7 rounds).
7. Handles
Decide handle placement:
- With stitch markers, mark equal numbers of stitches for handle openings on each side (ex: skip 11 sc, ch 8 for handle, skip 11 sc, ch 8 for opposite handle).
Handle Round:
- Work sc in each st to the handle marker.
- Ch 8 (or preferred handle length), skip 6 sts, sc in next st (for another marker).
- Continue sc around to next handle position; repeat handle instructions.
- Continue sc around to complete the round.
8. Final Round (Handle Shaping)
- Work sc in each st and sc into each ch across handles (8 sc per handle in sample).
- Continue single crochet around the entire bag, including over handle chains, to reinforce.
9. Finishing
- When one full round is completed after handles, join with sl st to starting sc.
- Fasten off, leaving a long tail.
- Use yarn needle to weave an ‘invisible finish’:
- Skip the first st, insert needle through both loops of the second st, pull through.
- Go back into the last st worked (where tail exits) through the back loop, weave in securely.
- Weave in any other yarn tails.
Conclusion
This T-shirt yarn oval purse is easily customized. Adjust the initial chain for more length, and alter side or round count for size adjustments. The seamless construction and thick yarn make it perfect for beginners and quick gifts.
Approximate Finished Size (Sample):
15 cm x 25 cm (will vary with yarn, hook, and tension)
Pattern Correction
- Always ensure you do not add extra stitches at joins or slip stitches; only work one sc per marked/handled stitch unless increasing.
- Count stitches after every major step, especially after increases and handle fitting.
- All sides must remain even for an oval base.
Tips
- Stitch markers are essential to prevent accidental increases or decreases, especially when working continuous rounds.
- For a stiffer purse, consider lining with fabric before or after crocheting.
- Change yarn color at any point for stripes; hide new yarn tails as you crochet for a clean finish.
- Handles can be made longer or shorter by adjusting chain count; always make sure both sides match.
Leave a Reply