
Charm your dining table with free crochet rose table mat pattern, that offers simple steps for warmth and beauty to every mealtime setting.
A plain table never brings the same joy that a bright rose petal and beautiful color can offer at mealtime. With a crochet rose table mat pattern, you get a delicate flower shape that instantly makes the table stand out and look cheerful. This mat sits under a plate or cup and keeps the table safe from spills or heat, all while adding a lovely burst of color. It feels soft to touch and is simple to wash and use again, making it a favorite in any home.
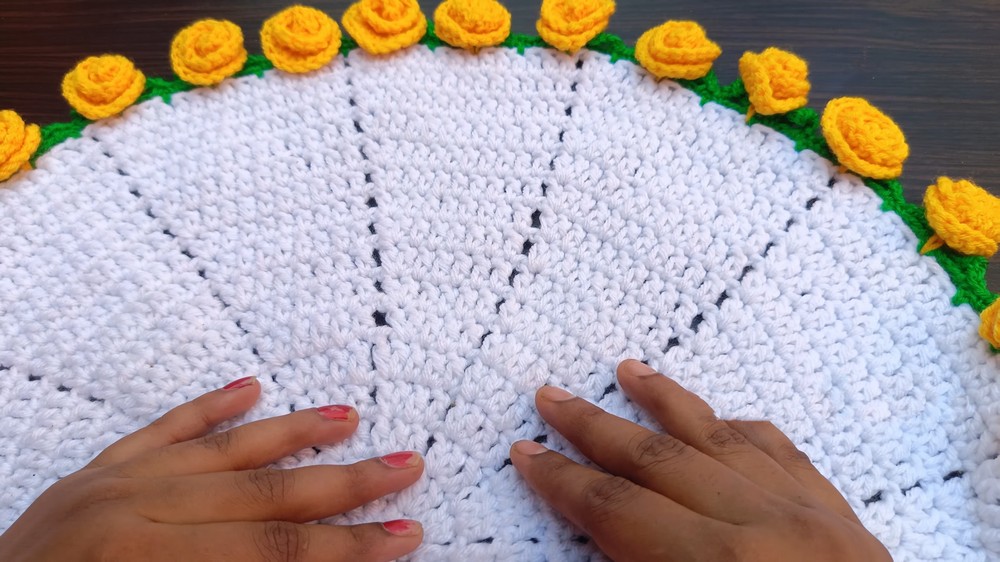
Crochet Rose Table Mat Pattern – Free and Easy
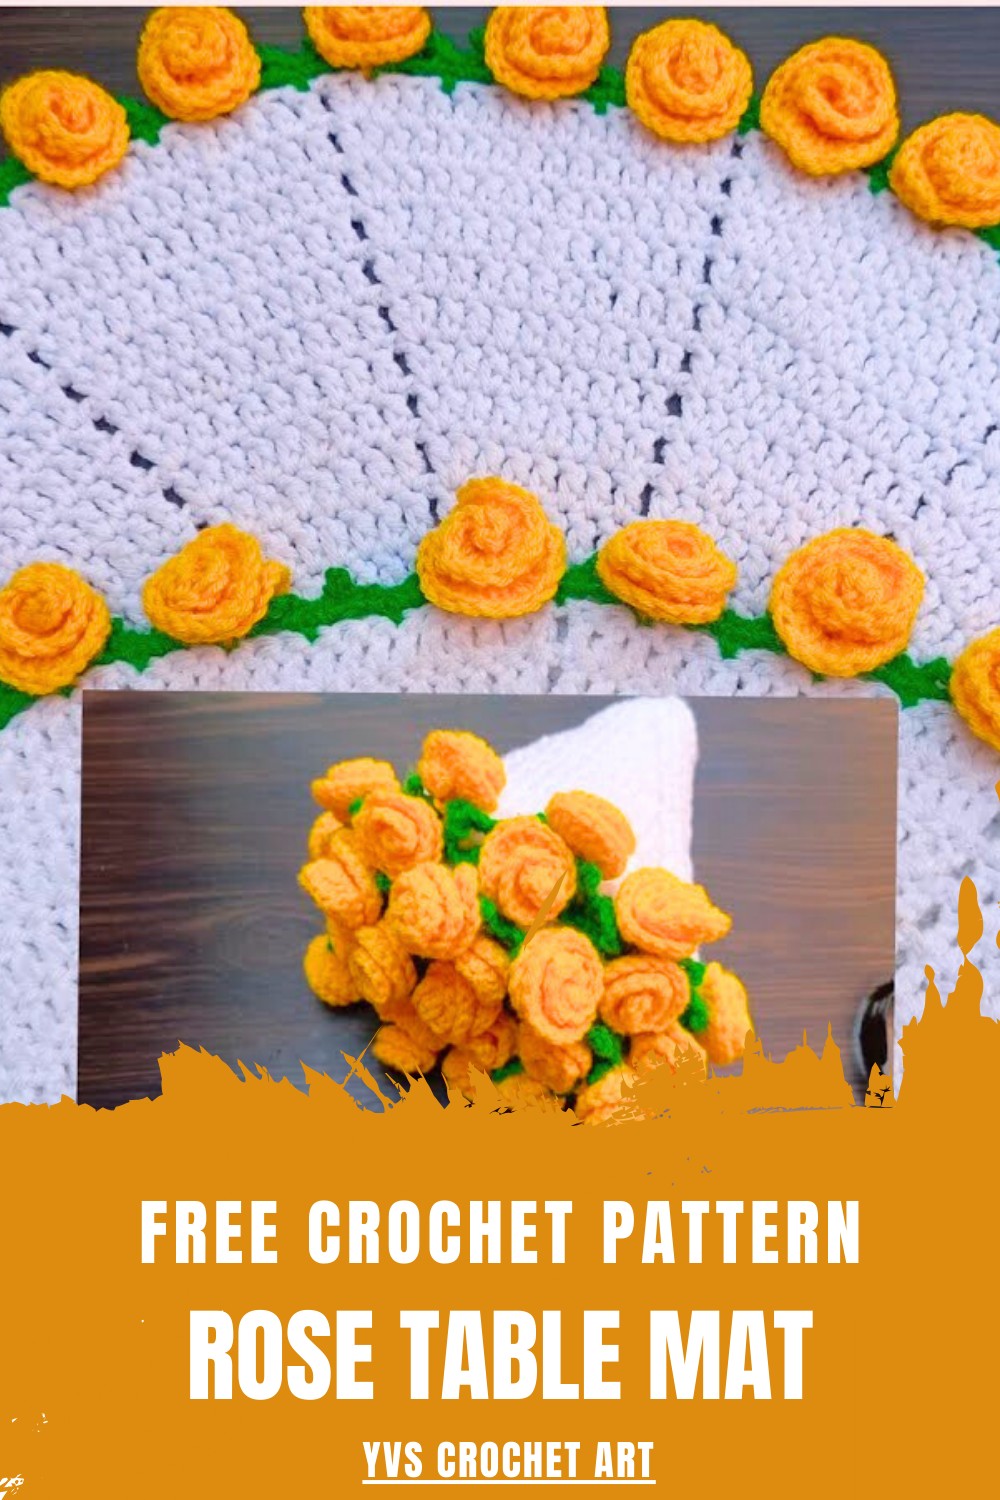
Using the crochet rose table mat pattern adds charm to family dinners or special occasions, turning yarn into something both useful and pretty. The rose on this mat is like a little piece of garden, bringing comfort and delight to anyone at the table. This mat makes any meal warmer, brighter, and more welcoming for all.
Crochet Rose Flower Bush (Doily/Mat) Pattern
Materials
- Yarn: “Desire” acrylic or similar yarn
- White: approx. 30 g
- Yellow: approx. 30 g
- Green: approx. 5 g
- Hooks: 4.5 mm (US 7) for doily; 4.0 mm (US G-6) for greenery and roses
- Tapestry needle: For sewing and weaving in ends
- Scissors
Key Abbreviations (US Terms)
- MR – Magic ring
- ch – Chain
- st(s) – Stitch(es)
- sl st – Slip stitch
- sc – Single crochet
- dc – Double crochet
Special Notes
- The doily base is made up of classic round increases for a flat doily.
- Roses and greenery are assembled separately and then sewn to the main mat.
- You may adjust the number of rounds for a larger or smaller mat, and add more or fewer roses.
- For best shaping of the roses, sew them as you roll.
Step-by-Step Pattern
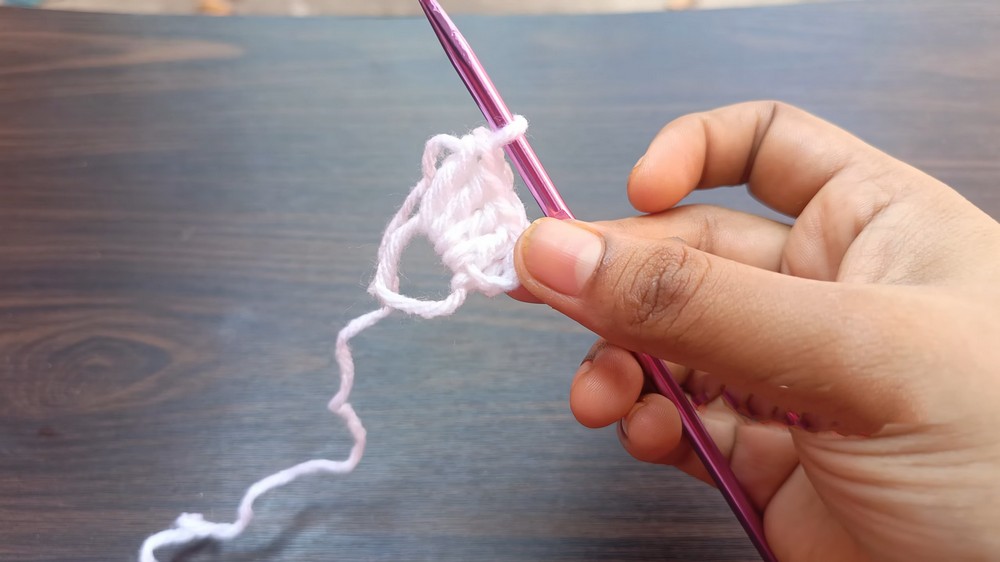
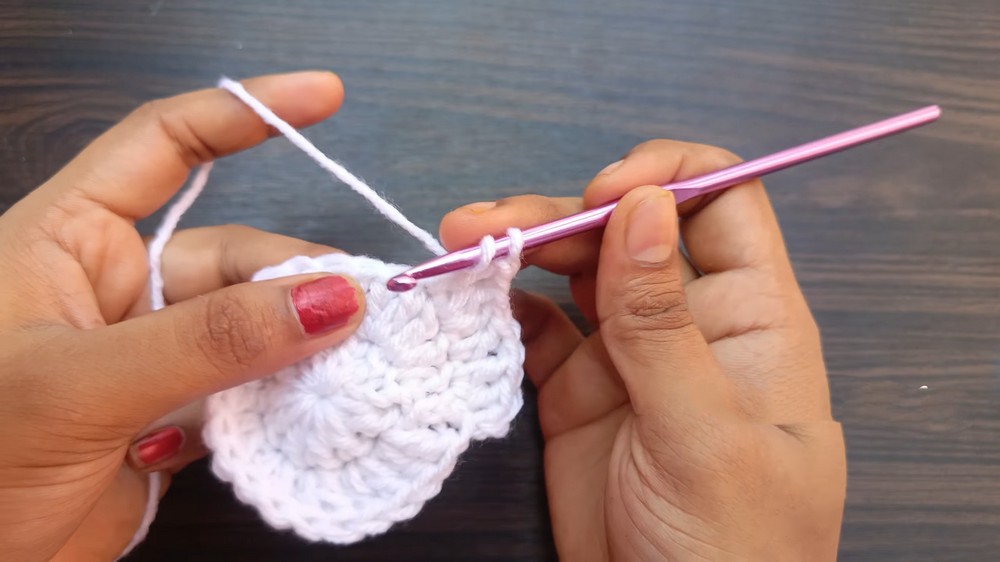
1. Doily Base (White Yarn, 4.5 mm Hook)
Round 1:
- Make a magic ring (MR).
- Ch 2 (counts as first dc).
- Work 11 dc into MR (total 12 dc including the initial ch-2).
- Pull tail to tighten ring.
- Close round with a sc in the top of the starting ch-2 (instead of sl st).
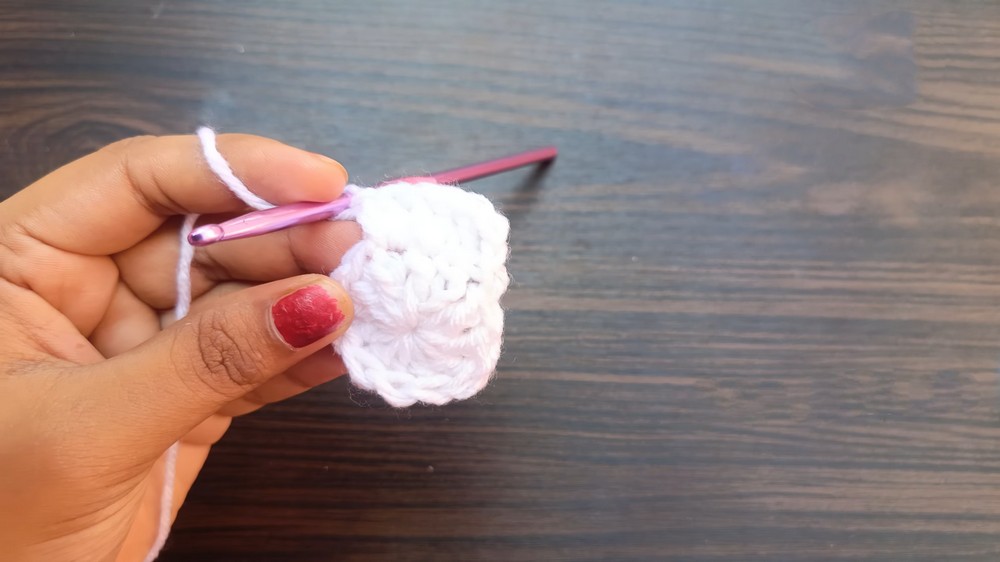
Round 2:
- Ch 2 (counts as dc).
- In the same st as join: 1 dc (total 2 dc in first st).
- In next st: 2 dc.
- Continue 2 dc in each st around (24 dc total).
- Close with sc in top of starting ch-2.
Round 3:
- Ch 2 (counts as dc).
- In next st: 1 dc.
- In next st: 2 dc.
- Repeat: (1 dc in next st, 2 dc in next st) around.
- (You will have groups of 3 dc between increases; total 36 dc.)
- Close with sc in top of starting ch-2.
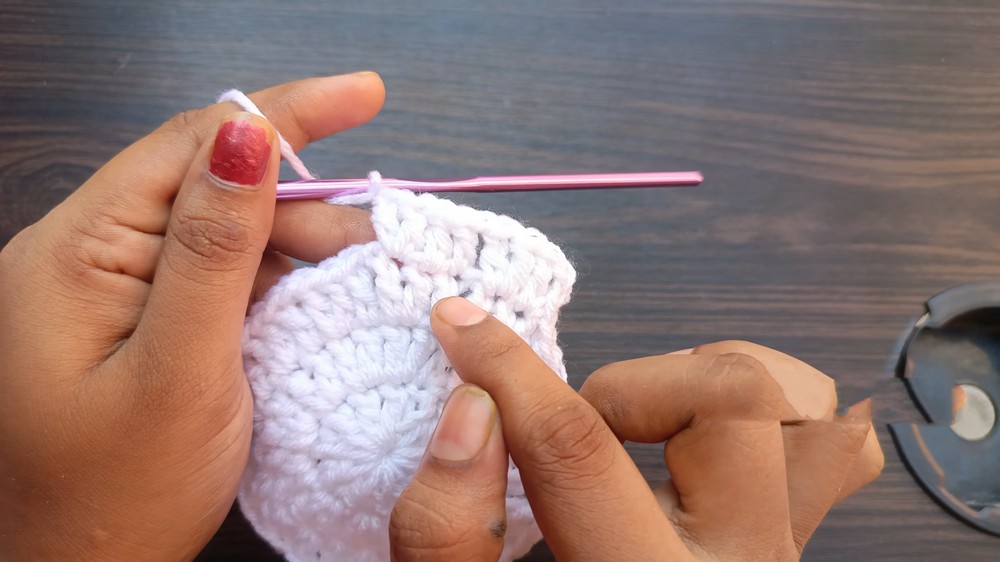
Round 4 and Further:
- Continue to increase in every round: (1 dc in each st up to the last dc before an increase from previous round, then 2 dc in next st).
- Always close each round with sc in the top of starting ch-2.
- Work 16 rounds total, each round separated by 1 ch between increases.
- Your round count and increases per round will form a flat, round mat.
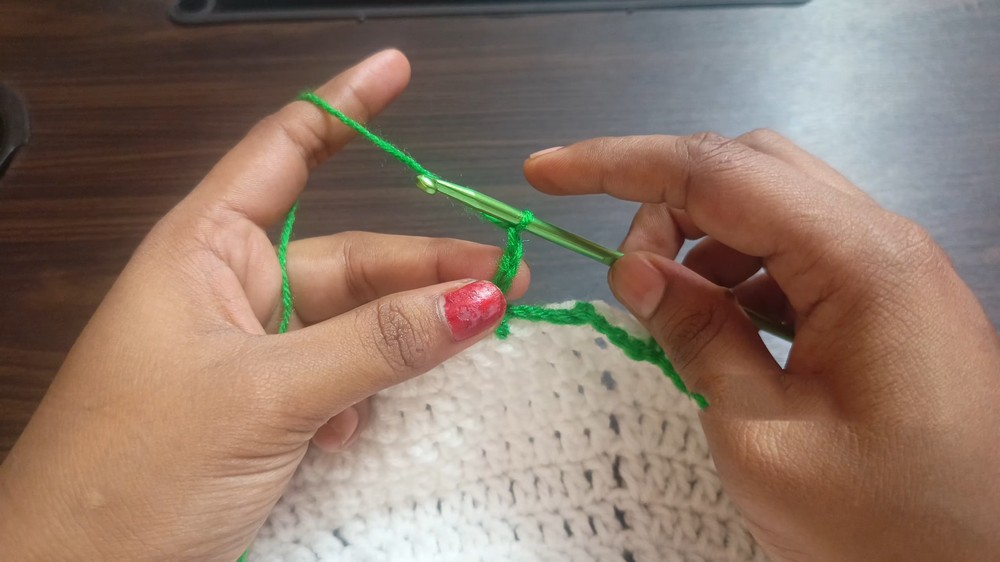
2. Greenery/Stems (Green Yarn, 4.0 mm Hook)
Attach green yarn to the edge of the doily base.
- Sl st to join, ch 1, sc in same st.
- Ch 3, skip 2 sts, sc in next st.
- Repeat (ch 3, skip 2 sts, sc in next st) all around the doily edge.
- If the chain does not reach the next sc, adjust by skipping only 1 st or 3 sts as needed for even distribution.
Close the round:
- Sl st to first sc.
- For a finished look, sl st once more into the first ch-3 space.
Next Round (leaves):
- Ch 4, sl st in third ch from hook (forms a small picot).
- Ch 2, sc in same ch space.
- In each ch-3 space around: sc, ch 4, sl st in third ch from hook, ch 2, sc.
- Repeat for all ch-3 spaces, then finish and weave in ends.
3. Roses (Yellow Yarn, 4.0 mm Hook)
Each rose is worked as a “crochet curl”, then rolled and sewn.
For Each Rose:
- Insert hook into desired sc on green round (where you want to attach the rose).
- Join yellow yarn and ch 14.
- Skip first ch, in second ch from hook: 3 dc in same ch.
- In each chain to end: 3 dc in each ch (you will have 13 clusters of 3 dc each, total 39 dc in this strip).
- At end of row, sl st to the base, ch 1, cut yarn leaving a long tail.
Shaping the Rose:
- The strip will coil naturally. Using the tail and a tapestry needle, roll into a spiral (rose shape) and sew through base a few times to hold shape.
- Secure by knotting and hide the end.
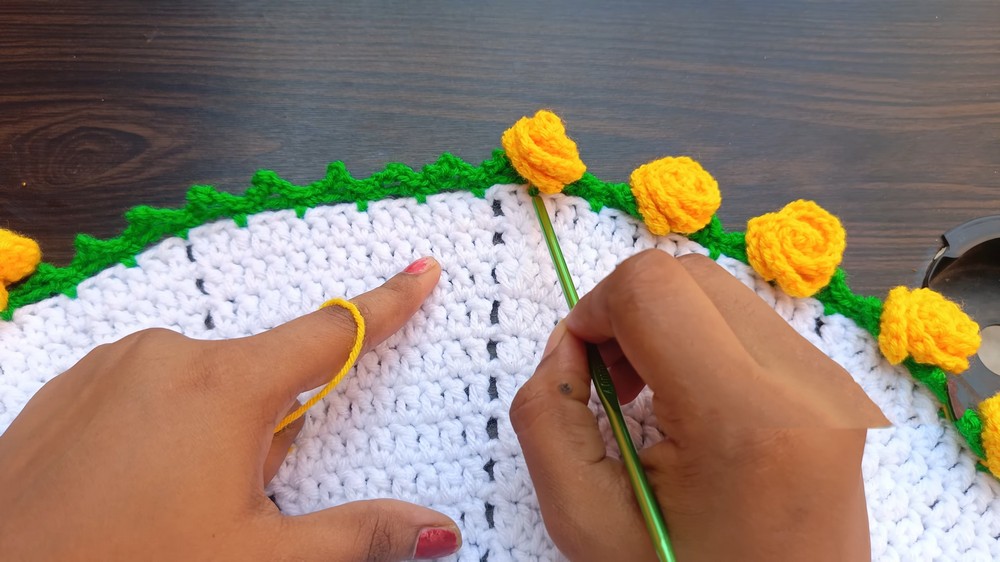
Attach All Roses:
- Skip every other sc between roses for even spacing.
- Repeat the rose process at each selected sc around the mat.
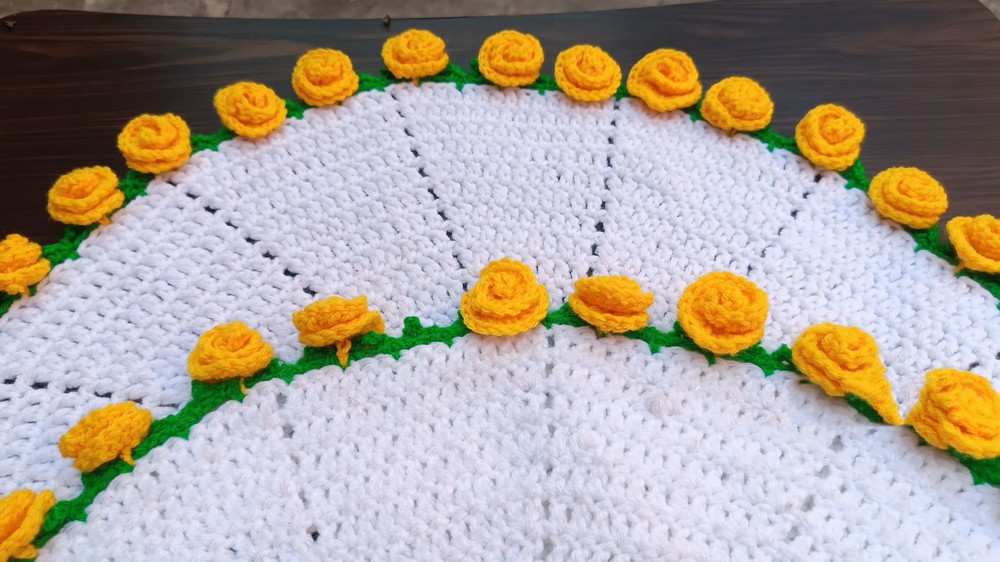
Conclusion
This beautiful rose flower bush mat makes a stunning table centerpiece or decorative doily. The mat’s increases keep it flat, the green round adds detail, and the spiral roses add stunning texture.
Pattern Corrections
- Always check your rounds remain flat—if your mat ruffles, reduce increases; if it curves, increase more.
- Make sure when sewing roses, the spirals are even and stitched together securely to avoid unraveling.
- Adjust the chain count for stems and roses based on your tension and desired size.
Tips
- Block your mat for a perfectly flat and neat finish.
- Try making roses in several shades of yellow or other colors for a realistic effect.
- The pattern is highly adaptable—use more rounds for a larger center, add more or fewer roses as desired.
Leave a Reply