
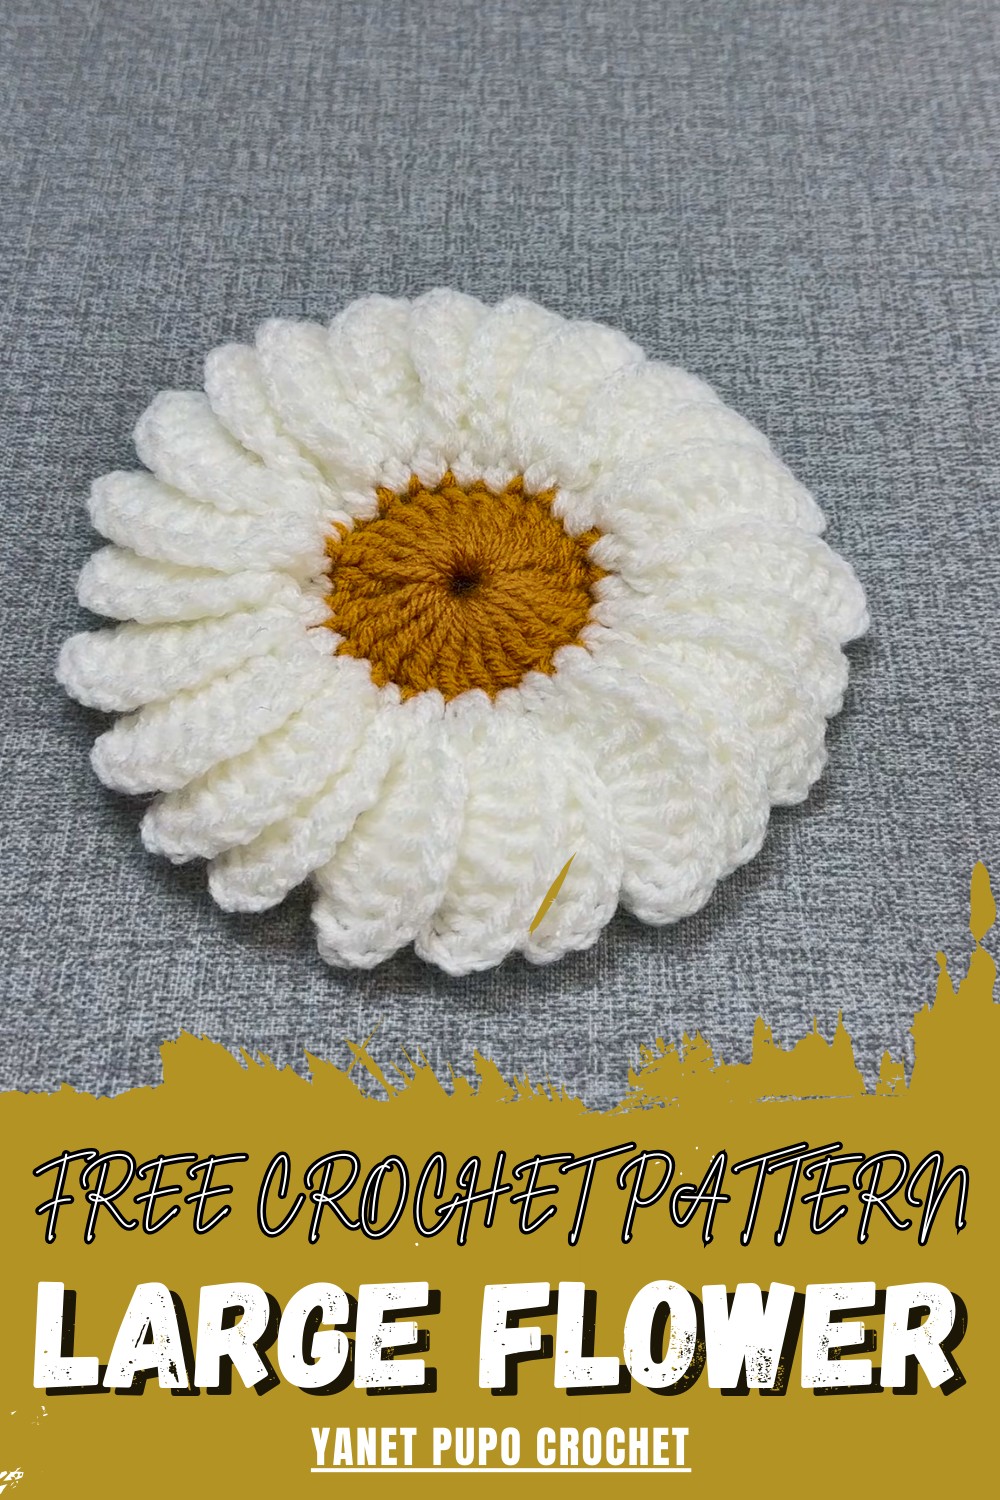
Fill your space with beauty using this free crochet flower pattern that shows soft detail adds charm & suits decor gifts and special moments.
There was a tiny idea that slowly grew into a bright little bloom full of charm and gentle beauty. The Crochet FLOWER pattern helps shape a simple flower with soft petals and a neat center that looks clean and pleasing to the eyes. Its small size and pretty form make it perfect for decorating clothes, bags, or small corners that need a fresh touch. It can also be placed on clips or used on gifts to give them a lovely look.
Free Crochet Pattern, Elegant Flower for Home Decor
The guide is clear and easy to understand so anyone can complete it without confusion. The finished flower looks cheerful and full of life, giving a soft and happy feeling. It offers beauty, creativity, and joy, turning simple material into a cute floral piece that adds color, charm, and a warm touch to everyday surroundings.
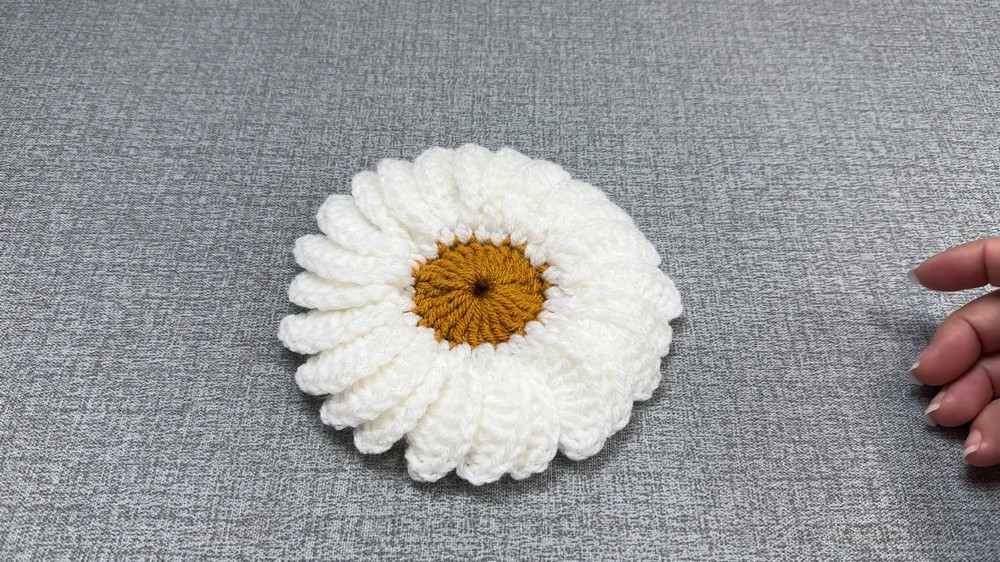
Giant Crochet Flower Pattern
Materials
- Yarn: Worsted weight (#4) yarn, approx. 15g (color(s) of your choice)
- Hook: 3.75mm aluminum crochet hook (US F-5)
- Tapestry needle: For weaving in ends (optional)
- Scissors
Key Abbreviations (US Terms)
- ch – Chain
- sl st – Slip stitch
- sc – Single crochet
- dc – Double crochet
- tr – Treble crochet (used here as “double double crochet”; yarn over twice)
- st(s) – Stitch(es)
- beg – Beginning
- sp – Space
Special Notes
- The flower is made in two main rounds, with an optional color change for petals.
- First round forms a base ring with 24 double crochets.
- Second round works large overlapping petals into the base.
- You may arrange petals after finishing for a layered, dimensional effect.
Step-by-Step Pattern
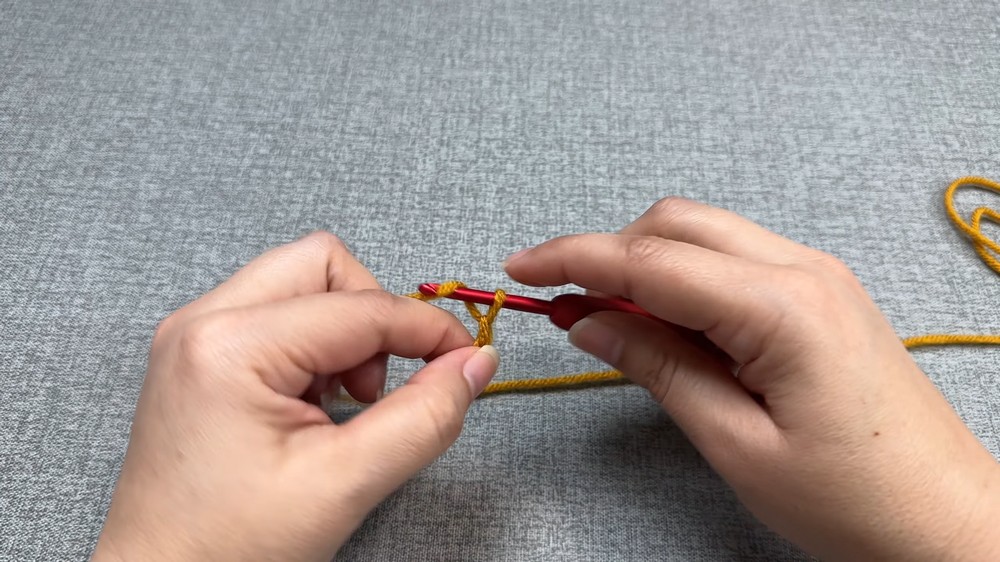
1. Center Base
With first (center) color:
- Make a slip knot, then ch 5 (or 6 if you crochet tightly).
- Sl st to the first ch to form a loop.
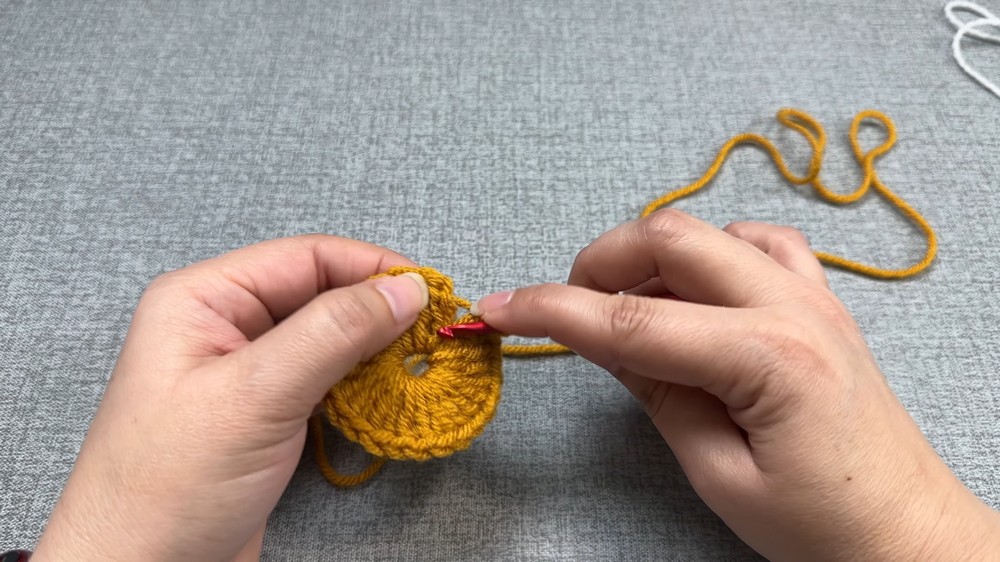
- Ch 3 (counts as first dc).
- Into the loop, work 23 dc (so you have 24 dc in total including the starting ch-3).
- Sl st to the top of the starting ch-3 to join.
- Fasten off and change color as desired.
2. Giant Petals
With new color and working into the base round:
Each petal is worked over a single dc (base stitch) from the previous round.
One Petal:
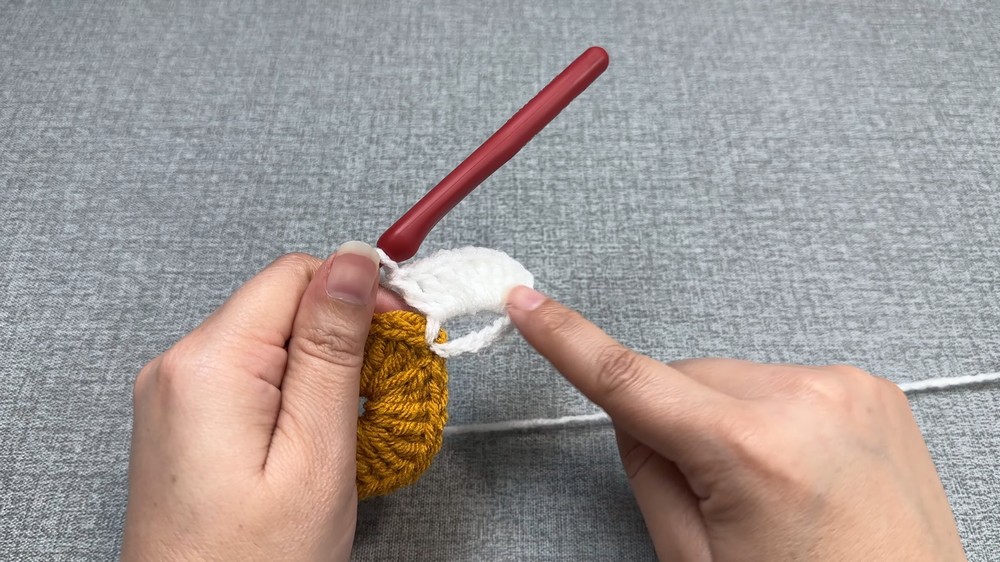
a. Join yarn with a sl st in any base stitch.
b. Ch 5.
c. Tr in the same st (yo twice, insert hook, yo, pull through 2, yo, pull through 2, yo, pull through last two).
d. Ch 3.
e. In the ring just created (space from the ch-5 and tr), work 8 dc.
f. Sc into the next base dc (the next st on the round, not in the petal just made!).
Repeat these steps for each petal, working around the base circle:
- Ch 5
- Tr in the same st
- Ch 3
- 8 dc in the ring/space from ch and tr
- Sc in next base dc
Continue until you have 24 petals (one petal in each base stitch).
Tip:
Be sure not to skip base stitches; you should have a petal in each base dc and 24 petals at the end.
After the last petal, join with a sl st in the starting point.
3. Shaping and Securing the Petals
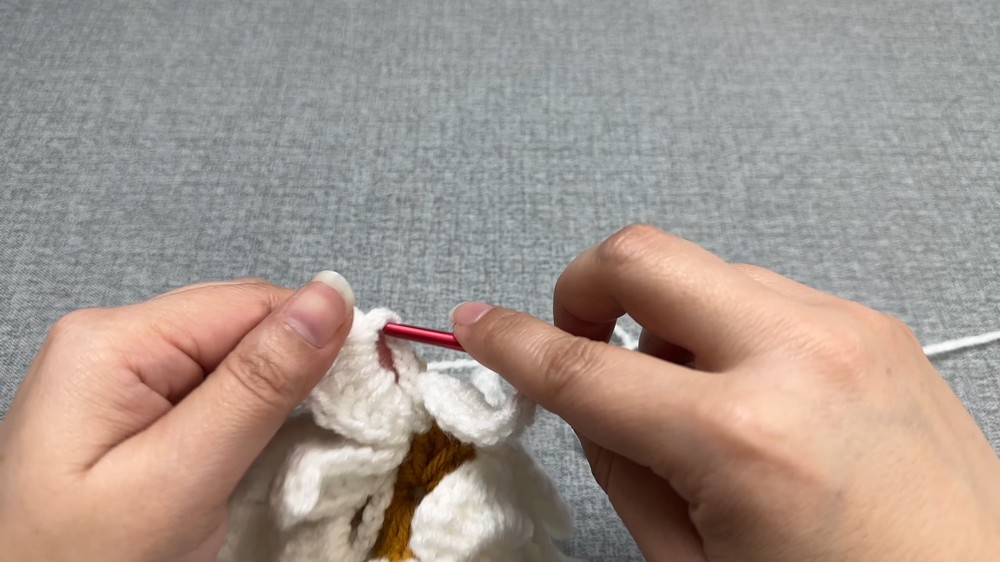
- Work surface slip stitches up the side of the last petal to reach the top if desired (helps align for next step).
- Working behind the petals, sc around the inside “petal chain rings” as follows:
- On the inside, behind each petal: Insert hook into ch-space at the top of one petal, sc, ch 2, move to next petal, repeat.
- Continue around, sc in each ch-3 ring at top of each petal, ch 2 between.
- At the end, sl st to first sc to join.
- Fasten off and weave in all ends.
4. Arranging Petals
- Gently stretch and layer petals so they overlap, giving a rounded, lush “giant flower” effect.
Conclusion
This lush and dimensional giant flower is ideal for home décor, hat embellishments, bathroom sets, or any project needing a bold, unique statement. The layered petal construction allows for dramatic color changes and 3D effects.
Pattern Correction
- If you crochet tightly, you may increase to ch 6 for the beginning and the petals.
- Always ensure you have 24 petals (one per base dc).
- Count stitches for even petal size, and avoid skipping base stitches.
Tips
- For maximum volume, gently block petals or use a little steam to shape them.
- Use contrasting colors for center and petals for visual impact.
- Add a fabric-covered button at the center for a professional finish, if desired.
- Attach with sewing or hot glue, depending on intended use.
Leave a Reply