
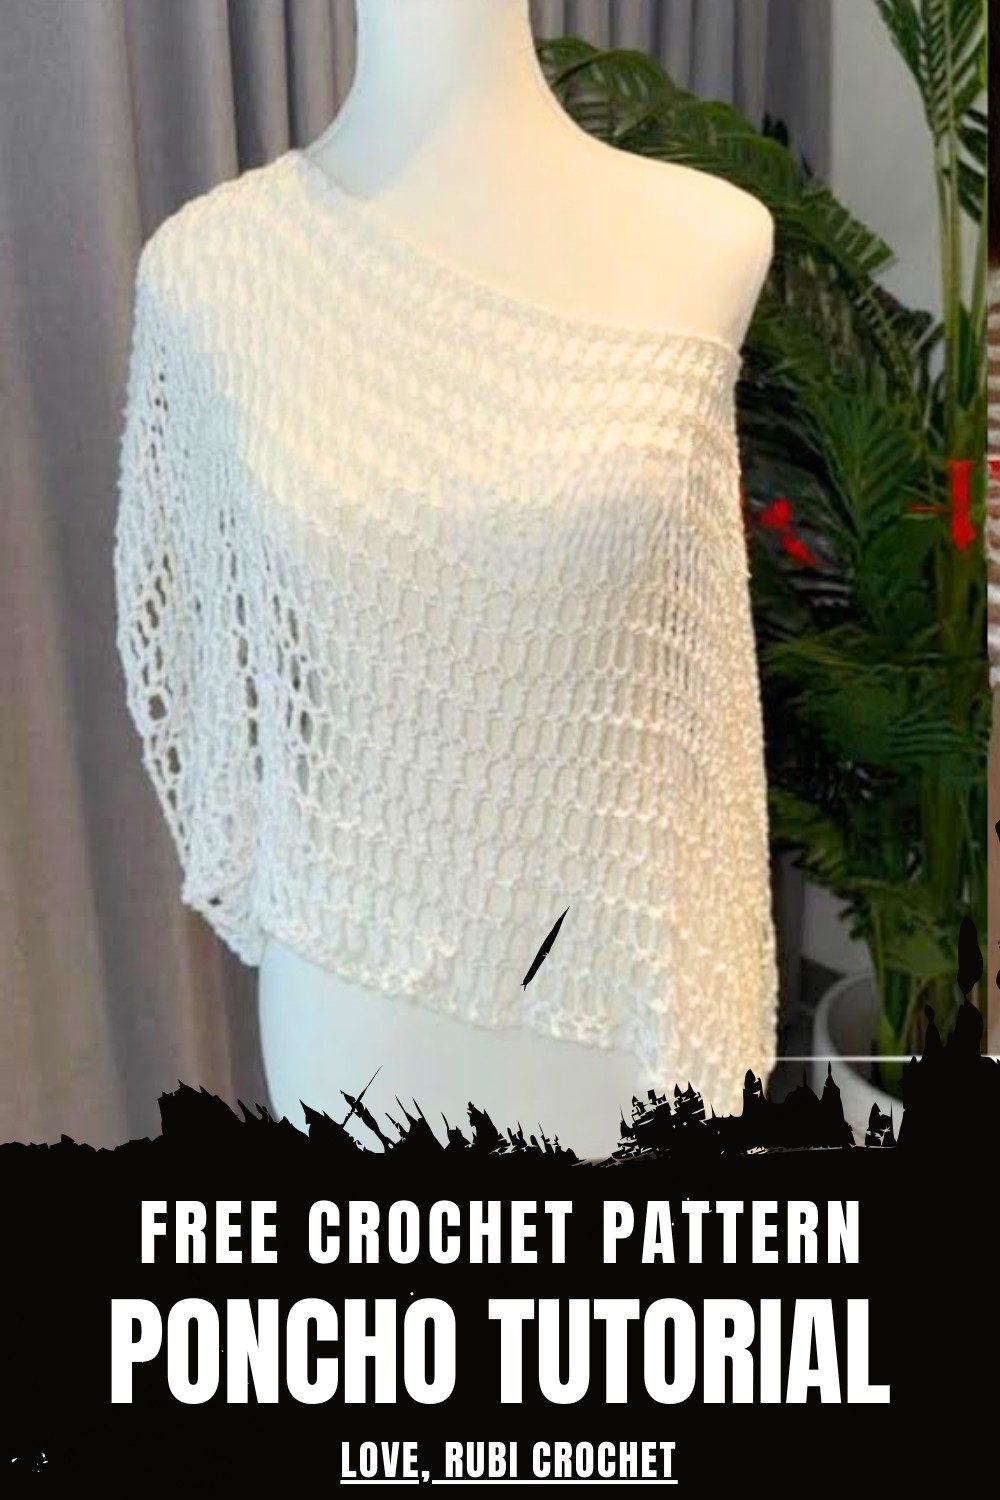
Feel the warmth and style of free crochet poncho pattern that welcomes everyone to create cozy layers perfect for any day and every occasion.
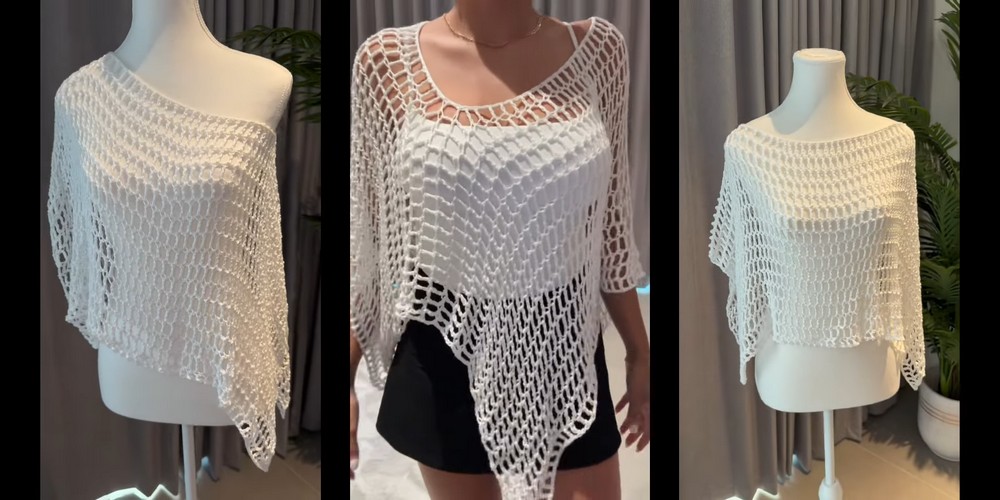
Soft threads come together to make a gentle layer that feels like a gentle hug. Bright colors and playful patterns bring smiles and light to your look. Slipping on something that can dress up simple clothes or add flair at any celebration. With a crochet poncho pattern, everyone gets a chance to join in by following easy steps. It rests lightly over your shoulders and lets your arms move easily, perfect for all your daily adventures.
Effortless Free Crochet Poncho Pattern for Any Occasion
Some people love how it works for any age or size, making it a thoughtful handmade present. Every stitch adds to the softness and beauty, and wearing it gives a little glow to any chilly day. Old and young both can enjoy the warmth that comes from creating and wearing such a piece. Making your own poncho means sharing warmth and creativity wherever you may go.
Easy Crochet Rectangle Poncho Pattern
Materials
- Yarn: Bamboo blend DK yarn (e.g., True Boo Bamboo) or any yarn of your choice
- Hook: 6 mm crochet hook (adjust to suit your yarn and drape preference)
- Notions: Tape measure, stitch markers, scissors, yarn needle
Key Abbreviations (US Terminology)
- ch = chain
- st(s) = stitch(es)
- tr = treble crochet (US)
- sk = skip
- rep = repeat
Special Notes
- Adjust starting chain for your preferred width; measured width given is for the poncho to reach the elbows (30 inches suggested).
- Ensure your starting chain is an odd number for correct pattern placement.
- The pattern creates open, airy fabric and a soft drape—ideal for warmer weather.
- The neck hole can be customized in size and finished with a round of decreases if needed for a tighter fit.
Pattern
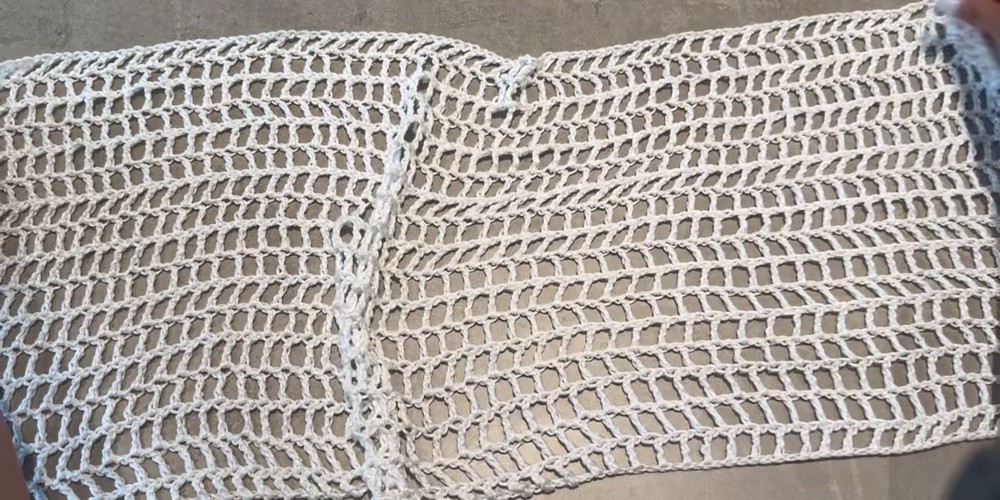
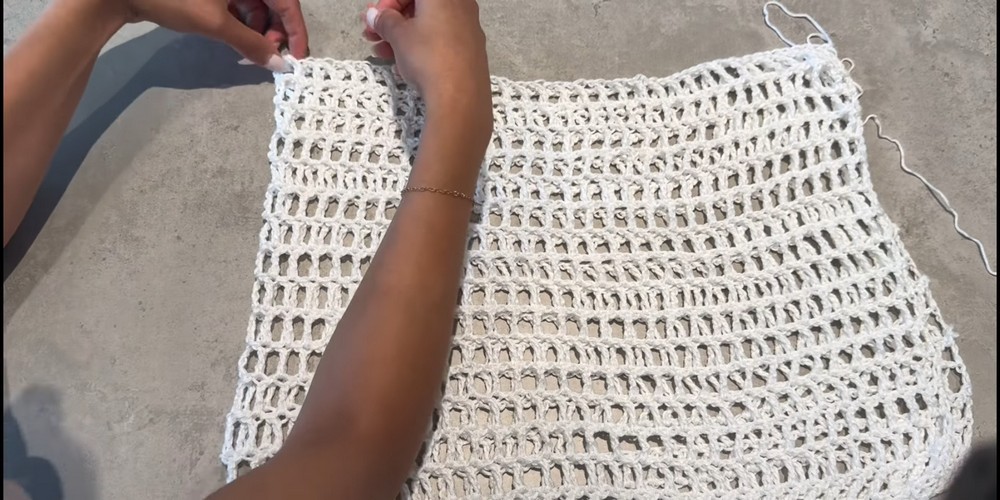
Step 1: Create the First Panel
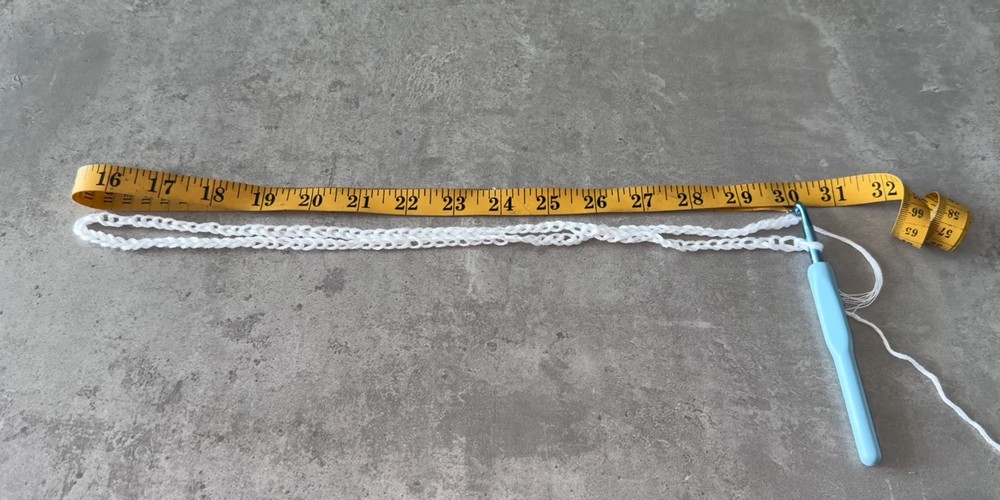
- Measure desired poncho width (e.g., 30 inches from wrist to wrist or elbow to elbow).
- Ch an odd number to match your measurement (use your tape measure for accuracy).
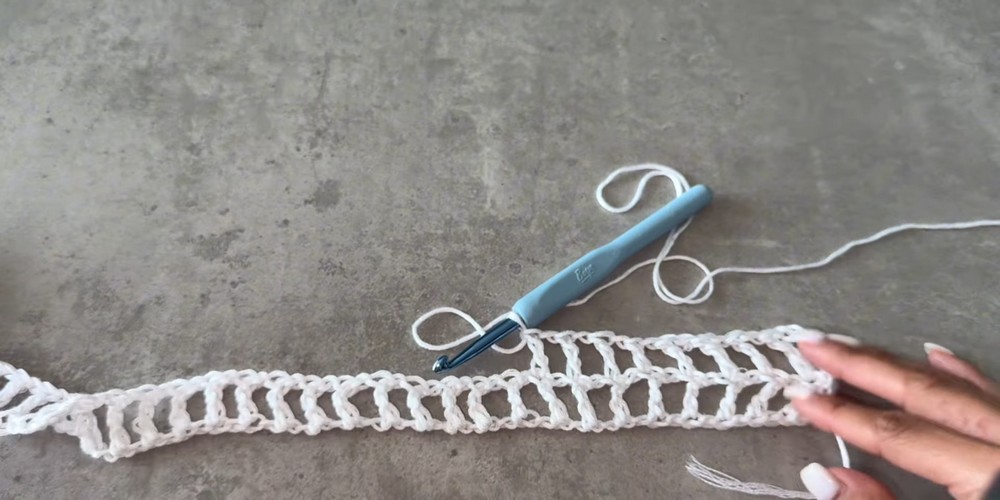
- Row 1:
- Tr in the 5th ch from hook (creates ch-1 space).
- Ch 1, sk 1 ch, tr in next ch;
Rep from * to end of row. - End with tr in the final ch.
- Row 2:
- Ch 5 (counts as tr + ch-1 space), turn.
- Tr in top of next tr, ch 1, sk 1, tr in next tr;
Rep until the end of row, ending with tr in last stitch.
- Repeat Row 2 until your rectangle reaches the desired length (example: 17 rows).
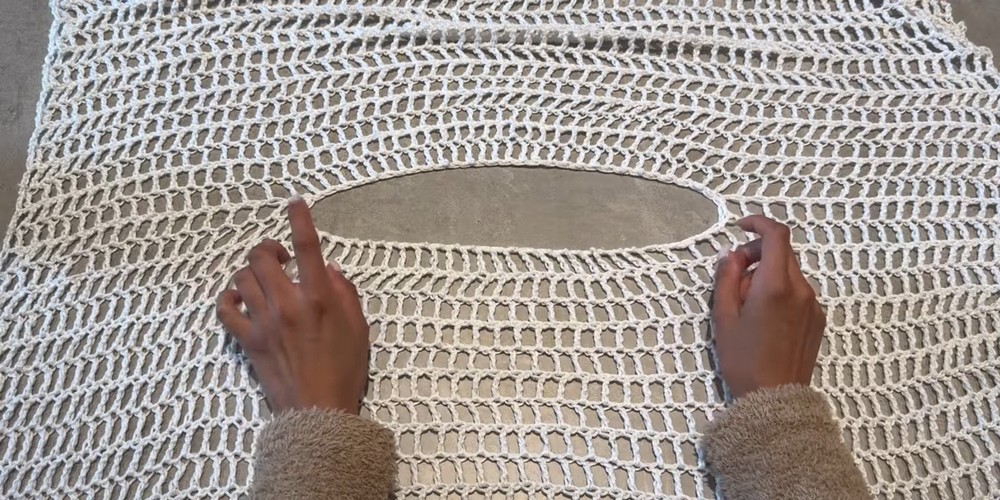
Step 2: Create Neck Opening
- Find the Center:
- Fold rectangle in half, find and mark the center with a stitch marker.
- Determine Neck Width:
- Standard neck width: ~15 inches (adjust to fit).
- Place stitch markers half the neck width from center on each side.
- Double-check:
- Count pattern “boxes” (tr + ch-1 pairs) on both sides of the outer stitch markers to ensure symmetry.
- Adjust markers as needed.
- Remove the center marker.
Step 3: Continue Second Panel and Bridge Neck Opening
- Continue Pattern:
- With yarn still attached (no fastening off), ch 5, turn.
- Tr in top of next tr, ch 1, sk 1, tr in top of next tr
until reaching the first neck stitch marker.
- Create Neck Space:
- When at first marker:
- Ch number equal to neck stitches between stitch markers.
- Skip neck stitches and tr in stitch with the next marker.
- When at first marker:
- Continue across row:
- Ch 1, sk 1, tr in top of next tr to row end.
Step 4: Finish Poncho
- Continue Working Rows:
- Repeat the same pattern (Row 2) for the second side.
- Work the same number of rows as the first side (example: 17 rows).
- Check and Adjust Neck Hole:
- Try poncho on; if neck hole is too large, work a round of sc or decreases around the opening to desired size.

Step 5: Final Touches
- Weave in all loose ends with a yarn needle.
- Block if desired for a smooth and professional finish.
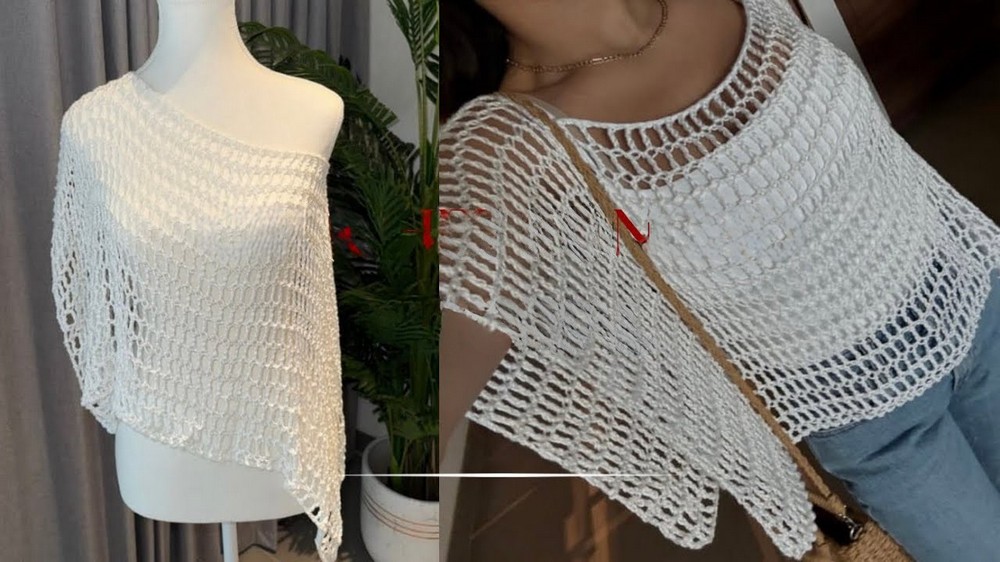
Conclusion
Your easy, customizable crochet rectangle poncho is complete! This no-sew project is perfect for beginners and allows for endless modification in size, yarn, and color. The open, lacy pattern works up quickly and provides a fashionable, comfortable garment for any season.
Pattern Correction
- Ensure the starting chain is an odd number.
- Double-check neck placement so the neck opening is centered.
- When bridging the neck opening, ensure chain-1 spaces match the established pattern for smooth edges.
Tips
- Use stitch markers generously to mark key points (center, neck edges, row counts).
- Try your poncho on as you go to adjust neck or overall length.
- For a polished look, add an optional round of single crochet or crab stitch around the entire neck and poncho edge.
Leave a Reply