
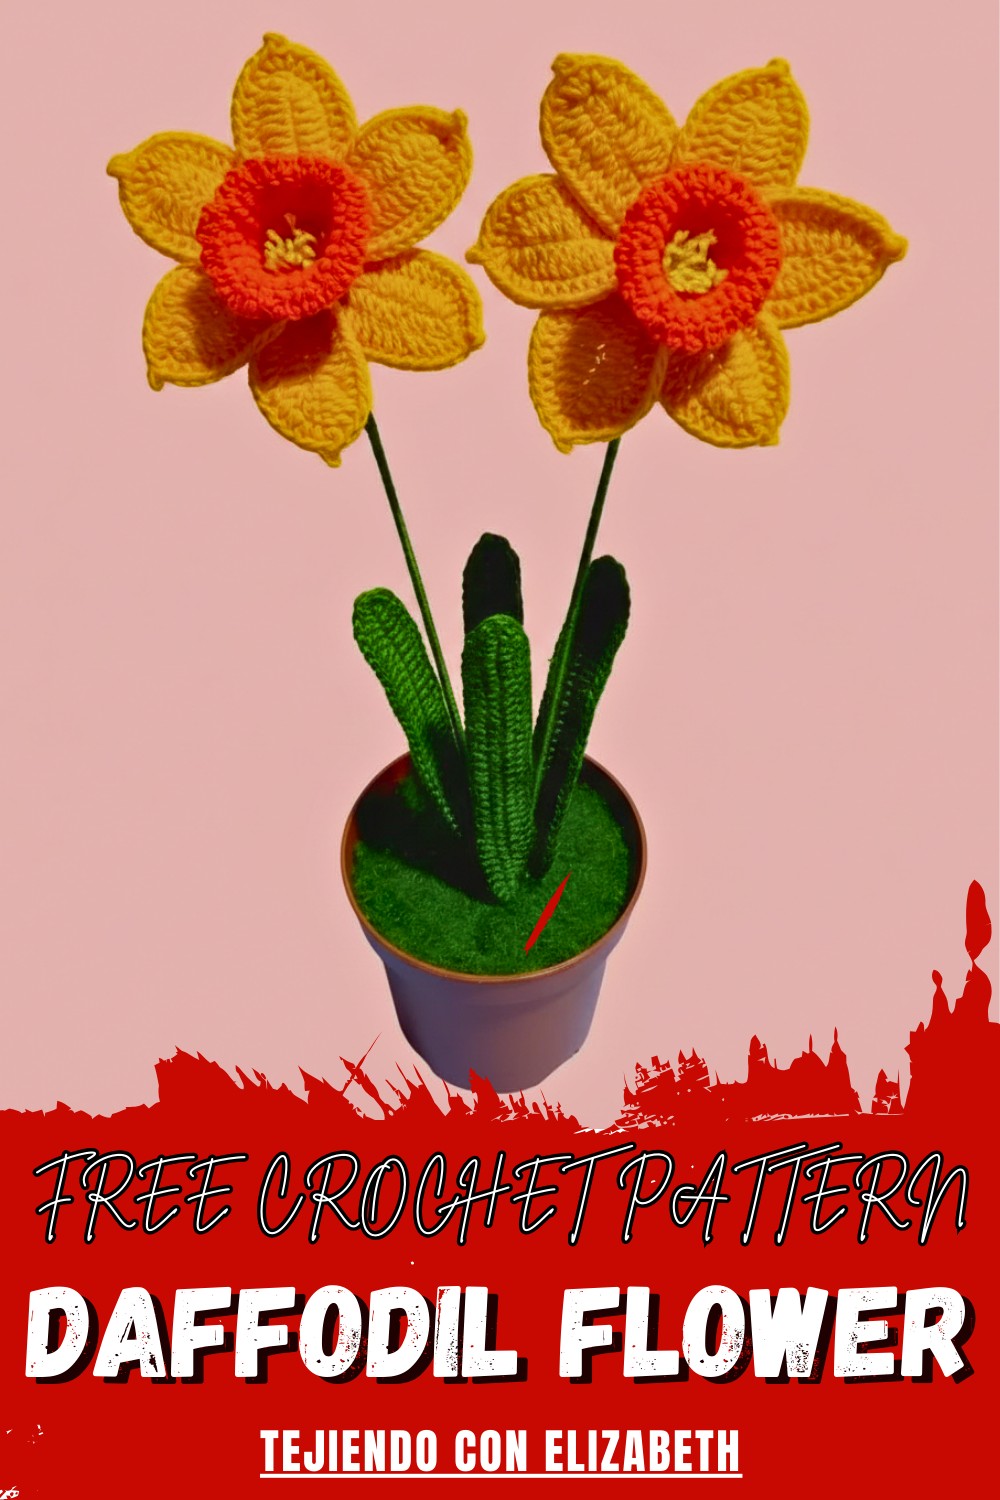
Watch your space bloom with gorgeous daffodils using free crochet daffodil flower pattern and enjoy cheerful charm that lasts all year round.
Bright yellow petals and a cheerful green stem can light up any space and bring a big smile to faces young and old. With a crochet daffodil flower pattern, turning simple yarn into a beautiful flower is within reach for everyone, no matter their skill or reading level. The result is a pretty flower that never fades and needs no care, staying lovely year after year.
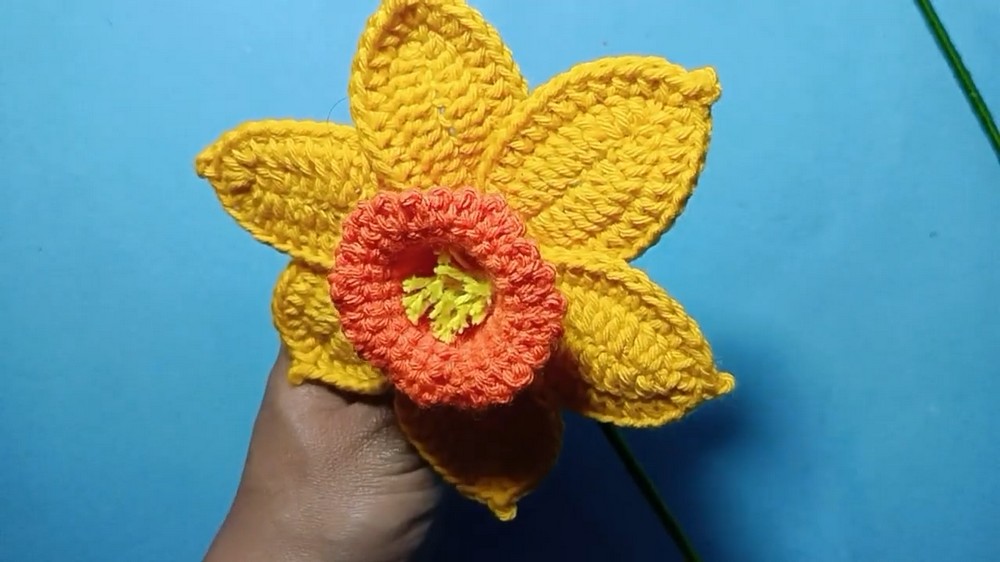
Crochet Daffodil Flower with Free Simple Pattern
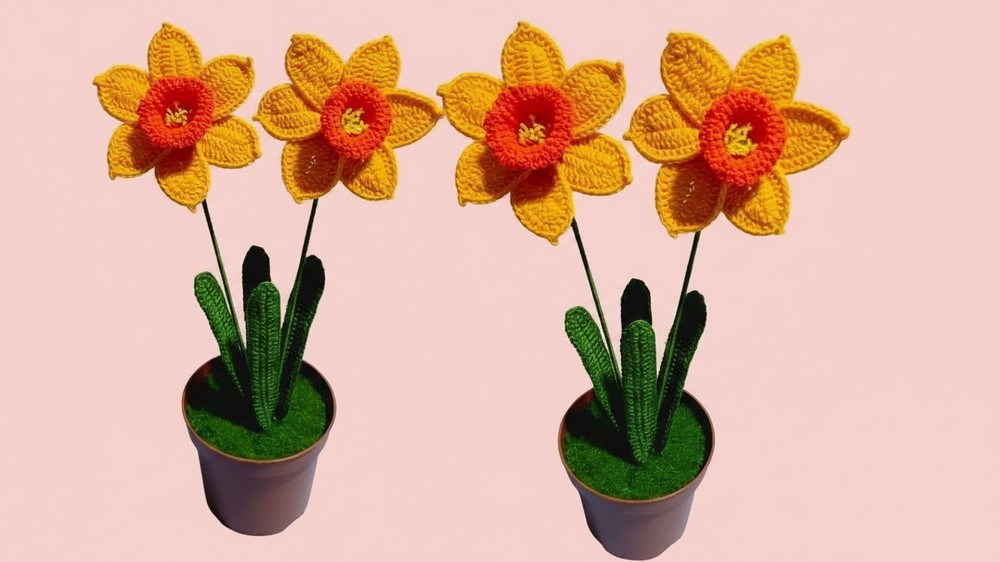
Display them in a vase for a touch of spring on your table, pin one to your favorite bag for a pop of color, or give them to someone you love as a small token of joy. The easy steps and clear look make it feel simple and fun, making this pattern a smart pick for anyone who wants a beautiful blossom without any fuss. Watch your space brighten up and your heart fill with happiness—one loop at a time.
Daffodil Flower Free Crochet Pattern
Materials
- Yarn:
- Orange, sunflower yellow, and pale yellow (cotton), plus green for leaves (Silvia brand recommended)
- Hook: 2 mm crochet hook
- Wire: Thin, flexible craft wire (for shaping petals and leaves)
- Florist/Skewer stick: For flower stem
- Scissors
- Stitch marker (optional)
- Hot glue gun and glue sticks
- Plastic flowerpot (~5 cm tall, or pot of choice)
- Styrofoam (or foam balls) to fill the pot and support arrangement
- Craft/rubber glue (e.g., white glue, for making faux grass)
- Paintbrush (for glue, optional)
- Small stones or rice (optional, for pot weight)
Key Abbreviations (US Terms)
- ch: Chain
- sc: Single crochet
- hdc: Half double crochet
- dc: Double crochet
- sl st: Slip stitch
- st(s): Stitch(es)
- inc: Increase (2 sts in same st)
- MR: Magic ring
Special Notes
- Petals and leaves use wire for shaping—always crochet over the wire unless noted.
- Flower colors may be customized.
- Pot insert topped with faux-grass is made by cutting up leftover green yarn.
- Trumpet/bell is worked in continuous rounds, using a stitch marker for start/end.
Pattern Instructions
1. Petals (Make 6)
With yellow yarn and 2 mm hook:
- Ch 13.
- Row 1 (first side):
- Starting in 2nd ch from hook: sc in each of next 3 ch.
- Dc inc (2 dc in same ch).
- Dc in next 2 ch.
- Dc inc in next ch.
- Dc in next 2 ch.
- Dc inc in next ch.
- Hdc in next ch.
- Sc in last ch, ch 1, sc in same ch (to round tip).
- Row 2 (return side):
- Hdc in next ch.
- Dc inc in next ch.
- Dc in next 2 ch.
- Dc inc in next ch.
- Dc in next 2 ch.
- Dc inc in next ch.
- Sc in last 3 ch.
- At base: sl st to starting sc to join.
- Wire edge:
- Cut a wire slightly longer than the petal.
- Working with wire along the edge, sc along one side up, around tip, and down the other side.
- End at base, sl st, cut yarn, glue and wrap yarn and wire end for neatness.
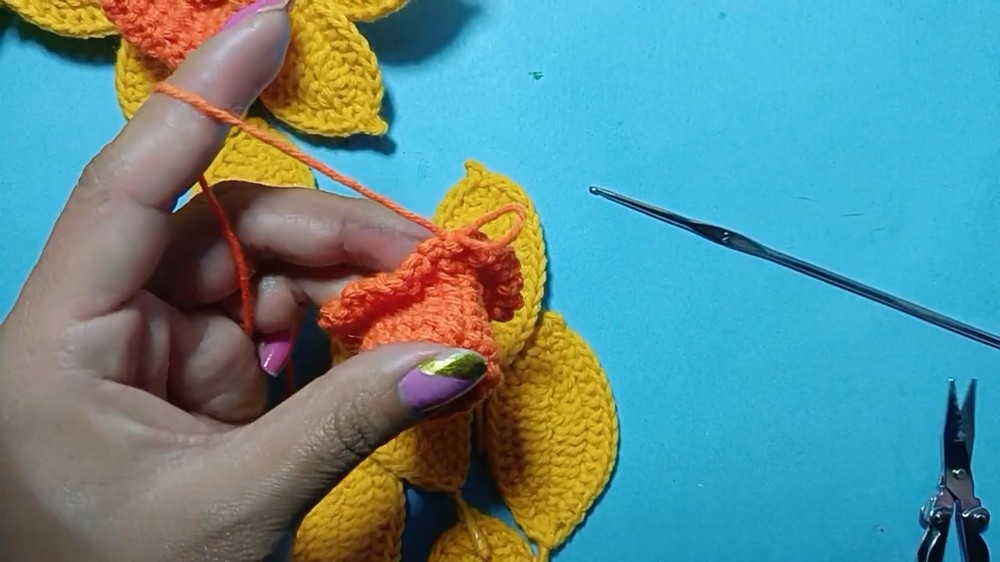
2. Trumpet/Bell Center
With orange or pale yellow:
- MR, 5 sc in ring.
- Round 1: Do not close completely; sl st to first sc, ch 1.
- Round 2: Inc in each st around (2 sc in each) [10 sc].
- Round 3: (Sc, inc) around [15 sc].
- Round 4: (2 sc, inc) around [20 sc].
- Rounds 5–9: Sc in each st around (maintain 20 sc per round). At end of each round, do not work last stitch—instead, slip stitch to first st, ch 1 to begin next round.
- Round 10: (Sc in next 3 sts, inc in next) repeat around. Sl st to first st.
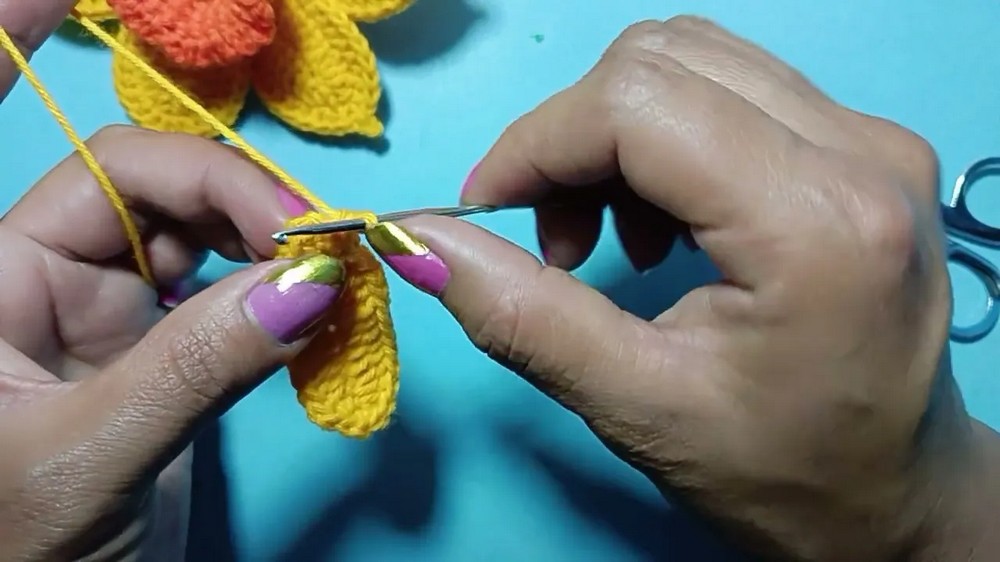
- Picot edge:
- (Ch 3, sl st in next st) repeat around to form ruffled edge.
- Sl st, ch 1, fasten off, weave in ends.
3. Flower Assembly
- Center: Create yellow thread “stamens” by wrapping yellow thread ~8 times around fingers, snip one side, then twist the middle with a wire.
- Insert stamen cluster through the MR of the trumpet and secure with glue.
- Arrange and glue petals:
- Evenly space the 6 petals around trumpet base, gluing as you go.
- Wrap green yarn around petal/trumpet wire ends for neat finish.
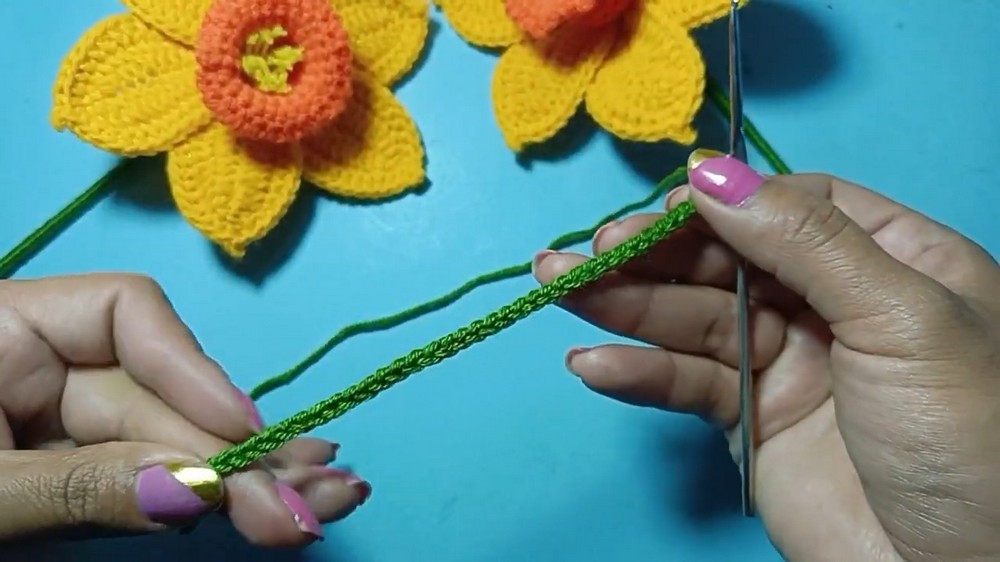
- Attach stem:
- Slide skewer stick through center of flower; secure scarf and wrap with green yarn, gluing as needed.
- Shape petals and trumpet gently.
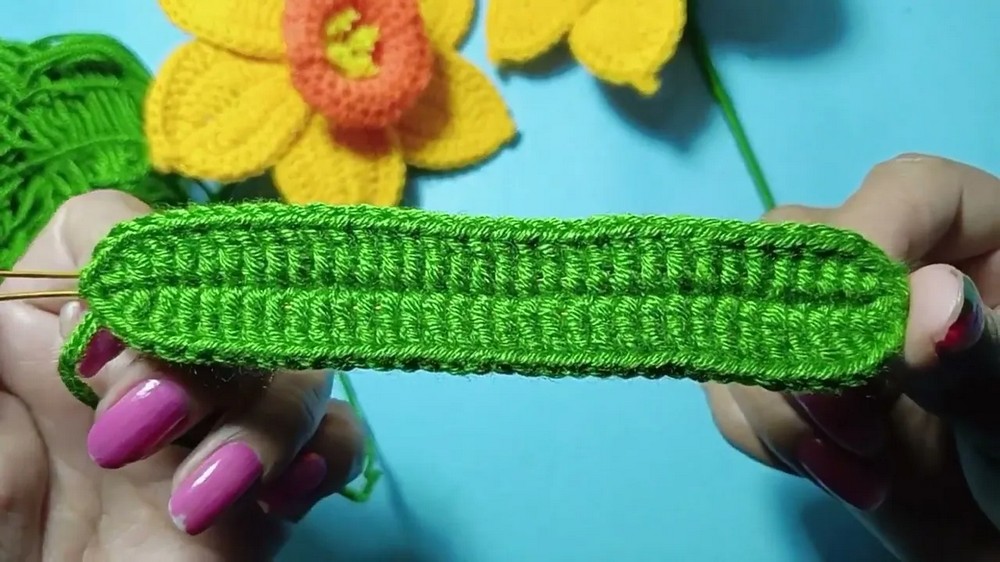
4. Leaves (Make 4, or as desired)
With green yarn and 2 mm hook:
- Ch 35.
- Hold wire along chain, working over it.
- Row 1 (first side):
- Skip 1 ch, hdc in next ch.
- Dc in next 31 ch.
- Hdc in last ch.
- Ch 1, turn and work along base (other side of ch):
- Hdc in first st.
- Dc in next 31 st.
- Hdc in last st.
- Sl st to base, fasten off.
- Arrange wire for natural curve. Secure ends as described in assembly.
5. Faux Grass and Pot Assembly
A. Prepare Pot:
- Cut Styrofoam circles to fit snug inside pot. Glue layers as needed for height/stability.
- Add small stones or rice at bottom for weight if desired.
B. Faux Grass:
- Spread a thick layer of craft glue/rubber cement over Styrofoam.
- Take green yarn, wind several layers around finger, snip bundles into “grass” clippings (short pieces).
- Sprinkle clippings over glue, pressing to adhere, and let dry.
C. Final Assembly:
- Arrange and glue flower stems and leaf wires securely into styrofoam.
- Angle leaves for a natural look.
- Ensure all ends are hidden, and add more “grass” as needed for coverage.
- Let glue dry completely before displaying.
Pattern Corrections & Tips
- Petal shaping: If petals curl or twist, gently shape using wire or block slightly.
- Color: Feel free to use variations, such as white petals with orange bells.
- Pot filler: Ensure foam is level with pot rim for best appearance before adding faux grass.
Conclusion
This potted narcissus pattern provides a detailed, realistic flower with botanical structure, wired leaves, and a charming faux-grass presentation. The flowers look stunning as a spring or holiday centerpiece, and the method is adaptable for any color preference or pot size.
Leave a Reply