
Warm up chilly days with this crochet beanie pattern made for kids while bringing comfort and charm to their winter adventures effortlessly.

Every little head deserves the cutest and coziest beanie to stay warm and stylish all day long! This charming handmade hat is perfect for kids, combining comfort with a playful touch that makes it irresistible. Whether it’s for chilly school mornings, fun outdoor adventures, or simply adding some flair to their outfit, a kid’s beanie is both practical and adorable. Personalize it with bright, cheerful colors or whimsical designs to match their unique personality and bring extra joy to their wardrobe.
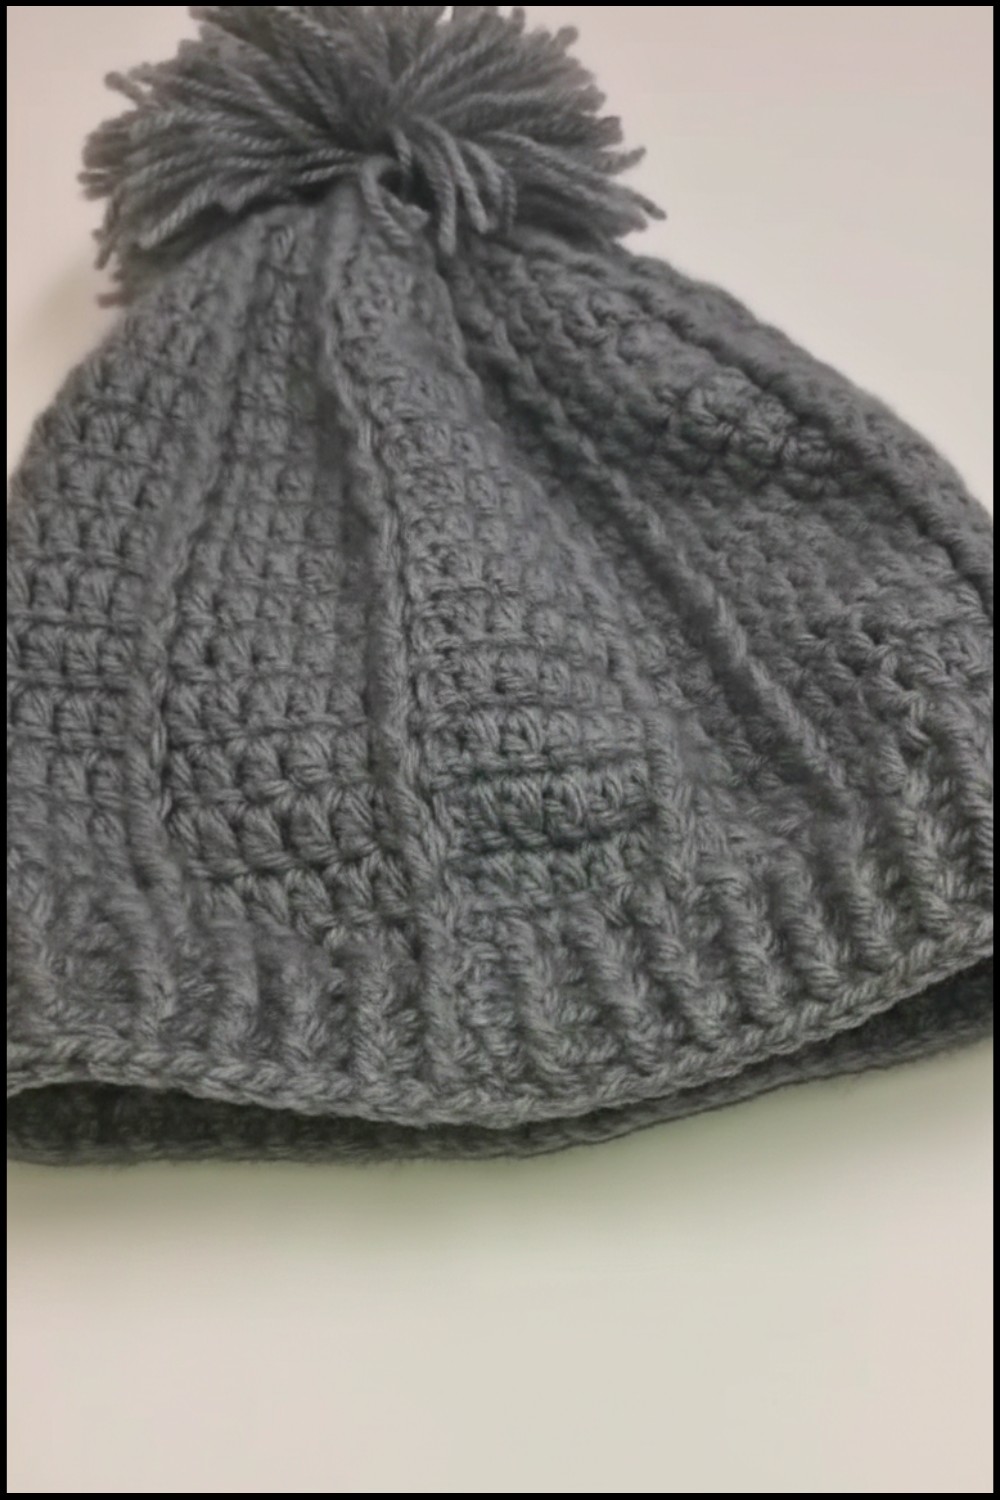
Fun and Stylish Crochet Beanie Patterns Every Kid Will Adore
Perfect as a thoughtful gift or just a sweet creation for your little one, it’s lightweight, snug, and keeps them cozy without any fuss. Every stitch creates a blend of warmth and love, turning this accessory into something truly special. With endless possibilities for creativity, this beanie isn’t just a winter essential—it’s a delightful piece they’ll love to wear everywhere!

Materials List
- Yarn: 100% acrylic yarn (lightweight or medium-weight yarn works best).
- Hooks:
- 4 mm crochet hook (for the main hat).
- 3.5 mm crochet hook (for the ribbed edge).
- Extras:
- Scissors.
- Tapestry needle for weaving in ends.
Skill Level
Intermediate. This pattern involves front post and back post stitches along with increases, so some familiarity with textured crochet techniques is recommended.
Key Abbreviations (US Terminology)
- ch: chain.
- st: stitch.
- sl st: slip stitch.
- dc: double crochet.
- fpdc: front post double crochet (see Special Notes).
- bpdc: back post double crochet (see Special Notes).
Special Notes
- Front Post Double Crochet (fpdc):
- Yarn over, insert hook around the post of the specified stitch (from front to back and then to the front again), yarn over, pull through, yarn over, pull through two loops, yarn over, and pull through the last two loops.
- Back Post Double Crochet (bpdc):
- Yarn over, insert hook around the post of the specified stitch (from back to front and then to the back again), yarn over, pull through, yarn over, pull through two loops, yarn over, and pull through the last two loops.
- The diameter of the hat should measure approximately 14 cm (5.5”) before you stop increasing. Adjust the diameter slightly for smaller or larger sizes if needed.
Hat/Beanie Pattern Instructions
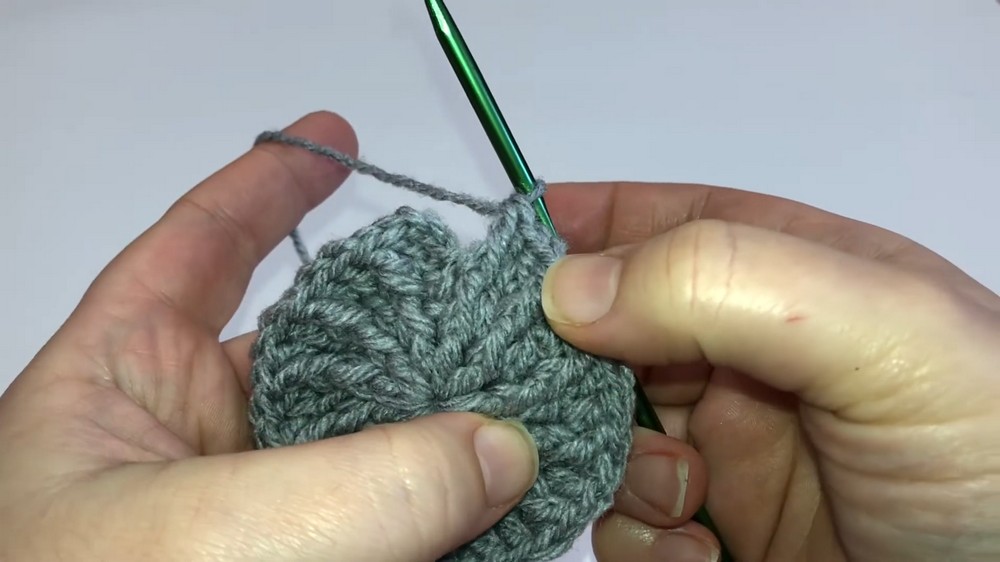
Step 1: Start with the Magic Circle
- Create a magic circle.
Round 1
- Ch 3 (counts as the first dc).
- Work 11 dc inside the magic circle.
- Join the round with a sl st to the top of the first ch 3.
- You will have 12 stitches.

Round 2
- Ch 3 (counts as the first dc).
- In the same stitch, work 1 fpdc.
- In the next stitch, work 1 dc and 1 fpdc.
- Repeat (1 dc, 1 fpdc) in each stitch around.
- Join the round with a sl st to the top of the first ch 3.
- You will now have 24 stitches.
Round 3
- Ch 3.
- In the next stitch, work (1 dc, 1 fpdc).
- In the next stitch, work 1 dc.
- Repeat (1 dc, 1 fpdc) in one stitch, 1 dc in the next stitch around.
- Join with a sl st to the top of the first ch 3.
Round 4
- Ch 3.
- Work 1 dc in the next stitch, (1 dc, 1 fpdc) in the following stitch.
- Work 1 dc in the next 2 stitches, (1 dc, 1 fpdc) in the third stitch.
- Repeat (two dc stitches followed by an increase) around.
- Join with a sl st.

Round 5
- Ch 3.
- Work 1 dc in the next 2 stitches.
- In the following stitch, work (1 dc, 1 fpdc).
- Work 1 dc in the next 3 stitches, (1 dc, 1 fpdc) in the fourth stitch.
- Repeat around and join with a sl st.
Round 6
- Ch 3.
- Work 1 dc in the next 3 stitches.
- In the next stitch, work (1 dc, 1 fpdc).
- Work 1 dc in the next 4 stitches, (1 dc, 1 fpdc) in the fifth stitch.
- Repeat around and join with a sl st.
Round 7
- Ch 3.
- Work 1 dc in the next 4 stitches, (1 dc, 1 fpdc) in the fifth stitch.
- Repeat around.
- Join with a sl st.
Round 8
- Continue the pattern by working dc stitches evenly with (1 dc, 1 fpdc) increases, ensuring the increases are spaced appropriately to maintain the shape of the beanie.
Stop Increasing
- Once the diameter of the hat has reached 14 cm (5.5”), stop increasing.
- From here, continue working dc stitches with fpdc every 6th or 7th stitch for height.
- The hat should measure approximately 19 cm (7.5”) in height before you move to the next step.
Round 9-Onward (Final Height Rounds)
- Repeat Round 9 (double crochet with front post stitches spaced evenly) until the beanie reaches 19 cm in height.

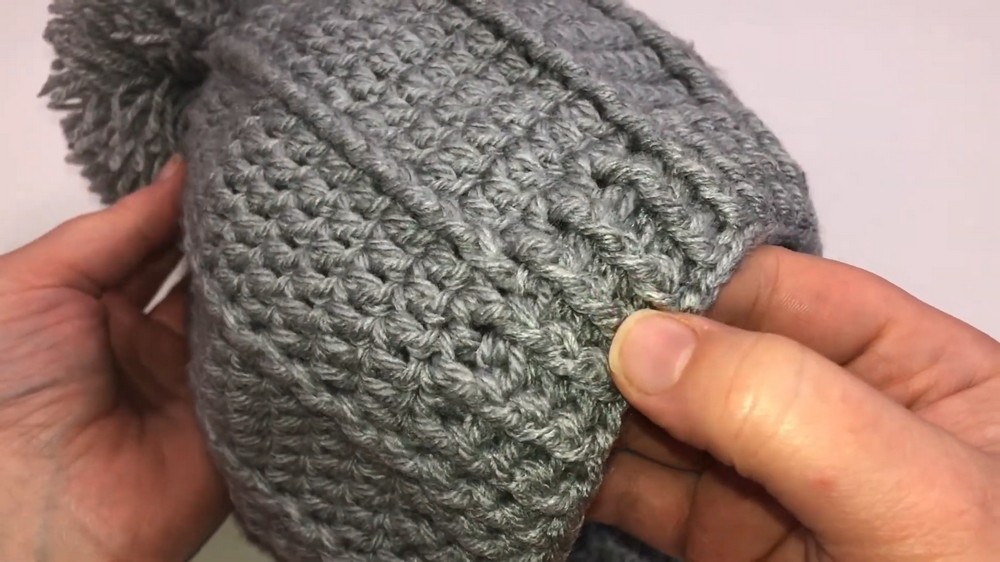
Ribbed Edge (Last 4 Rounds)
- Switch to the 3.5 mm crochet hook.
- Ch 1, work bpdc into the first stitch, fpdc into the second stitch.
- Repeat (bpdc, fpdc) around the row for a ribbed texture. Join with a sl st.
- Repeat for 4 rounds, ensuring you alternate the bpdc and fpdc stitches.
Finishing
- Fasten off and weave in all ends with a tapestry needle.
- Block the beanie if needed to shape properly.
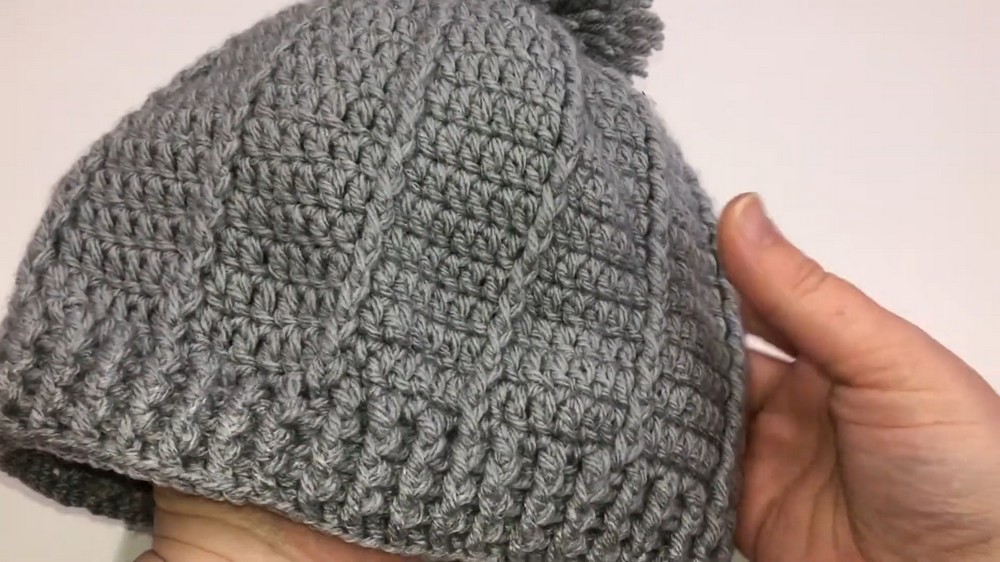
Conclusion
This textured beanie is suitable for children ages 6-10 years with a stylish and unique design that incorporates both functional warmth and visual appeal. The mix of front and back post stitches, along with the ribbed edge, enhances its charm.
Pattern Corrections
- Ensure the fpdc increases are spaced evenly and maintain the round’s stitch count at each step. Misplacement can cause the hat to lose its symmetry.
- Double-check stitch counts after every round, especially during the increases.
Tips
- Use contrasting yarn for the ribbed edge or front post stitches to add visual interest.
- For a bigger size, continue increasing beyond 14 cm in diameter by following the same stitch pattern.
- Block the finished hat gently for a perfect fit and smooth stitches.
Leave a Reply