
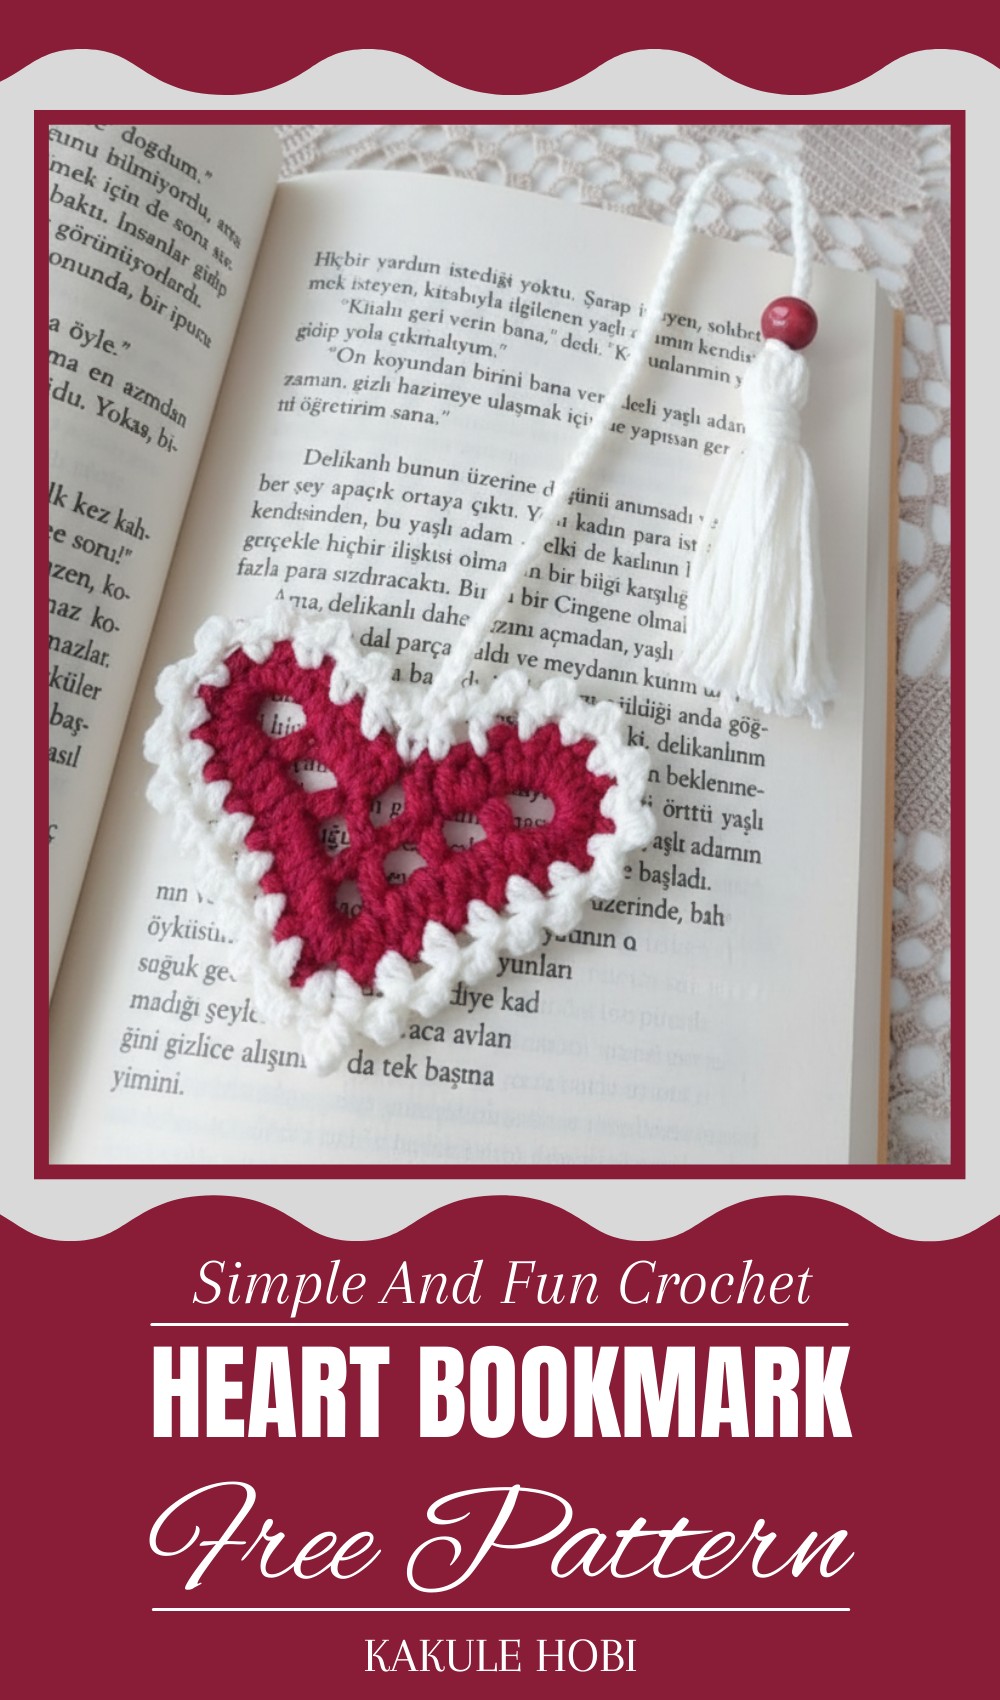
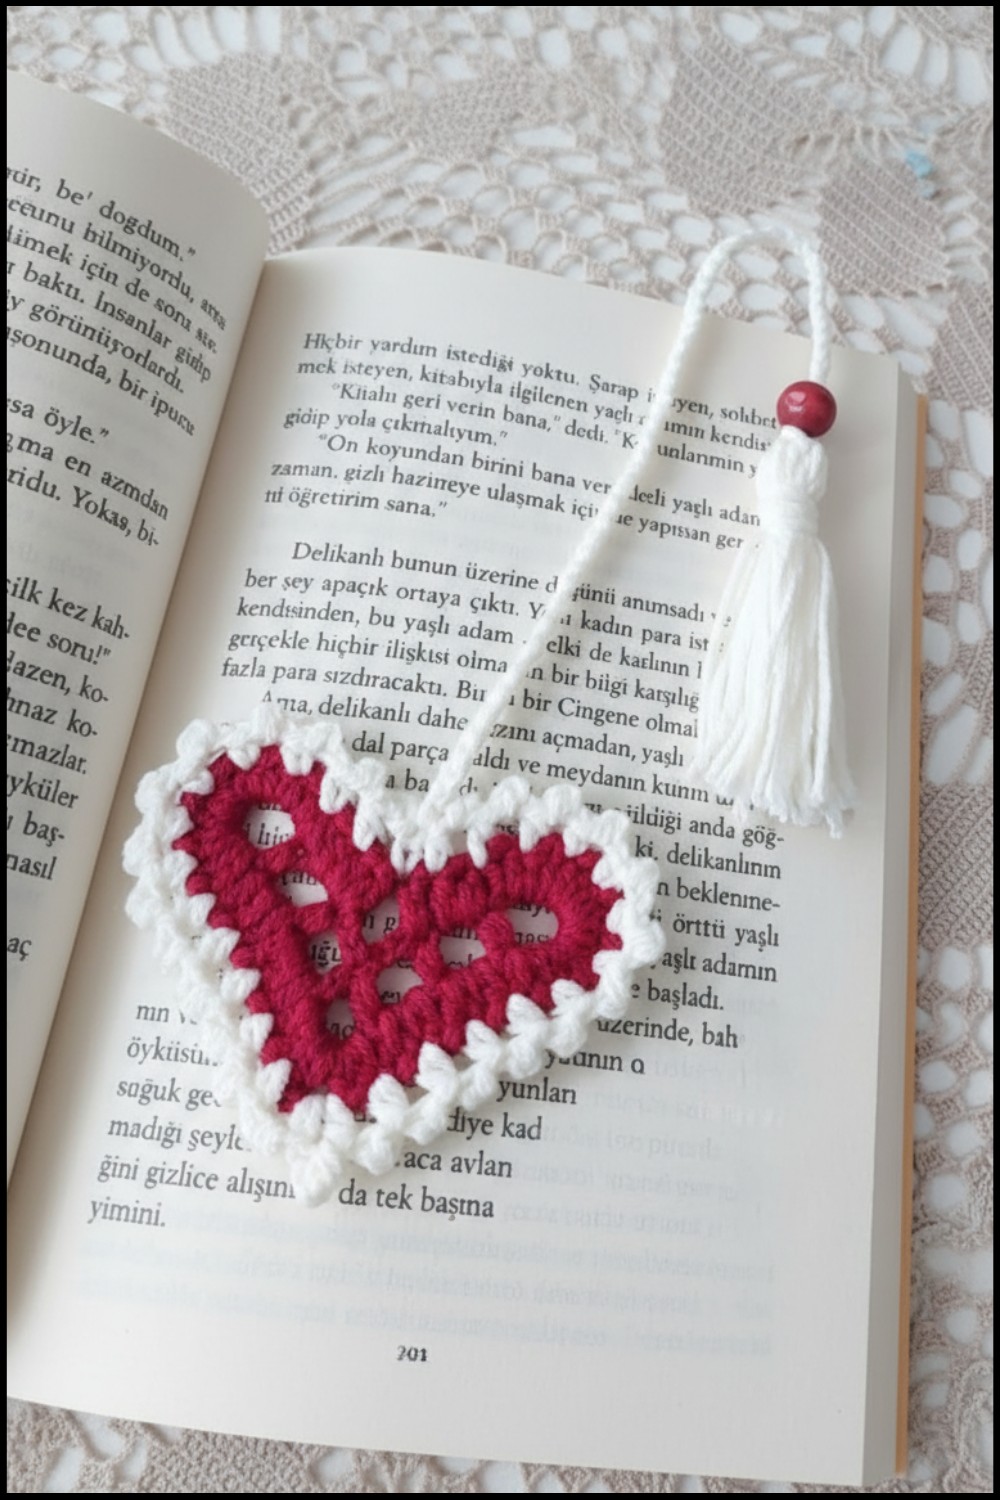
Mark your favorite pages with this Crochet Heart Bookmark Pattern and give your books a cheerful accent that brightens every reading moment.
Materials
- Yarn:
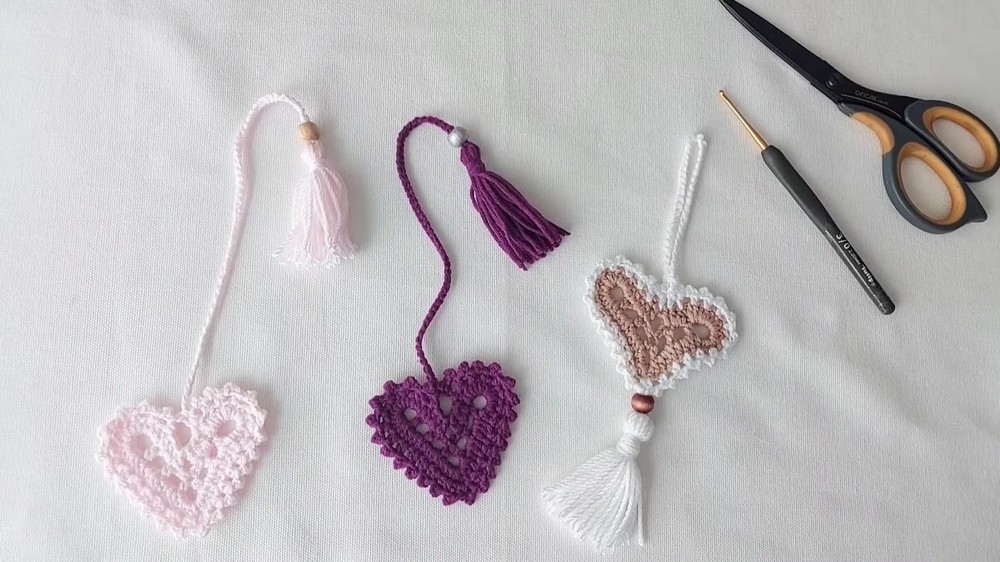
- Primary material: M Cotton Yarn (such as Alize Cotton Gold). Recommended: One skein in red or the desired heart color.
- Secondary material: Optional cream-colored yarn for decorative details (or any contrasting color of your choice).
- Hook Size: 2.2 mm crochet hook (US Size 3)
- Optional Items:
- Cardboard for tassel wrapping
- Small red or decorative beads for tassel accents
- Scissors, tapestry needle
Key Abbreviations
- ch: Chain
- sl st: Slip Stitch
- hdc: Half Double Crochet
- st(s): Stitch(es)
- YO: Yarn Over
Special Notes
- Ensure your tension is consistent throughout to create neat and symmetrical results.
- Optional: Block and iron the finished heart for a polished appearance.
Pattern Instructions
Step 1: Foundation Chain and Setup
- Begin by making a slip knot and chaining 19. This forms the foundation chain.
- Starting from the last ch you made, count 7 chains backward.
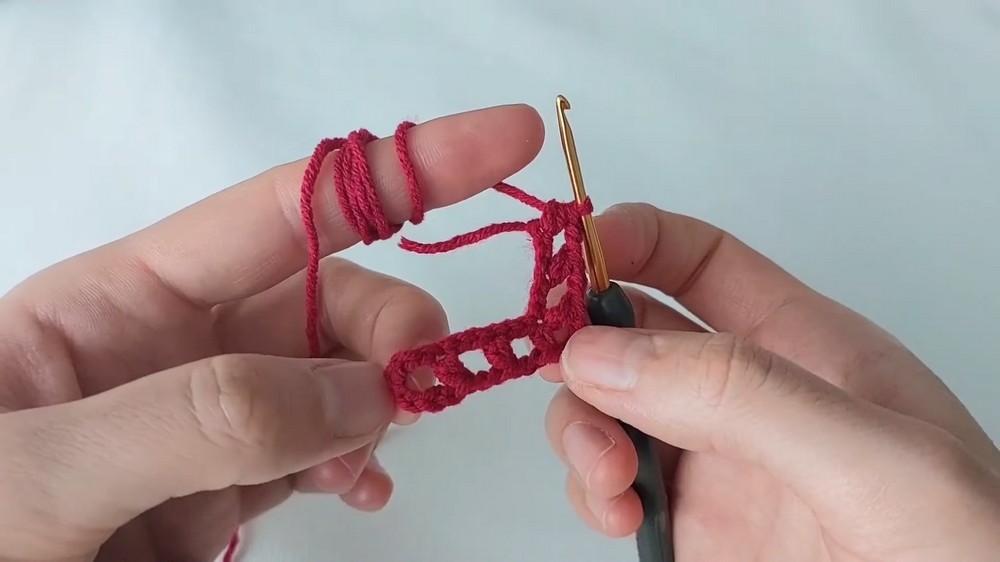
Step 2: Creating the Bottom of the Heart
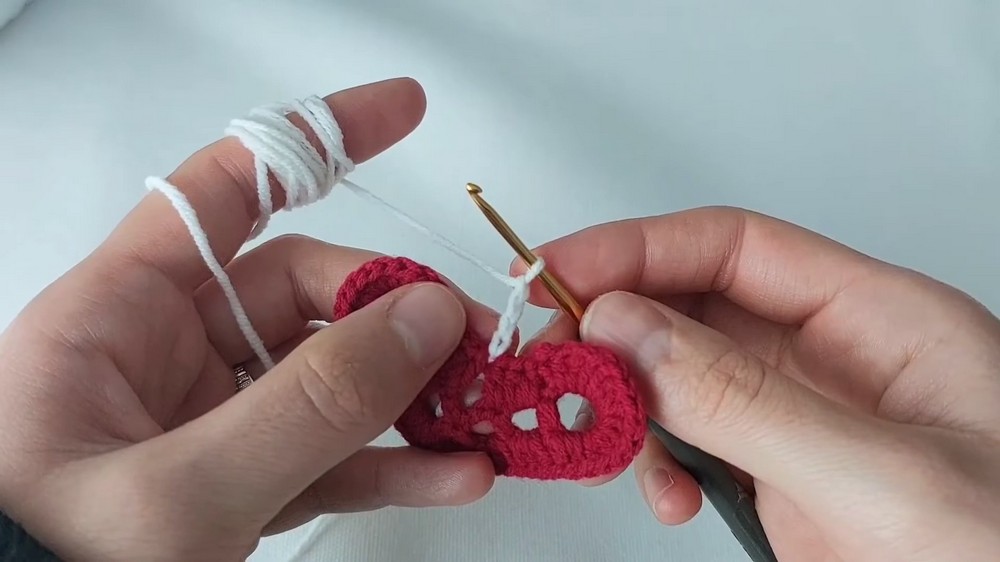
- YO, insert the hook into the 8th chain, and make a hdc (Half Double Crochet). You should have 3 loops on your hook; pull through all three loops to complete the stitch.
- Ch 2. Skip the next 2 chains, and hdc into the 3rd chain. Repeat to create gaps.
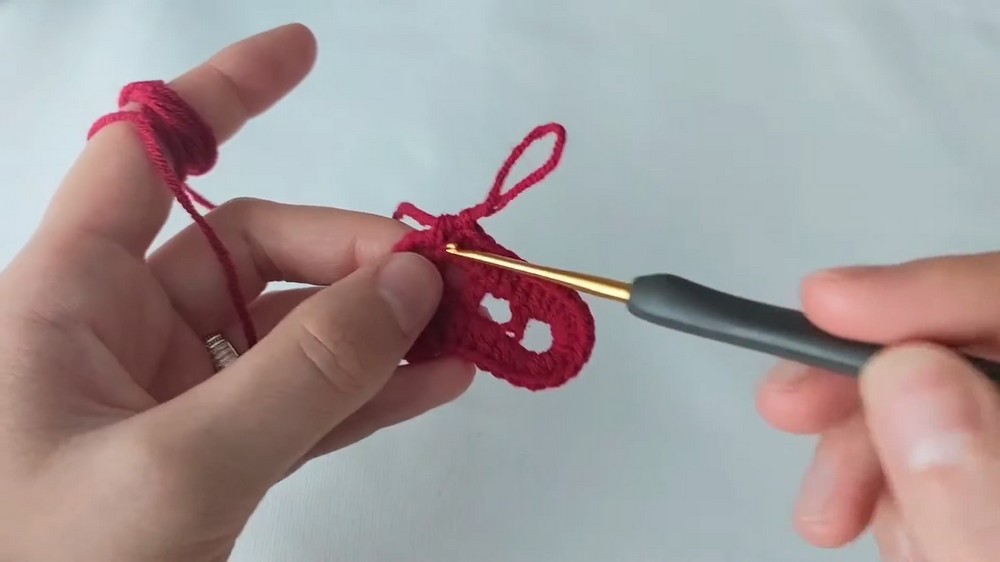
- After skipping two chains, create a 4-ch loop in the gap (instead of the previous 2-ch loop):
- Chain 4. YO and insert your hook into the same gap space. Make a hdc to form the curved end of the heart’s point.
- Fill the remaining stitches with hdc stitches in the same manner, skipping 2 chains between each hdc.
Step 3: Completing the Base
- Once the first row is completed, chain 7 to mirror the other side of the heart.
- Sl st into the last stitch to close the round, ensuring symmetry.
Step 4: Filling in the Shape
- Chain 2 to start the next row. Fill the gaps and spaces as follows:
- Work 2 hdc in each gap of the previous row.
- Work 1 hdc at the top of the stitches from the prior round. Continue this until you return to the base of the heart.
- For the 7-chain space at the bottom, work 12 hdc into the gap to create the round shape of the heart.
- Close the round with a sl st into the beginning stitch.
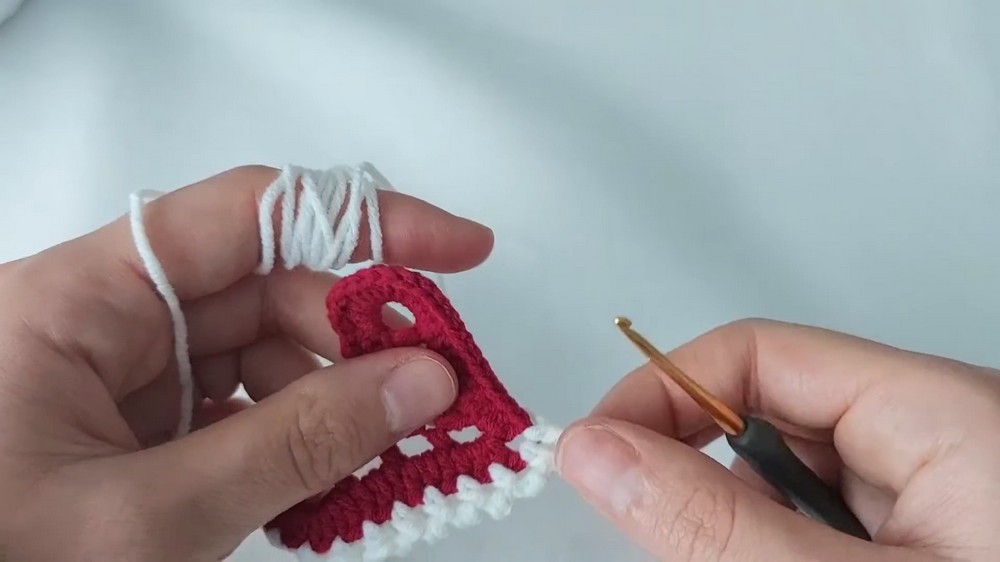
Step 5: Adding Decorative Details with Contrasting Yarn
- Attach the cream-colored yarn (or your chosen contrast color) to any stitch at the edge of the heart.
- Ch 4, then thread through to the next st, securing with a sl st to create a scalloped edge.
- Continue this method around the heart, chaining 4 at each interval and attaching it with a sl st to secure the design.
Step 6: Crochet Loop Hanging
- Attach your yarn to any desired point on the heart where you want to make the loop.
- Begin chaining to your preferred length for the hanging loop.
- Once at the desired length, sl st into the starting point and fasten off.
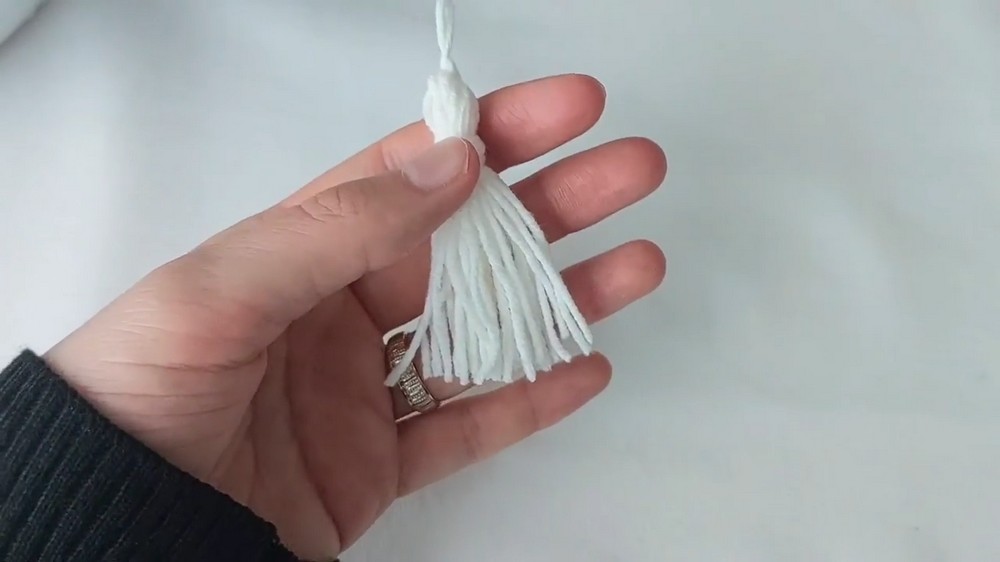
Step 7: Creating the Tassel
- Take a piece of cardboard. Wrap your yarn lengthwise around the cardboard to your preferred thickness.
- Slide the yarn off the cardboard carefully and use a separate small piece of yarn to secure the top of the tassel by tying a knot.
- Cut the bottom loops of the tassel to create the fringed edges.
- Wrap and secure the top section of the tassel for a neat finish. Attach beads if desired.
- Trim the tassel ends evenly and attach it to the heart-shaped crochet piece using the hanging loop.
Step 8: Finishing Touches
- Weave in all loose ends using a tapestry needle to secure your stitches.
- Optional: Gently block and iron the heart to ensure it lays flat and neat. Pull at the corners while ironing to emphasize the shape.
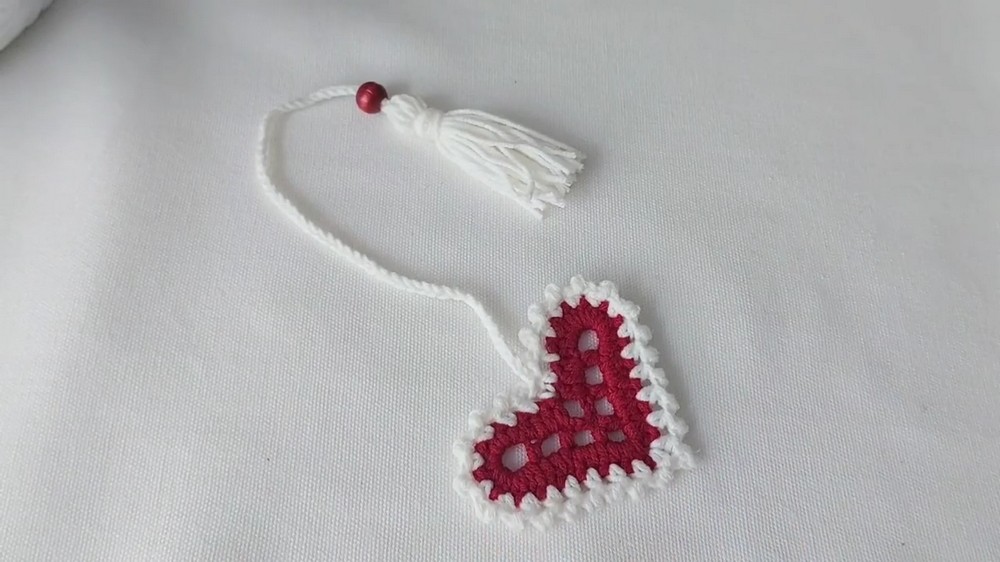
Conclusion
Congratulations on completing your Crochet Heart Bookmarks! You’ve created a personalized, charming accent that makes for a delightful accessory or thoughtful gift. Repeat the pattern in different colors and sizes to suit your style or occasion.
Pattern Correction
If you notice uneven edges or gaps:
- Ensure you’re counting stitches accurately, particularly when skipping chains or spaces.
- Adjust tension if the heart shape curls excessively.
Tips
- For Tassel Volume: Add more wraps around the cardboard for a fuller tassel.
- Beads: Thread beads to the tassel before tying to add embellishments without hassle.
- Practice: If you’re unfamiliar with hdc, practice this stitch independently to ensure consistency.
Leave a Reply