
Experience cozy style with this Crochet Jersey Pattern ideal for warmth and personality that keeps outfit inviting and stylish effortlessly.

Cozy Crochet Jersey Pattern Elevates Your Everyday Wardrobe
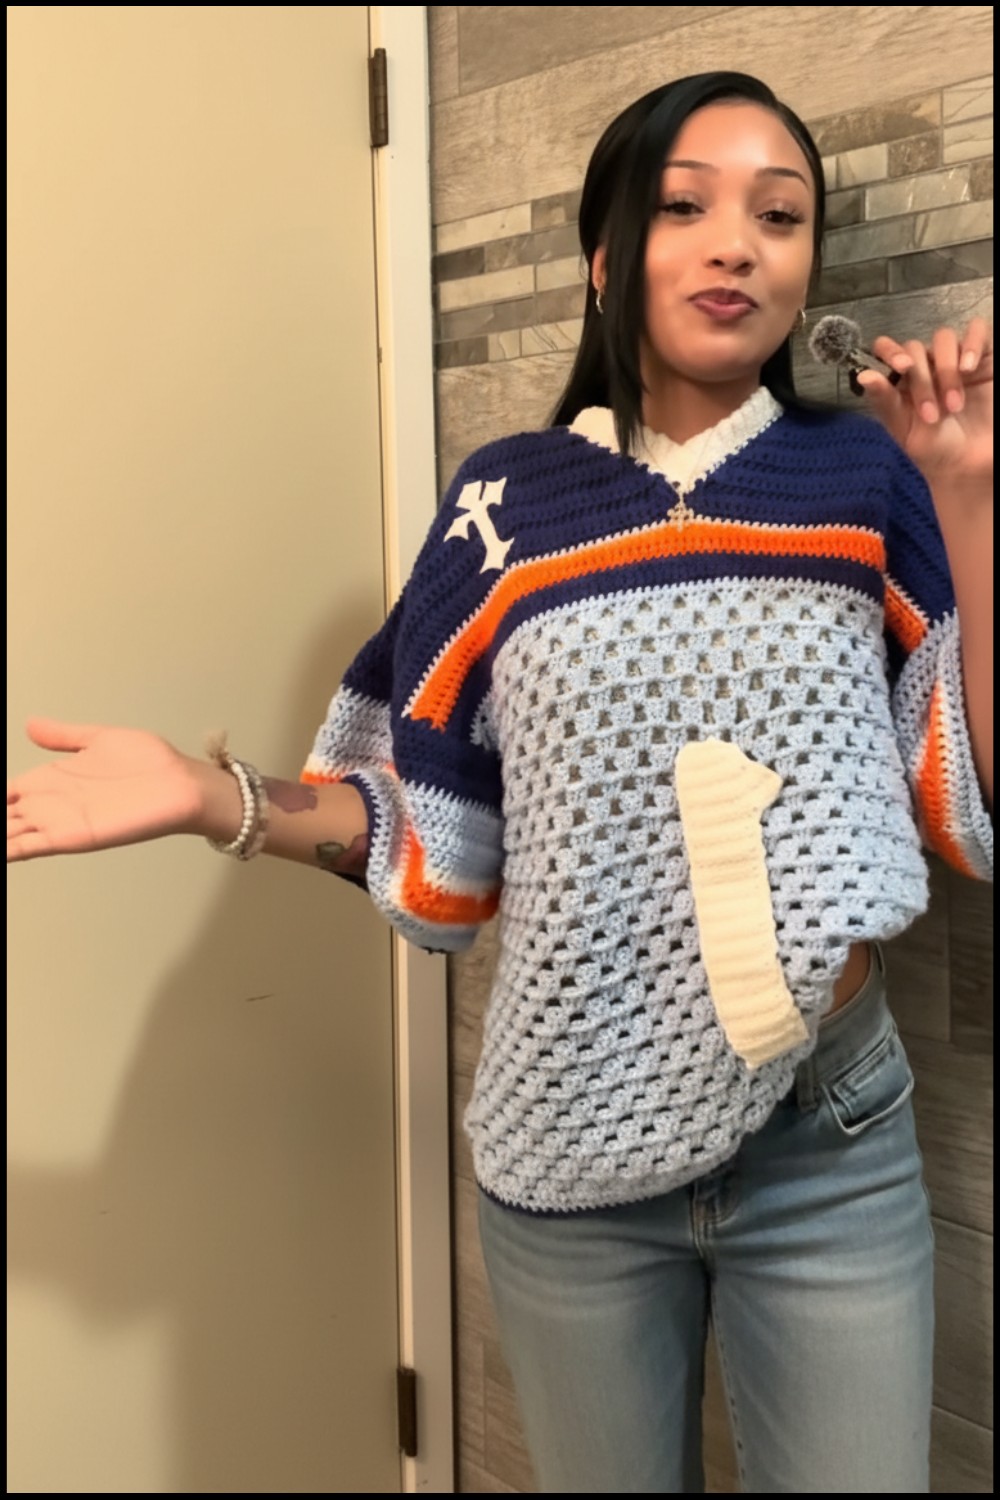
Wrap yourself in warmth and style with this cozy and beautifully designed jersey. Its soft texture and intricate patterns add charm to any outfit, making it perfect for chilly evenings, casual outings, or simply relaxing at home. Whether layered with jeans and boots for a trendy look or paired with lounge pants for extra comfort, this piece works effortlessly for any occasion. The Crochet Jersey pattern allows you to explore endless color options, creating a timeless look or a bold, vibrant statement—whatever suits your personality best.

Its elegance lies in the delicate stitching that gives the jersey a unique and eye-catching appearance, making it not just practical but a stylish wardrobe favorite. Perfect for gifting or adding flair to your own collection, this jersey offers beauty, versatility, and the ultimate cozy feel, all while capturing attention with its stunning details and design.
Materials List
Gather the following supplies:
- Yarn: Medium-weight yarn (Category 4); at least three colors for the body, neckline, and details.
- Suggested: A primary color, accent color(s) for stripes/details, and contrast for ribbing or numbers.
- Hook Size: 6.0mm crochet hook.
- Scissors: For cutting yarn ends.
- Stitch Markers: For marking sections like panel rows and armholes.
- Measuring Tape: To check panel measurements against your body.
- Yarn Needle: For sewing seams and weaving in ends.
Optional: Steamer or block pins to finish and shape the finished jersey.
Key Abbreviations
- ch: Chain
- sc: Single crochet
- dc: Double crochet
- hdc: Half double crochet
- sl st: Slip stitch
- yo: Yarn over
- st: Stitch
- sp: Space
- BL: Back loop only
Pattern Instructions
Step 1: Front Panel – Granny Stitch Rows
Foundation Chain
- Start with a slip knot.
- Chain in multiples of 4 for a granny stitch pattern. For reference, the tutorial uses 72 chains.
- Tip: To achieve your desired width, hold the chain up to your body after completing it. Adjust the number of chains for a snug or oversized fit.
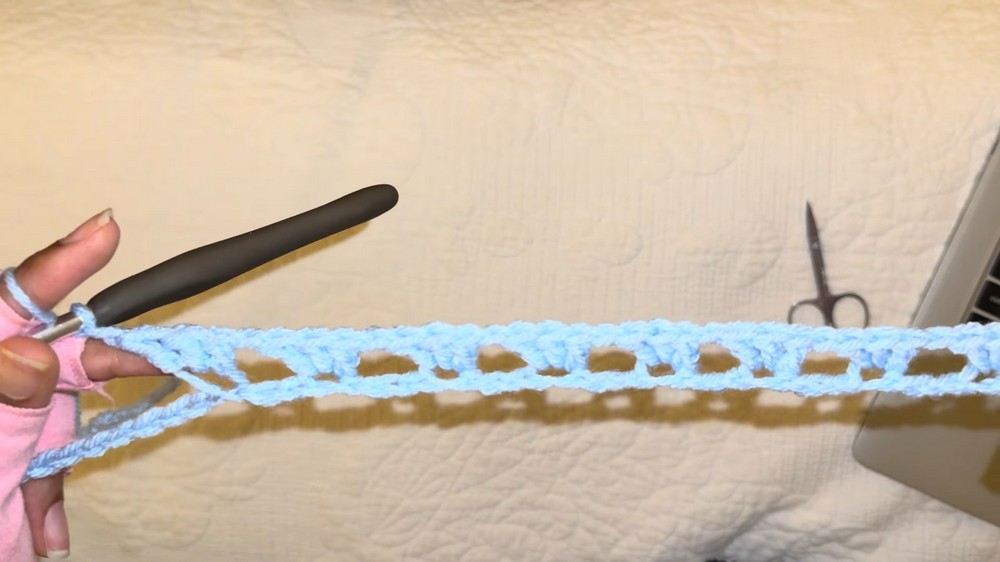
Row 1: Granny Clusters
- Add 6 more chains to the foundation (for edge structure).
- Yo and insert hook into the 7th chain from the hook. Work 1 dc, followed by 2 more dc into the same stitch (this forms your first cluster).
- Ch 1, skip 3 chains, and in the next chain, create another cluster (3 dc).
- Repeat: Ch 1, skip 3 chains, 3 dc in next chain until 4 chains remain.
- At the end, ch 1, skip 3, and 1 dc into the last chain (to balance the row).
Row 2
- Ch 3, turn your work (this counts as your first dc for the row).
- In the space immediately after the ch-3, work 2 dc (this forms the edge cluster).
- Ch 1 and work 3 dc into each ch-1 space across, chaining 1 between each cluster.
- At the end of the row, in the final space, work 2 dc and dc into the 3rd chain from the starting chain-6 of the previous row.
Row 3
- Ch 4, turn your work (this chain counts as a dc + ch 1).
- In the next ch-1 space, work 3 dc.
- Continue working granny clusters and chain 1 for each gap between clusters.
- To end, ch 1 and work 1 dc into the last dc of the previous row.
Repeat Row 2 and Row 3 alternately until you have 30 rows (or your desired length).
Step 2: Add Solid Stripes
Single Crochet Rows (Stripe Base)
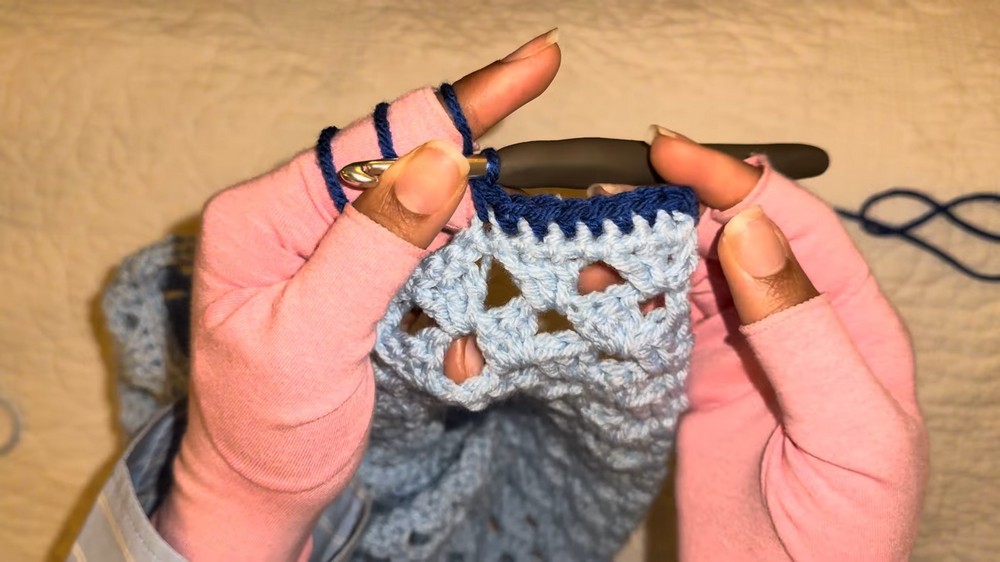
- Once the granny stitch section is complete, chain 1, turn your work, and work 1 sc into each st, including the chain spaces (this row will tighten the granny stitch pattern slightly).
- At the end of the row, change colors by completing the last sc with the new yarn. Knot the two colors together to secure the transition.
Double Crochet Row
- With your new color, chain 2, turn your work. Skip the first st and work dc into each st across.
- Note: Skip the first sc when working dc rows to prevent increasing stitches.

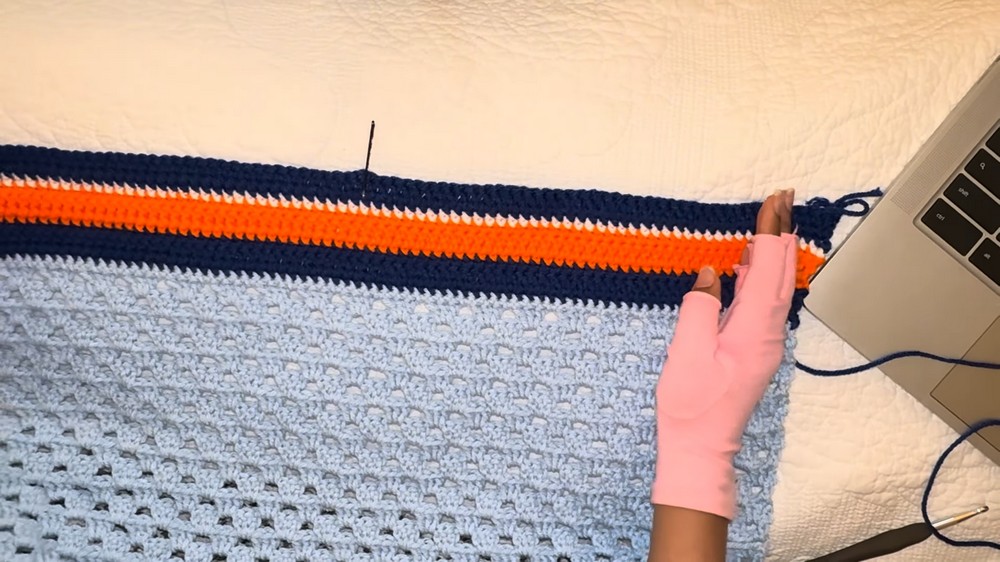
Create Stripes
- Add additional rows alternating between sc and dc rows. Follow the suggested stripe pattern in the tutorial:
- Single crochet row (Color A) → Double crochet row (Color A) → Single crochet row (Color B).
For a sportier “jersey” appearance, use bold color contrast between rows.
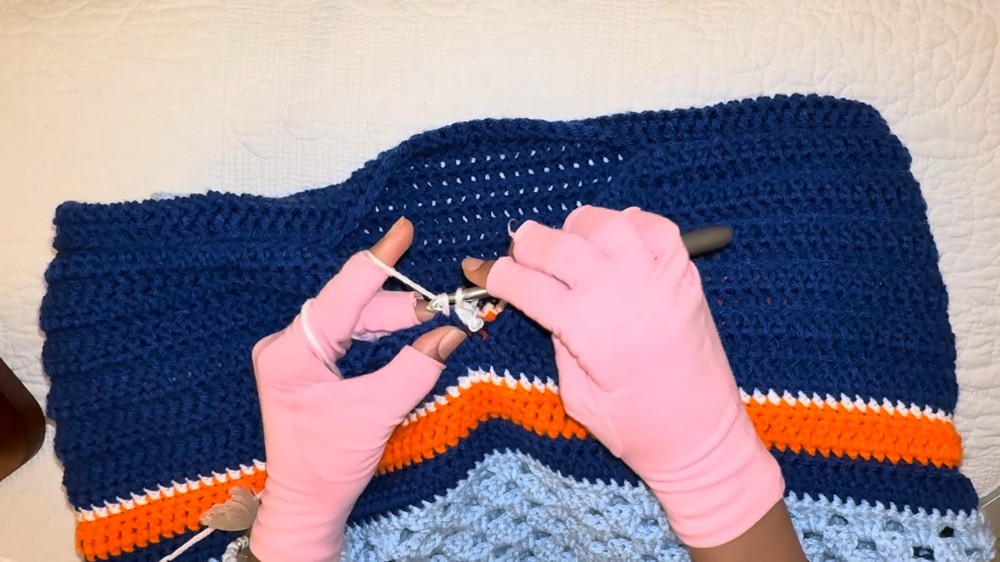
Step 3: Back Panel
- The back panel uses the same foundation and granny stitch method as the front but has no neckline shaping.
- Work 30 granny stitch rows and add solid stripes to match the front panel.
- Add 10 additional rows of dc for height to align with the front panel V-neck height.
Step 4: V-Neck Shaping (Front Panel)
- Find the center stitch of the front panel (divide the total stitches in half). Mark both sides of the center stitch using stitch markers.
- Attach yarn to one side of the marked center. Work dc across one half only, leaving the other half unworked. Decrease at the center edge of each row to shape the V-neck:
V-Neck Decrease
- When 3 stitches remain near the marked center:
- Work dc2tog over two stitches.
- Work 1 dc into the last stitch.
- Turn, work back across the row, but start with:
- dc into the first stitch.
- dc2tog in the next two stitches.
- Repeat until you shape a complete V-neck with 10 rows.
- Repeat on the other side to complete the second half of the V-neck.
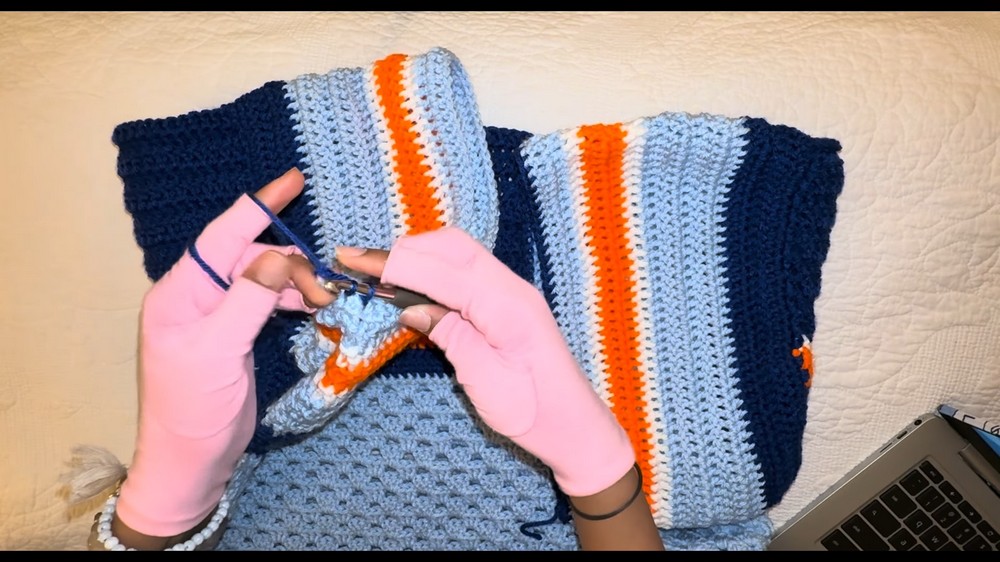
Step 5: Assembly
Join Shoulders
- Place the front and back panels together, with the right sides facing inward.
- Stitch each shoulder seam together by using sl st through the back loops only.
- Test the fit of the jersey before closing the seams completely to ensure comfortable shoulder width.
Join Sides/Body
- Turn the jersey inside out to prevent visible seams.
- Slip stitch up the sides, leaving openings for the armholes.
- The armhole should begin about 3 rows down from the top granny stitch area.
Step 6: Sleeves
- Attach yarn to an armhole at the seam.
- Work 2 sc into each row edge around the armhole to ensure even coverage. Sl st to the first sc to close the round.
- Continue working dc rows for the sleeve length, alternating colors for stripes if desired.
- Add a final sc row at the end to stiffen the sleeve border.
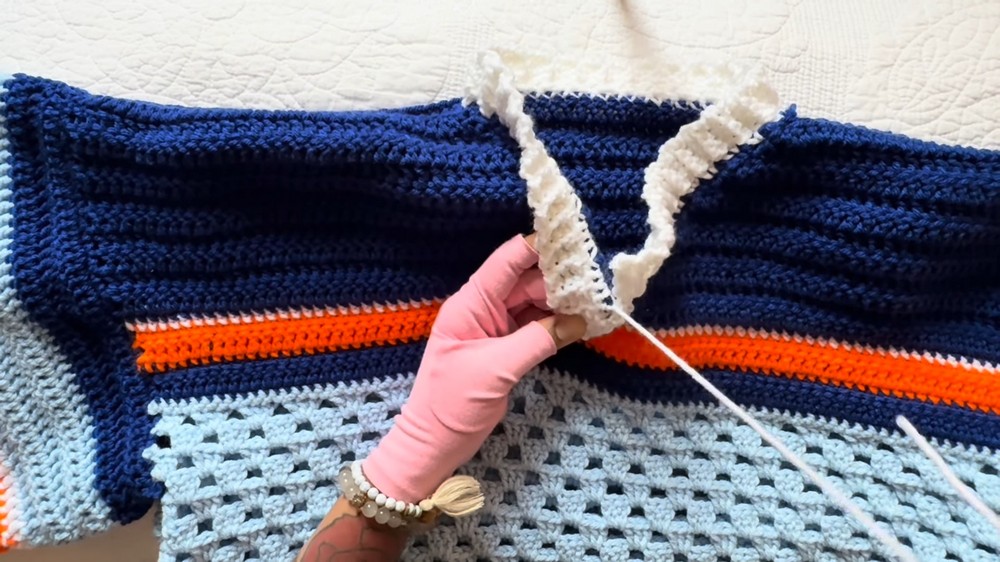
Step 7: Neckline Ribbing
- Attach yarn to the V-neck edge and create 2 sc per row along the sides of the V-neckline. Reduce to 1 sc per stitch along the back edge for consistency.
- Work ribbing using short row back-loop-only sc ribbing:
- Chain 5, turn, and work 4 sc back.
- Sl st into the next 2 neckline stitches, then turn and repeat.
- Continue ribbing around the neckline until it’s fully covered.
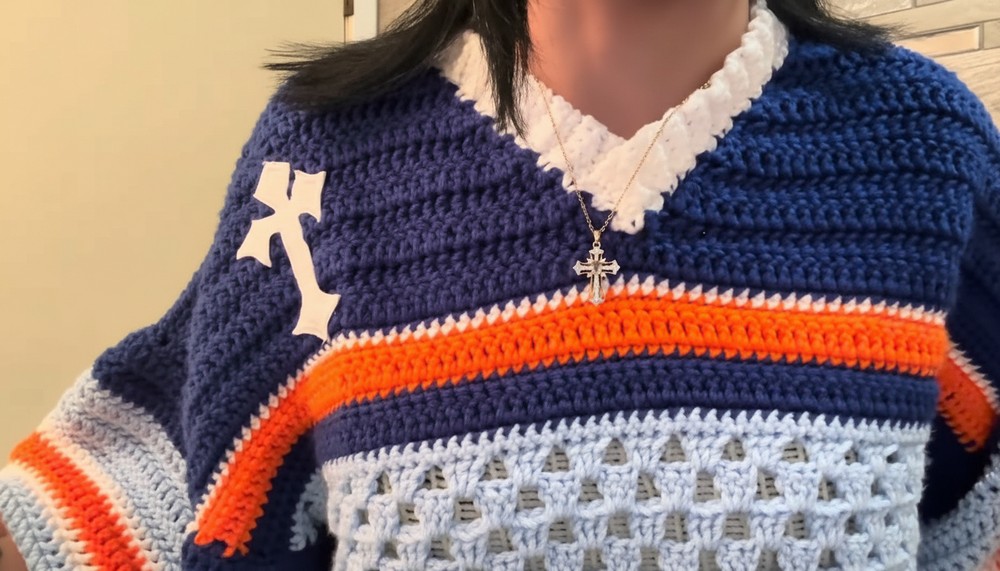
Customization Ideas
- Colors: Use team colors, a gradient, or a single-tone look for a modern feel.
- Oversized Fit: Add more starting chains or extra rows to make the jersey longer or looser.
- Add Numbers/Name: Use contrasting yarn to add details like a player number or name to personalize.
Conclusion
You now have an amazing crochet jersey that’s stylish and fun to wear! This project is highly customizable, lightweight, and looks great in any color. Block or steam the final jersey for a polished finish.
Pattern Corrections
- Ensure your stitch count stays consistent, especially when switching between rows (e.g., granny stitch to sc/dc rows).
- Double-check decreases at the neckline to avoid an asymmetrical look.
Tips
- Even Stitches: Use stitch markers to keep track of rows and decreases.
- Tension: Keep slip stitches relaxed when joining panels to reduce puckering.
- Test Fit: Try the jersey on (or measure often) while sewing and before adding details.
Leave a Reply