
Cozy up to stylish crochet scarf patterns that are simple to make, endlessly versatile, and perfect for adding beauty and personality to your outfits.
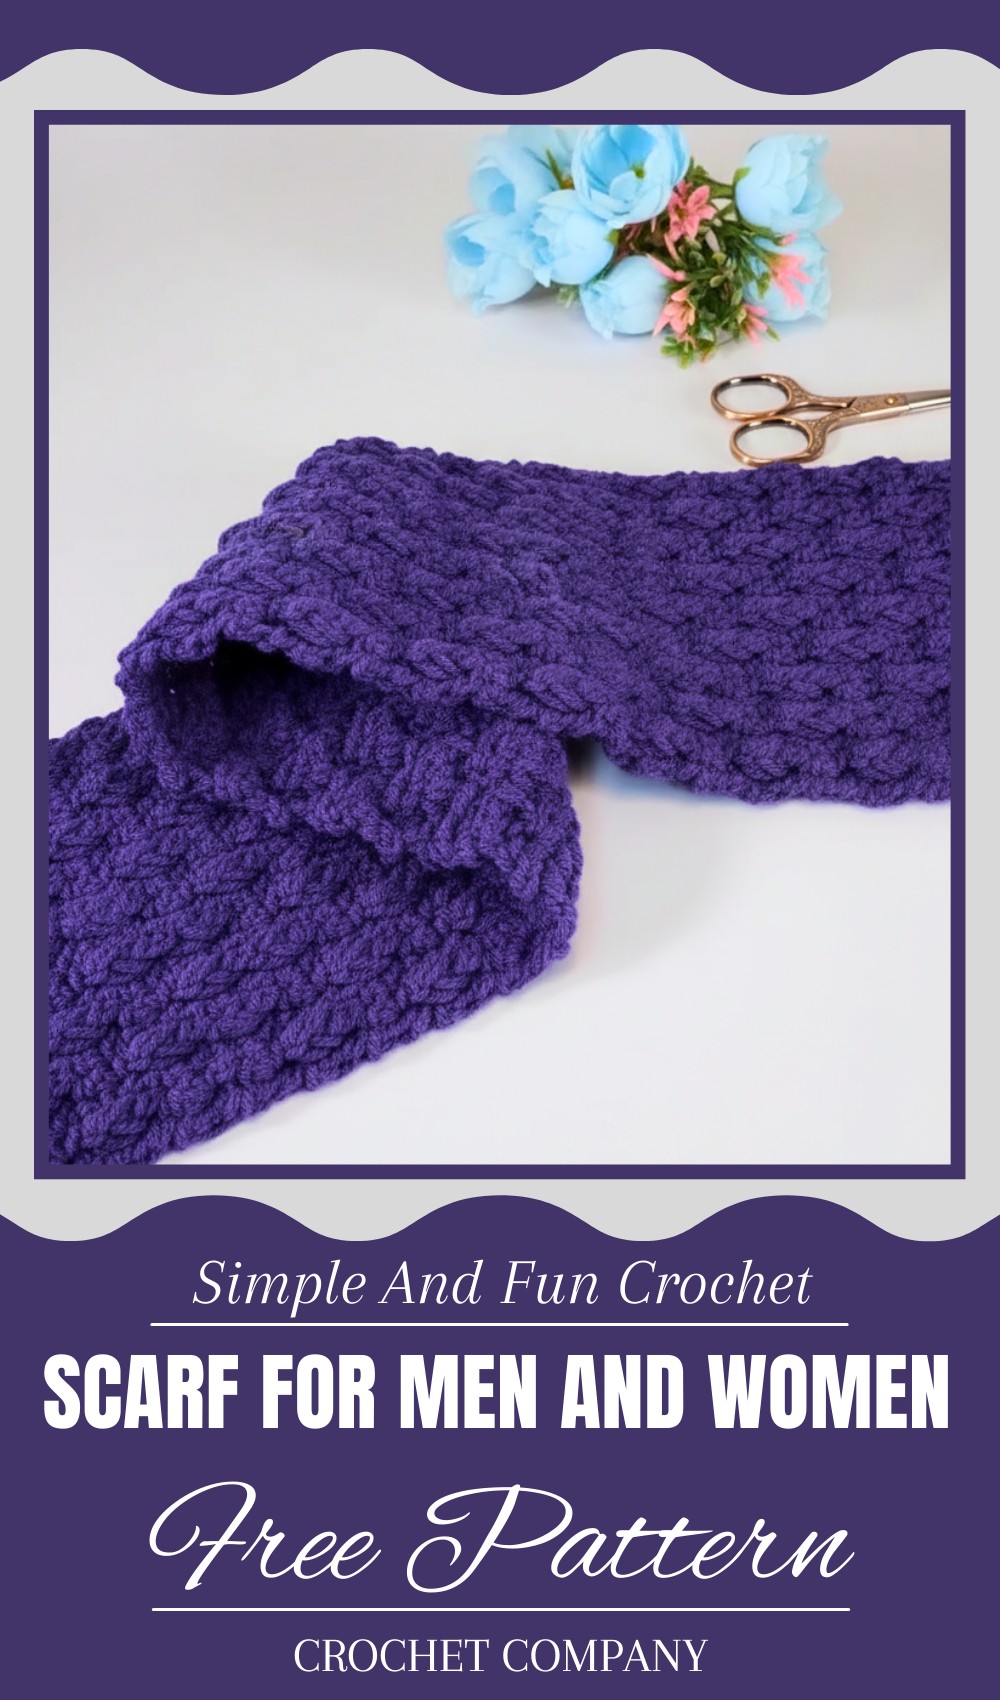
Stylish Crochet Scarf Pattern You’ll Absolutely Love
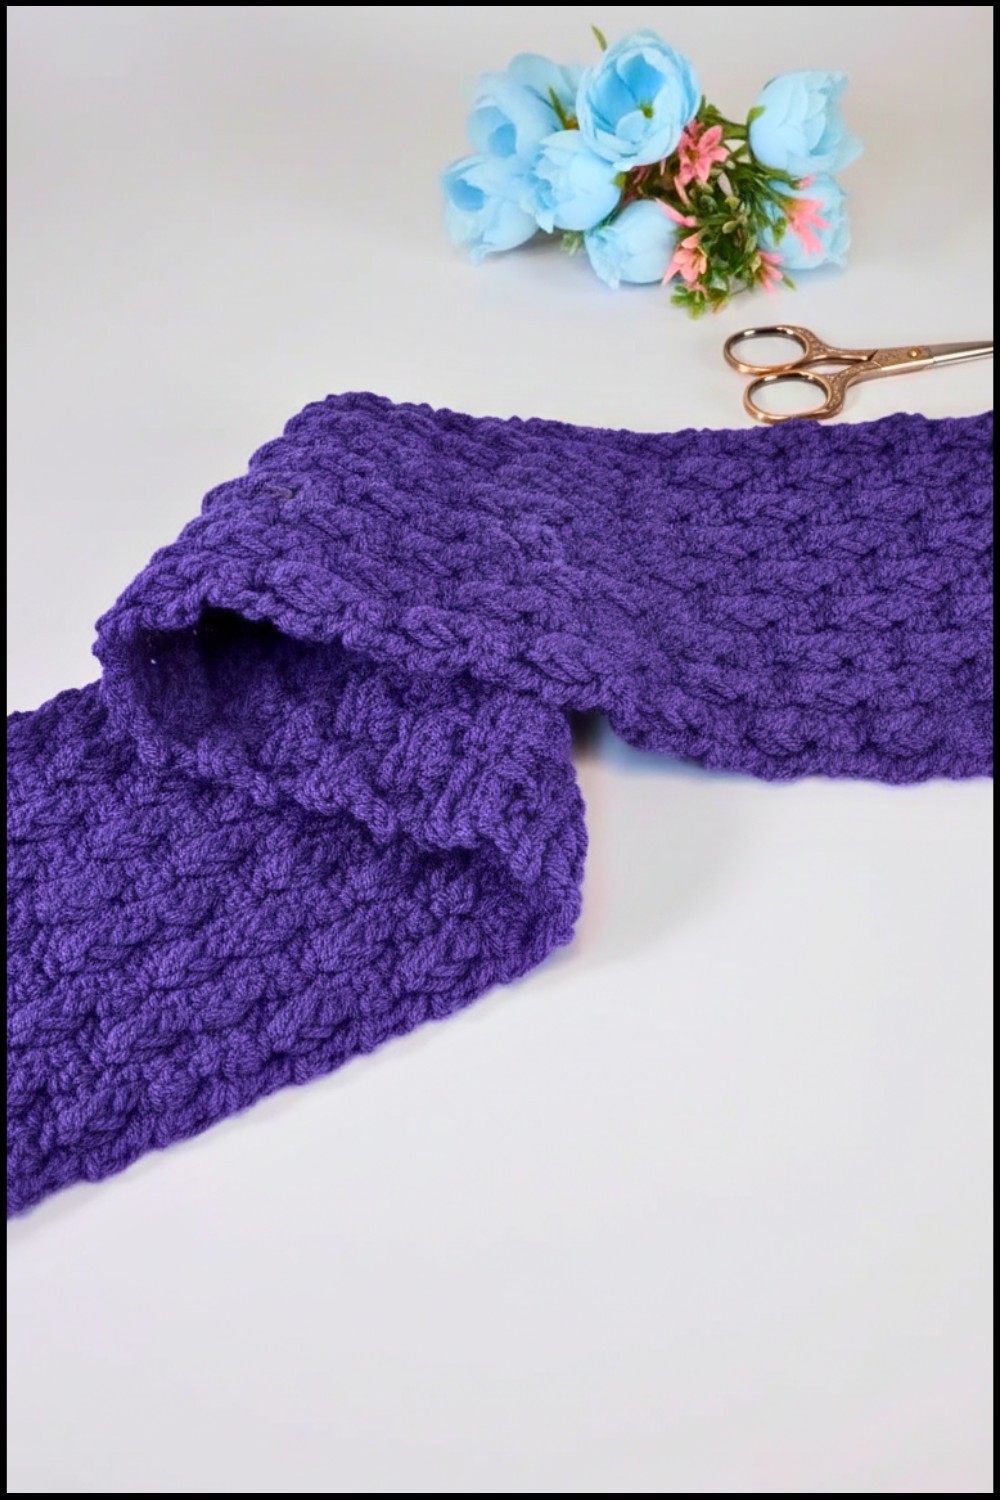
Stepping out on a chilly day, wrapped in something soft, cozy, and absolutely beautiful. That’s the magic of a crochet scarf—it’s more than just an accessory; it’s a piece of art you can wear. With unique patterns and endless possibilities, a crochet scarf brings together both elegance and comfort. These scarves can range from light, airy designs perfect for cool evenings to thick, cozy creations that keep you warm even on the coldest days.
Their beauty lies in the intricate details and vibrant colors that make them stand out wherever you go. Not only do they add style to your outfits, but they’re also practical and versatile—you can wear them casually or even to special occasions. Whether you’re staying warm or looking to make a fashion statement, a crochet scarf transforms the ordinary into something unforgettable. It’s warmth with a touch of artistry.
Crochet Pattern: Versatile and Elegant Scarf
Pattern Level: Beginner-Friendly
(Basic knowledge of single crochet, double crochet, and working in back loops is required.)
Materials Needed
- Yarn: Thick yarn (choose any soft or chunky yarn suitable for scarves)
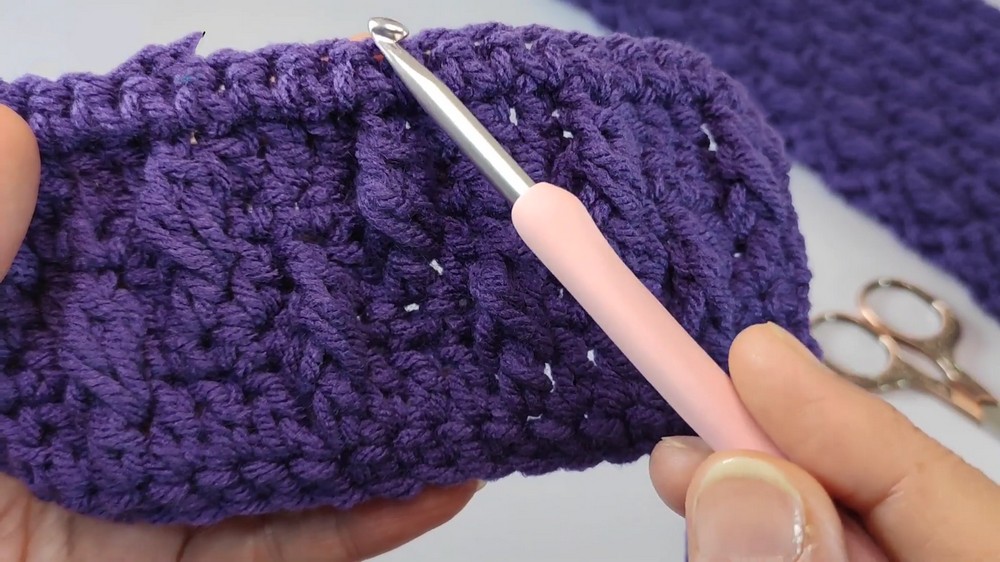
- Crochet Hook: 5.5mm
- Scissors
- Tapestry needle (for weaving ends)
Stitches Used
- Chain (ch)
- Single Crochet (sc)
- Double Crochet (dc)
- Front Post Double Crochet (fpdc)
- Filling Stitch
Special Features:
- A multi-purpose design that works for both men and women, depending on the yarn choice.
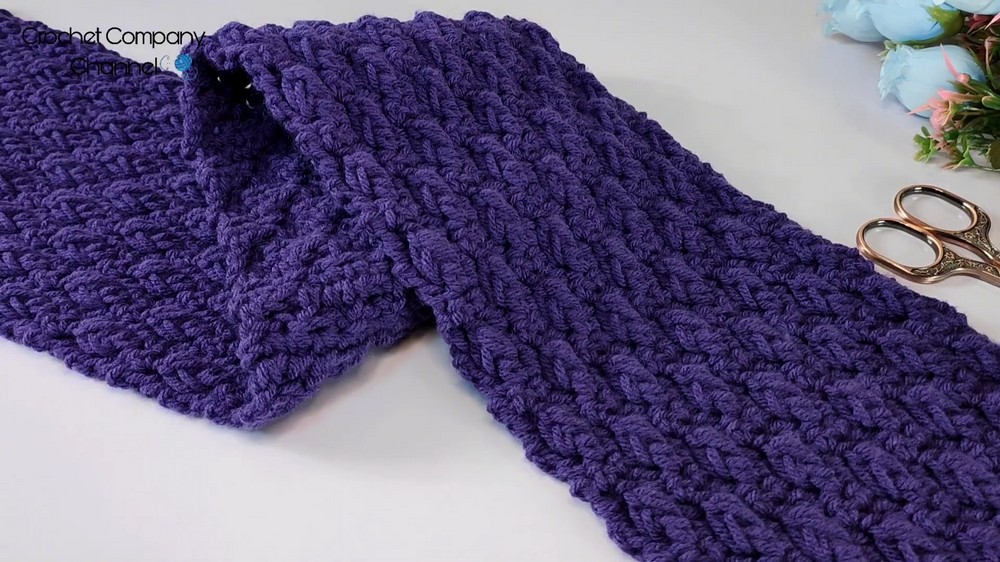
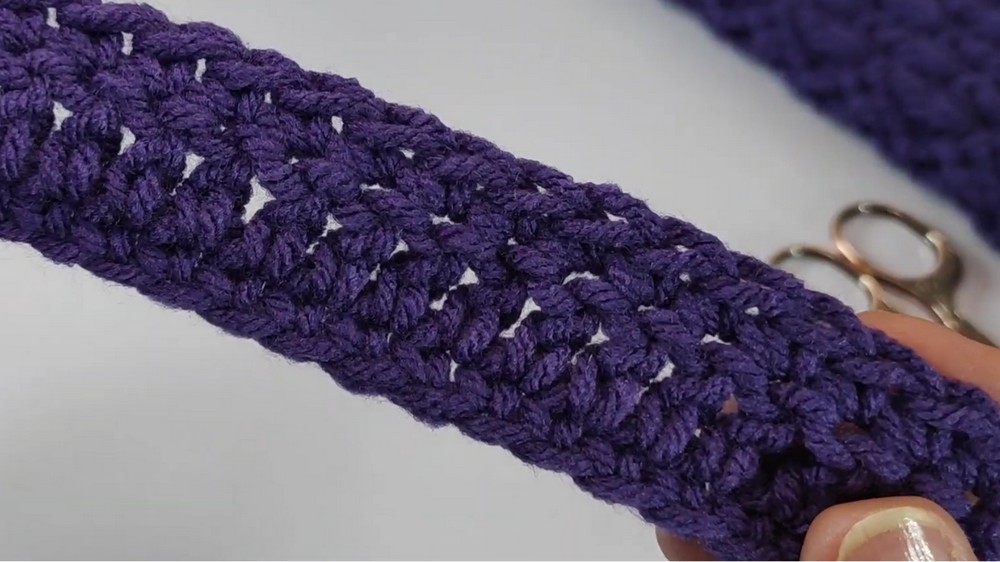
- Elegant Textured Rows with alternating double crochet and front post double crochet stitches.
- A step-by-step repeat of four lines for easy memorization.
Step-by-Step Pattern
Step 1: Foundation Chain
- Start with a multiple of 4 chains for the foundation.
- For a scarf width of 16 cm, work 20 chains (or adjust as needed according to your size preference).
Step 2: Row 1 (Single Crochet Base Row)
- Begin from the 2nd chain (working into the back loop of the chain).
- Work 1 single crochet (sc) in each chain across the row.
- At the end of Row 1, you should have 19 sc stitches.
Step 3: Row 2 (Double Crochet Row)
- Turn your work, chain 1, and wrap your thread.
- In the first stitch, work 1 filling stitch followed by 1 chain (this counts as the first column).
- Work 1 double crochet (dc) over each single crochet stitch across the row.
- At the end of Row 2, you should have 19 columns (dc stitches).
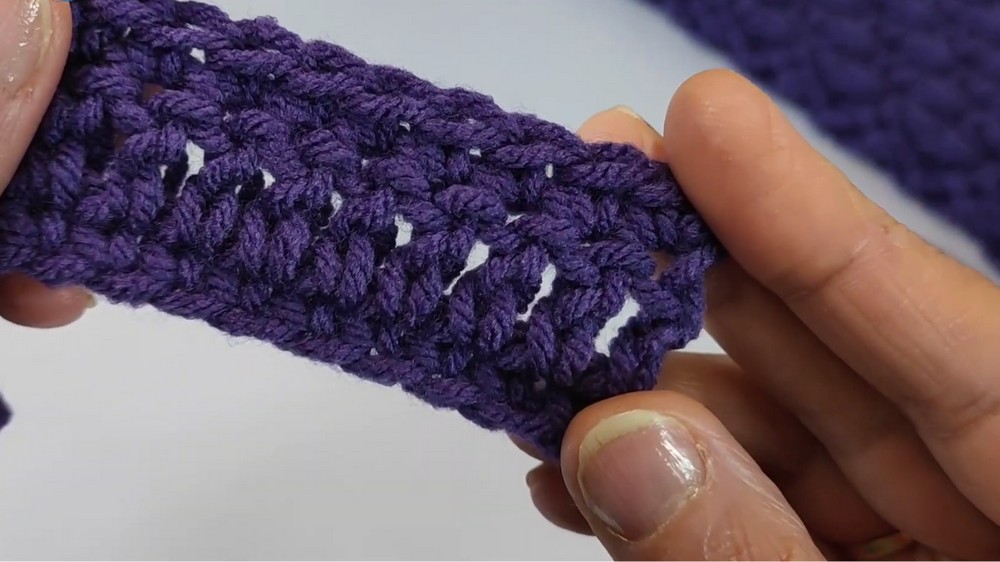
Step 4: Row 3 (Filling Stitch Row)
- Turn your work, chain 1, and wrap the thread.
- Work 1 filling stitch over the first stitch (columns from Row 2).
- Work 1 filling stitch into every column across the entire row.
- At the end of Row 3, you should have 19 filling stitches.
Note: For the last filling stitch of the row, work into the chain space from the previous row’s starting column.

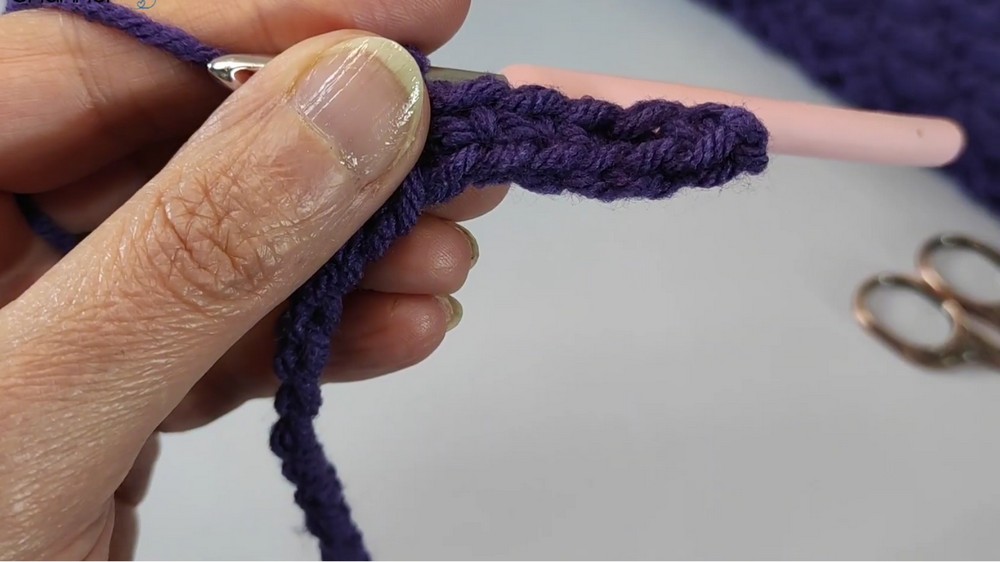
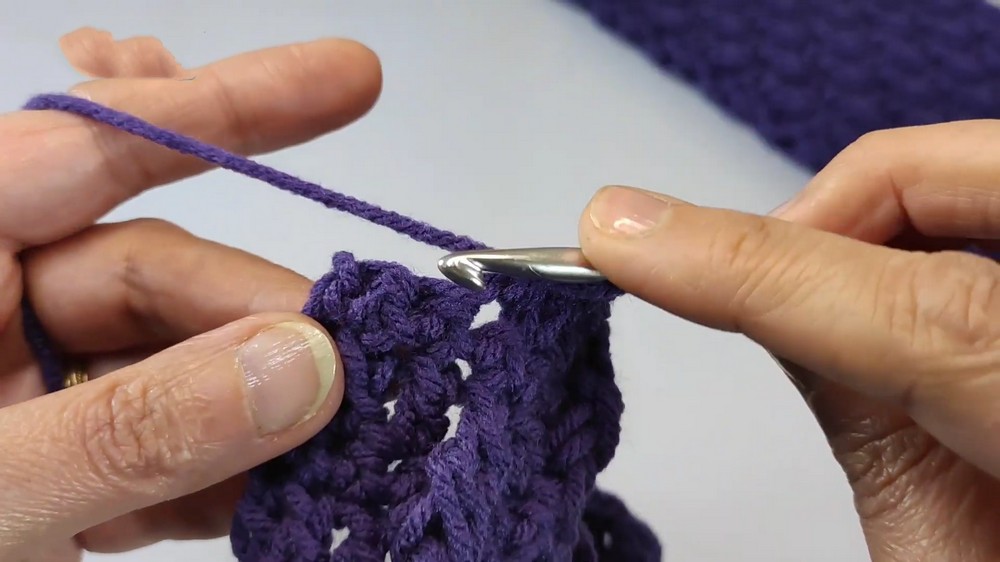
Step 5: Row 4 (Decorative Front Post Double Crochet Row)
- Turn your work, chain 1, wrap the thread, and work 1 filling stitch + chain (counts as the first column).
- Work 1 dc over each stitch for the next 2 filling stitches.
- For the 4th filling stitch, skip it and move to the second-to-last stitch from Row 6 (the decorative stitch row).
- Work 2 front post double crochets (fpdc) in the same column space:
- Wrap the thread, pull through 2 loops, repeat for 2 front post double crochets.
- Close all loops and skip the stitch above the decorative posting.
- Work 2 front post double crochets (fpdc) in the same column space:
- Resume the row by working 3 individual double crochets (dc) across the next stitches.
- Repeat the decorative process every 4th stitch until the row is complete.
Step 6: Row 5 (Single Crochet Row)
- Turn your work, chain 1, and work 1 single crochet (sc) stitch into each stitch across the row.
- Ensure the row has 19 single crochet stitches to maintain balance.
Step 7: Row 6 (Alternating Columns)
- Turn your work, chain 1, and wrap the thread.
- Start with 1 filling stitch and chain to count as the first column.
- Repeat steps as in Row 4, ensuring the decorative front post double crochets align diagonally with the posts from Row 4.
Step 8: Row 7 (Filling Stitch Row)
- Turn your work, chain 1, and work 1 filling stitch into each stitch.
- Continue until reaching 19 filling stitches.
Building the Scarf
- Repeat Rows 4, 5, 6, and 7 until the scarf reaches your desired length.
- Keep alternating rows for a consistent and elegant texture.
Finishing Touches:
- When you complete the final row, fasten off by securely weaving in the ends using a tapestry needle.
- If desired, add fringe to the scarf edges for additional flair.
Tutor’s Suggestions
- Experiment with color gradients for a unique design effect. This stitch pattern works beautifully with variegated yarns.
- For bulkier scarves, use a chunky yarn; for lightweight scarves, opt for cotton or acrylic thread.
Uses
- Perfect as a winter scarf for men or women.
- A thoughtful handmade gift for special occasions.
- Versatile enough for casual or formal wear.
Tip for Success
Keep your tension consistent while working through the rows to ensure a neat and uniform appearance. If you’re a beginner, count your stitches after each row to avoid accidental increases or missing stitches.
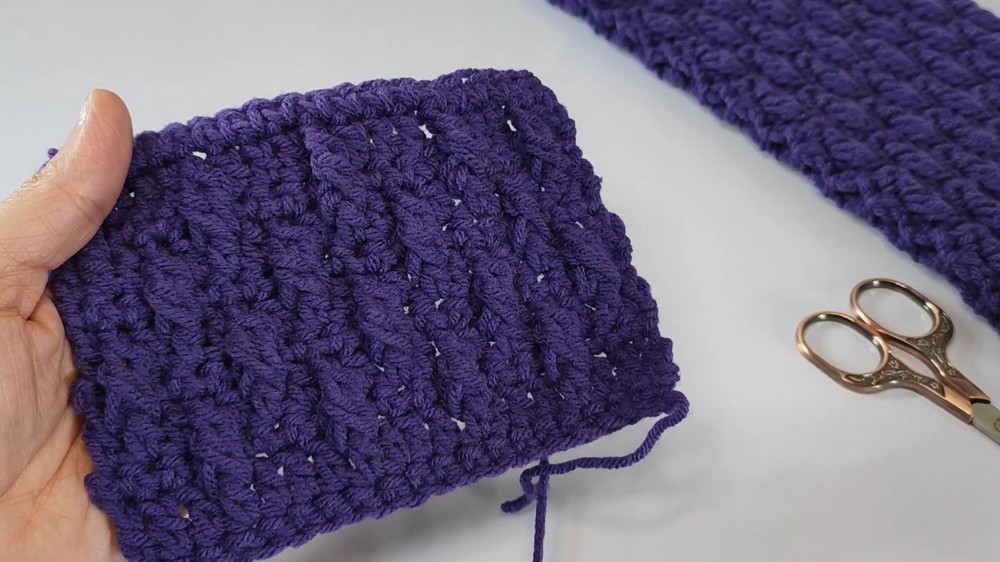
Conclusion
Congratulations on creating a stunning scarf that’s functional, charming, and easy to make! The alternating lines of decorative columns and filling stitches showcase a timeless look, suitable for everyone. Feel free to gift this scarf or enjoy it as a fashionable addition to your wardrobe.
Leave a Reply