
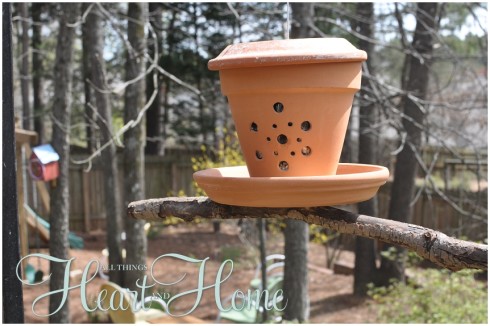
With this DIY Terracotta Bird Feeder, you can largely increase the number of cute birds in your garden. I found it one of the best uses of terra cotta pot and much easier to make. You can satisfy your heart by feeding these tiny animals while doing some crafty fun making this. So, keep reading this clever and cheap bird feeder idea and follow my instructions to learn how to make it in minutes.
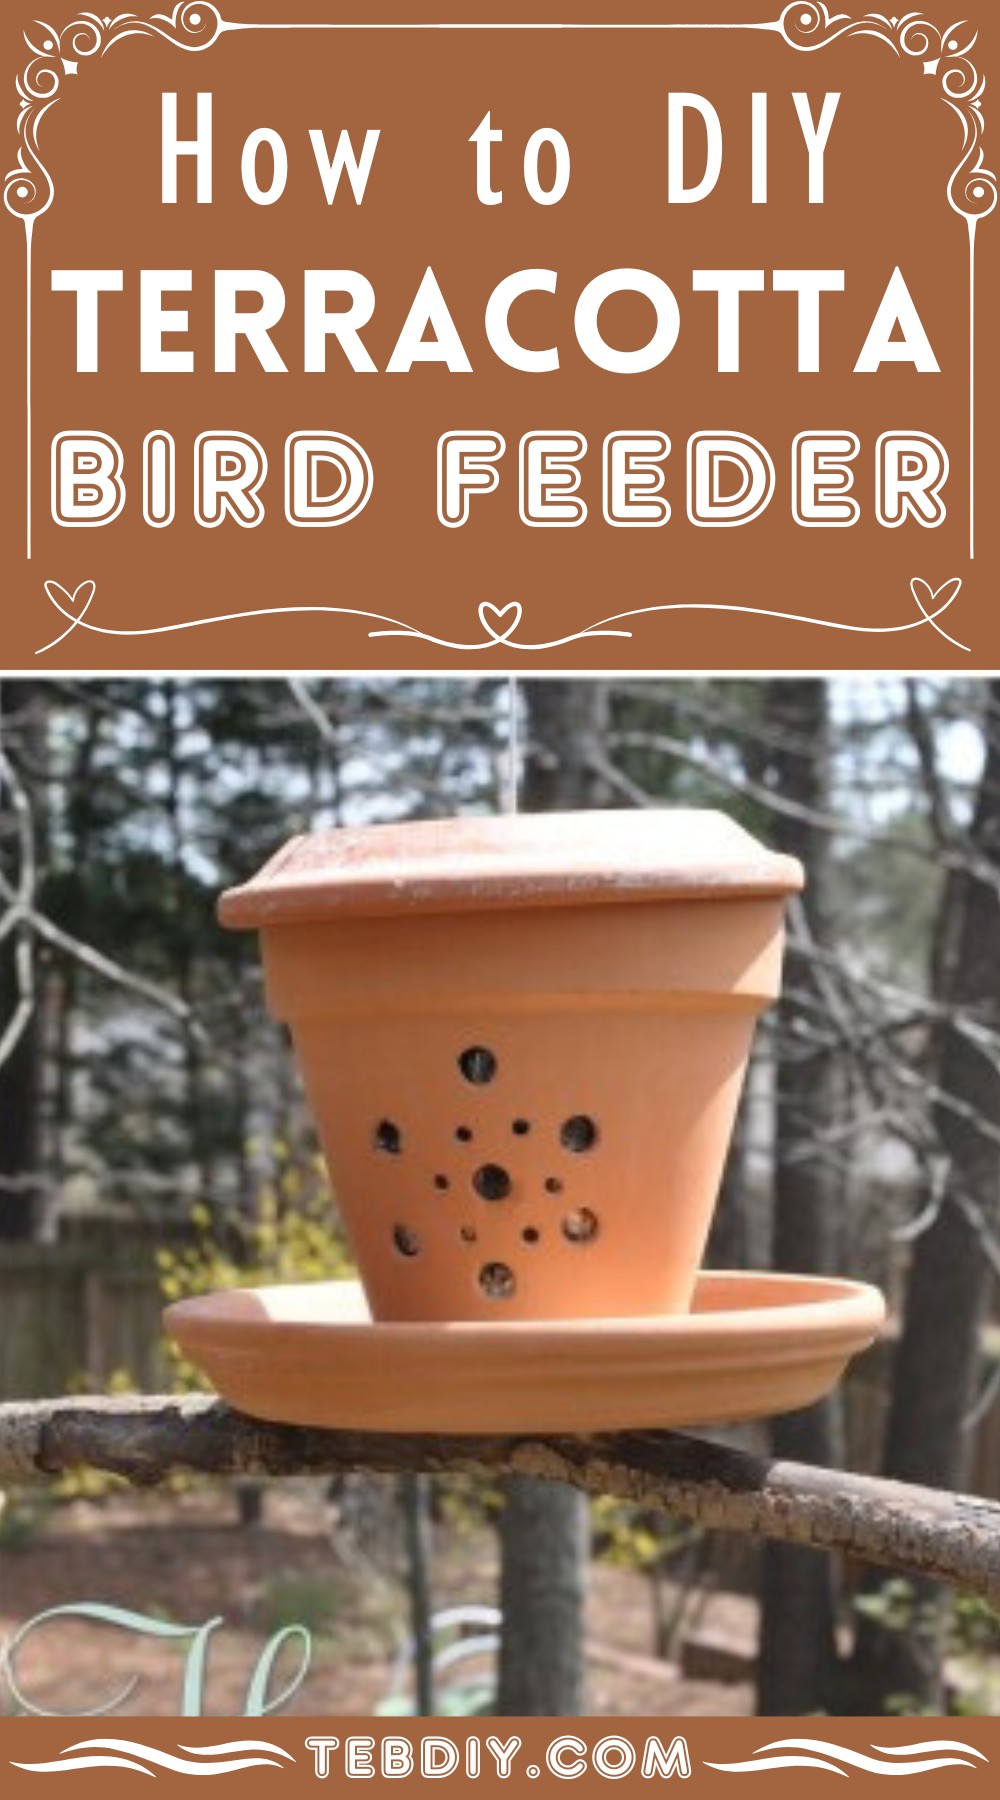
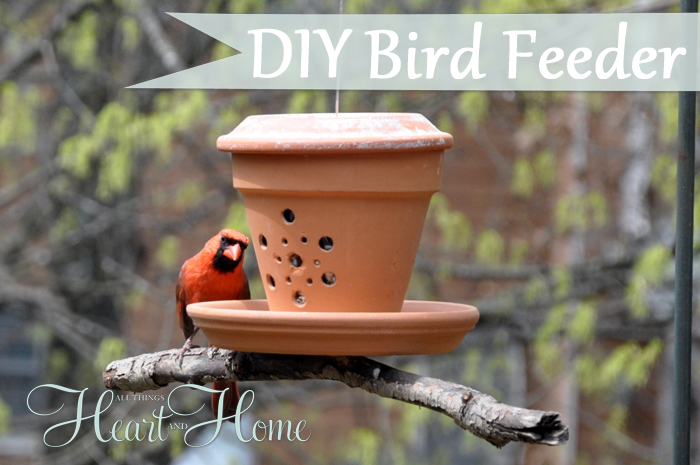
The birds are singing in the early morning these days, and I love to watch them feeding outside of my windows. With that in mind, I made this cute terra cotta bird feeder from a flower pot and a couple of saucers!
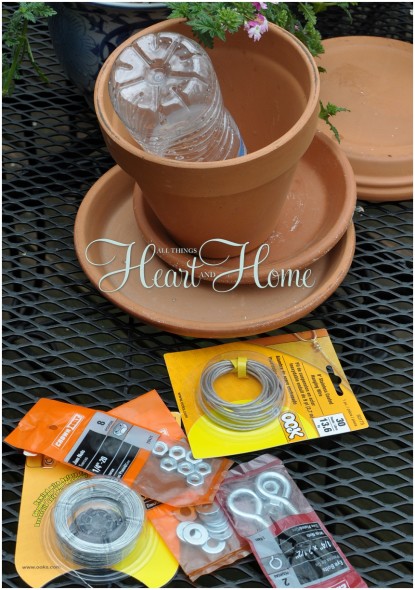
Materials Needed
Here are the materials that you will need:
Clay Pot: This core material should be large enough to attract the birds, if already has the drainage hole, you can reduce some drilling time. I used 6-1/2-inch clay pot
Saucer: The large saucer will act as a platform so the birds can stand here, and the small one will act as a top to protect the seeds from rainwater. 7-1/2-inch clay saucer (small!). 9-1/2-inch clay saucer (large!)
Plastic Bottle: This will act as a seed reservoir. It will help us to prevent the fall of the seeds. So, it will be necessary. I could use use 1 or 2-liter plastic water bottle. I used a 2-liter water bottle
Fishing swive: We’ll use this hook to attach feeder to the hanging wire.
Picture-hanging wire: It should be strong enough. I used 48 inches.
Tree branch: Select and cut any branch.
Eye bolt: 1/4 inch by 5 inches
Two nuts: 1/4-inch to fit the eye bolt
Tools Needed
- Exacto knife: To cut the holes from the bottle.
- Masonry drill Bit
- Drill
Why is Masnory Drill Bit Good for clay pot?
The masonry drill bit is specifically used to punch through solid materials such as brick, stone, or, in our case, a clay pot. It’s more efficient than a regular drill because it can carve out a precise hole without cracking or damaging the rest of the pot. This is because the masonry drill’s tip is often made of hard substances like carbide, enabling it to handle the hardness and rigidity of materials like clay.
How To DIY Terracotta Bird Feeder?
Below are the step-by-step instructions on how to make the terra cotta bird feeder:
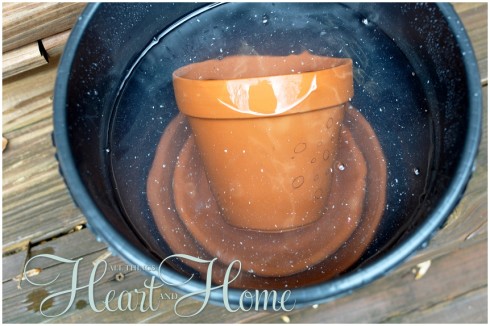
Step 1: Wet Pot And Saucers Before
Soak your flower pot and saucers overnight…you need to do this because wet terra cotta is easier to drill. Water will cool it and also cause the lubricancy. Bring the pot and saucers out on the day to DIY bird feeder.
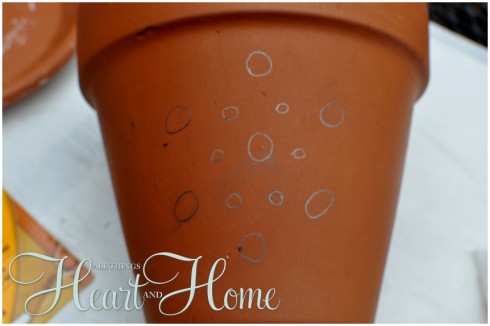
Step 2: Mark the Holes
Mark holes on dried terra cotta pot for drilling. You can draw any pattern you love. I tried the bigger and smaller holes in a unique pattern. The flower pot will be your bird feeder, so these holes will dispense the seeds and look cute!
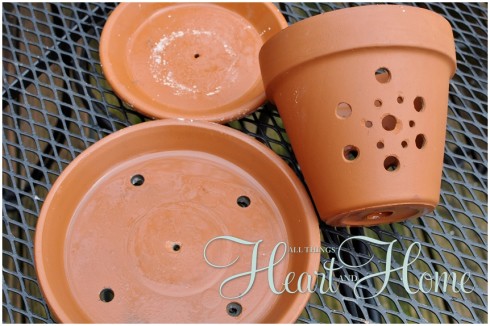
Step 3: Drill The Holes In Saucer
Drill holes in the center of the small and large saucer. Add four drain holes in the larger saucer.
Step 4: Drill The Holes In Pot
As mentioned, When drilling terra cotta, make certain it’s saturated with water very slowly, applying pressure. Make sure you The pressure is much more important than the speed. If the drill bit starts to smoke, dip the pot in the water. (I have a battery-operated drill, so I touched the bit’s tip to the water to quickly cool it. I had to do this a lot while drilling BUT DON’T do this if you are using an electric drill.
Note: This process is slow. It can kill your arm and hands, I had to take a break, and in the end, The Husband had to drill a couple of holes for me. So, you should also take a help and have breaks.
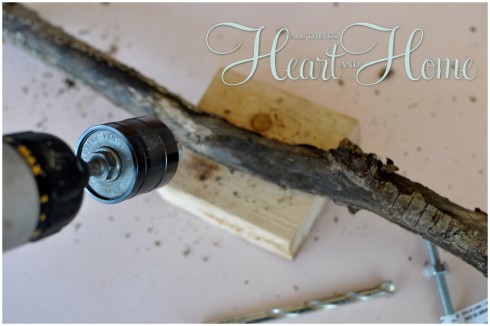
Step 4: Drill a hole In The Branch
Also, drill a hole where you want to place the feeder in your stick.
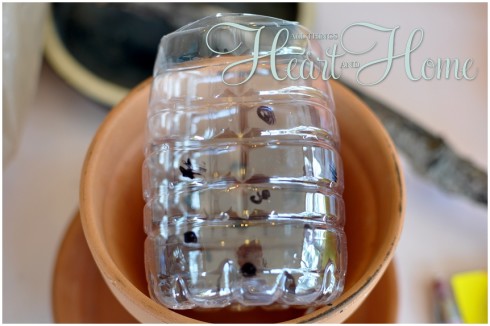
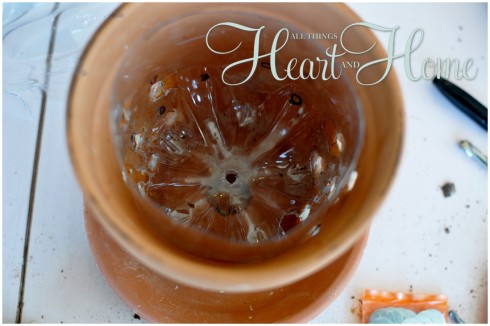
Step 5: Cut Bottle
Your bottle will act as a seed reservoir- press the bottom into the flower pot and mark just below the top of the pot…cut off the top with scissors.
Step 6: Mark & Cut The Holes
Line up and mark the holes using a marker to let the seeds out of the DIY bird feeder. The bottle holes should line up with the holes in the flower pot…Using an exacto knife or scissors, cut out the holes…this didn’t look neat.
Step 7: Drill A Hole In Bottle Bottom
Cut or drill a hole in the bottom of the bottle…
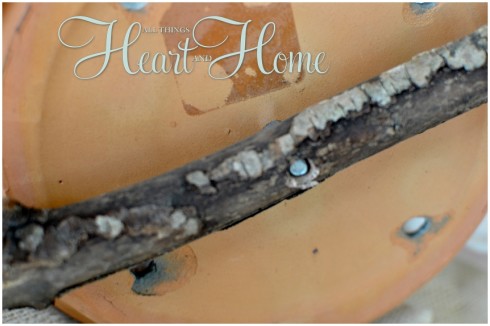
Step 8: Screwing
Screw your eye bolt through the bottle, flower pot, saucer & stick…
(I had to go back and make my drilled holes a bit bigger to accommodate the eye bolt)
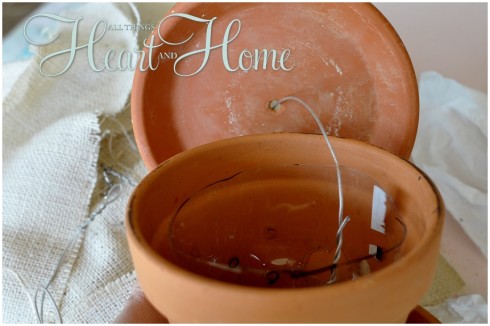
Step 9: Wire Attachment
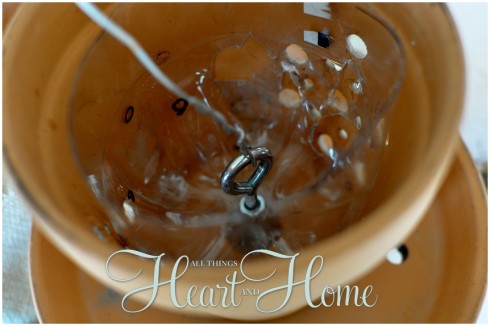
Pass the wire through the hole in the smaller saucer and attach one end of the fish swivel to the top of the wire. Then, attach a small loop of wire to the other end of the fish swivel. (Hang the feeder with the small loop)
Step 9: Filling
Fill the seed reservoir (water bottle) with seeds and hang your feeder!!!
Leave a Reply