
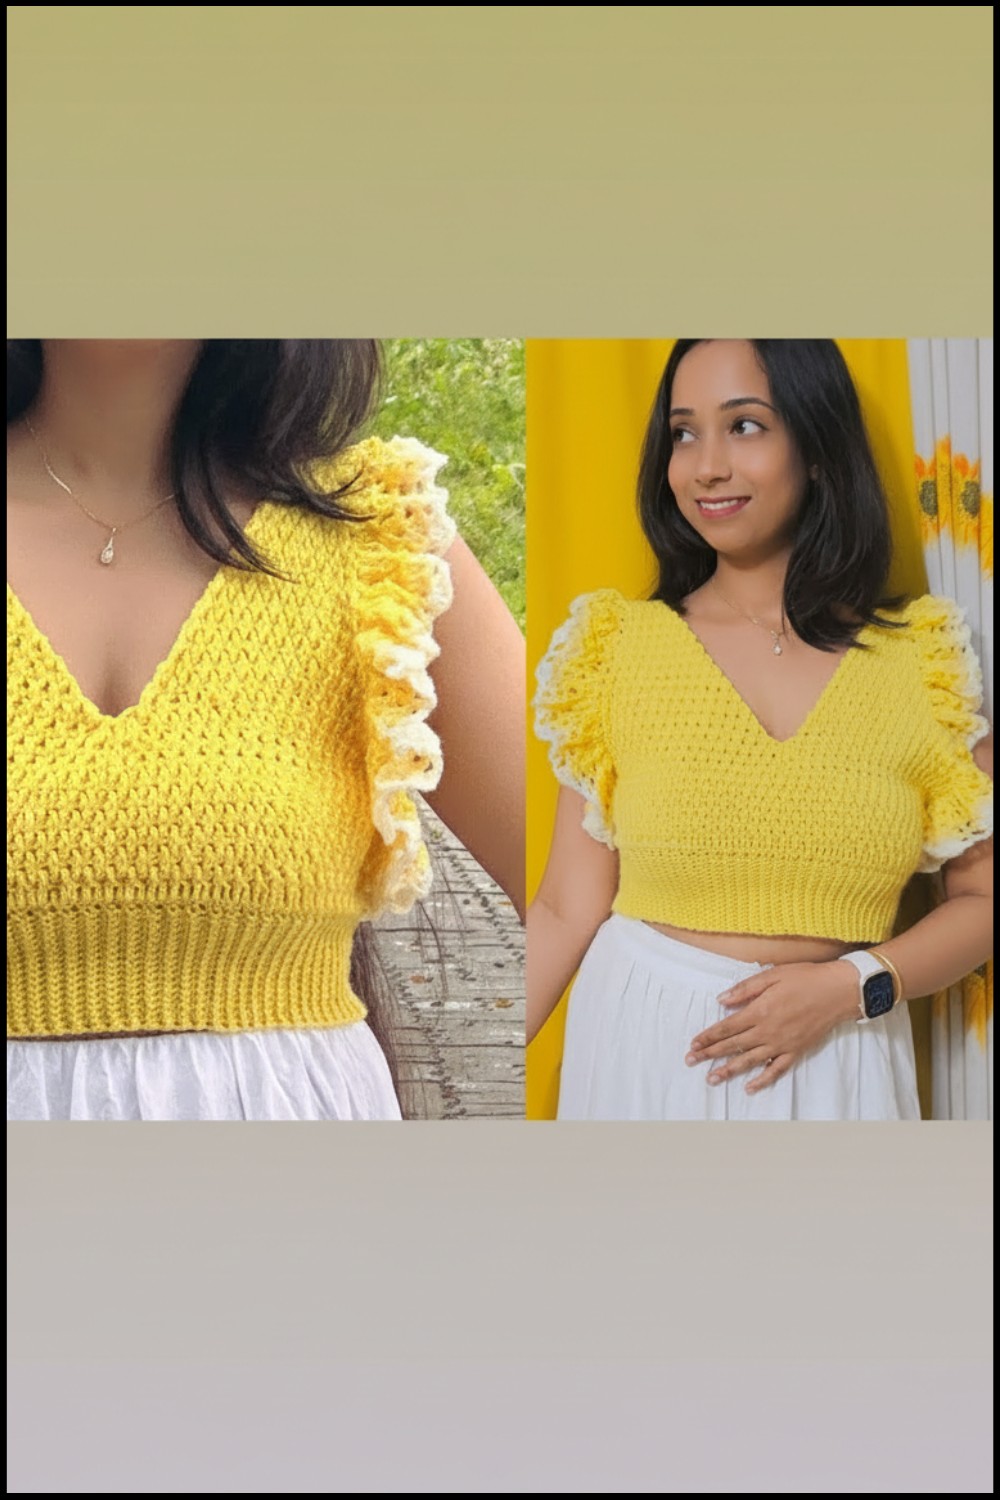
Pair effortlessly with this Crochet Ruffle Sleeve Crop Top Pattern that’s forming a trendy and flirty piece ideal for sunny days and outings.
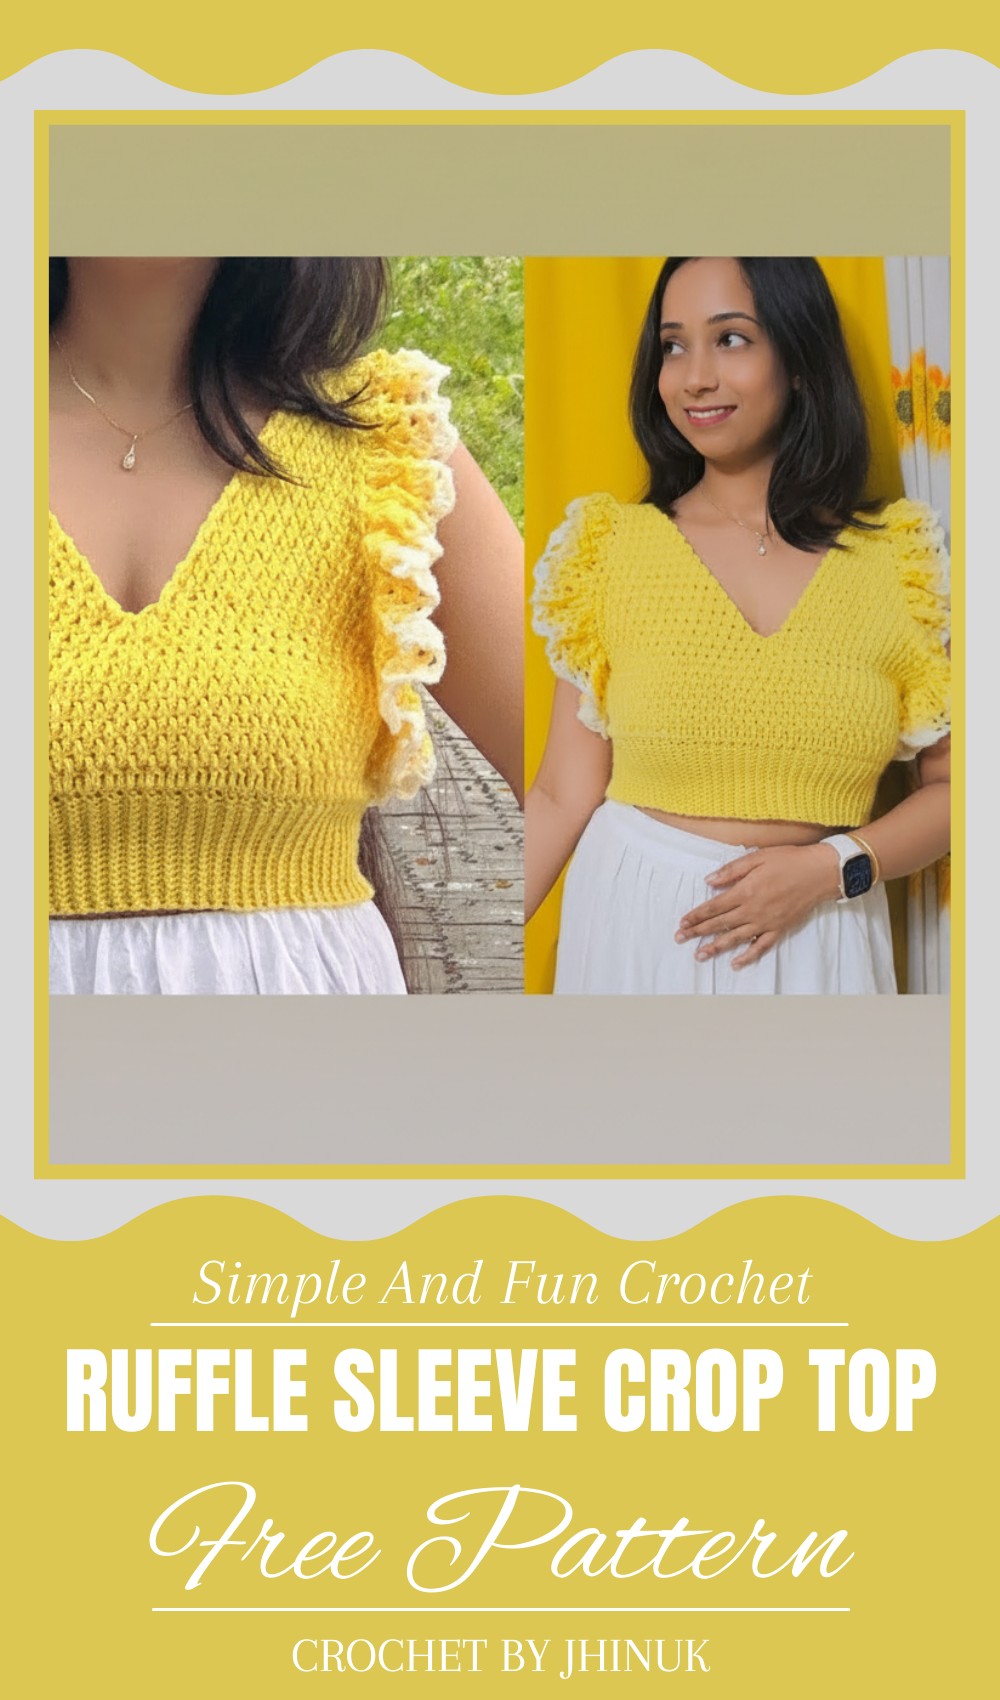
Lovely Crochet Ruffle Sleeve Crop Top Pattern for Boho Style
Every heart will surely skip a beat when you step out wearing a piece of clothing that feels like a soft dream. Using a Crochet Ruffle Sleeve Crop Top pattern is the best way to crochet a shirt that is both light and incredibly fancy. This lovely top has wide and wavy sleeves that flutter like butterfly wings whenever you move your arms. One major benefit is how cool and airy it feels against your skin during a hot summer day.
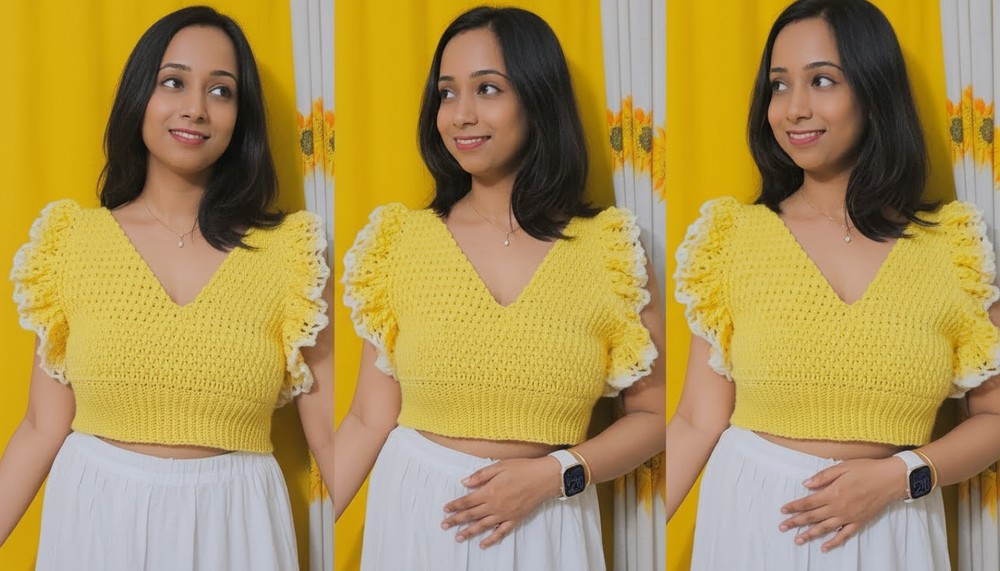
You can wear this trendy piece to a sunny beach, a birthday party, or even a simple walk in the park. Its beauty comes from the bouncy ruffles and the bright colors that make you stand out in any crowd. The specialty of this style is how it makes a plain outfit look like a high-fashion masterpiece. Every single stitch you make adds a touch of handmade magic to your unique personal style.
Materials Needed
Yarn
- Main Body Yarn: Lightweight acrylic yarn or cotton yarn (choose your preferred color).
- Optional Ruffle Contrast: Use multicolor or a different yarn color for the ruffle rows to create an ombre effect.
Hook Size
- 5.0 mm Crochet Hook (adjust size for tighter or looser stitches).
Additional Tools
- Scissors: For trimming yarn ends.
- Yarn Needle: To weave in ends and join pieces.
Key Abbreviations (U.S. Crochet Terminology)
- ch: Chain
- sc: Single Crochet
- sl st: Slip Stitch
- dc: Double Crochet
- fpdc: Front Post Double Crochet
- sp: Space
Customization Ideas
- Length Options: Adjust the number of rows for the body panels to create a crop-style, standard-length, or tunic-length top.
- Sleeves: Opt for smaller ruffles by reducing rows or create bold statement sleeves with additional rows.
- Color Contrast: Introduce gradient or ombre yarn for the ruffle sleeves or neckline to add dimension and style.
Special Notes
- Tension Control: Maintain consistent tension, especially for textured alpine stitches.
- Fit: Ensure the underbust panel tightly hugs the area but remains comfortable.
- Read Ahead: Familiarize yourself with stitch repeats and reductions for the neckline.
Step-by-Step Pattern
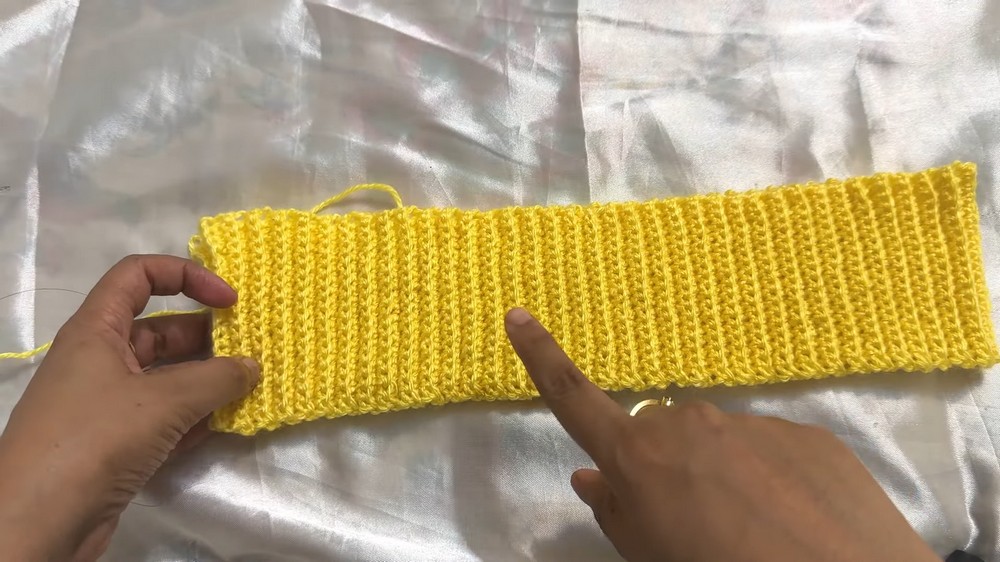
Underbust Panel (Foundation)
Step 1: Foundation Chain
- Create a slip knot and chain:
- 18 chains for small-medium sizes.
- 22 chains for large sizes.
- Adjust the number of chains for longer tops or broader underbust measurements.
Step 2: Row 1 – Single Crochet
- Ch 1 and skip the additional chain.
- Start from the second chain. Work 1 sc into each chain across the row.
- At the end of the row, ch 1 and turn your work.

Step 3: Row 2 & Beyond – Back Loop Single Crochets
- Work 1 sc into the back loop of each stitch.
- Insert your hook into the back loop only for a ribbed texture.
- Repeat Row 2 until the underbust piece can completely wrap around your frame snugly.
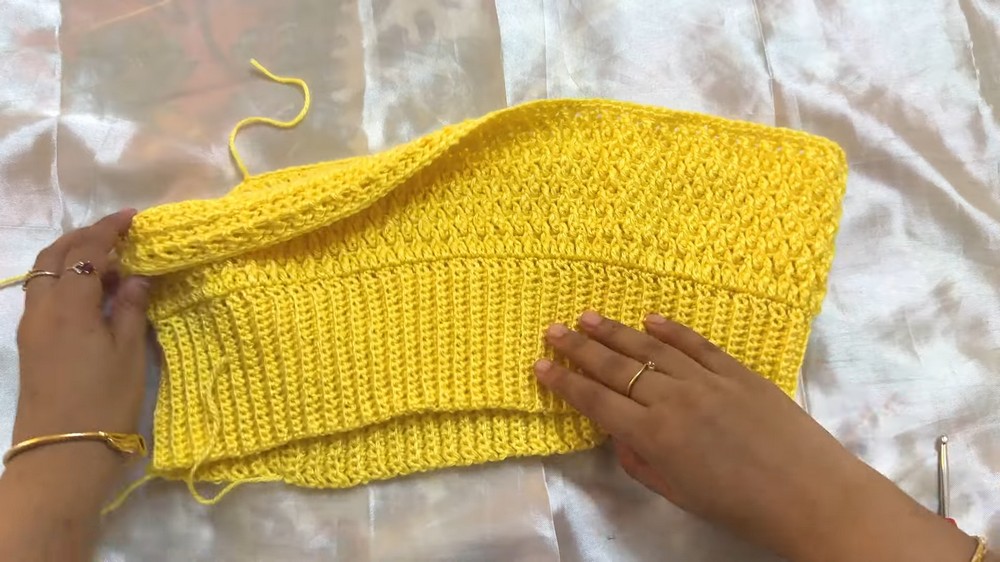
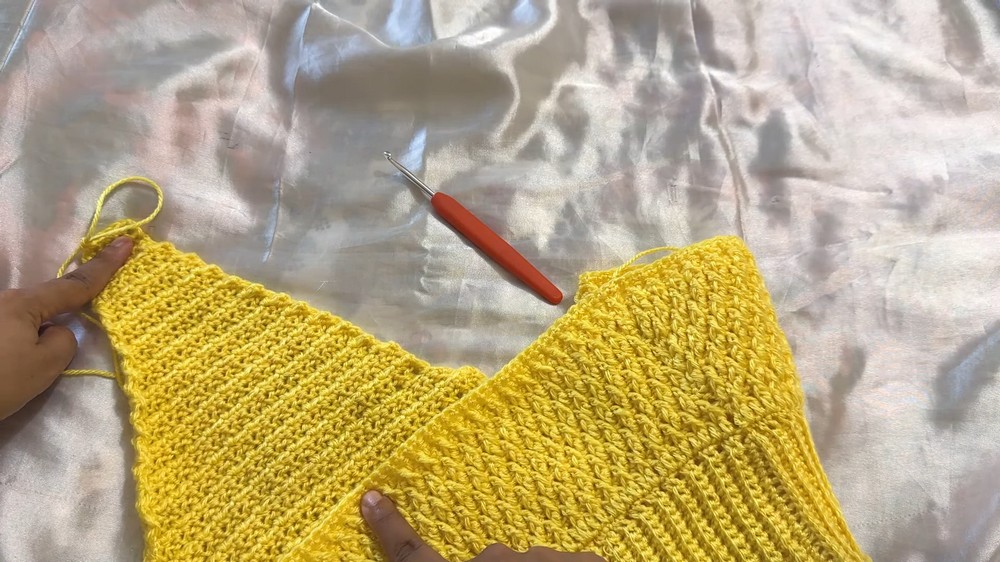
Step 4: Joining the Panel
- After reaching the desired length, fold the panel in half.
- Align the two ends and sl st to join:
- Insert the hook into the front loop of the first panel and the back loop of the second panel.
- Slip stitch across to create a seamless join.
Step 5: Set the Base for the Body
- Ch 1 and work 1 sc into each stitch across the upper edge of the joined panel.
- Slip stitch to the first sc to join the round.
Body Construction
Step 1: Round 1 – Double Crochet
- Ch 3, then work 1 dc into each sc from the previous round.
- Slip stitch to the third chain to close the round.
Step 2: Round 2 – Single Crochet
- Ch 1, work 1 sc into each stitch across the round.
- Slip stitch to the first sc to close the round.
Step 3: Begin Alpine Stitch
- Ch 3, turn your work.
- Alternate between:
- 1 fpdc into the next dc of the previous round.
- 1 normal dc into the following dc.
- Continue alternating fpdc and dc, forming the textured alpine stitch.
- Slip stitch at the end of the round to join.
Step 4: Alpine Stitch Repeat
- Round 1: Alpine stitch (as above).
- Round 2: Single crochet into each stitch across.
- Repeat these two rounds until you reach your desired body length.
- For small-medium sizes, approximately 10 alpine stitch rounds followed by the final sc round.
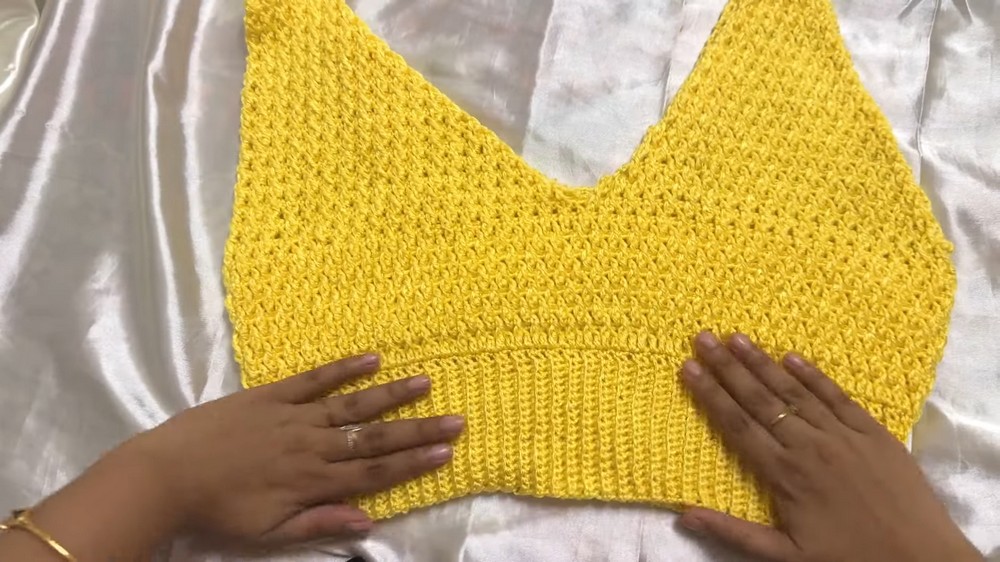
Create the V-Neckline
Step 1: Divide the Body
- Find the center stitch at the front of your top by counting stitches from each side.
- Begin shaping the V-neckline by attaching yarn at either side of the middle stitch.
Step 2: Start Decreasing for Neckline
- Begin alternating alpine stitches with decreases:
- At the start of the row, skip the first front post dc.
- Work your regular alpine stitches across.
- At the end of the row, skip the last front post dc for a reduction.
- Follow with a single crochet row, making decreases at both ends:
- Insert the hook into two stitches and work them together into a single sc.
Step 3: Repeat Neckline Reductions
- Repeat the alpine stitch and single crochet rows with edge decreases until you are left with 6 stitches at the top of the triangle shape.
Step 4: Create Neckline Band
- Work single crochet rows over the 6 stitches until the band reaches the back of the top.
- Attach the band to the back panel using slip stitches.
Repeat for Second Triangle
- Repeat the V-neck shaping steps for the other half of the front panel.
- After completing both triangles and bands, your V-neck top body is complete.
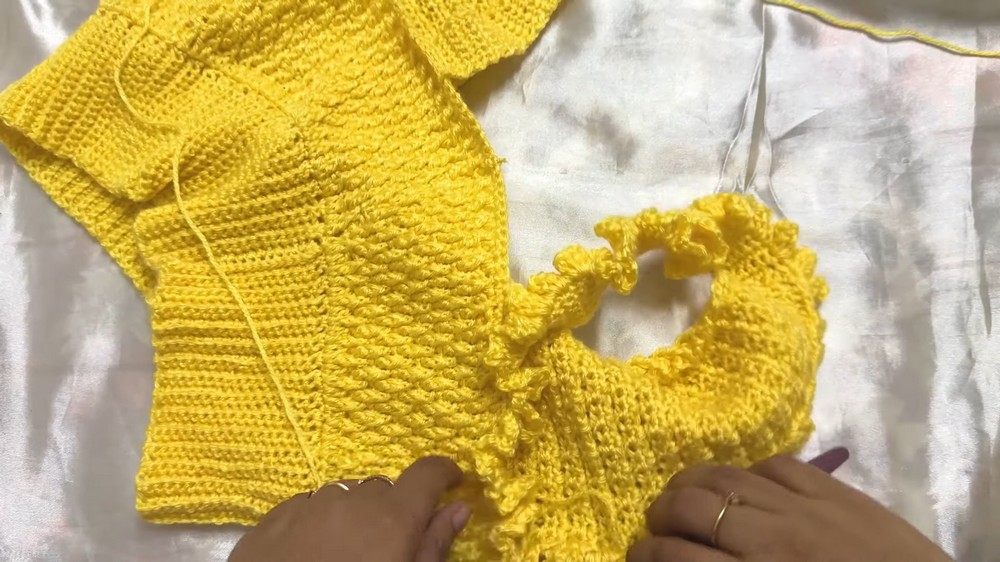
Ruffle Sleeves
Step 1: Attach Yarn to Armhole
- Attach yarn to any stitch in the armhole area and ch 3.
Step 2: First Ruffle Row
- Begin working shell stitch:
- 2 dc, ch 2, 2 dc into the same stitch.
- Ch 2, 1 dc into the next stitch.
- Repeat this pattern (shell stitch, chain 2, single dc) around the armhole.
- Slip stitch into the third chain to close the round.
Step 3: Additional Ruffle Rows
- Slip stitch to the chain space of the first shell.
- Continue repeating the shell stitch round:
- 2 dc, ch 2, 2 dc into the shell space.
- Ch 2, dc into the single dc from the previous row.
- Add as many ruffle rows as desired for your preferred sleeve look.
Conclusion
Your Ruffle Sleeve Top is now complete! This textured alpine stitch piece with elegant ruffled sleeves is a versatile addition to any wardrobe. Whether worn as a sleeveless crop top or with extra ruffle detailing, this project is guaranteed to impress.
Pattern Corrections and Tips
- Texture Consistency: Ensure fpdc stitches are placed correctly in alpine stitch rows to avoid uneven texture.
- Sleeve Size: Adding or reducing ruffle rows lets you adjust sleeve drama to match your style.
- Finishing Touch: Steam block your top for a neat and professionally finished appearance.
Leave a Reply