
Tie up your creativity with this delightful crochet bow bag pattern that transforms simple projects into charming accessories bursting with handmade love.
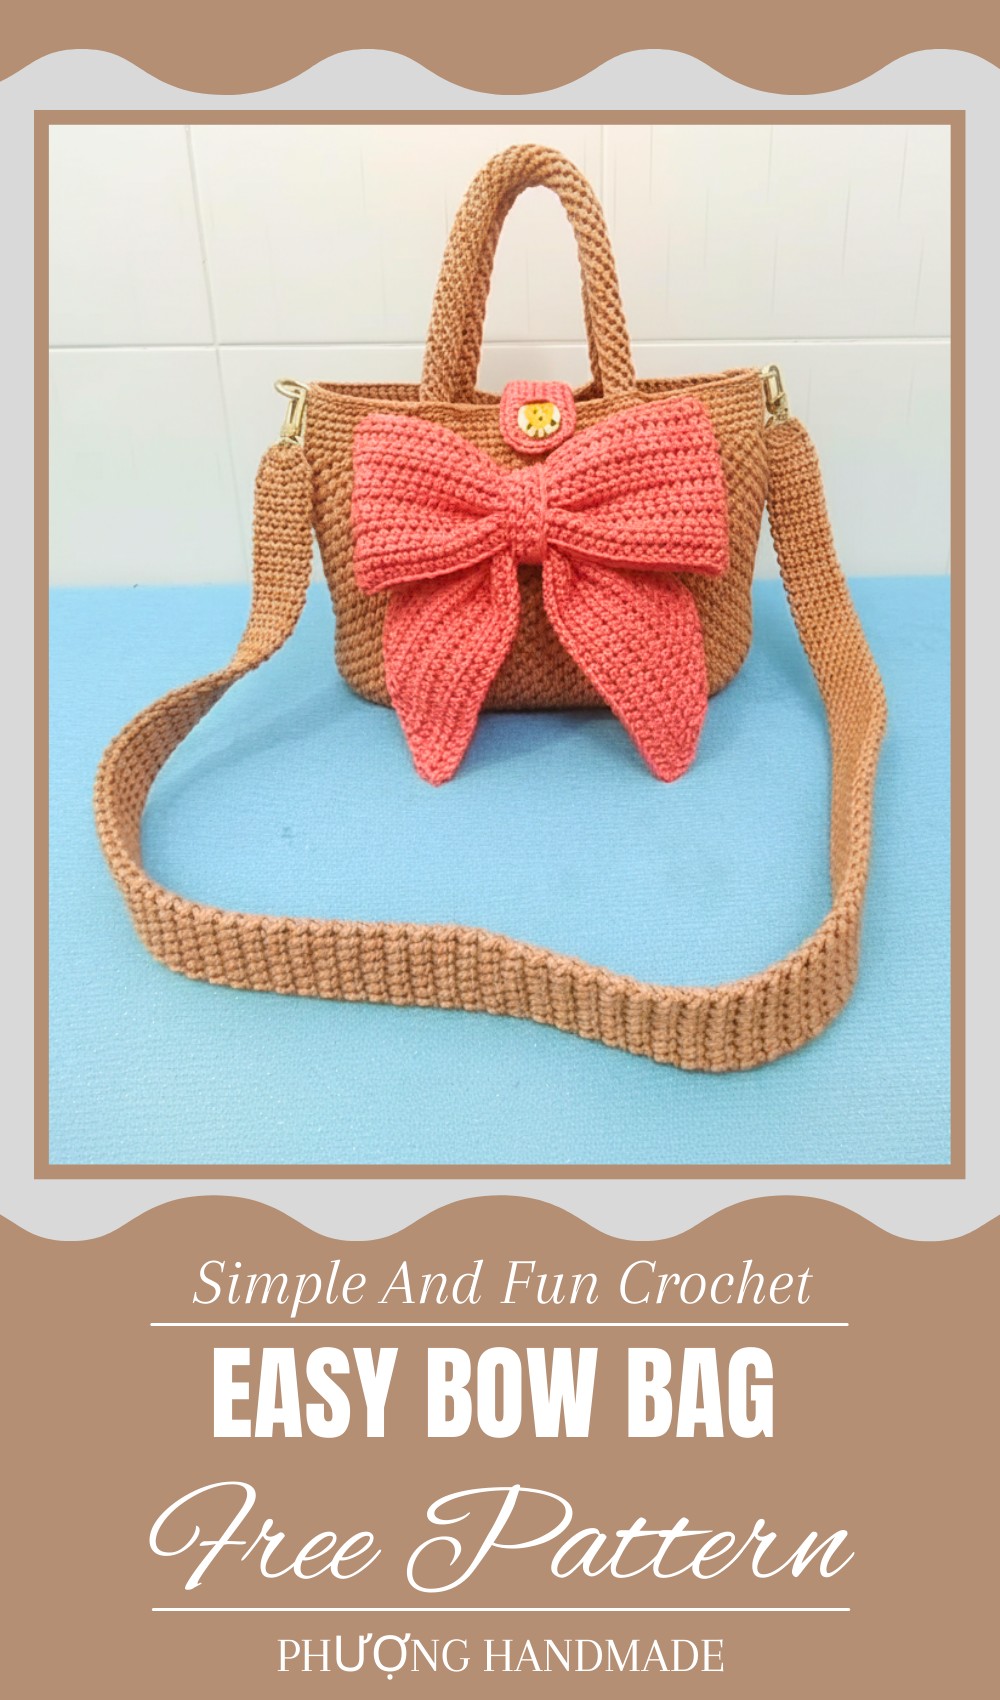
Crochet Bow Bag Pattern for Chic and Cheerful Styles
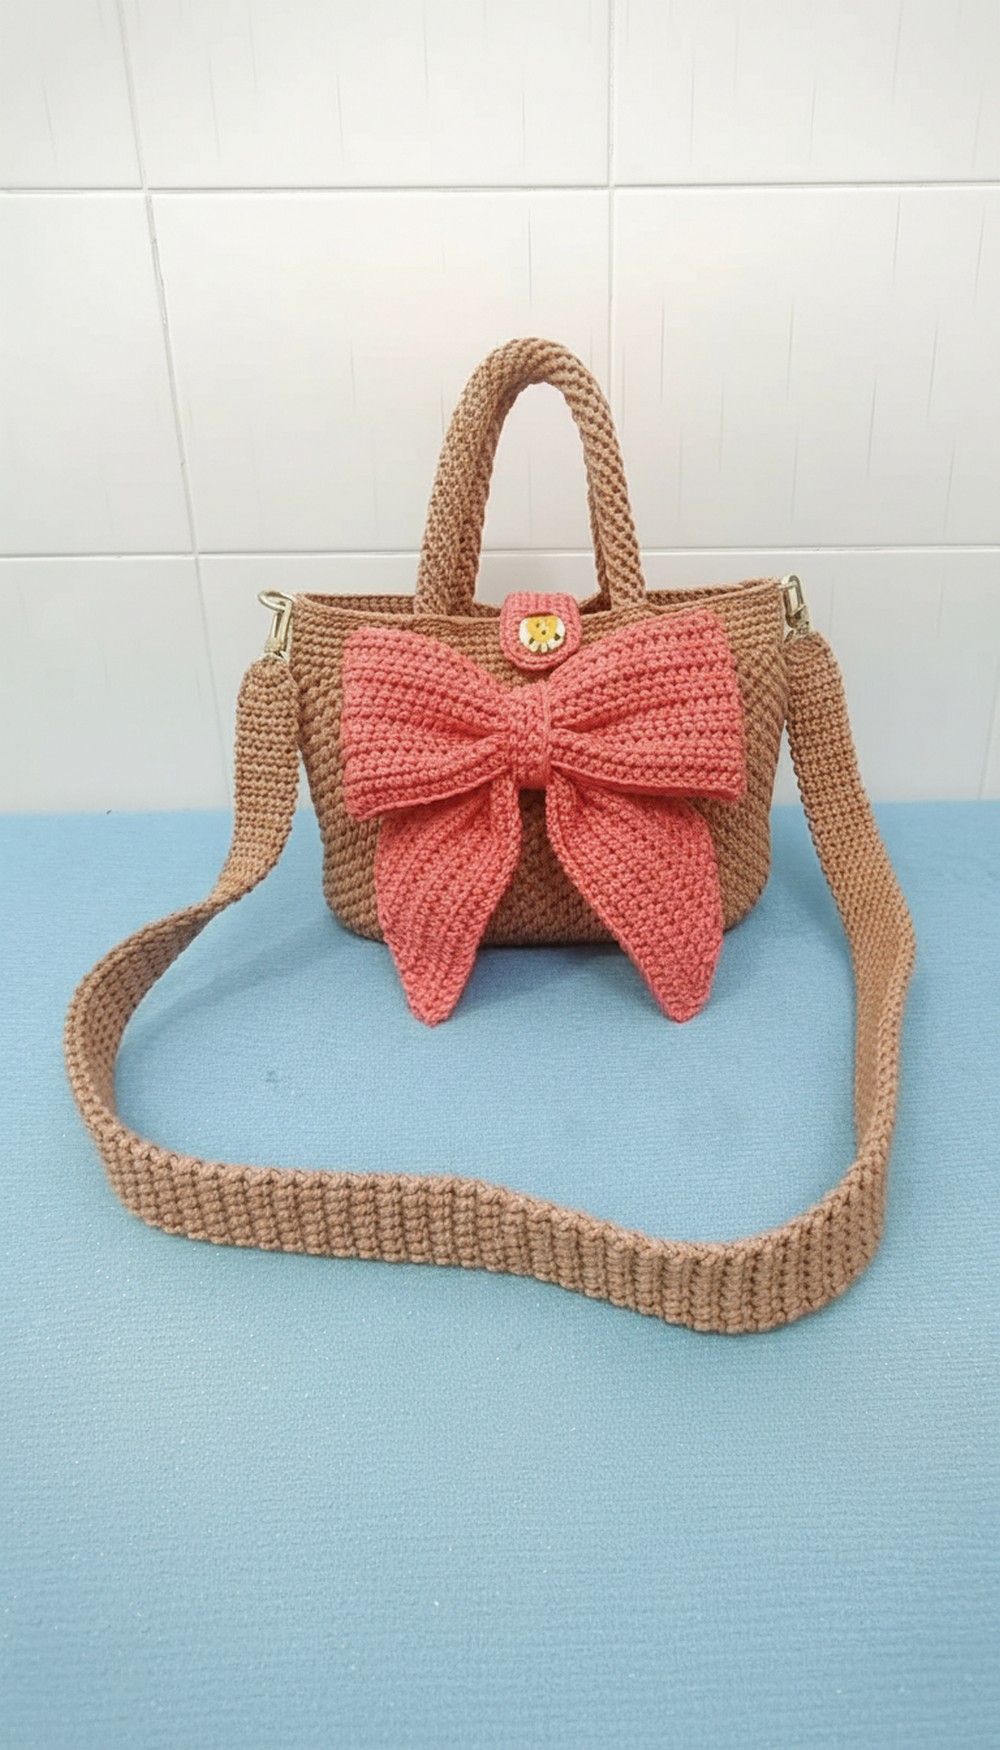
Soft and charming, this little bow bag adds a sweet touch to many things. Its gentle curves and neat shape make it look like a tiny gift, perfect for brightening up clothes, hats, or bags. You can clip it on hair, sew it on shoes, or even use it to decorate gifts for friends and family. The bag of bow’s simple style fits both casual and fancy looks, making it a lovely choice for all ages.
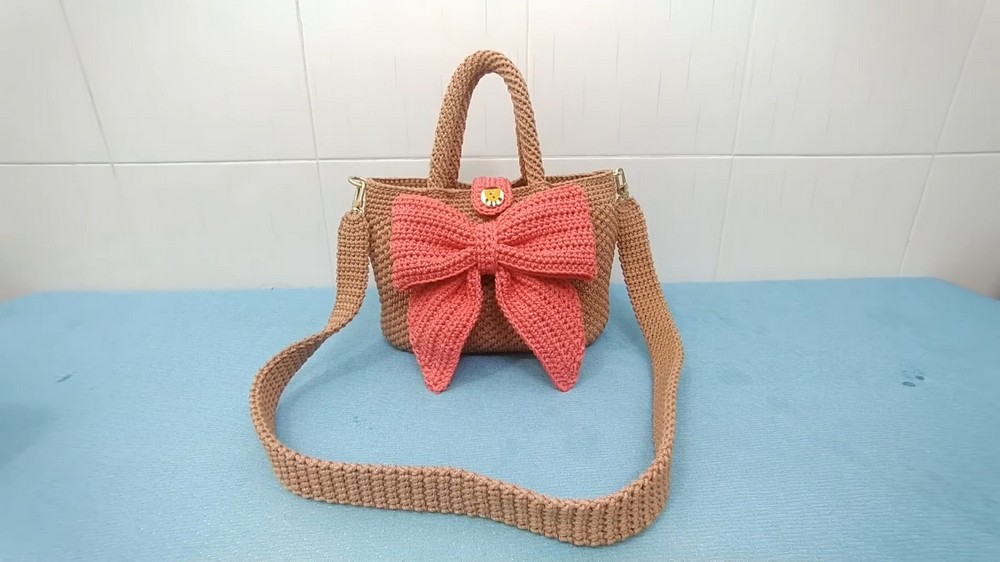
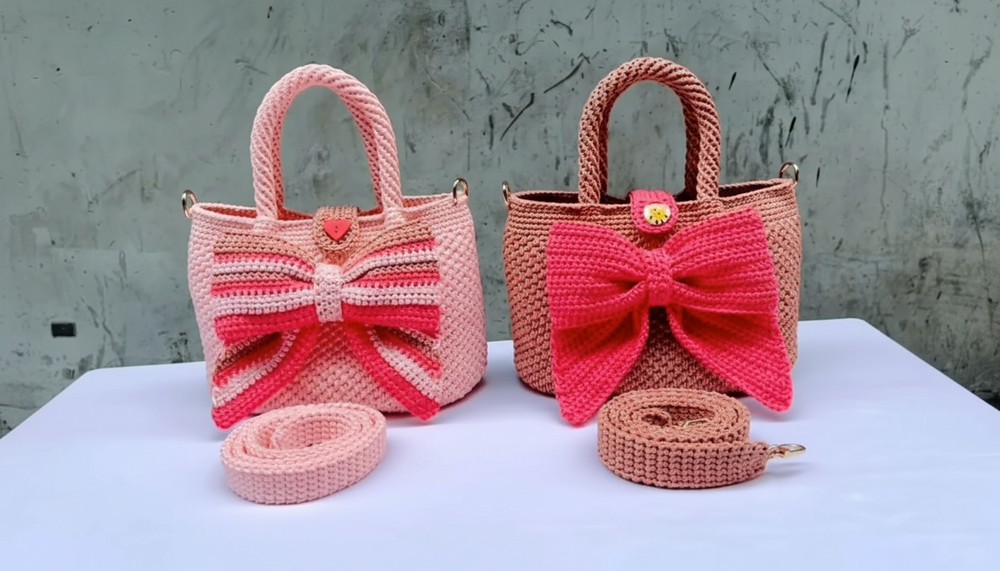
Its size is just right, not too big to be heavy and not too small to go unnoticed. Available in many colors, it easily matches different outfits and moods. The bow’s smooth texture and neat loops give a clean and tidy feel that stands out in a gentle way. Whether used alone or paired with other decorations, this bow brings a happy, warm feeling and shows care in every detail. It’s a small, beautiful touch that makes many things extra special.
Crochet Metallic Bow Bag Pattern – Step-by-Step Instructions
Special Features
- Made using spun yarn with metallic sheen
- Bow detail and magnetic clasp closure
- Seamless base construction with 104 single crochet stitches around
- Sturdy, adjustable shoulder strap with crab claw lock and D-ring attachments
- Fully lined bag for extra durability
- Employs basic stitches: chain (ch), single crochet (sc), half double crochet (hdc)
- Implements unique “toe-high/low” slip stitch method for texture
Difficulty Level
Intermediate — requires familiarity with crochet basics plus experience following stitch placement and shaping, along with some hand sewing skills.
Materials Needed
- 2 skeins spun yarn
- Crochet hook (size suitable for your spun yarn)
- Goat ear hook base
- Crab claw lock, D-rings
- Magnetic button clasp
- Ready-made bag liner
- Scissors, tapestry needle, stitch markers
Pattern Steps
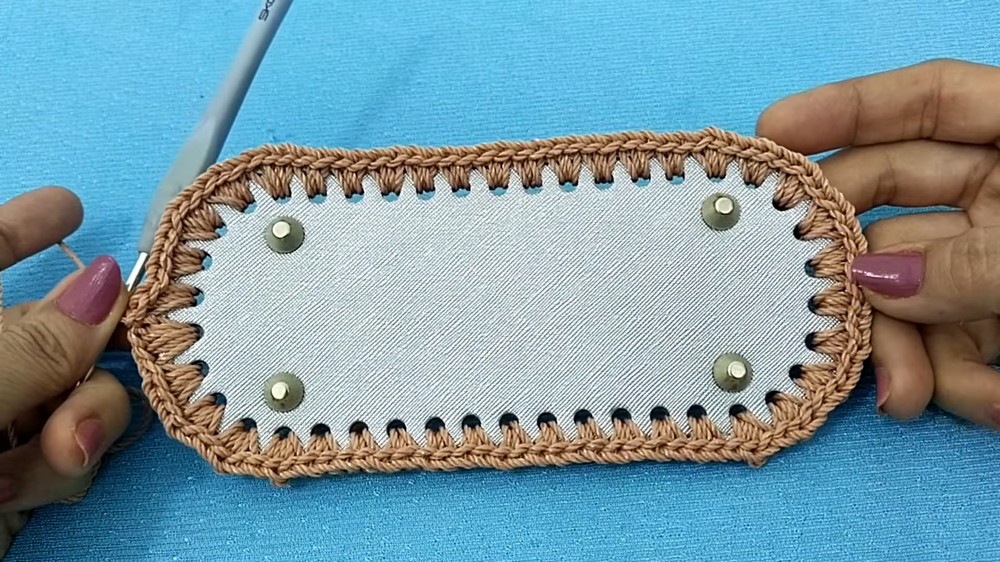
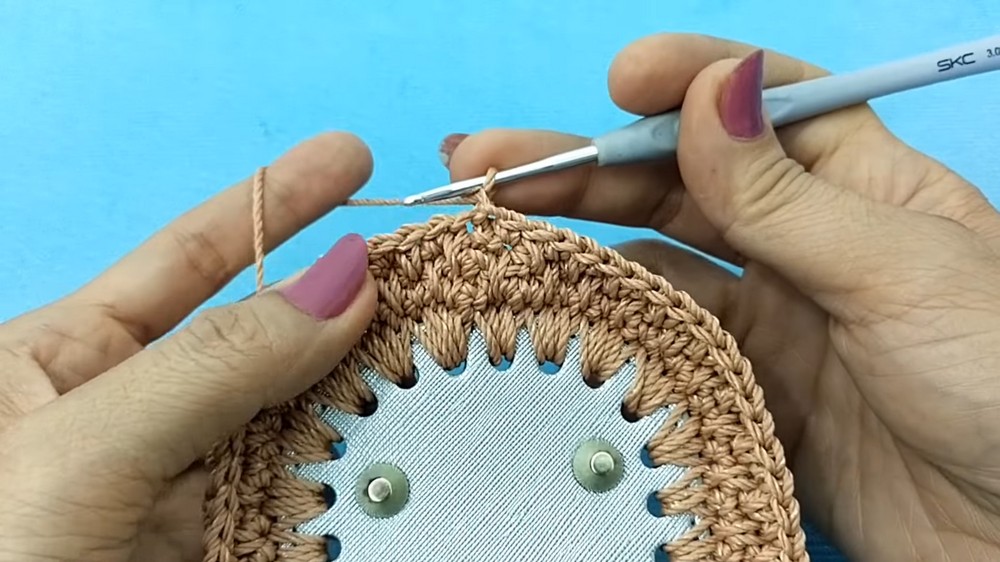
1. Base Setup – Starting the Bag Body
- Base contains 42 holes around. Mark two sides with 10 holes each; middle has 11 holes.
- For two sides (marked blue), crochet 3 stitches per hole (foot).
- For middle section, crochet 2 stitches per foot.
- Work 3 stitches per foot on bag sides first, repeating over respective holes.
2. Completing Base Row & Joining Round
- Continue stitching base: 3 stitches per hole on sides, 2 stitches per hole in middle, until round completes.
- At round end, join with slip stitch into first stitch to close the loop. Pull thread up.
3. Round 2 – Work 104 Single Crochet (sc)
- Chain 1 to start round.
- Work 104 single crochet stitches evenly around bag base.
- Join round with slip stitch, pull thread.
4. Rounds 3 & 4 – Alternate “Toe High and Toe Low” Slip Stitch Pattern
- Round 3: Work with “one foot high, one foot low” slip stitching, alternating insertion points, covering single crochets through both sides, piercing completely through stitches.
- Round 4: Reverse the pattern from round 3, alternating toe-high/low in opposite order.
- Complete rounds with slip stitch joins.
5. Round 5 – Repeat Round 3 Pattern
- Chain 1 to start.
- Repeat Round 3’s alternating toe-high/low slip stitch pattern for texture.
- Continue alternating slip stitch styles through the bag’s body rounds.
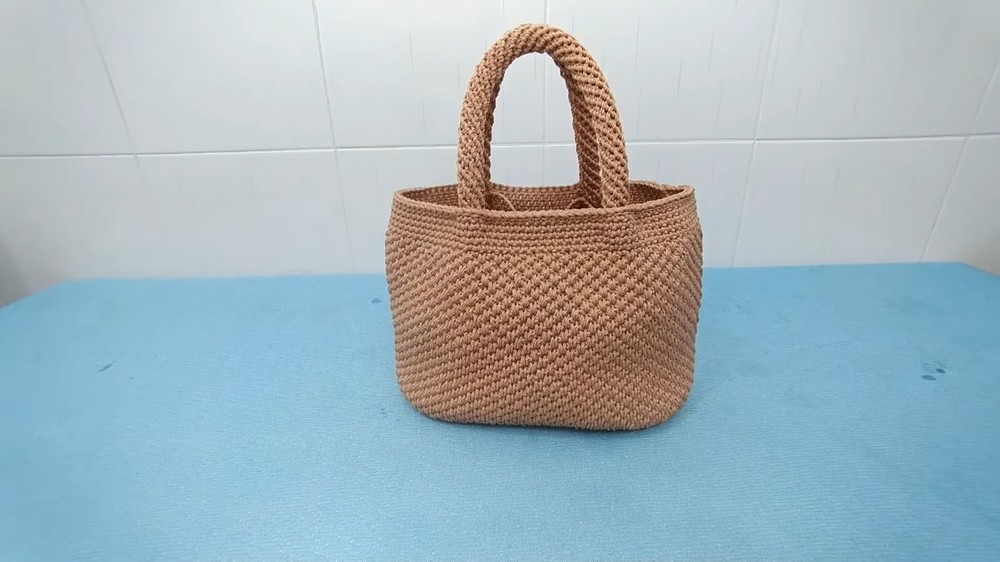
6. Continue Body Stitches
- Work a total of 34 rows following this alternating toe-high and toe-low pattern.
- At row 31, mark the end of the first yarn skein.
- Add 5 rows of simple single crochet stitches to complete the bag body length without toe-high/low texture.

7. Handle (Shoulder Strap) Construction
- Create magic circle. Chain 6.
- Work 7 single crochet stitches into circle.
- Continue work spirally in single crochet. Insert needle through two threads (top and bottom rows) for durability from round 3 on.
- Make strap approx. 75 cm long. Finish off and weave in ends.
- Attach strap to bag via crab claw lock and D-ring using sturdy slip stitching.
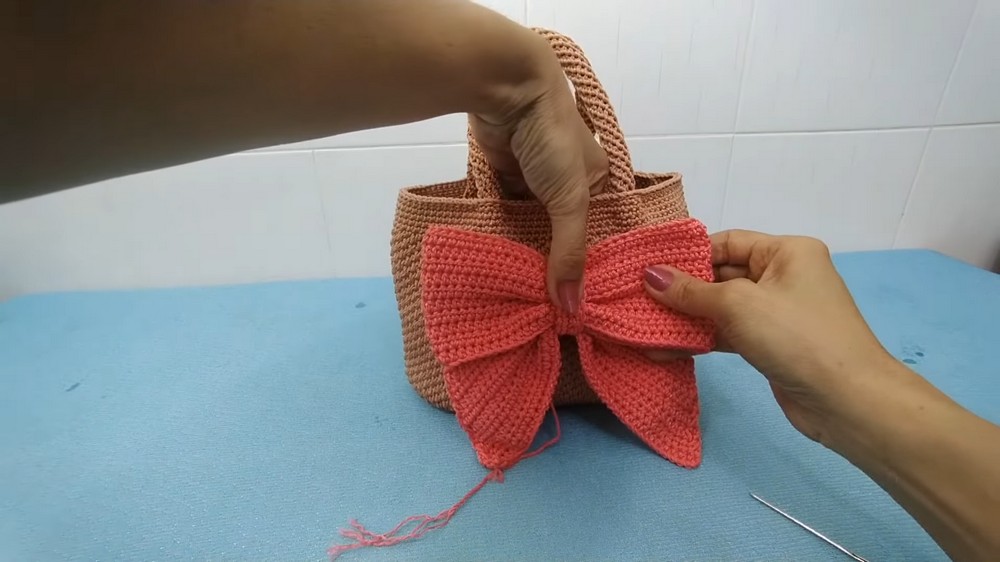
8. Bow Construction
Bow Base
- Create a magic circle, chain 65.
- Work 65 half double crochet (hdc) stitches along chain row.
- Chain 2, turn, and continue hdc rows for 10 rows total.
- Leave yarn tail and sew the edges together for a bow shape.
Bow Tie Part
- Create another magic circle, chain 47.
- Work 47 hdc stitches. Chain 2, turn.
- Decrease stitches gradually at beginning and end of rows from the second row on, reducing stitch count down to 29 by row 10.
- Sew bow tie around the middle of the bow base to secure it.
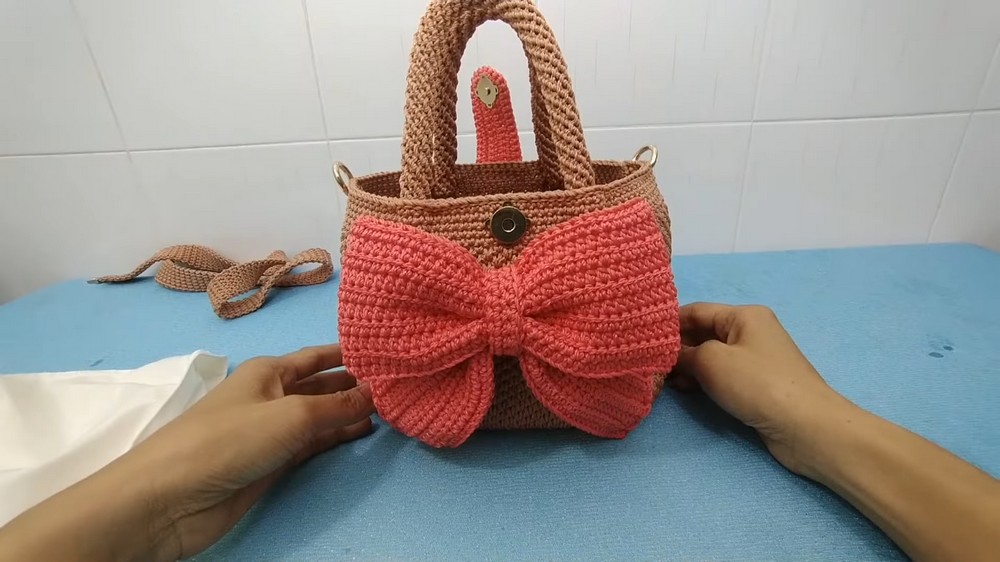
9. Assemble Bag
- Sew finished bow onto bag front.
- Attach magnetic button to fastening tab (crocheted separately).
- Sew ready-made lining inside the bag.
- Sew fastening tab, D-rings, and strap securely to bag body.
Tutor’s Suggestions
- Work slowly when doing toe-high and toe-low slip stitches to keep consistency.
- Use stitch markers to track decreases on bow tie part.
- Weave in all loose ends for clean finish.
- Adjust strap length as desired.
- Practice half double crochet and slip stitch techniques on scraps before starting bag.
Uses
- Elegant evening or party bag with subtle metallic shine
- Unique, handmade fashion accessory
- Lightweight yet sturdy for daily essentials
Tip for Success
Keep your tension even, especially when alternating high and low stitches in slip stitch rounds, for harmonious texture and shape. Be patient when joining the bow tie; neat sewing makes all the difference visually.
Conclusion
This metallic spun yarn bow bag is a standout project combining basic and intermediate crochet skills with practical design for an eye-catching result. Once complete, it’s a versatile accessory perfect for special occasions or elevating everyday style.
Leave a Reply