
Show off charm and style with this Free Crochet Hair Band Pattern that stays comfy and stylish gives any look a cute and fun vibe.
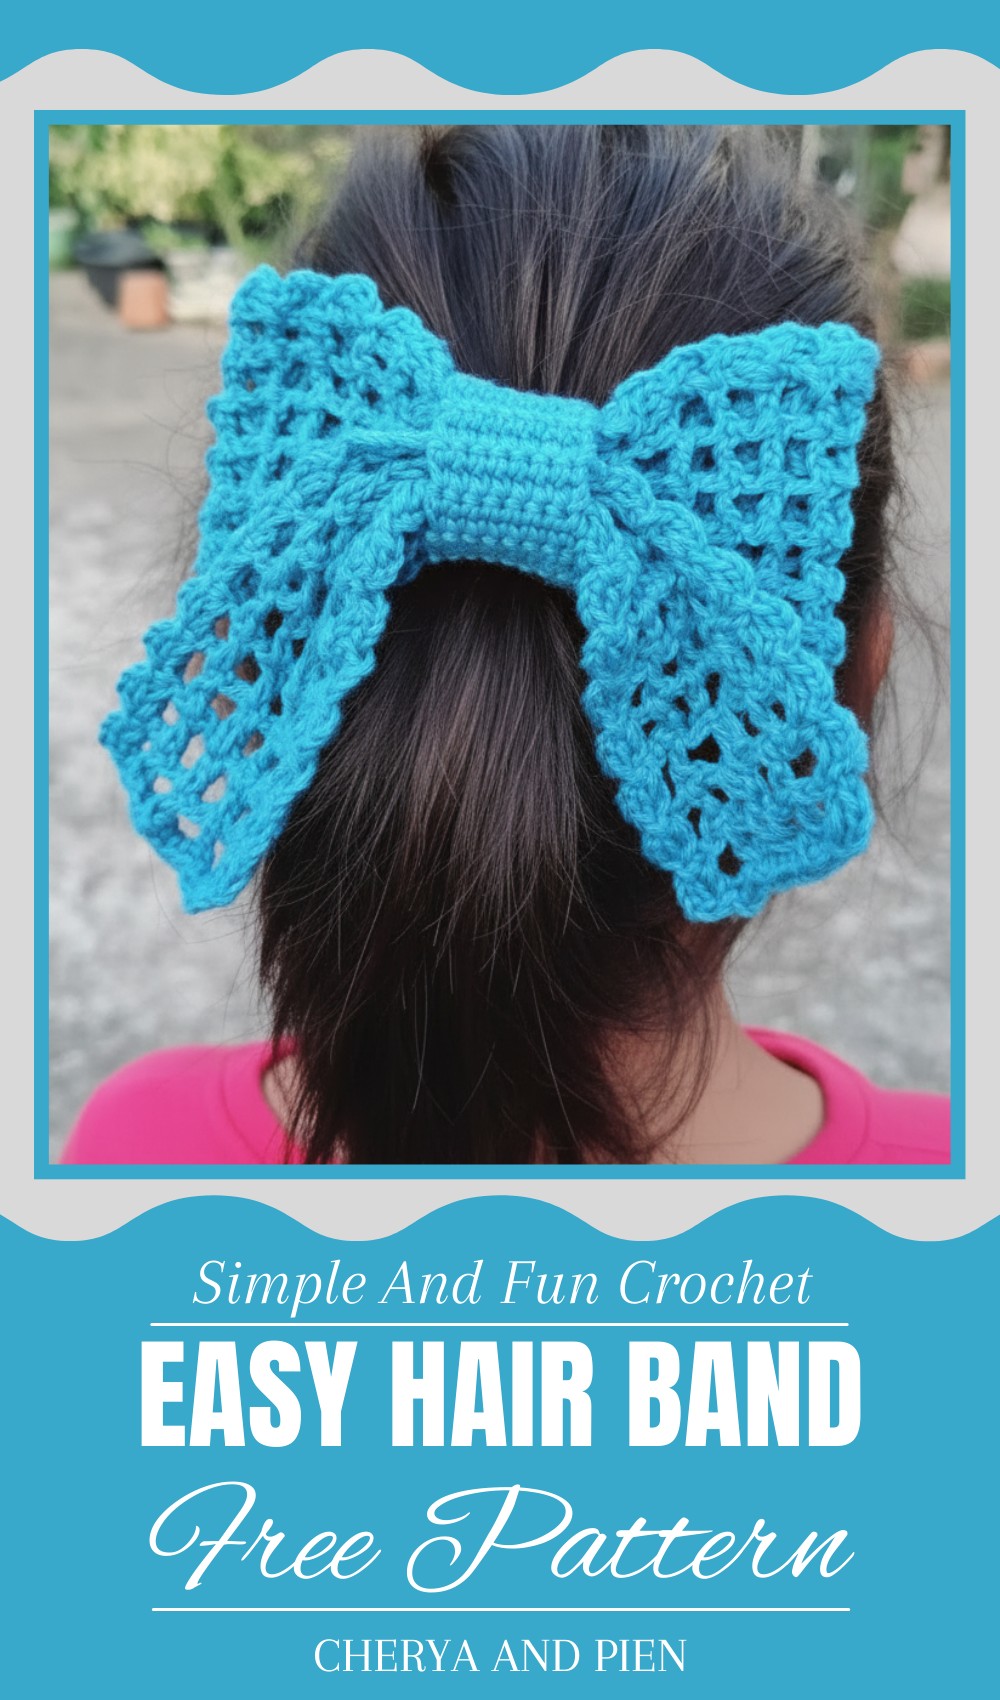
Playful Crochet Hair Band Pattern Perfect for Daily Wear
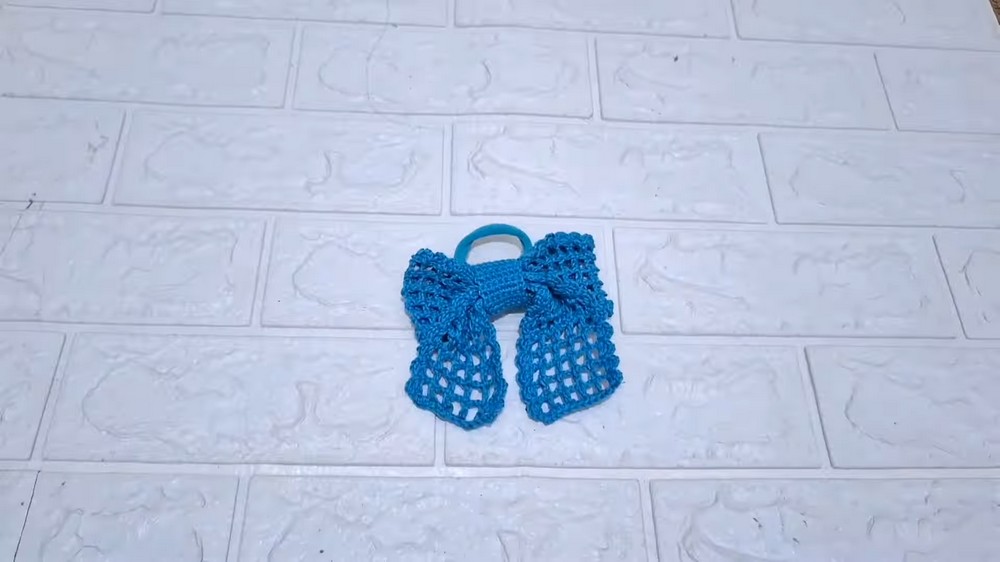
A handmade hair band is a simple yet stunning accessory that adds beauty and charm to your everyday look. Perfect for kids, teens, and adults, these hair bands are versatile and can be worn for casual outings, special occasions, or even as a thoughtful gift. Thishttps://tebdiy.com/delightful-crochet-flower-headband-pattern/ Crochet Hair Band Pattern is soft textures make them comfortable to wear, while the variety of colors and designs allows you to match them with any outfit.

It is easy to make, giving a personal and creative touch to your style. From playful and colorful designs to elegant and minimal styles, there’s something for everyone. Whether you’re taming your hair or adding a stylish flair, this hair band are both practical and decorative. You can wear them at parties, family gatherings, or even for daily use to keep your hair neat while looking effortlessly fashionable.
Materials
- Yarn: Cotton yarn or any other lightweight yarn. Choose your preferred color.
- Hook Size: 3 mm crochet hook.
- Additional Tools:
- Scissors
- Stitch markers (optional)
- Tapestry needle (optional for weaving ends)
Key Abbreviations
- ch: Chain
- sl st: Slip Stitch
- sc: Single Crochet
- dc: Double Crochet
- skip: Skip a stitch or space
- st: Stitch
Pattern
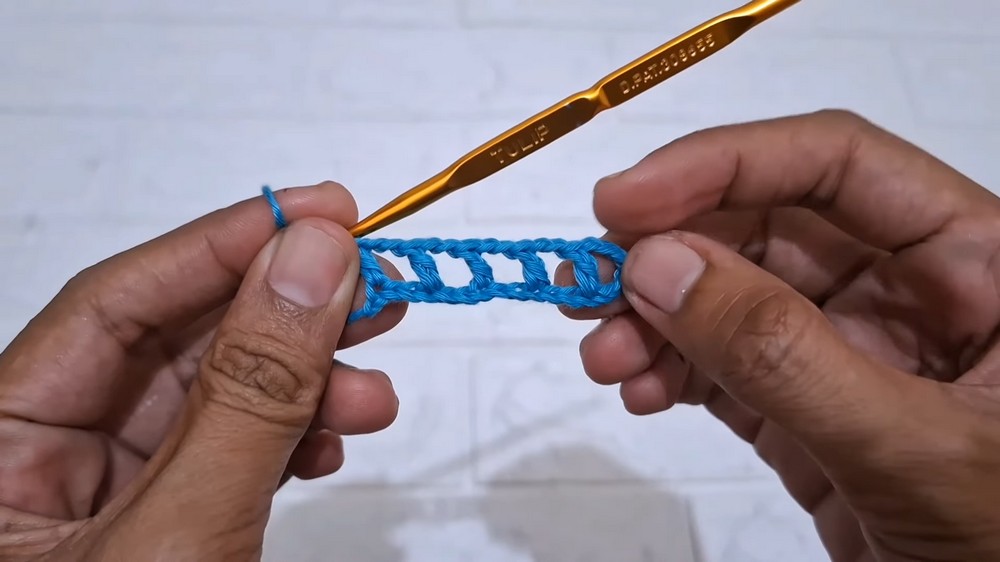
Foundation Row:
- Start with a slip knot.
- Make a foundation chain of 19 chains.
Row 1: (First Line)
- Skip 6 chains and start in the 7th chain.
- Work 1 dc in the 7th chain.
- Ch 2, skip the next 2 chains, and make 1 dc in the following chain.
- Repeat the sequence (ch 2, skip 2, 1 dc) until you reach the last chain.
- At the end of the row, make 1 dc in the final chain.
Result: You should have 5 holes at the end of Row 1.
Row 2: (Second Line)
- Add 5 chains.
- Turn your work and start in the dc post from the previous row.
- Work 1 dc, followed by ch 2.
- Skip 2 holes, then go into the next hole and repeat 1 dc and ch 2 sequence.
- Continue this pattern until the last hole.
- At the end of the row, make 1 dc in the final chain space.
Result: Rows 1 and 2 should create a consistent openwork pattern with visible holes.
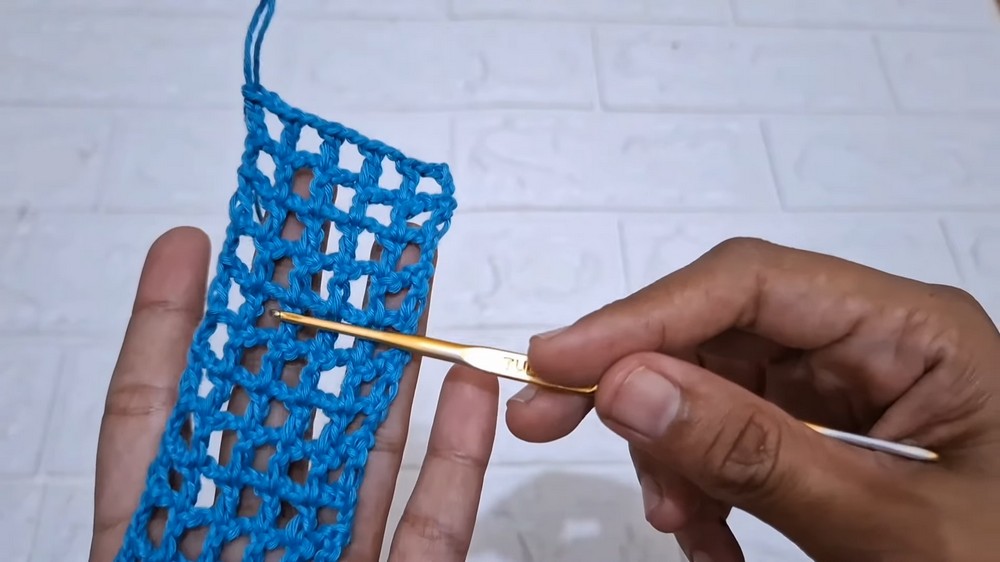
Row 3 and Onward:
- For the third line and subsequent rows, follow the exact sequence as Row 2:
- DC into the previous row’s dc posts.
- Use ch 2, skip two spaces, and repeat until the end.
Complete up to 18 rows, ensuring the same hole spacing continues.
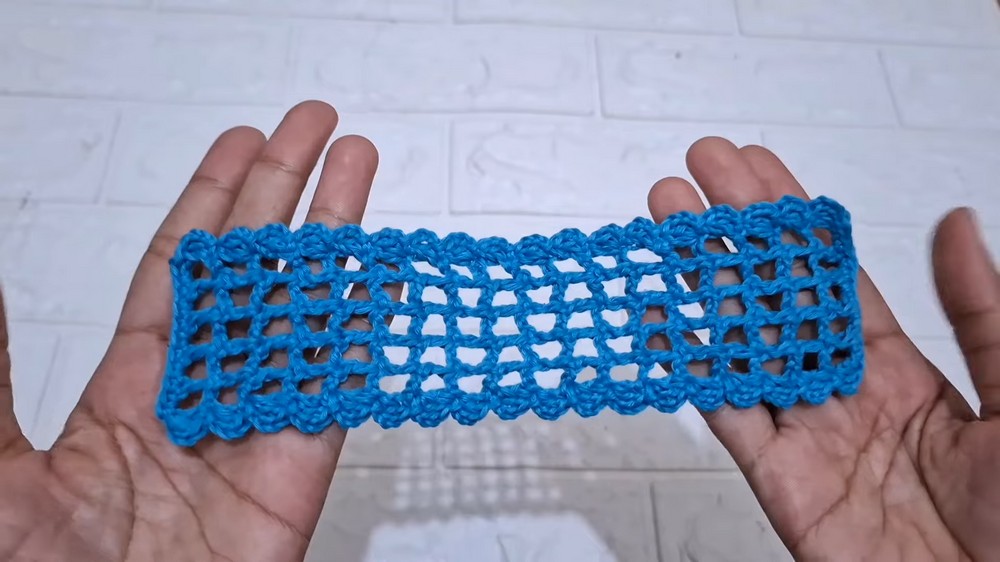
Edge Finishing:
- At the end of Row 18, add 3 chains.
- Turn your work, make 1 dc in the last dc post.
- Finish with a slip stitch in the last space for securing the edge of the work.
Customization Ideas
- Size Adjustment: Increase the number of chains in Row 1 for wider projects or reduce chains for smaller items.
- Yarn Variety: Experiment with textured yarns like bamboo or silk for added elegance.
- Hole Pattern: Modify the skipped stitches rule (e.g., skip 1 or skip 3) for a denser or more airy pattern.
Special Notes
- Count your stitches regularly to avoid pattern disruptions.
- Maintain consistent tension throughout the project to ensure neat results.
Conclusion
Your project is completed with a stunning lace-inspired pattern. The design showcases elegance and versatility, suitable for table runners, scarves, or decorative sheets.
Pattern Correction and Tips
Corrections:
- Ensure that tensions match your crochet anchor to avoid uneven rows.
- Clarify any skipped step by revisiting foundation chains before advancing.
Tips:
- Thread Management: If threads remain, weave loose ends with a tapestry needle to avoid fraying.
- Consistent Counting: Double-check skipped chains and stitch counts in every row to prevent errors.
- Blocking: Block the finished project for clean edges and a professional look.

Leave a Reply