
Stitch a trendy look with this Crochet Star Stitch Top Pattern offering dazzling texture breezy comfort and a stylish handmade flair for sunny days.
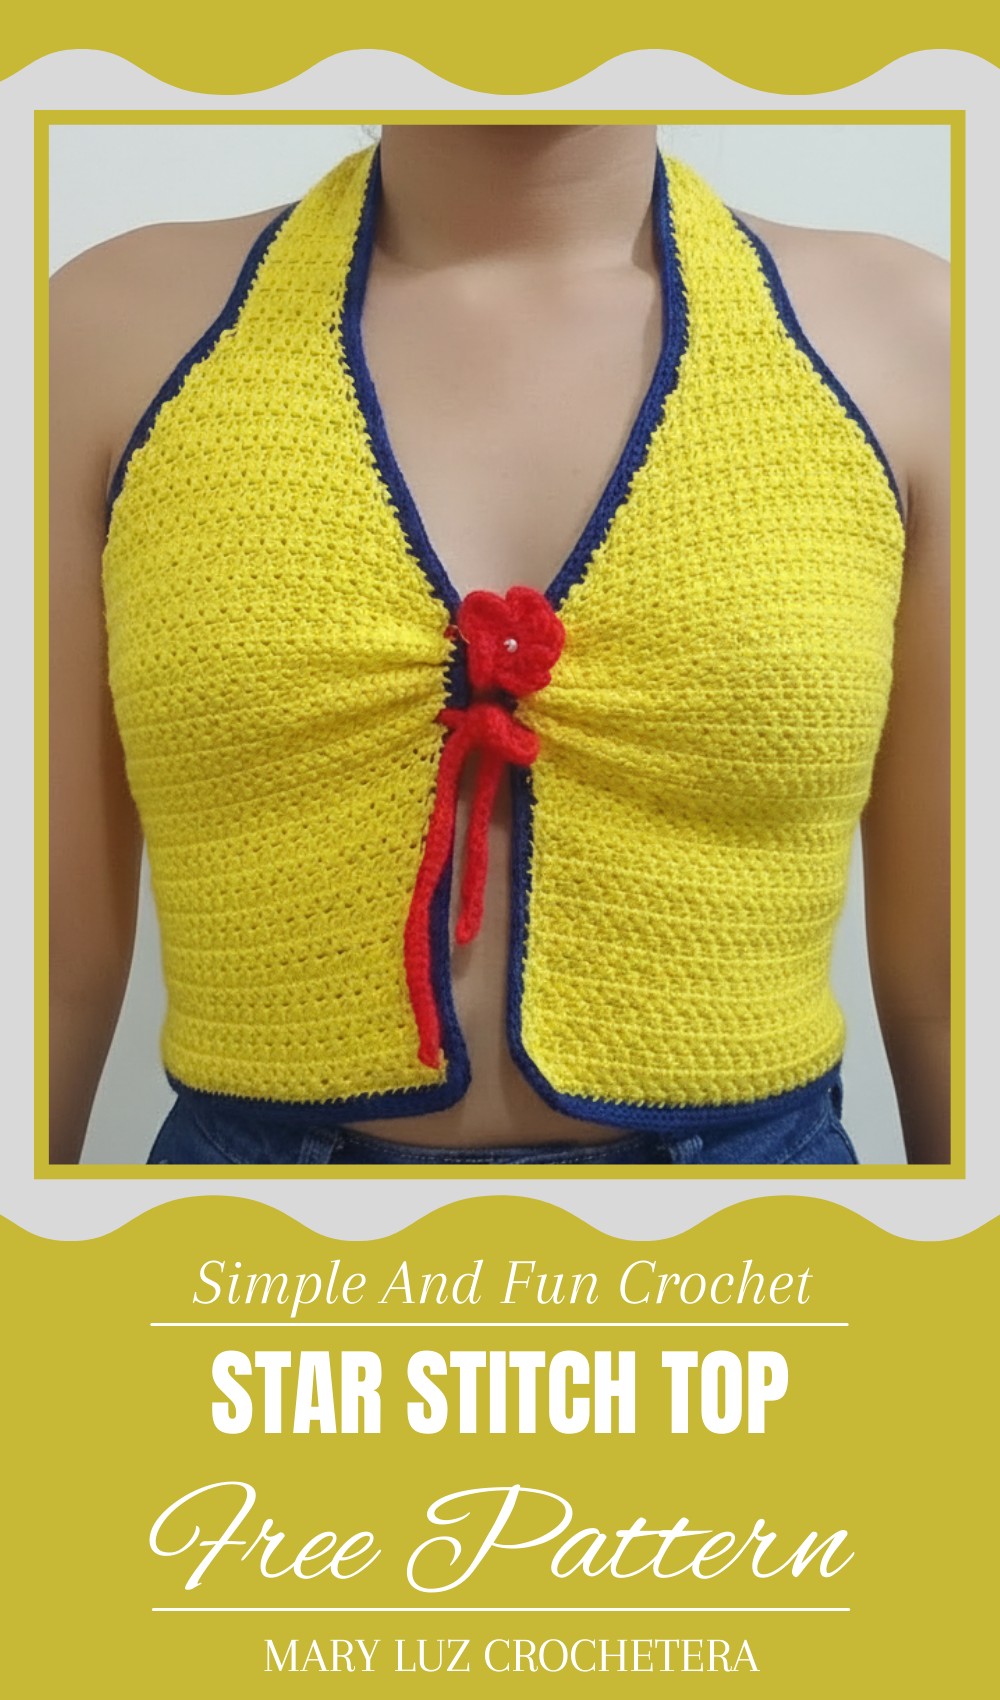
Playful Crochet Star Stitch Top Pattern That Adds Fun to Outfits
Feel comfy and look bright with a top made using a beautiful star stitch! This top is soft and cozy, decorated with little star-shaped patterns that make it special and eye-catching. The star designs give the fabric a lovely texture that feels nice on your skin and looks fun to wear. Perfect for warm days or cool evenings, this top can be simple or fancy depending on the colors you choose.
It’s light and easy to move in, so you can wear it everywhere at home, outside, or with friends. The handmade stitches make it unique, showing care in every thread. Whether you want to treat yourself or give a meaningful gift, this star stitch top is a wonderful choice. Enjoy its comfort, beauty, and the happy stars that add sparkle to your wardrobe every time you wear it.
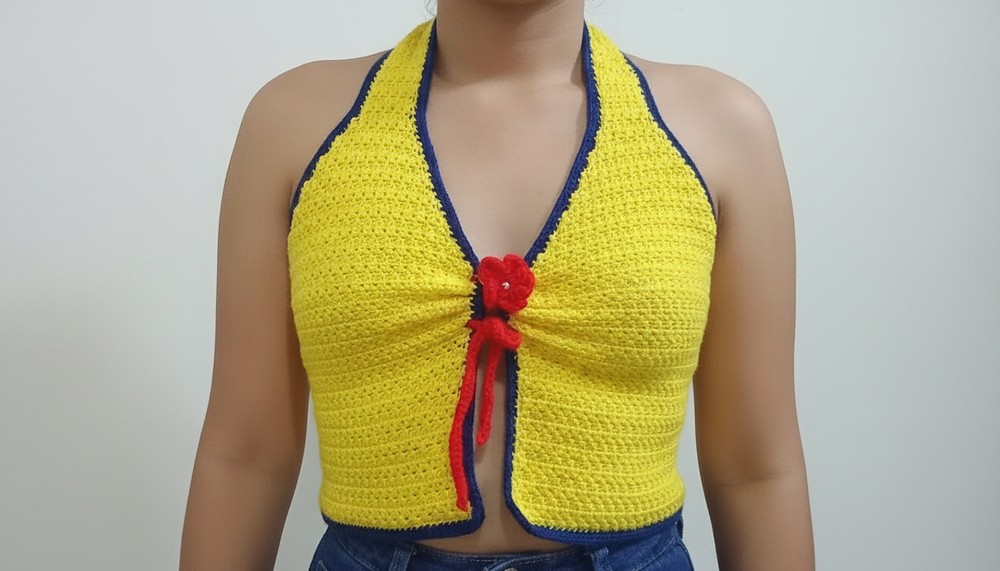
Star Stitch Adjustable Crop Top Crochet Pattern
Materials Needed
- Macramé cotton thread, 2mm thick (3 shades suggested)
- Crochet hook 2.5 mm (recommended for this thread)
- Measuring tape
- Stitch marker
- Yarn needle
Special Features
- Textured star stitch fabric
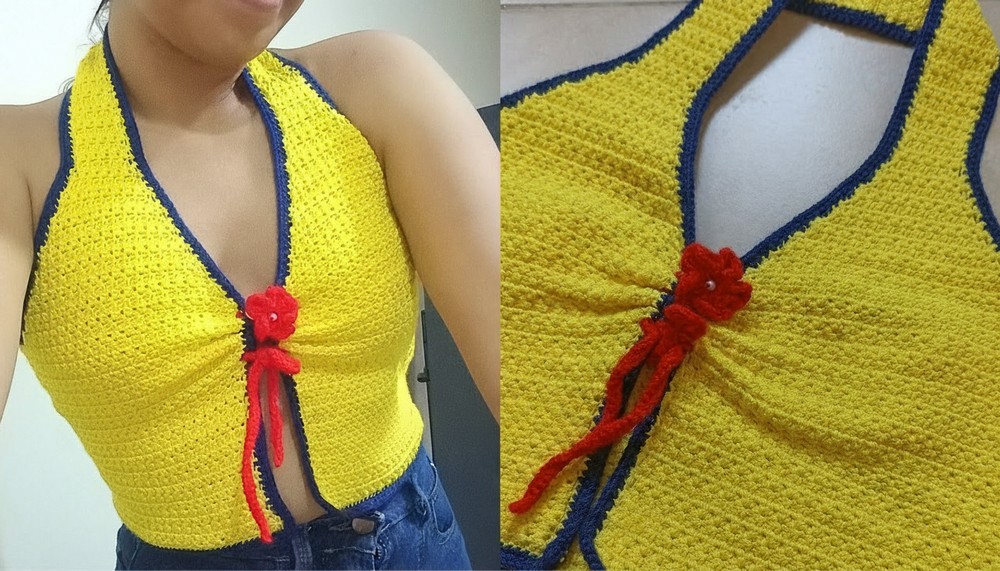
- Adjustable tie neckline
- Versatile wear: open or tied with bow
- Includes decorative flower accessory
- Customizable size and colors
Difficulty Level
Intermediate – Requires patience for star stitch technique, chaining to measurement, and garment construction.
Step-by-Step Pattern
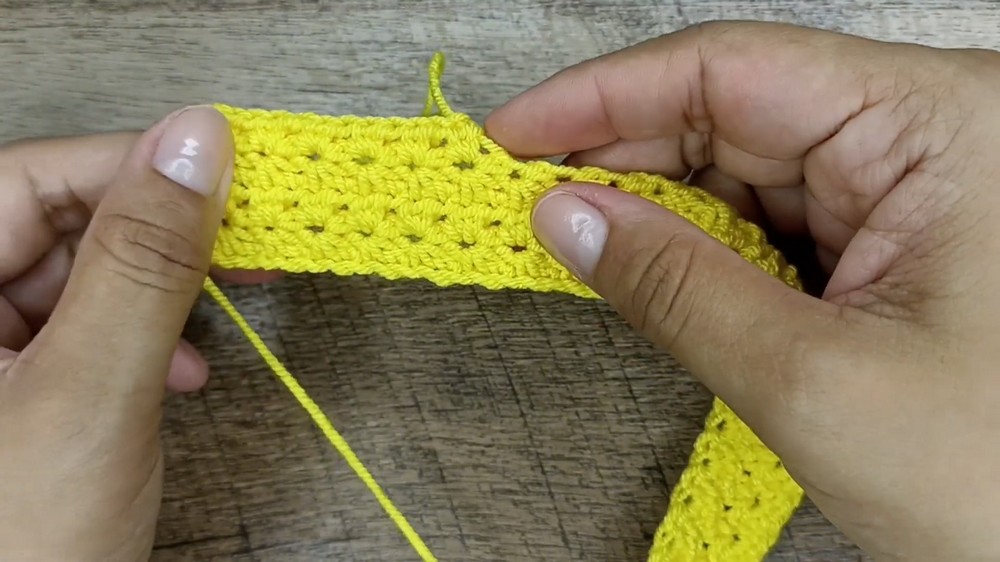
Foundation and Measuring Chain
- Create a foundation chain: Chain until you reach the desired width minus 2-3 cm for edge finishing.
- Example: For size XS with waist circumference 82 cm, chain up to approx. 80 cm (e.g., 187 chains).
- Ensure your chain count is an odd number for proper star stitch pattern. If it ends even, add or subtract one chain.

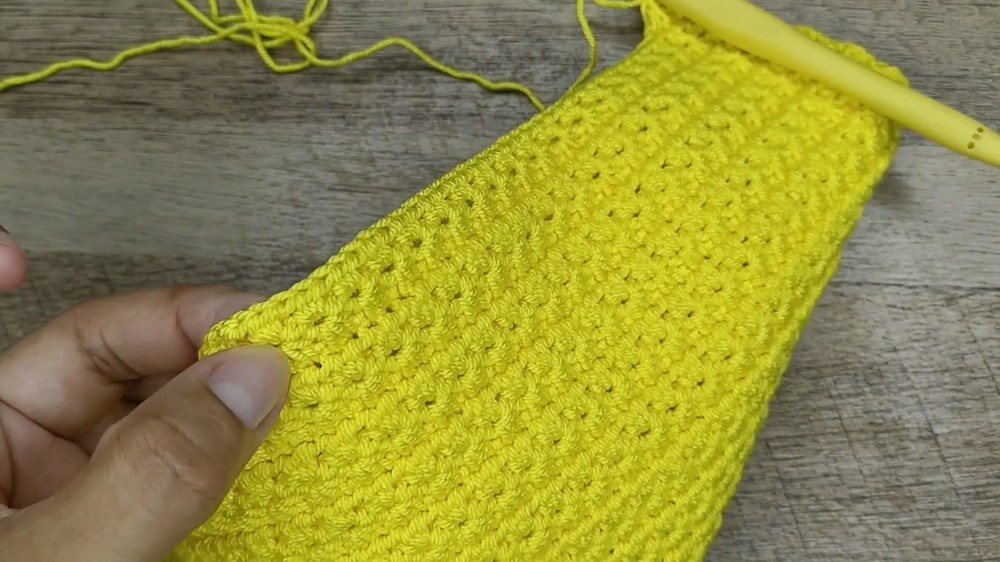
Round 1: First Star Stitch Set
- Turn and chain 3 (counts as first stitch).
- Skip the first chain, then insert hook through the next 5 chains, yarn over and pull through all 6 loops on hook to create the star stitch “star cluster”.
- Chain 1 to close the star.
- Move to the “X-space” formed by the previous star, and repeat star stitch along the foundation chain: insert hook at “X-space”, pull up loop, insert through vertical chain, pull up loop, then through next 3 chains, pull loops, yarn over and pull through all 6 loops. Chain 1 to close star.
- Repeat this process across foundation chain. Always finish the star with a chain 1.
Round 2: Half Double Crochet on Spaces
- Chain 2 and turn.
- Work 2 half double crochets (hdc) in each chain space formed in Round 1. This creates the second layer of the star stitch.
- Continue this all around the row.
- Close with slip stitch in starting stitch.
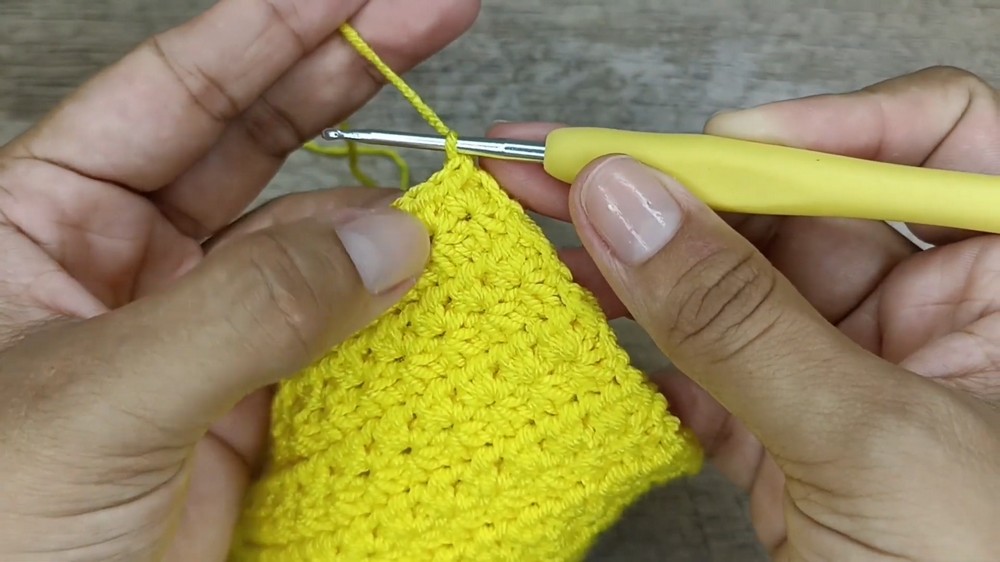
Round 3: Repeat Round 1 Style
- Chain 3 and turn.
- Work star stitch again as done in Round 1 – between the hdc groups created in Round 2.
- Close with chain 1 after each star.

Round 4: Repeat Round 2 Style
- Chain 2 and turn.
- Work 2 hdc stitches in each star “space” from Round 3.
- Repeat rounds 3 and 4 alternately until desired length of the body is reached.
- Example: Stop at a length of approximately 18 cm for size XS.
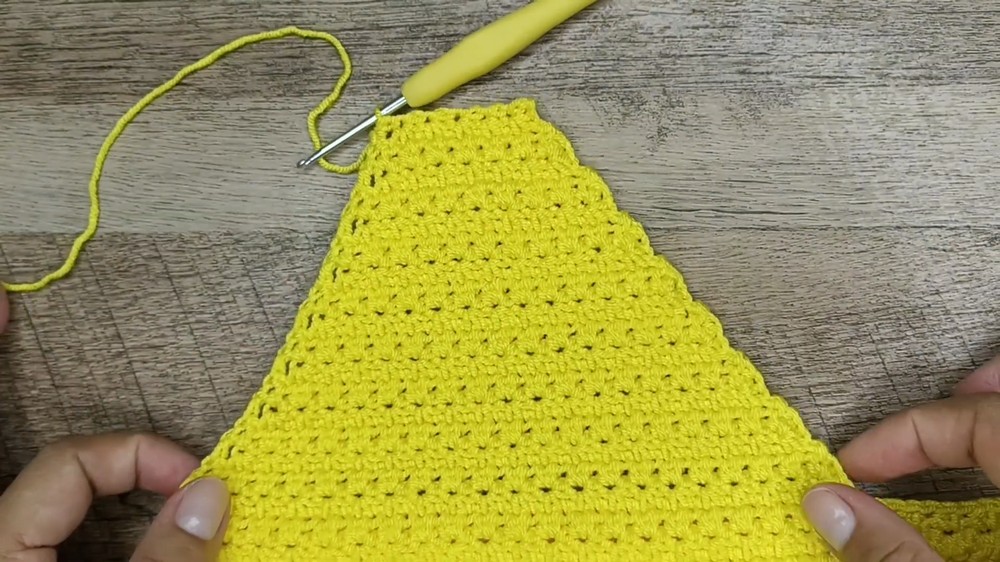
Armhole and Neck Strap Formation
- Mark the armhole and neck strap positions according to your measurements (e.g., divide waist circumference by 4 for front-bottom parts approximately 20 cm).
- Work the armhole shaping by decreasing stitches at each side in the neck strap area:
- On decrease rounds, work 1 hdc in the first space, then continue with 2 hdc in following spaces until second last space, and work 1 hdc in last space.
- Continue alternating star stitch rounds and decrease rows for shaping until neck strap reaches desired width (e.g., 5-6 cm).
- Once neck strap size is achieved, continue working straight with star stitch pattern for strap length (e.g., 28-30 cm).
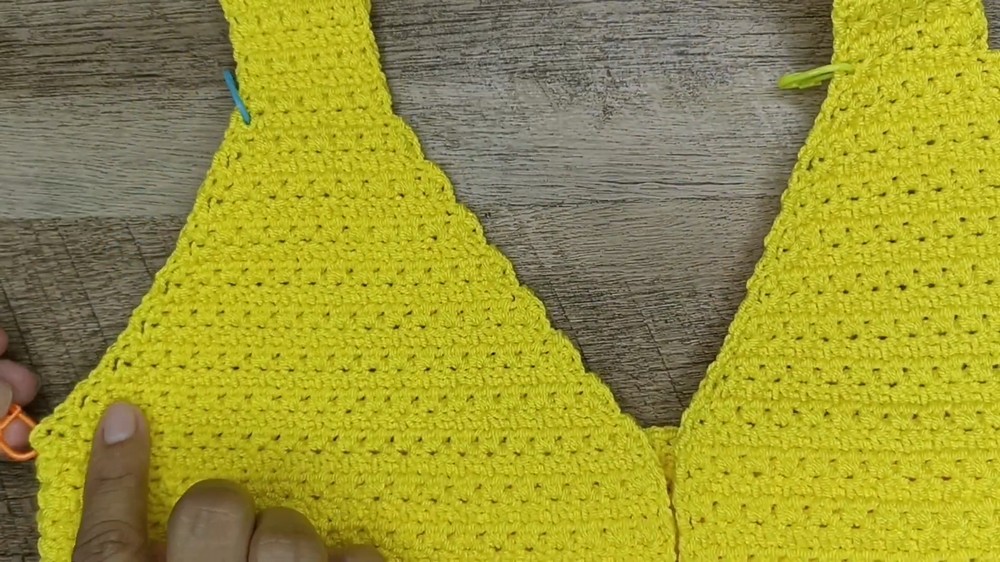
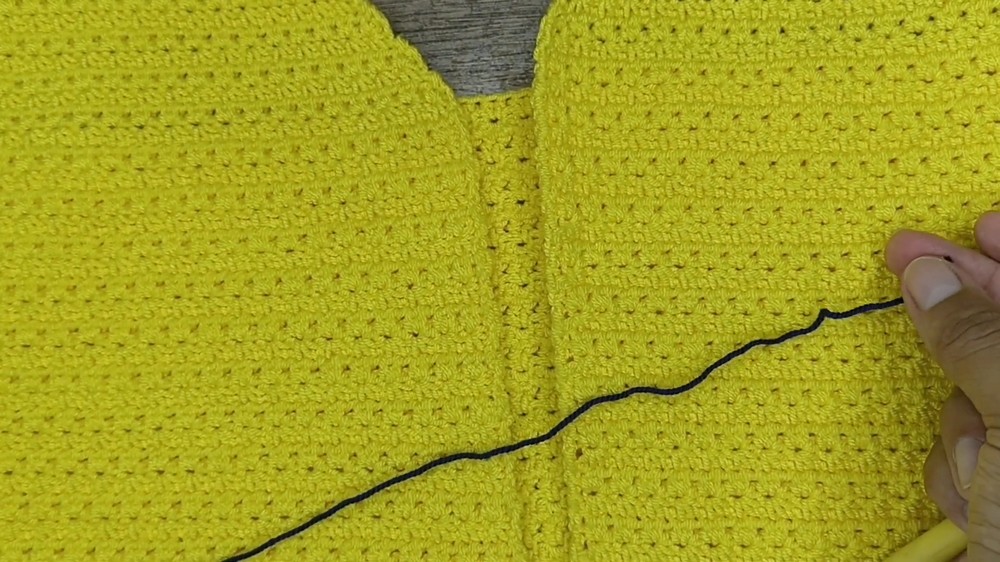
Joining Straps
- When both sides/straps are complete, position them facing inward, and sew or single crochet along the edges to join straps securely.
- Ensure equal counts on both sides for even joining.
Finishing the Edges
- Work single crochet stitches around the edges of the entire top—including bottom, armholes, and neckline—to create a neat finishing edge.
- For corners or curves, increase stitches as needed to maintain smoothness.
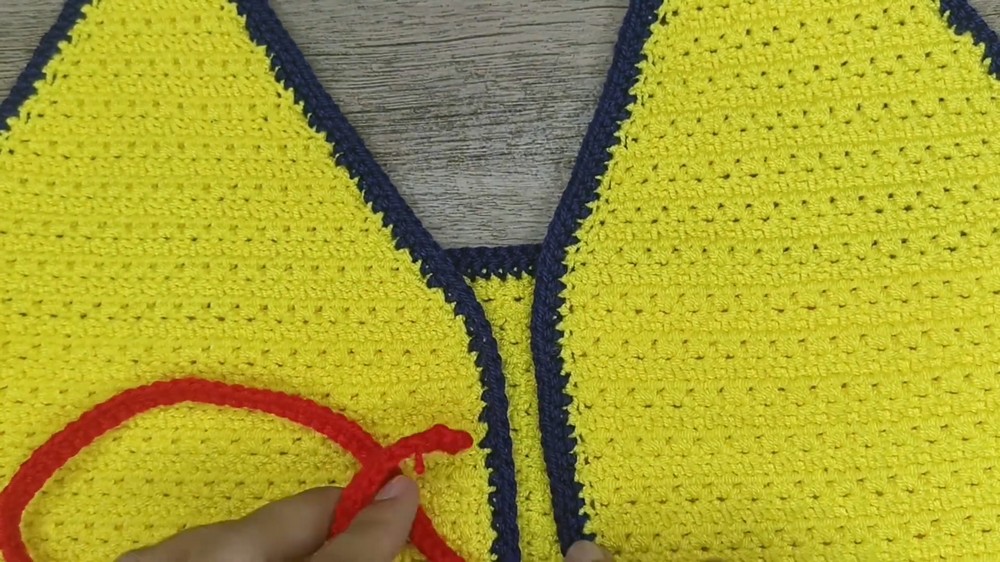
Adjustable Tie Strap
- Create a long chain (e.g., 50 cm), then back crochet to form a sturdy adjustable tie strap.
- Sew or thread the strap through the designated spaces on the neckline opening, crossing the cords as desired.
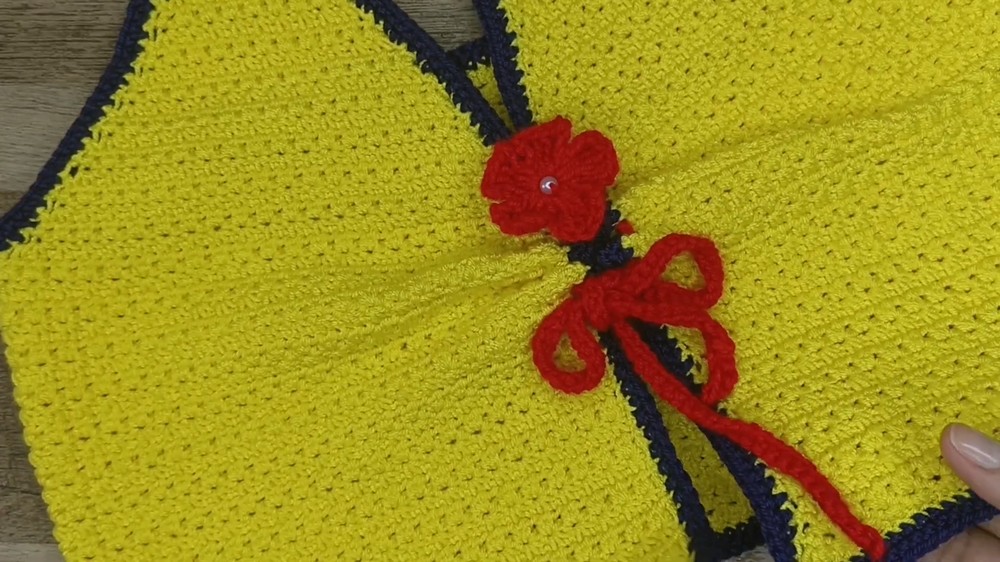
- Adjust and tie the bow in front as preferred.
Decorative Flower (Optional)
- Make a magic circle and chain 4.
- Work cluster petals by doing multiple double crochet loops into the center of the circle alternating with chains.
- Complete five petals to form the flower.
- Sew or glue flower onto the top as an embellishment.
Tutor’s Suggestions
- Always chain an odd number at the start to maintain proper star stitch pattern.
- Use stitch markers to mark key points such as armholes, strap ends, and decreases.
- Take accurate measurements to customize the garment for your frame.
- Work slowly when working star stitch for even tension and defined shapes.
- Blocking your final garment helps star stitches open beautifully.
Uses
- Perfect textured crop top for summer or layering.
- Adjustable wrap style suits various body types.
- Ideal beachwear, casual dress-up, or festival outfit.
Helpful Tip
If you find the star stitch complicated at first, practice slowly on a small swatch to get familiar with yarn overs and stitch placement. This foundation will make garment construction easier.
Conclusion
This Star Stitch Adjustable Crop Top is a stunning and versatile garment showcasing a beautiful textured pattern perfect for warm weather. With adjustable straps and customizable size, you can create a perfect fit while showing off your crochet skills. Enjoy making it in your favorite colors and get ready to flaunt your handmade fashion creation.
Leave a Reply